
We may earn revenue from the products available on this page and participate in affiliate programs. Learn More ›
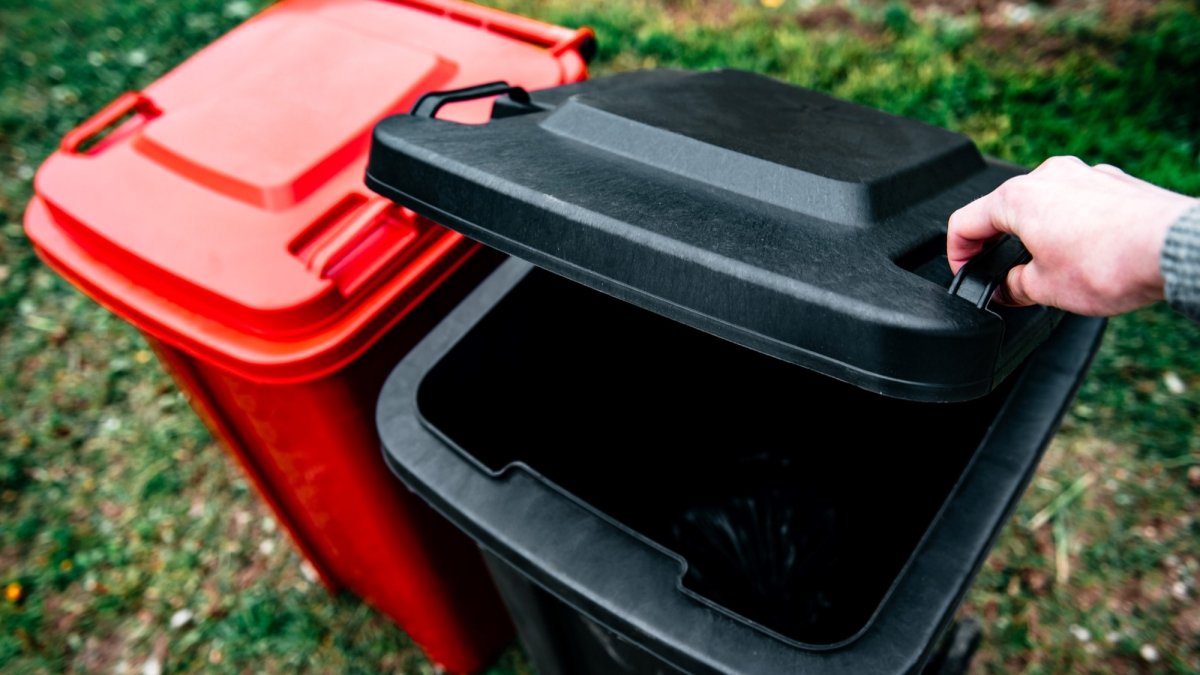
Odors, stuck-on food grime, and garbage bag juices can make your trash can a disgusting chore to clean out, especially if you have a habit of simply changing the bag without cleaning the can. Instead of just grimacing and looking the other way, you should be cleaning your trash can regularly to prevent mold, reduce the risk of pest infestations, and kill odors. Though the most basic reason is simply so that it isn’t so gross to use. Ahead, we’ll explain how to clean a trash can properly—both the smaller indoor types and the larger (and generally more disgusting) outdoor bins..
How to Clean Indoor Trash Cans
The best way to clean a trash can differs slightly depending on whether you are cleaning an indoor or outdoor trash can. However, regardless of trash can size or location, it’s essential to regularly clean the bin to remove stuck-on food, wash away grime, rinse out garbage bag juices, kill odors, and get rid of any pests that may have taken up residence in your trash.
SUPPLIES
Rubber gloves
Garden hose
All-purpose cleaner
Disinfectant spray
Sponge or microfiber cloth
Towel
Baking soda
White vinegar (optional)
Dish soap (optional)
Bleach (optional)
Step 1: Empty the trash can.
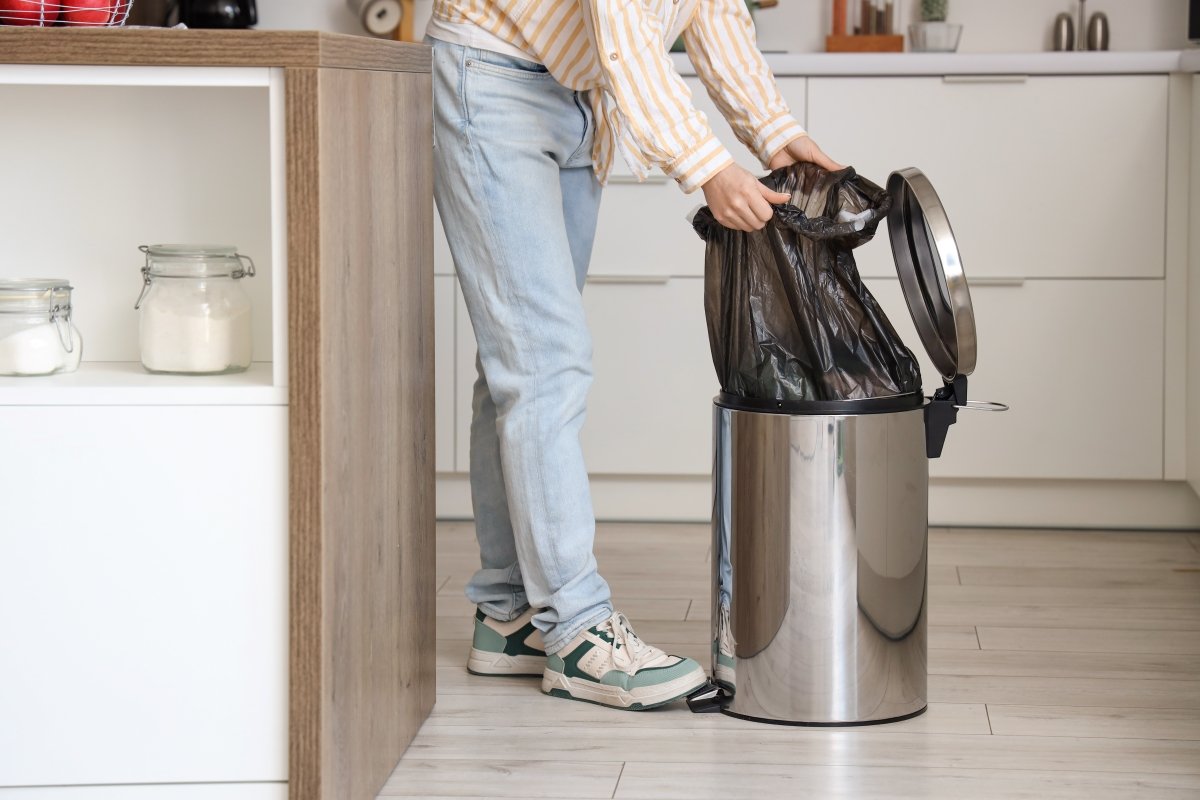
Remove the trash bag, and transfer any loose debris or crumbs from the bottom of the can. If the bag is torn, you will need to remove loose debris and food with your hands. For this reason, it’s highly recommended to wear rubber gloves to protect your hands.
Best Kitchen Trash Can

EKO Mirage Brushed Stainless Touchless Trash Can
EKO Mirage touchless trash can has a motion-sensor lid, and a 50-liter capacity to hold standard 13-gallon trash bags. Read the review.
See ItStep 2: Rinse the can, inside and out.
Even the best trash cans can sometimes become overrun with maggots if flies get into your trash. As gross as maggots are, dealing with them is relatively easy: Pour boiling water onto the maggots for an immediate kill. Alternatively, you can use a solution of 1 part white vinegar to 3 parts boiling water, or a 1:1 mixture of bleach and water.
If your trash can is maggot-free, take the can outside to the driveway or lawn to wash it—or, if you live in an apartment or condo, you can use your bathtub. (Make sure to sanitize the tub afterward.) Spray or rinse the inside and outside of the can thoroughly with hot water from a garden hose, faucet, or shower head to loosen surface grime.
Step 3: Scrub the trash can with a sponge and all-purpose cleaner.
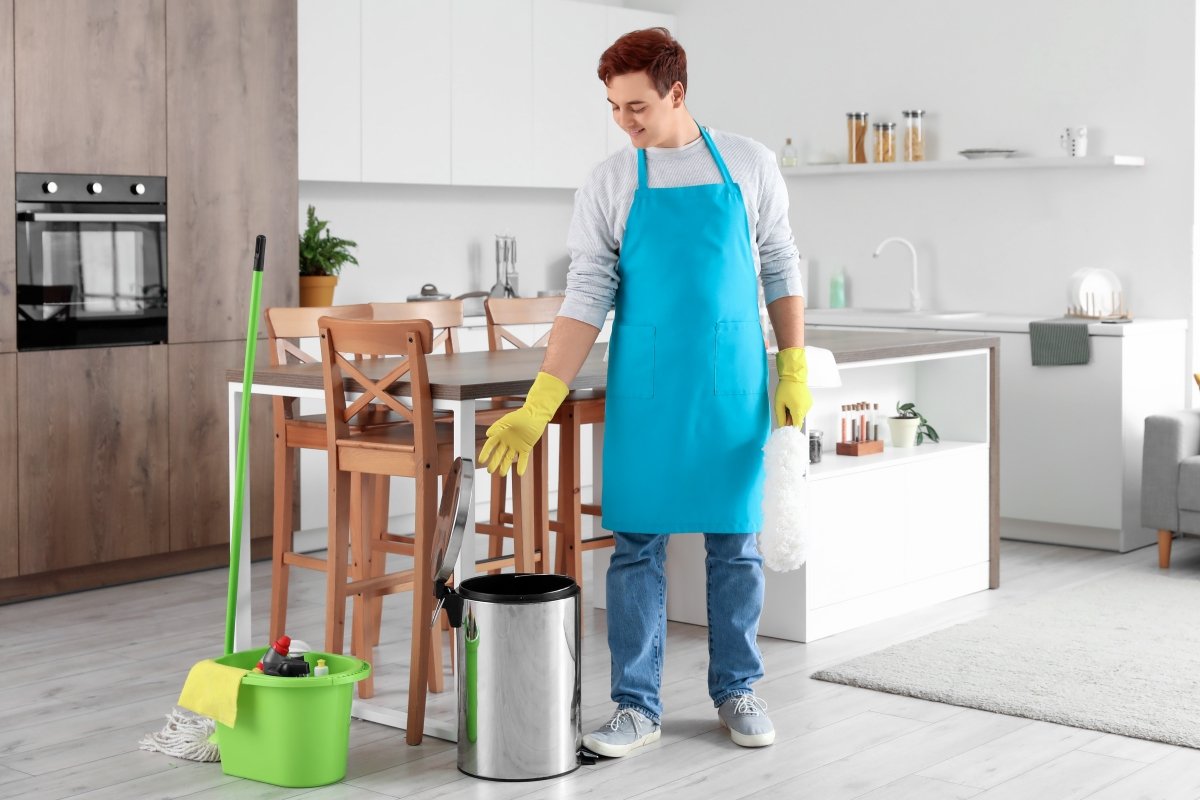
Pour or spray all-purpose cleaner inside the can, and use a sponge or microfiber cloth to scrub it. For stubborn, dried-on food, sprinkle baking soda over the wet spots or spray on a mixture of equal parts dish soap and white vinegar, and let the solution sit for 5 to 10 minutes to break down the buildup.
Step 4: Disinfect the bin.
Disinfecting is an essential part of the cleaning process. Spray a disinfectant spray or a mix of hot soapy water and vinegar inside your trash can. The disinfectant will kill any microbacteria and viruses that may be lingering inside the garbage can. After disinfecting the trash can, wipe it clean with a microfiber cloth.
Step 5: Rinse and allow to air dry.
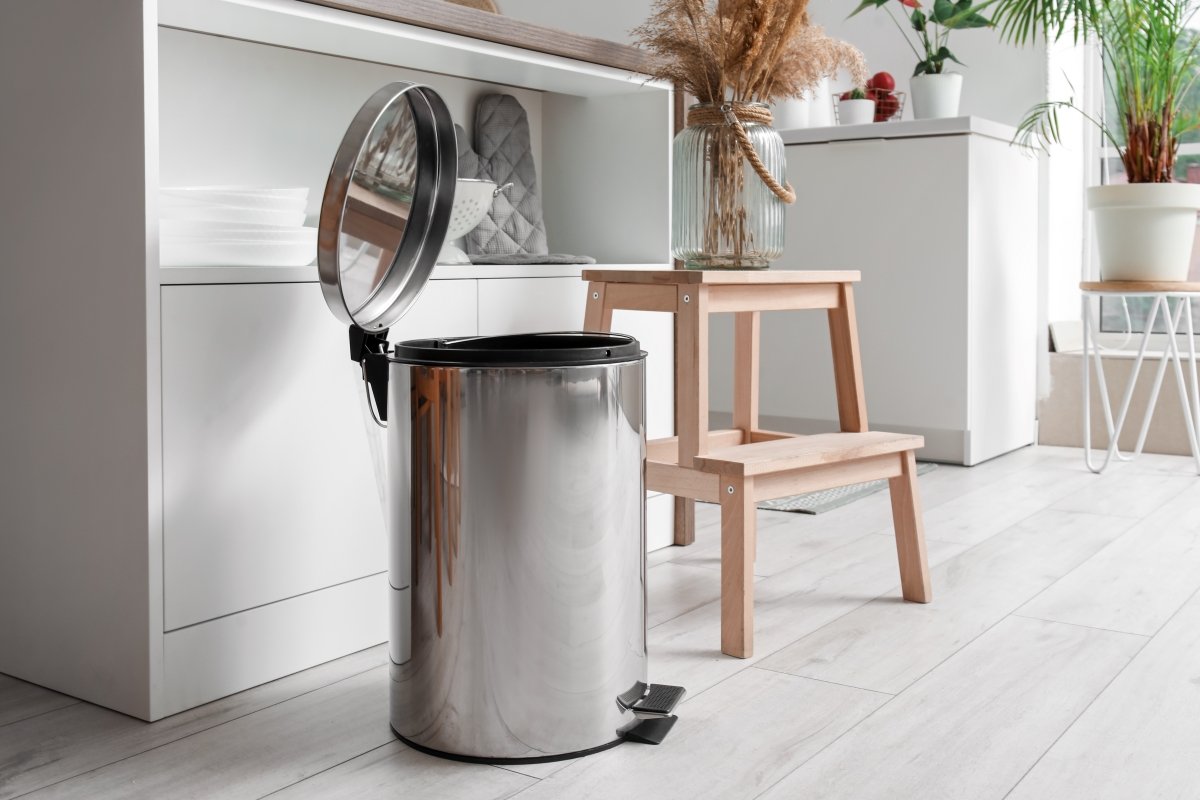
Finally, rinse the trash can thoroughly to remove all soap residue, then pour out the soapy water. Let the can air dry before putting in a new trash bag to prevent moisture buildup. Once it is dry, sprinkle baking soda at the bottom to absorb future smells.
How to Clean Outdoor Trash Cans
The process of how to clean an outdoor trash can vs an indoor trash can have essentially the same steps, but there are some differences in how you can approach the cleaning process. For outdoor cans, you’ll want to use a long-handled scrub brush instead of using a microfiber cloth, and rinse the trash can with a pressure washer instead of a simple garden hose.
SUPPLIES
Rubber gloves
Garden hose or pressure washer
All-purpose cleaner
Disinfectant spray
Long-handled scrub brush
Towel
Baking soda
White vinegar (optional)
Dish soap (optional)
Bleach (optional)
Step 1: Empty the trash cans.
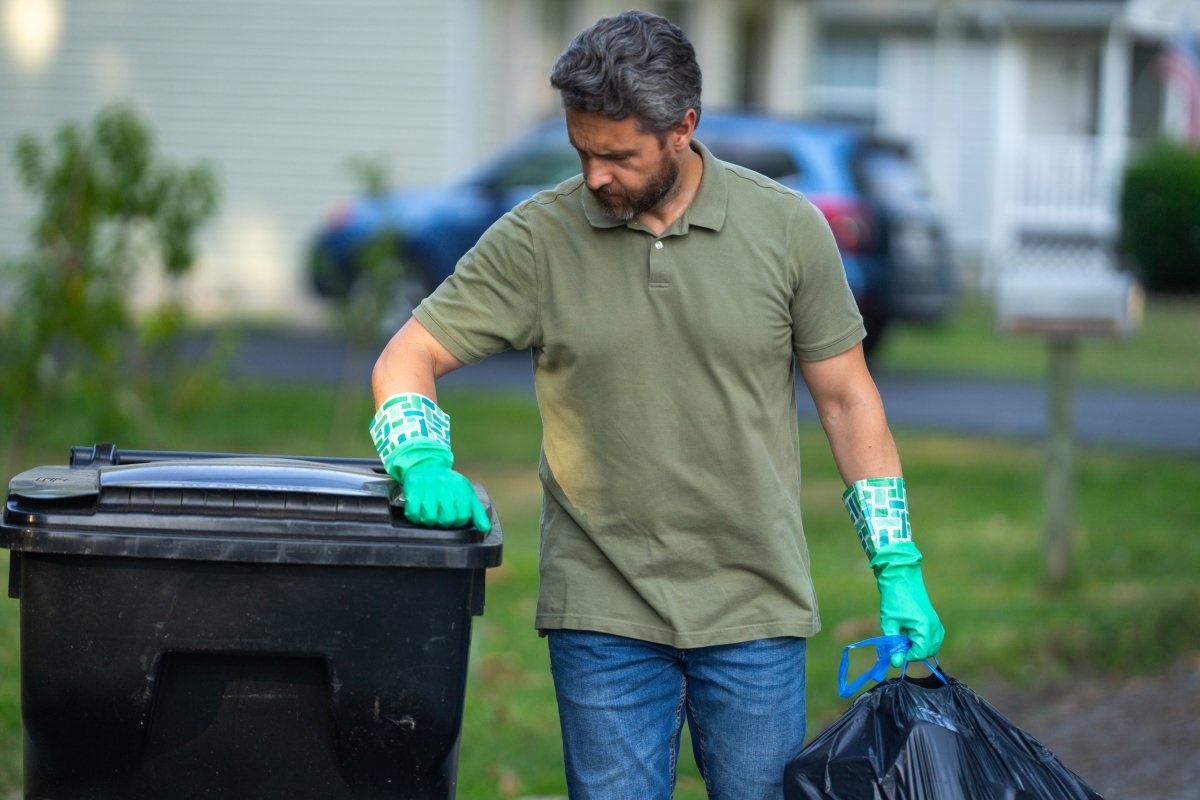
Make sure to have your rubber gloves on before you begin. Start by removing any trash bags, loose debris, or lingering trash from the garbage can. This may include manually picking up any chunks of old food, bits of trash, and gross gunk that may have fallen into the can directly or ended up in the can due to a tear in a trash bag.
Best Outdoor Trash Can

Toter 025596-R1GRS Heavy Duty Trash Can
The 96-gallon Toter trash can accommodates households with lots of garbage. Constructed of heavy-duty, weather-resistant plastic. Read the review.
See ItStep 2: Rinse the bins.
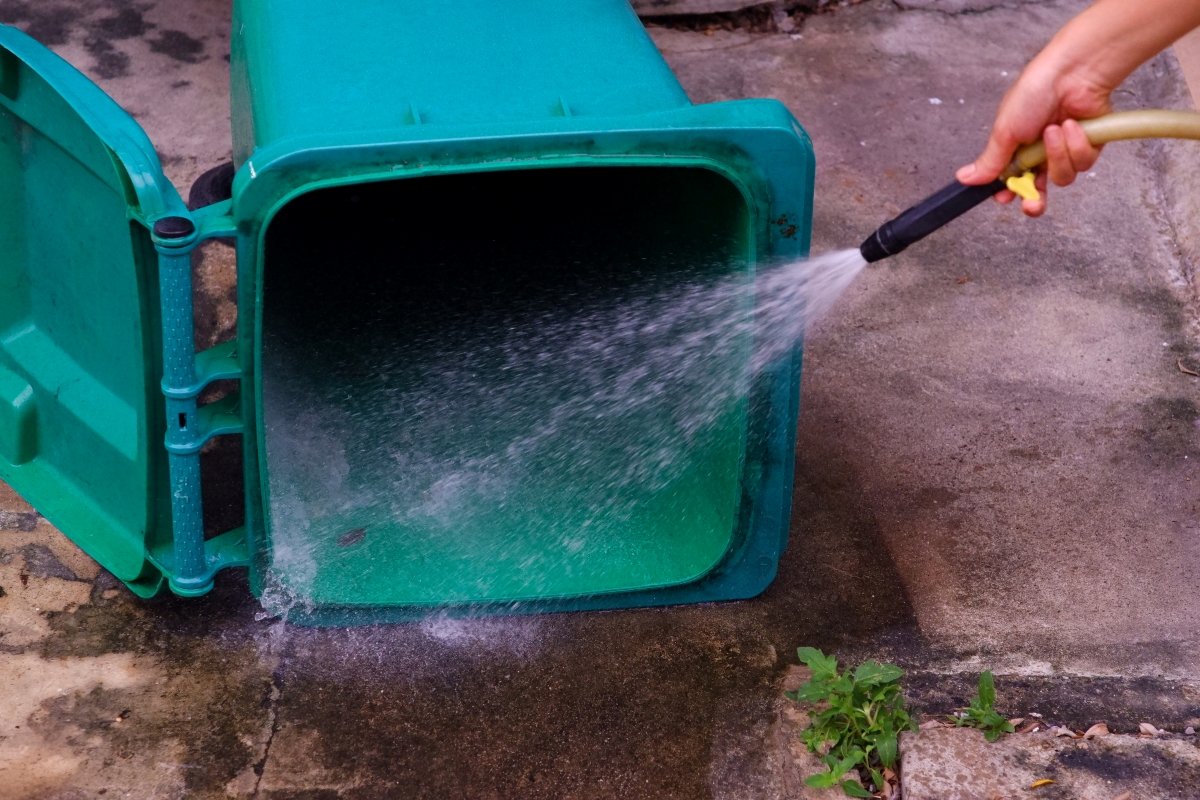
Outdoor trash cans are prone to maggot infestations, so as a part of deep cleaning, be prepared to deal with maggots, especially during the summer months. Pour boiling water directly onto the maggots to immediately kill them. Alternatively, you can use a solution of 1 part white vinegar to 3 parts boiling water, or a 1 part bleach to 1 part water.
If your trash can doesn’t have maggots, then you can just rinse it out normally. For this step, you can use a pressure washer, if you have one, or opt for a garden hose to rinse the entire can inside and out.
Step 3: Scrub with a long-handled brush and all-purpose cleaner.
Using all-purpose cleaner and a long-handled scrub brush, start scrubbing the bottom and sides of the can. If you don’t have a long-handled scrub brush readily available, you can use a broom, cloth or sponge.
Scrubbing will help to loosen up grime, dirt, and dried-on food. To remove stubborn spots, try sprinkling some baking soda over the wet, grimy areas or spray the affected area with a mixture of equal parts dish soap and white vinegar. Let the cleaning solution sit for 5 to 10 minutes to break down the buildup, then scrub again.
Step 4: Disinfect the can to kill bacteria and viruses.
Pour a disinfectant into the trash can to kill any microscopic bacteria, fungi, and viruses that may still be lingering, then wipe the inside of the can clean with a microfiber cloth or paper towel. This commercial disinfectant will help kill mold, mildew, and other contaminants, though you can also use bleach that has been diluted to a ratio of 1 part bleach to 10 parts water.
Step 5: Rinse the trash can and allow it to air dry.
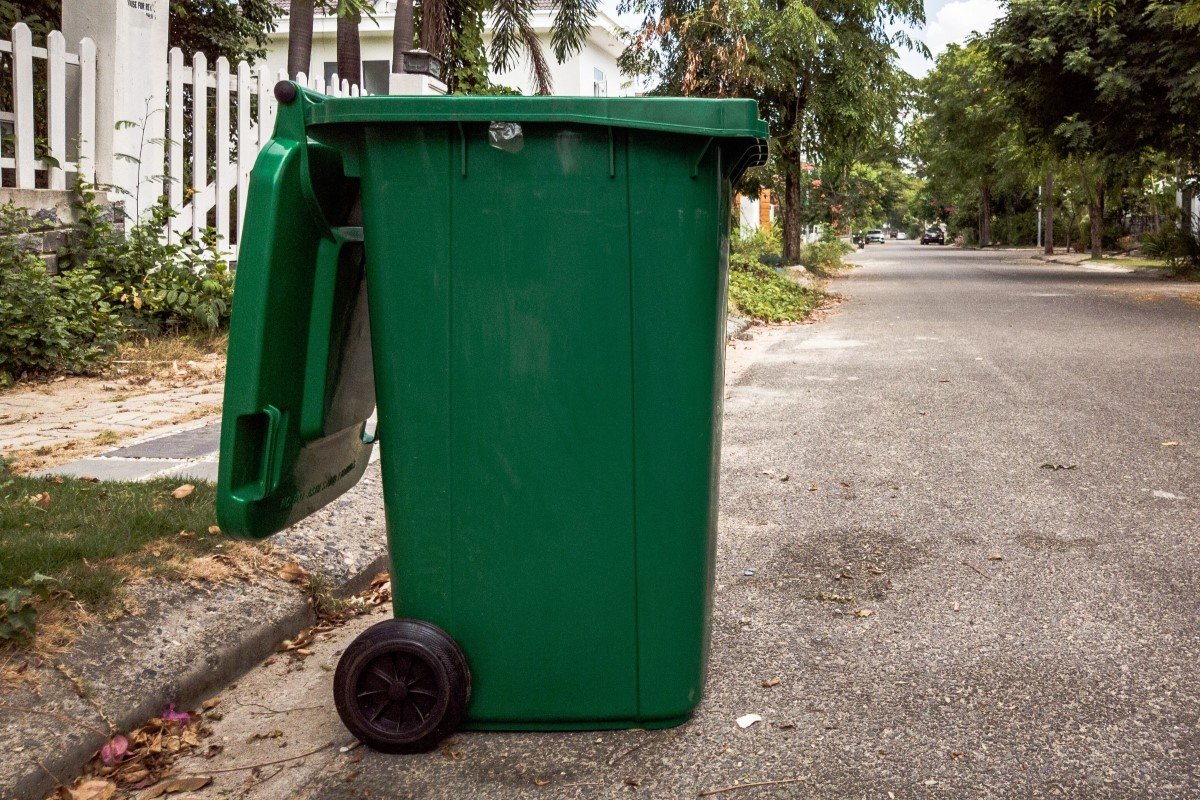
Wash away the dirty water with a garden hose, ensuring all soap residue is removed. Ideally, you should try to tackle this on a sunny day when it can dry quickly in the sunshine. Sunlight helps kill remaining bacteria and eliminate odors. Once dry, sprinkle baking soda at the bottom to prevent odors.
How often should you clean your trash cans?
Part of learning how to clean a trash bin is figuring out the optimal frequency for doing so. Keep in mind that the recommended frequency will differ depending on whether you are cleaning the indoor kitchen trash can or your outdoor trash can.
- Indoor trash cans: Wipe down the lid, rim, and exterior touch points with a disinfectant spray or an antibacterial wipe every time you change the trash bag. Once a month, do a deep clean of the trash can and wash the entire inside and outside of the can. If a bag leaks or spills food juices inside, clean it immediately.
- Outdoor trash cans: Outdoor trash cans should be deep-cleaned once a month; increase frequency to every 2 weeks in hot weather or if heavy food waste is present. However, if a bag leaks into the trash can, address the problem immediately rather than letting it stew for a couple of weeks.
Tips for Keeping Pests out of Trash Cans
The best way to get rid of pests in your trash can isn’t to default to powerful insecticides, but to remove food sources, control moisture, and keep the container clean, all of which will make the can less appealing—and prevent pests from getting access in the first place.
Kevin Hathorne, lead entomologist at Terminix, explains that “inside the home, sanitation and rapid removal are especially important. I would avoid routinely applying insecticides inside a trash can unless the product is specifically labeled for that use. Outside the home, you’re dealing with a much larger pest environment, so completely eliminating their contact with a garbage can isn’t realistic. The goal is to make the container less attractive and prevent access.”
Hathorne provides the following tips to help you get rid of pests in your trash cans:
- Outdoor cans should have tight-fitting lids, be kept clean, and be positioned away from excessive vegetation and clutter.
- Regular cleaning is particularly important because outdoor containers can accumulate food residue, spilled liquids, and organic debris that attract pests.
- Use sturdy trash bags, keep the container tightly covered, and don’t allow food waste to accumulate around the outside of the can. If a trash bag leaks, clean the area promptly.
- Inspect the surrounding area. Rodents are often attracted by other food sources, bird feeders, pet food, compost, fallen fruit, or clutter nearby. Eliminating those sources can make a much bigger difference than treating the trash can itself.
- If rodents are regularly getting into or around the garbage, homeowners should also inspect the house for potential entry points. A trash-can problem can sometimes be the first indication that there is a larger rodent issue on the property.
- Another important step is keeping the outside of the trash can clean. A trash can with food residue on the outside is essentially a giant pest advertisement.
- For particularly stubborn infestations, products containing an insect growth regulator can be useful because they interfere with the development of immature insects. Consumers should always make sure any pesticide is specifically labeled for the intended use and follow the label directions.
Final Thoughts
Cleaning trash cans regularly is essential for the ongoing health and safety of your home because a clean can that is kept free of moisture is less likely to lead to pest infestations and mold growth. Additionally, when you clean and deodorize a trash can, you can eliminate foul house smells and add odor-deterrents, like baking soda, to prevent bad smells in the future.
Ideally, you should do a light clean of your garbage can every time you change the bag, and a deep clean at least once a month. Though, keep in mind that if the weather is hot, then cleaning your trash can more frequently is highly recommended to prevent odors from rot before the heat can cause your garbage to truly become rancid.
