We may earn revenue from the products available on this page and participate in affiliate programs. Learn More ›
The prospect of deep cleaning a house can be a daunting one. While you could hire a professional to help you tackle this big project, the $200 to $400 deep cleaning house cost isn’t exactly in everyone’s budget. Plus, there is just something satisfying about transforming your house from a cluttered or dirty mess to something that looks like it was taken straight out of a magazine.
In the next few sections, we’ll take a look at the supplies you’ll want to have on hand when cleaning your home, the best cleaning solutions to use, and the step-by-step directions you should follow when cleaning each room. But first, let’s address a common question: How often should you deep clean your house? As a general rule, you should deep clean your home about once every 3 months. However, you don’t have to tackle everything all at the same time. You could create a house cleaning schedule to space things out and keep the project more manageable.
RELATED: 30 Spring Cleaning Tasks You Can Tackle With Natural Ingredients
The Best Supplies for Deep Cleaning
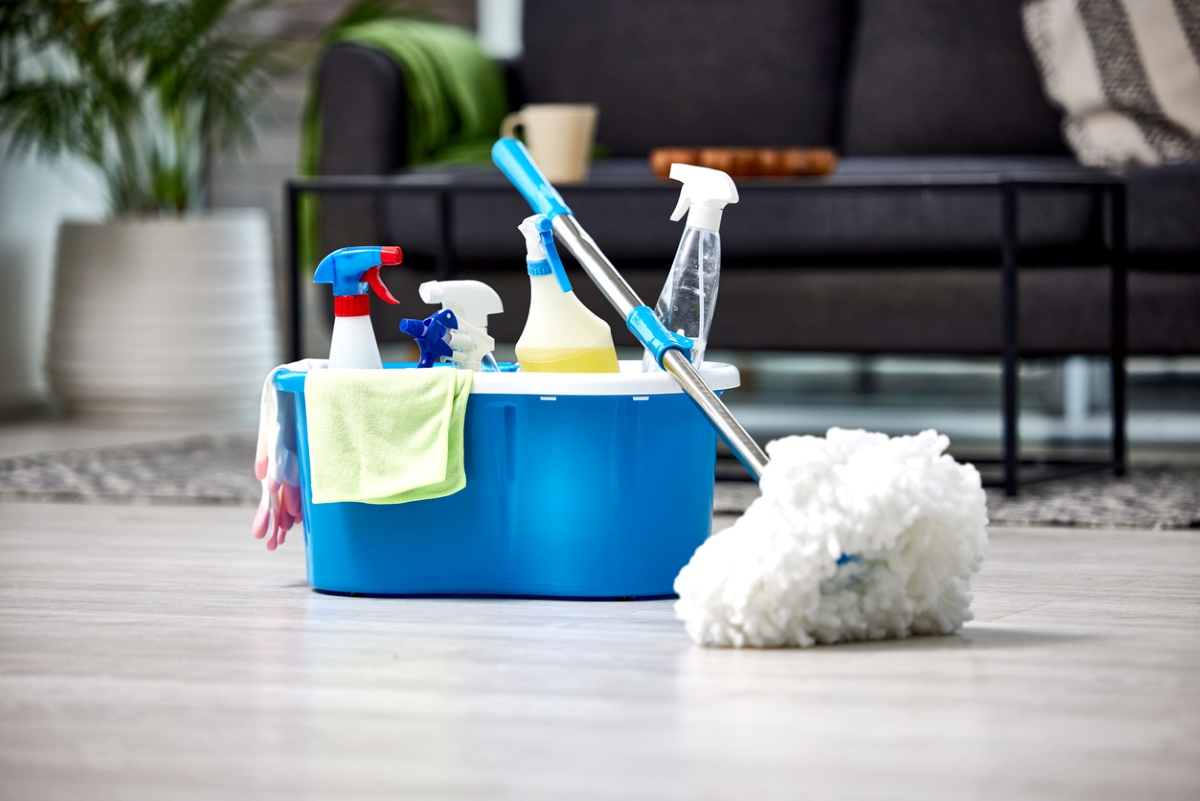
Whether you’re performing a whole-home deep cleaning or following a weekly cleaning schedule, having all the supplies ready is essential—just like you would expect if you were to hire one of the best house cleaning services. Use our recommendations below to make sure that you have everything you’ll need to clean every room in your home.
Duster
Dusters are a must-have when cleaning a home. Their special design helps trap dust, hair, and other debris, preventing them from dropping to the floor and making more of a mess. The OXO Good Grips Microfiber Hand Duster is a reusable, machine-washable option that can help you keep the surfaces in your home dust-free.
Vacuum
A vacuum cleaner will come in handy for both carpets and hard floors. If you have a vacuum cleaner with attachments—such as the Shark Navigator Lift Away Upright Vacuum—it will also be useful for cleaning upholstery, removing cobwebs from corners, cleaning ceiling fan blades, and more.
Mop
When cleaning hard floors throughout your home, you’ll need a good mop. The best mop to use depends on the type of flooring you have. For example, the Mr. Siga Professional Microfiber Mop is our experts’ top pick in our guide to the best mops for hardwood floors, while the Bissell SpinWave Cordless Spin Mop is the top pick for tile floors.
Microfiber Cloths
Microfiber cloths—like these Mr. Siga Microfiber Cleaning Cloths—can be used to clean a variety of surfaces in the home. They can be used dry, with plain water, or with your favorite natural cleaning products. As Sabrina Tretyakova, ISSA-certified cleaning expert with Fortador, explains, “They are effective because you can dust, wipe surfaces, and even clean glass without leaving streaks.”
Scrub Brushes
A scrub brush will be necessary for getting rid of stains and sticky messes on countertops, tile, grout, and other surfaces in the home. Consider something like this Scrub Brush Kit from Libman that offers a variety of brush sizes to help you match the demands of each specific cleaning task.
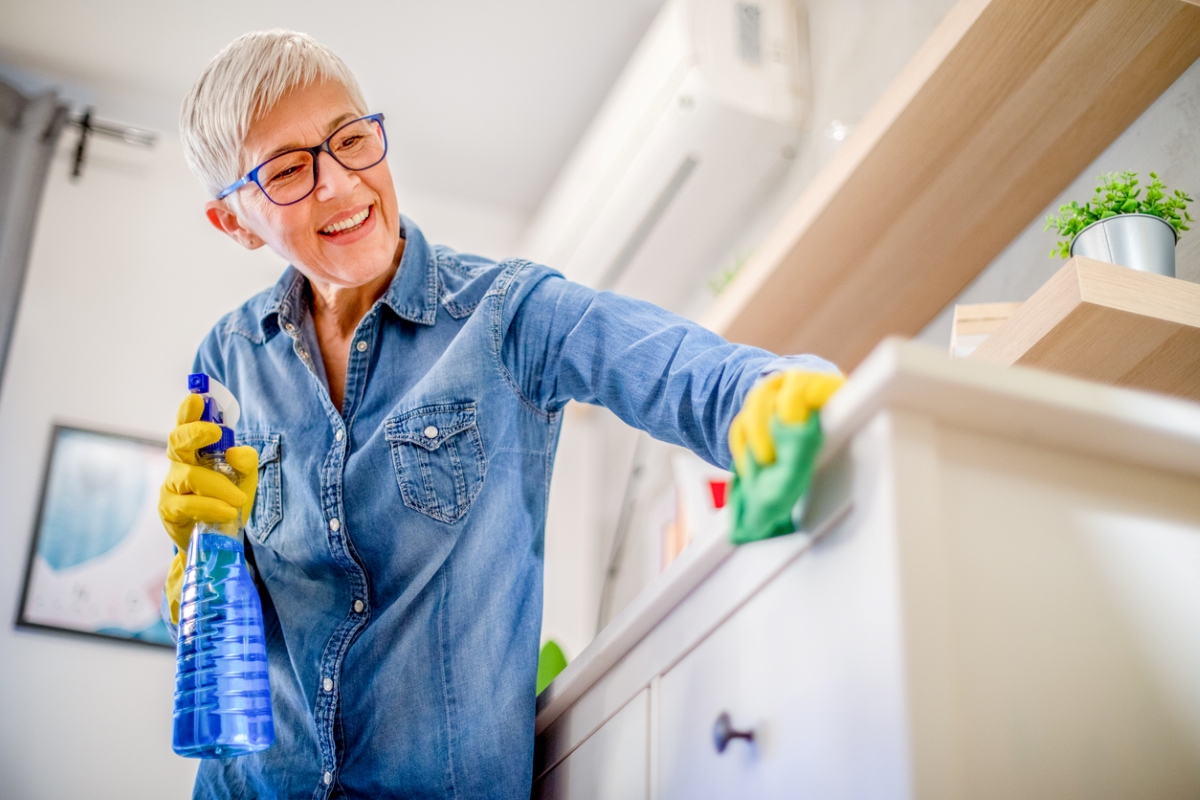
Gloves
If you’ll be using any chemical cleaners, you’ll want to wear gloves to protect your hands. Even if you’re using natural cleaners, gloves will help keep your hands clean. These Playtex Living Reusable Rubber Cleaning Gloves and other similar styles will offer greater durability compared to thinner latex gloves for cleaning.
Homemade Cleaning Solutions
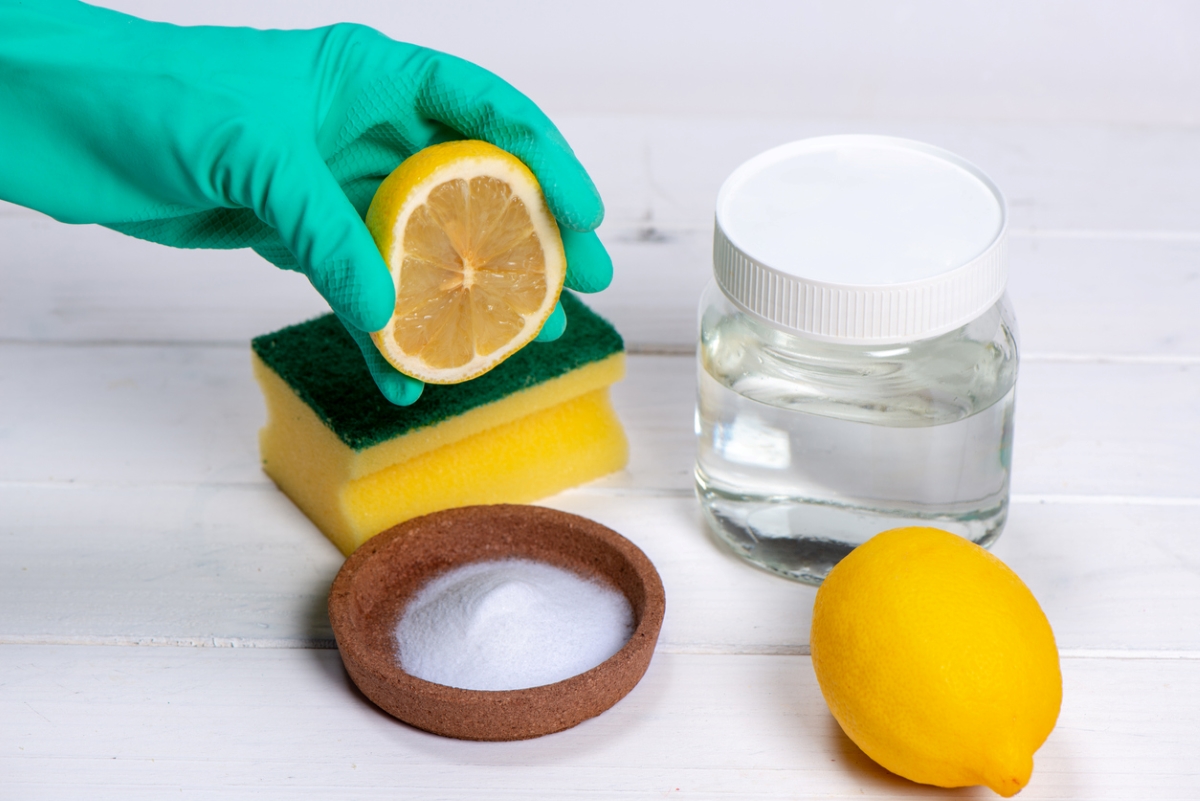
While you can find cleaning products at the store for any room or surface in a home, there are several reasons to consider making DIY cleaning solutions instead. First, when you make your own cleaners, you know exactly what is in them. You don’t have to worry about potentially hazardous chemicals that may be hiding in the various formulations available at the store.
Homemade cleaning solutions can also be more economical. Many are made using ingredients that you likely already have in your pantry or laundry room. And, don’t worry, homemade cleaners are quite effective. Below are a few of our favorite recipes to try.
- Homemade all-purpose cleaner
- Homemade window cleaner
- Homemade stainless steel cleaner
- Homemade wood floor cleaner
- Homemade kitchen degreaser
- Homemade granite cleaner
- Homemade carpet cleaner
- Homemade drain cleaner
- Homemade grout cleaner
- Homemade oven cleaner
- Homemade toilet bowl cleaner
Every Room
While the specific steps you’ll need to follow will vary depending on the room you’re cleaning, there are some general cleaning tips that will help you with every room in your home. Use the next few steps as a starting point before diving into the more detailed directions that follow for each room.
- Declutter: Before you can begin cleaning a room, you need to have clear surfaces and a clear floor. Start by decluttering. Throw away trash, put loose items away where they belong, and, if applicable, fill bags or boxes with items that you no longer need to donate or sell.
- Clean from the top down: Once the room is ready to clean, always start at the top. Clean ceilings and walls before tackling the floors or furniture. Otherwise, you’ll end up throwing dust on freshly cleaned surfaces and will end up needing to clean them again.
- Clean the ceiling and door/window moldings: Use a vacuum attachment to clean the ceiling corners and along the molding around doors and windows. A long-handled dusting brush can also help with removing cobwebs or dust from these areas.
- Dust light fixtures and fans: After cleaning the ceilings and door/window frames, move on to any hanging light fixtures or fans in the room. A long-handled dusting brush is likely the best choice for cleaning these surfaces as well. Be sure to turn fans off before attempting to clean them. If your fans or light fixtures have removable globes, you can wash them in warm, soapy water and allow them to dry completely before putting them back in place.
- Clean HVAC vent covers: Use the dusting brush or a vacuum attachment to clean the HVAC return vents in each room. After you’ve finished deep cleaning the house, it is also a good idea to change the HVAC filter.
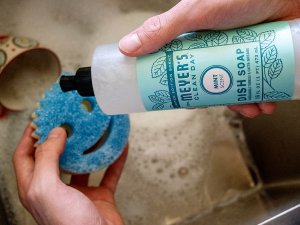
- Wipe down the walls: To clean the walls, add some warm water and a few drops of gentle dish soap into a bucket. Dip a microfiber cloth into the cleaning solution, and use it to wipe down the walls. Follow up by rinsing the walls with a microfiber cloth dipped in plain water. Use a dry cloth to remove as much moisture as possible. Don’t forget about cleaning the baseboards, too.
- Clean the windows and any window treatments: Use a dusting brush to clean blinds or shades and remove curtains to wash or take to the dry cleaners. Then, deep clean the windows using a homemade window cleaner with a microfiber towel.
RELATED: 15 Ways to Clean Your House Like a Pro
Kitchen
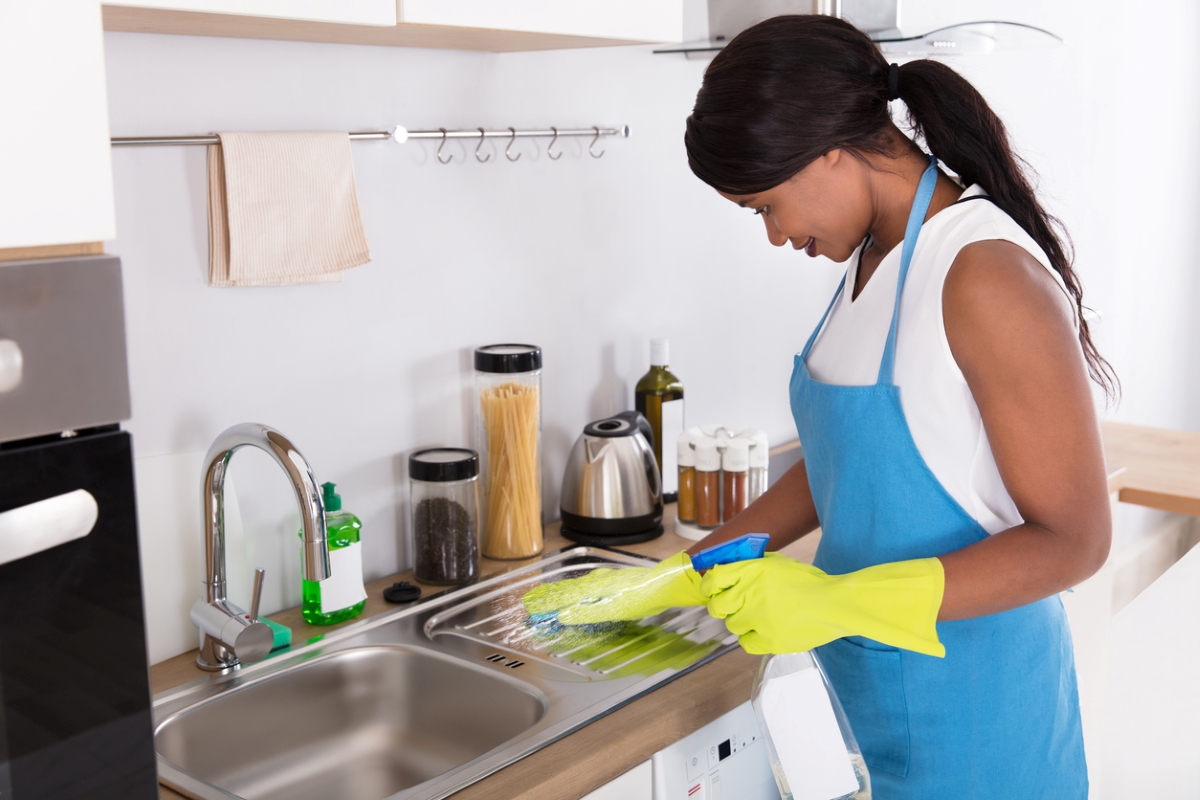
We spend a lot of time cooking and entertaining in the kitchen, so it should be an essential part of every home cleaning schedule. Follow the outline below to give your kitchen a good deep cleaning and get it ready for everything you’ll need it for.
- Clean the refrigerator and freezer: Remove all the food from the inside of the freezer and refrigerator. Then, use a damp microfiber cloth to wipe the inside of each section out. Take out any removable shelves or bins and wash them with warm and soapy water. You might need a scrub brush to take care of any stickier messes. Pull the refrigerator away from the wall to clean the coils and vacuum the floor under it.
- Clean the stovetop, oven, and microwave: Move on to the cooking appliances and wipe down the stovetop to remove any spills or stains. Then, clean the oven to get rid of grime and loose debris. If you have a self-cleaning oven, you’ll want to follow the recommendations from the manufacturer (and might want to start the cycle the night before you plan on cleaning the kitchen). Remove the tray from the microwave to clean in warm and soapy water, then wipe down the inside of the appliance using plain water. If there is gunk stuck on the sides or walls of the microwave, try cutting a lemon in half, placing it in a microwave-safe bowl with a few cups of water, and heating it up for a few minutes. This should help loosen stuck-on food.
- Clean the sink and dishwasher: Disinfect your kitchen sink and scrub it clean using a brush. Use an approved cleaner that matches the material of your sink. When you’re cleaning the sink, you’ll also want to clean the garbage disposal. If you don’t have any garbage disposal cleaning tablets, pour about ½ cup baking soda and ¾ cup vinegar down the drain and let it sit for about 10 minutes before flushing it with hot water. After taking care of the sink and disposal, turn your attention to the dishwasher. Clean the drain and filter and then run an empty cycle with a dishwasher cleaner or place a measuring cup with 1 cup distilled white vinegar on the top shelf before starting the cycle.
- Clean the cabinets, drawers, and pantry: Next, move on to the cabinets, drawers, and pantry. Begin by emptying all of the shelves and drawers (or by working through one section at a time, depending on how much space you have). Tretyakova recommends “discarding expired food items in the kitchen” before cleaning any surfaces. She shares that you should then “use a brush to remove dust and crumbs.” Next, she suggests, “Dip a microfiber cloth or rag in warm, soapy water and squeeze out excess water before wiping the cabinets.”
- Clean the countertops: Wipe any loose crumbs or debris off of the countertops before cleaning them with a disinfectant.
RELATED: How To Clean Every Appliance in Your Home
Living Room
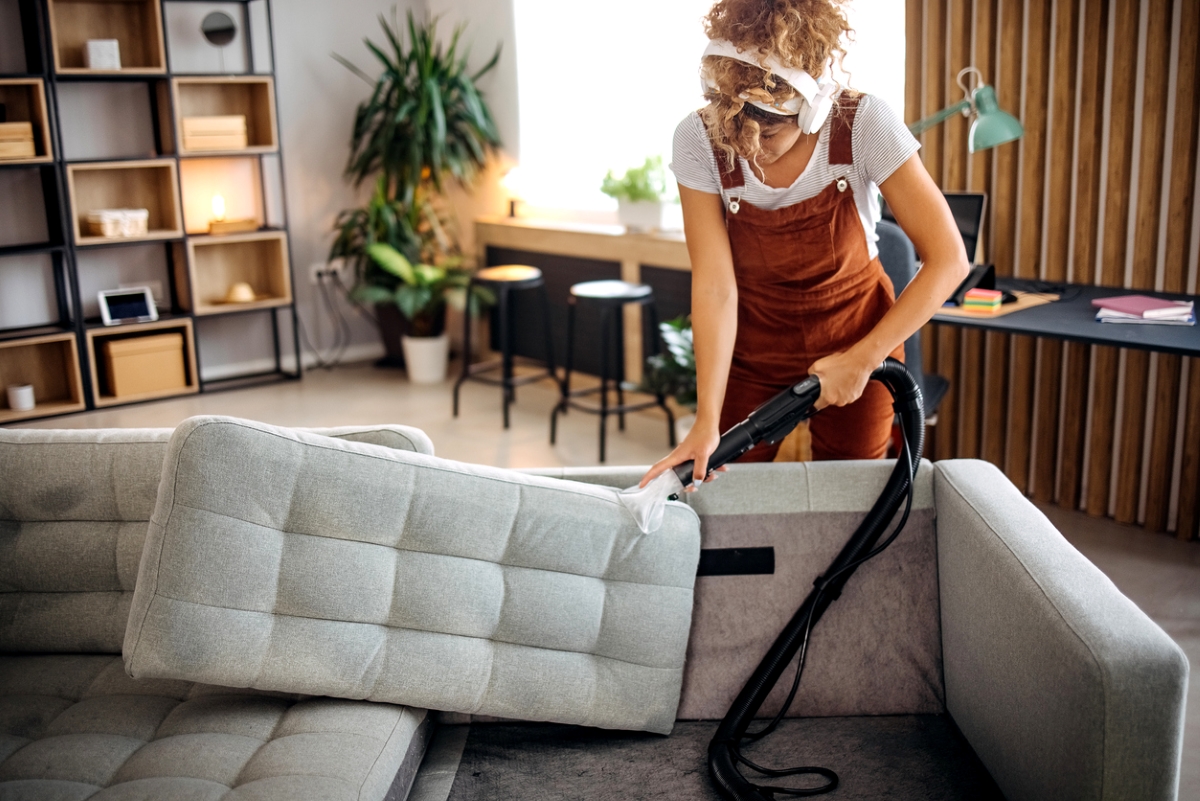
There are several key steps to take when deep cleaning the living room. Whether relaxing, watching television, or chatting with friends or family, we typically spend a lot of time in the living room and want to keep it a clean and enjoyable space.
- Dust picture frames and decorations: Use a dusting brush and/or microfiber cloth to dust frames, knick-knacks, books, electronics and any other loose items. After cleaning, move these items aside so you can clean the shelves or tables holding them next.
- Clean the furniture: Begin by dusting wood furniture. Vacuum upholstered furniture and/or use the upholstery attachment of a carpet cleaner to remove stains or odors. If you have any leather furniture, use an approved leather cleaner and conditioner to restore its finish.
- Wash blankets and pillow covers: Wash blankets, slip covers, and throw pillow covers in the washing machine (or according to the manufacturer’s directions).
Bathroom
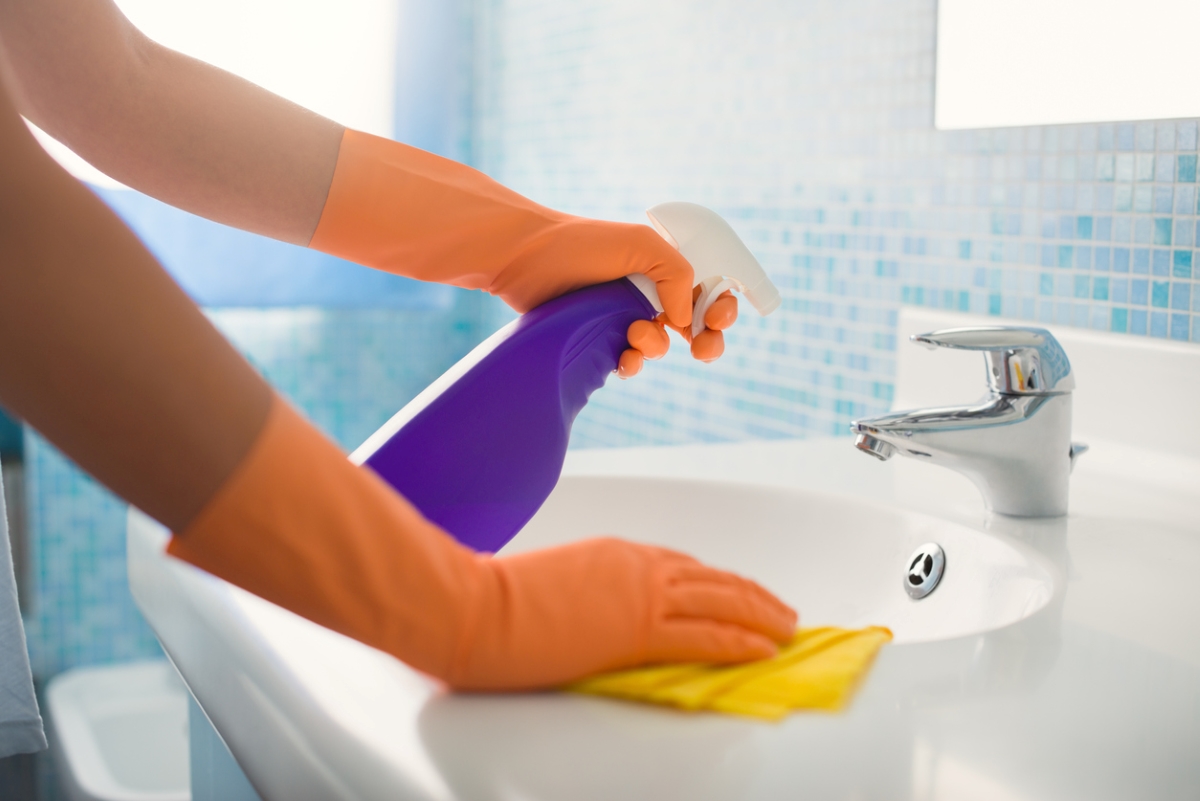
No deep house cleaning is complete without addressing the bathrooms. The steps below will help you get your bathrooms clean, germ-free, and ready for company.
- Clear off the sink and the shower or tub: “First, remove all the clutter from the bathroom, like used brushes, soaps, etc.,” shares Tretyakova. She explains that this will help you “clear your way by removing all obstructing items.”
- Dust the fan: Use a dusting brush with a long handle to dust the bathroom fan.
- Address any mold or mildew: Use an approved disinfectant to get rid of any pink mold or black mold. Depending on the severity, you might want to hire a professional.
- Clean the shower or bathtub: After getting rid of any mold, clean your bathtub or shower. If you have tiles and grout, you’ll want to use a scrub brush to remove any stains. To clean glass shower doors, apply a layer of warm distilled white vinegar. After letting it sit for about 30 minutes, scrub some baking soda over the shower doors to get rid of water spots.
- Clean the toilet: Use a toilet bowl cleaner (we recommend the DIY version in the list above) and toilet brush to scrub the inside of the toilet tank. Wipe down the seat with a microfiber cloth.
- Clean the sink and counter: Use a microfiber cloth and an all-purpose cleaner to wipe down the sink, countertops, and bathroom fixtures.
Bedroom
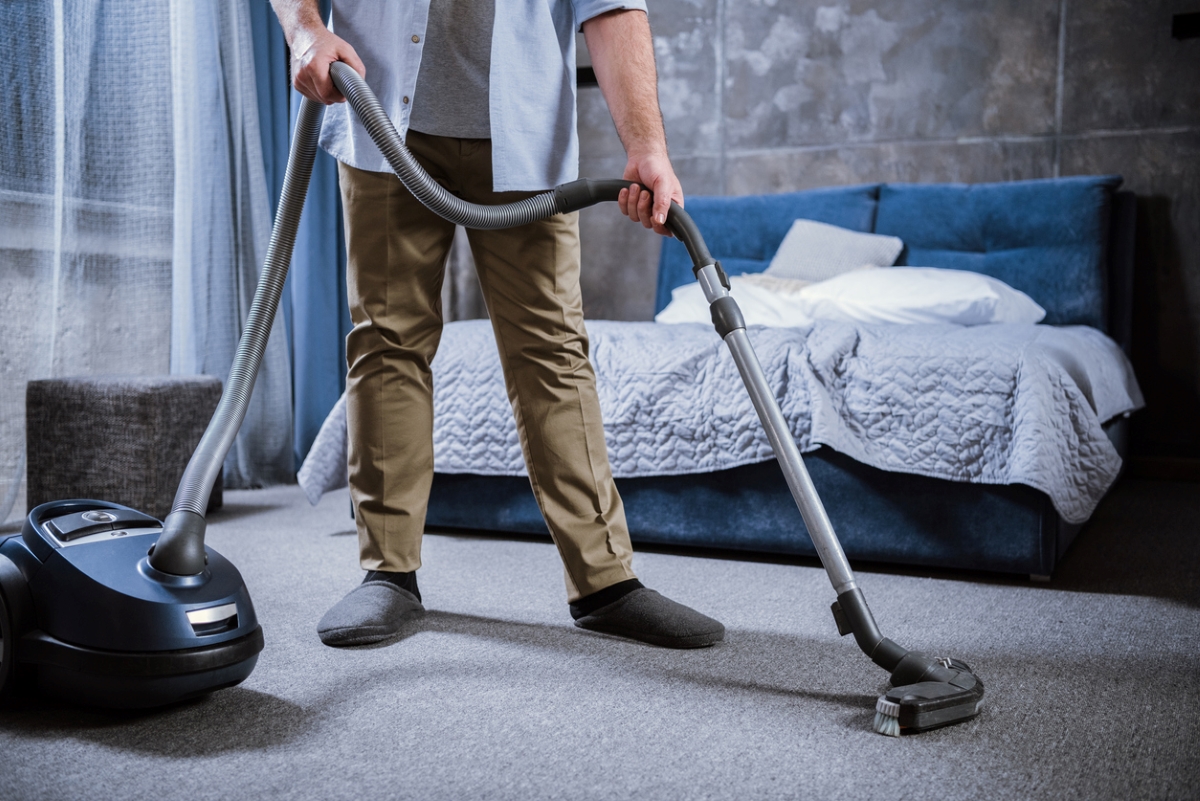
Believe it or not, having a clean bedroom can actually help improve the quality of sleep you get. A cleaner space will also help alleviate allergy symptoms and help you feel less anxious before heading to bed. So, when you’re prioritizing house cleaning tasks, make sure you do not skip the bedrooms.
- Dust the ceiling fan, light fixtures, and furniture: Start by dusting all of the surfaces in the bedroom, including light fixtures, ceiling fan blades, furniture, and any frames or decorations.
- Strip the bed and launder the bedding: After you’ve finished dusting, strip the bed and wash all of the bedding. Remove any pillows or duvets from the space while you finish cleaning.
- Clean the mattress: Use the upholstery attachment from a carpet cleaner or some baking soda to clean the mattress and remove stains or odors.
- Clean under the bed: Pull everything out from under the bed. Throw away trash and return any misplaced items to where they belong. Vacuum under the bed to get rid of any dust or dirt.
- Clean the closet and drawers: Empty any dresser or storage drawers and wipe them out with a damp microfiber cloth. Dry them completely before filling them back up. Empty out the closet and wipe down the shelves and racks. If you haven’t done so already, now would be a good time to sort through your clothing and get rid of any pieces that you no longer need or want. Consider making separate piles for clothing that you wish to donate and items that you would like to try to sell.
RELATED: Solved! How Long Does it Take for Carpet to Dry After Cleaning?
Laundry Room
Having a clean space to treat, wash, iron, and fold clothes and linens will make laundry day(s) so much easier. Use the suggestions below to get your laundry room back into tip-top shape.
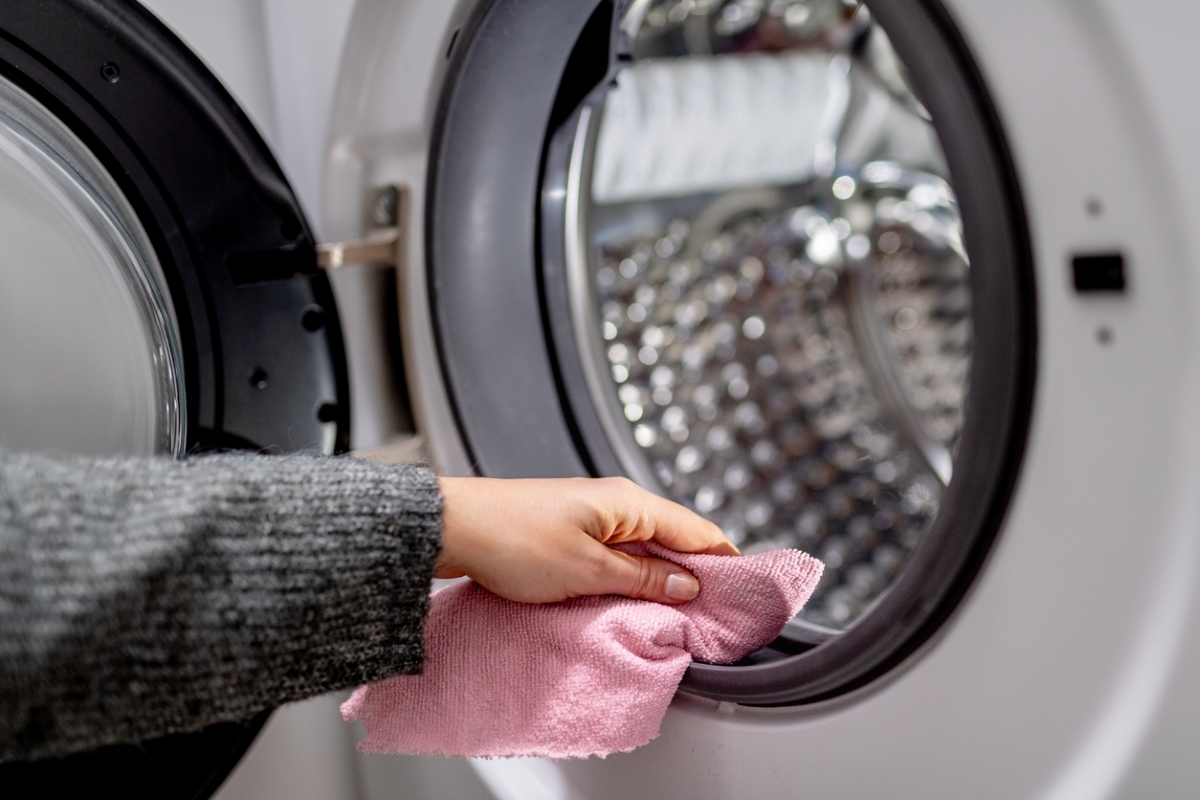
- Wipe down the exterior of the appliances: Use a damp microfiber cloth to wipe down the washer and dryer. Now is also a good time to dust shelves or other surfaces in the room.
- Clean the washing machine: Place a washing machine cleaning tablet in the washer and set it for the self-cleaning cycle. If there is no self-cleaning cycle, choose the longest and hottest cycle option insead. After the cycle finishes, wipe down the inside of the appliance using a microfiber towel. Leave the door open to ensure the appliance is able to dry fully.
- Clean the lint trap and dryer vent: Clean out the lint trap and remove any visible lint or other debris from the dryer. Then, use a vacuum attachment or hire a professional to clean out the dryer vent.
- Wipe the inside of the dryer: Use a damp microfiber cloth to wipe down the inside of the dryer.
Garage
As you’re performing a house deep cleaning, don’t overlook the garage. Chances are it needs some TLC to remove dirt and debris, vehicle fluid stains, and other messes.
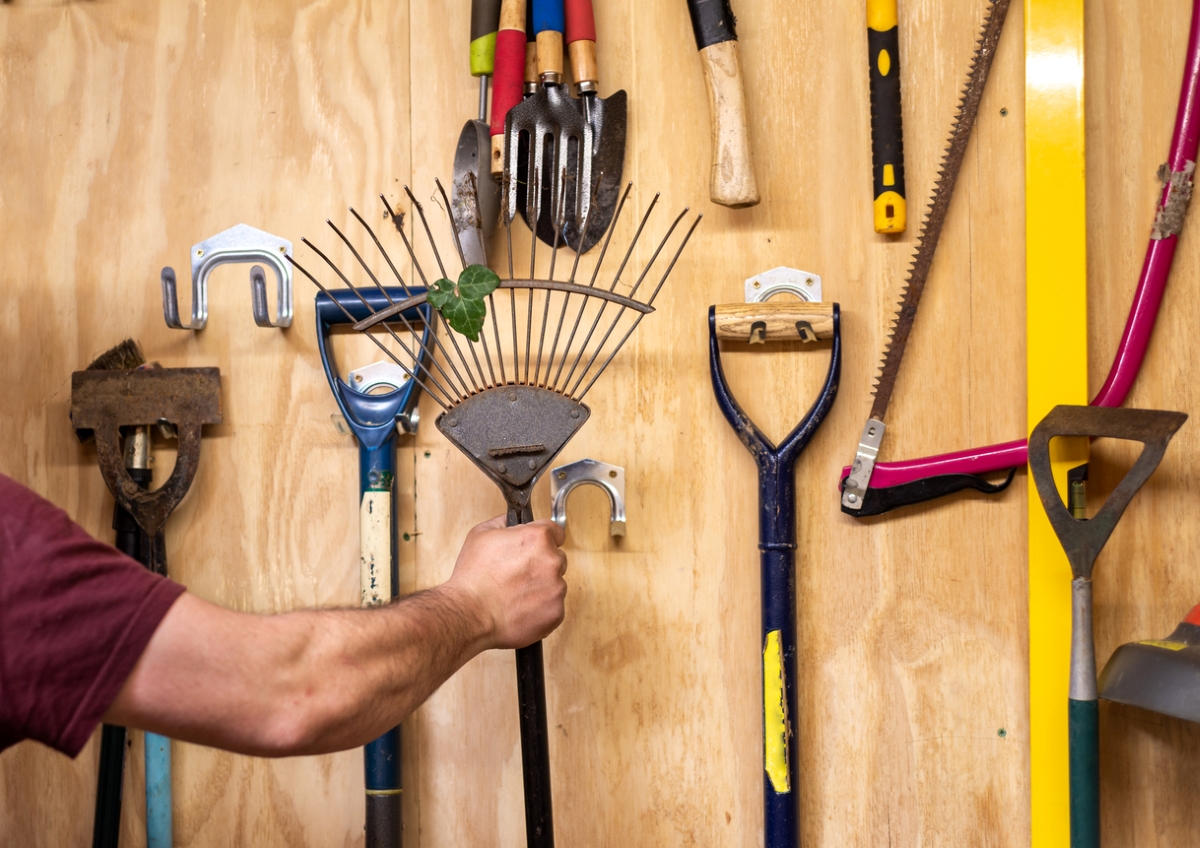
- Organize supplies and belongings: Make sure that everything in the garage is where it belongs. Return any loose tools, children’s toys, or holiday decorations to the spot where they belong to give yourself space to work.
- Clean the ceiling and walls: Use a dusting brush with a long handle to wipe down the ceiling and walls of the garage. Run the brush over storage bins and any other items that are covered with a layer of dust.
- Sweep the floor: Use a broom and a dustpan to sweep the floor and remove loose debris. If you have one, a shop vac can also be useful for cleaning the garage floor. If necessary, use a hose or pressure washer to give the floor a more thorough cleaning. Choose a warmer day for this so that you can leave the garage doors open to let everything dry out.
Don’t want to tackle it all yourself? Consider hiring one of the best cleaning services, such as The Maids or Merry Maids, to help take on some (or all) of the work.