We may earn revenue from the products available on this page and participate in affiliate programs. Learn More ›
Even though we rely on ice makers to produce ice that keep our drinks cold, this appliance usually doesn’t get much attention when it comes to cleaning and maintenance. There are, however, a few cringe-inducing reasons to add it to your cleaning regimen: For starters, the moisture in an ice machine can be a breeding ground for mold and bacteria. While dirty ice probably won’t make you sick, it does pose a threat to individuals with weakened immune systems, and it certainly doesn’t taste good. There are also minerals in water that, if allowed to build up, can hurt the machine’s performance.
For these reasons, a fridge ice dispenser needs a good cleaning about once every 6 months; countertop ice makers may need to be cleaned every month or so, depending on how often you use them and how hard your water is. Whichever type of ice maker you have, it’s time to roll up your sleeves and get that thing clean.
How to Clean a Countertop Ice Maker
SUPPLIES
Small brushes
Dish soap
White vinegar
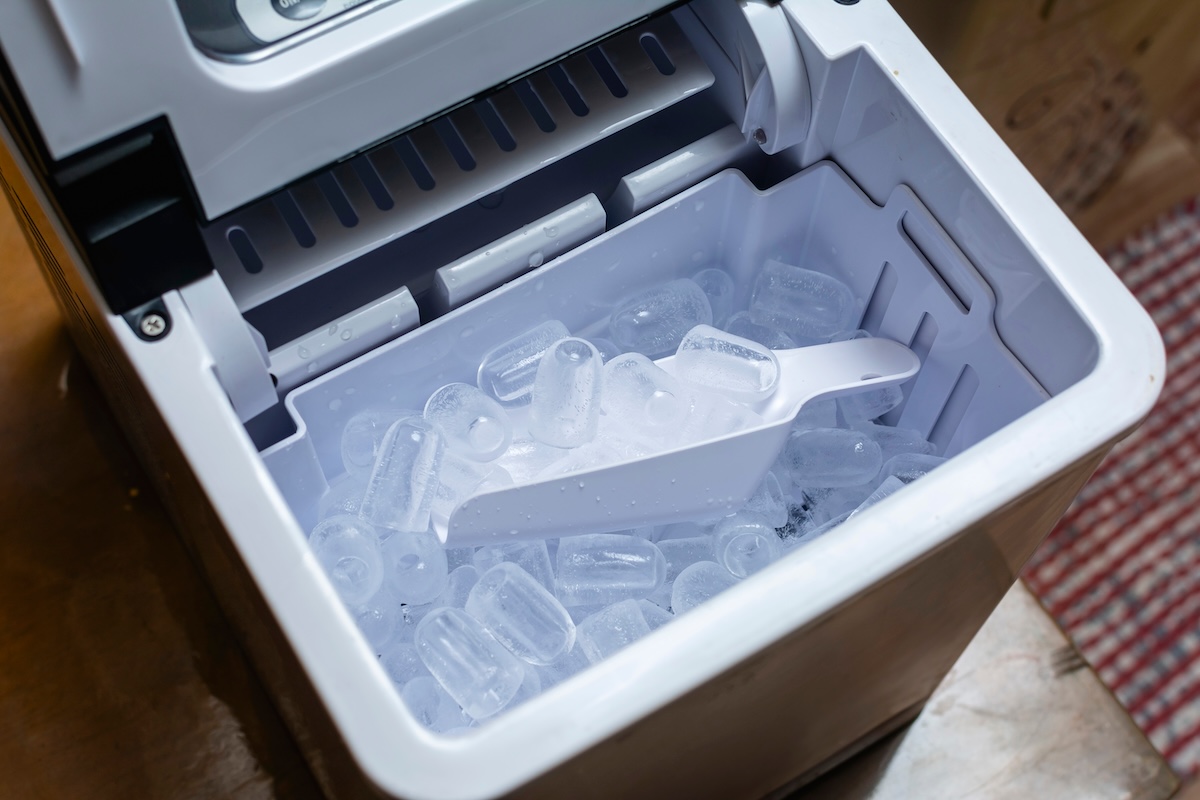
Step 1: Turn off the machine and remove the ice.
You’ll first need to drain your ice machine, so unplug it from the outlet and move it close to the kitchen sink. Locate the drain plug on the ice maker, remove it, and allow the water to drain into the sink.
Step 2: Remove the machine’s detachable parts.
Remove the ice basket and drip tray (if it has one), and soak them in soapy water in the sink. Scrub each part to remove any mold, slime, or mineral deposits. Rinse each part thoroughly, and then set them aside to dry while you clean the rest of the ice machine.
Step 3: Mix a vinegar cleaning solution.
Mix equal parts warm water and vinegar to create a simple cleaning and disinfecting solution that’s also safe for you and your ice machine. Dip a clean cloth or sponge into the solution and use it to wipe down the interior and exterior of the ice machine, paying careful attention to any mineral buildup or mold.
Step 4: Pour the cleaning mixture into the ice maker’s reservoir.
Replace the drain plug, and dump the vinegar solution into the ice machine’s water reservoir. Alternatively, you can use an ice machine descaler, such as ACTIVE Ice Machine Cleaner, to clean the ice maker’s internal components. Never use harsh chemicals, which can make the ice unsafe to consume and damage your ice maker.
Step 5: Run two self-cleaning cycles.
Plug the machine back in. If the ice maker has a self-cleaning feature, run it through two self-cleaning cycles, being sure to follow the manufacturer’s instructions. This will allow the cleaning solution to run through all of the machine’s internal parts that you can’t reach with a sponge or brush. If your ice machine doesn’t have a self-cleaning feature, simply run the appliance through two to three loads of ice, discarding the ice after each cycle.
Step 6: Give the ice maker one more scrub.
Turn off the ice maker, unplug it, and then use a sponge to scrub the inside of the machine’s water reservoir to remove any scale or mold. Use an old toothbrush or a small scrub brush with a handle to clean those harder-to-reach nooks and crannies you can’t access with a sponge.
Step 7: Rinse out the ice maker.
Remove the drain plug to allow any cleaning solution that remains in the water basin to drain out into the sink, and then rinse away all the cleaning solution. Spray water inside the ice maker using the sprayer attachment on your kitchen sink. Rinse thoroughly so you don’t end up with the cleaning solution in your ice.
Step 8: Reassemble the ice maker.
Replace the drain plug, add water to the ice machine’s reservoir, and replace the ice basket and any other pieces you removed during the cleaning process. Plug the appliance back in and start the ice cycle. Make and discard two to three baskets of ice to clear out any remaining cleaning solution before putting the ice maker back into service.
How to Clean a Refrigerator Ice Maker
SUPPLIES
Small brushes
Dish soap
White vinegar
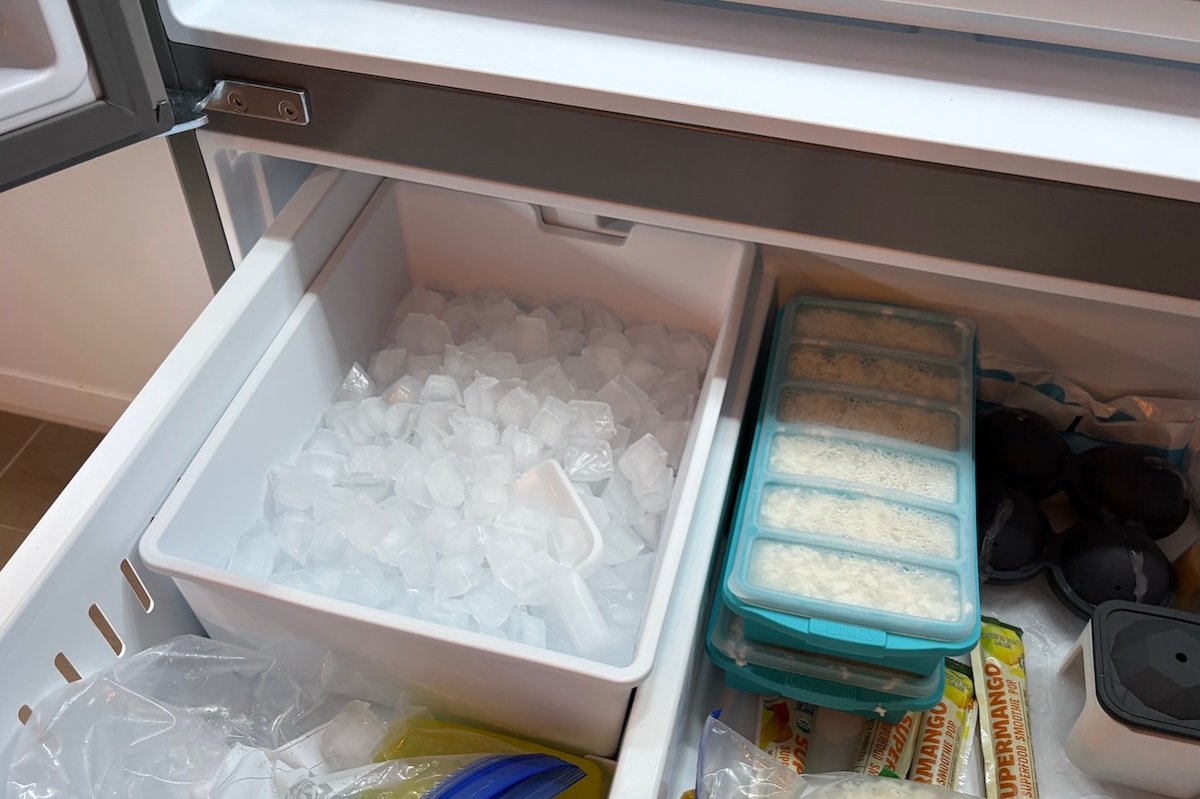
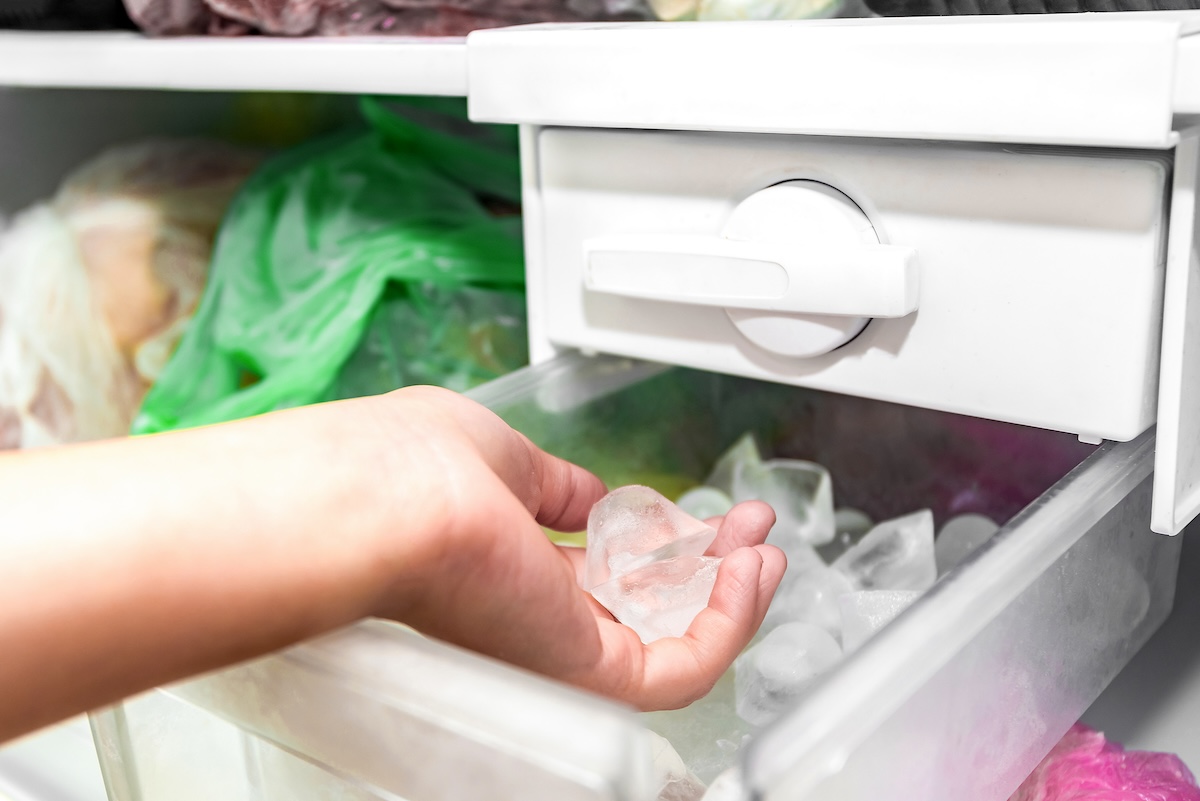
Step 1: Remove the ice bin from the freezer or refrigerator door.
Unplug the refrigerator and then open the freezer or refrigerator door and remove the ice bin. There’s typically a latch or button you’ll need to push or pull in order to release it. You may need to pull firmly or use warm water to free the bin if it’s frozen to the fridge door or walls.
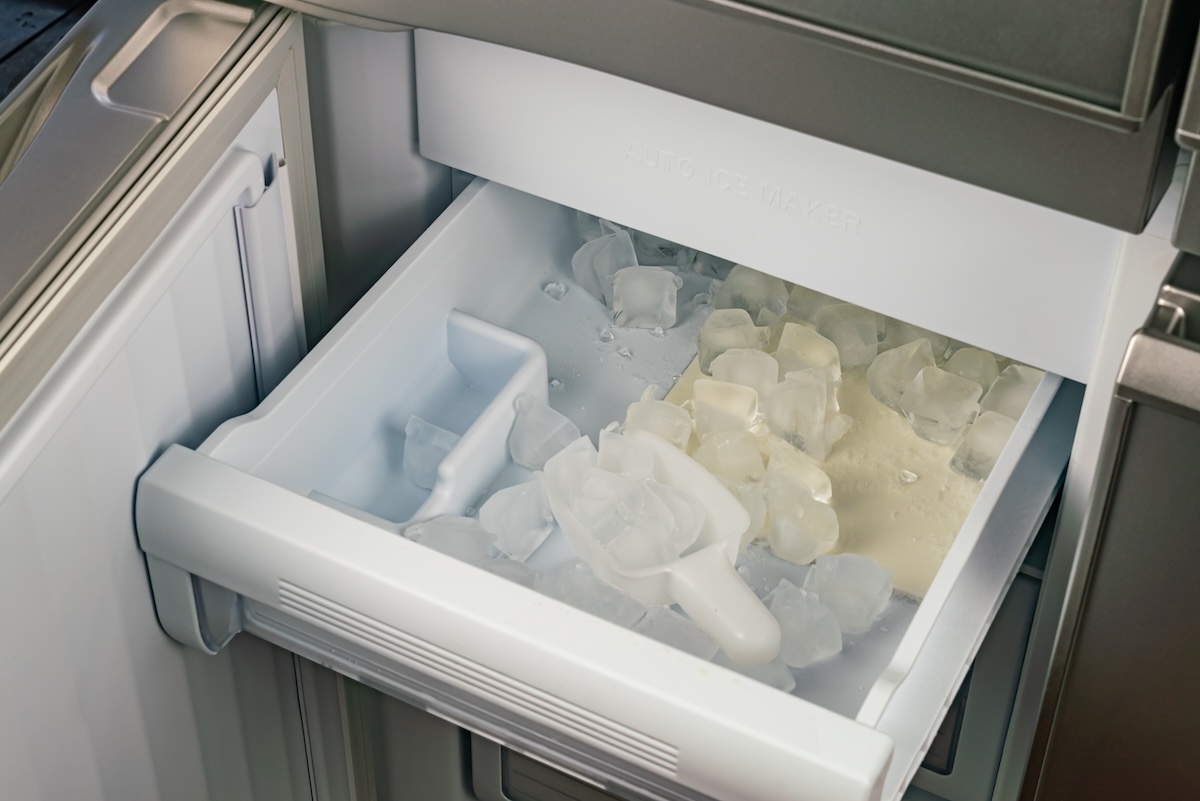
Step 2: Clean the ice bin.
Dump out any ice and place the ice bin in the kitchen sink. Wash the bin using warm, soapy water, rinse it thoroughly, and then leave it out to dry.
Step 3: Wipe down the ice machine.
Mix up a 1-to-1 solution of water and distilled white vinegar, and then use a sponge or paper towel soaked in the solution to wipe down the dispenser chute. Use a cloth to wipe around the area where the ice basin sits, and then wipe around the ice dispenser chute to remove any mold or mineral buildup.
Use a long, thin brush or an old toothbrush to scrub the harder-to-reach spots inside the ice dispenser chute. (Some manufacturers suggest using a weak bleach solution of about 1 tablespoon per 1 gallon of warm water. We recommend always checking the manufacturer’s instructions before using any cleaning solution, because bleach can damage some components.)
Step 4: Replace the ice bin.
Once the ice bin has completely dried, replace it inside the freezer or refrigerator door. Don’t put it back if it’s still wet, as the water will freeze and could hinder the ice maker’s performance.
Step 5: Run two cycles of ice.
Plug in the refrigerator and turn the ice maker back on to start making ice and flush out any cleaning solution. Discard the first two batches of ice to ensure all cleaning solution is out of the system before you start using the ice cubes.
Signs You Should Clean Your Ice Maker
If you notice any of the following telltale signs, it’s time to give your ice maker a good cleaning.
- Cloudy ice: When impurities and minerals build up in your ice machine, they ultimately end up in the ice, turning it a hazy or cloudy color.
- Foul odor and taste: An off smell or taste may indicate the presence of mold or bacteria in your ice, a clear sign that it’s time for cleaning the ice maker.
- Noticeable buildup: If you’re noticing a buildup of mold, scale, or slime in and around the ice maker, then it’s time to clean it.
- Soft ice: Ice that is soft or melts too quickly is a sign that air bubbles or contaminants are interfering with the freezing process.
- Poor performance: If your ice maker is taking longer to dispense ice or is releasing oddly shaped ice cubes, it’s time to clean it.