
We may earn revenue from the products available on this page and participate in affiliate programs. Learn More ›
Home Advice You Can Trust
Tips, tricks & ideas for a better home and yard, delivered to your inbox daily.
By signing up you agree to our Terms of Service and Privacy Policy.
No-Carve Creativity
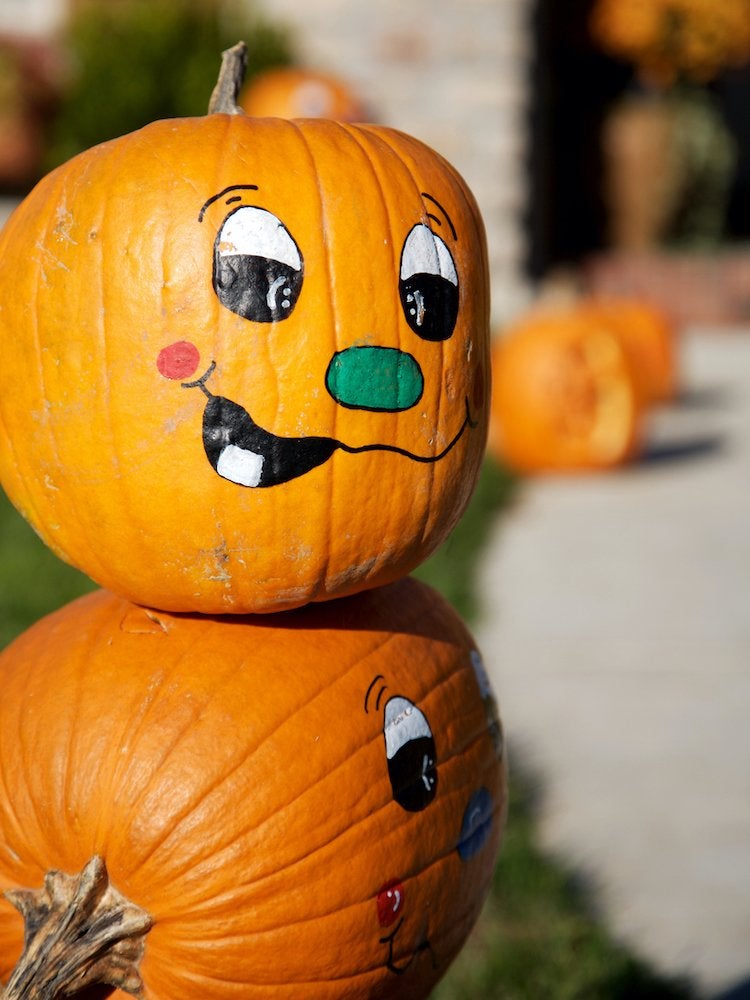
Trade in the carving knife for a paintbrush! This year opt to paint your pumpkins rather than carving them. It’s less messy and something the whole family can participate in. Click through for 35 inspiring ideas for festive fall decorating.
Twirl for Swirls
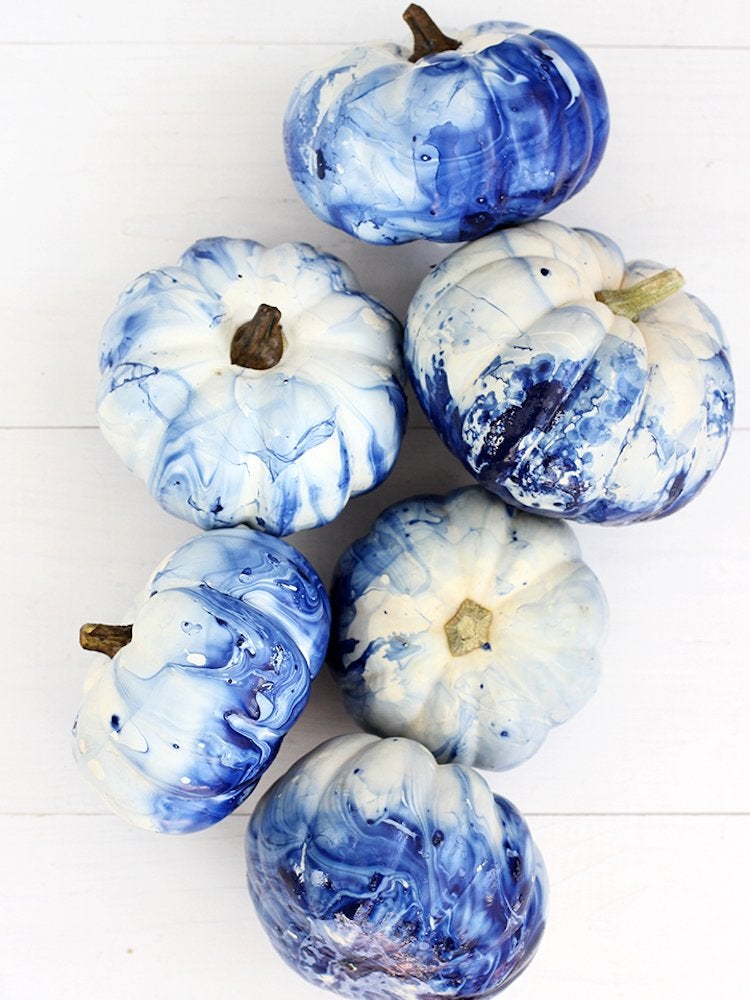
This cool blue marble effect isn’t very hard to replicate. You just need water, nail polish, and a container to dip the pumpkin in. Alice & Lois has the full tutorial for creating this indigo dream.
Orange Ombre
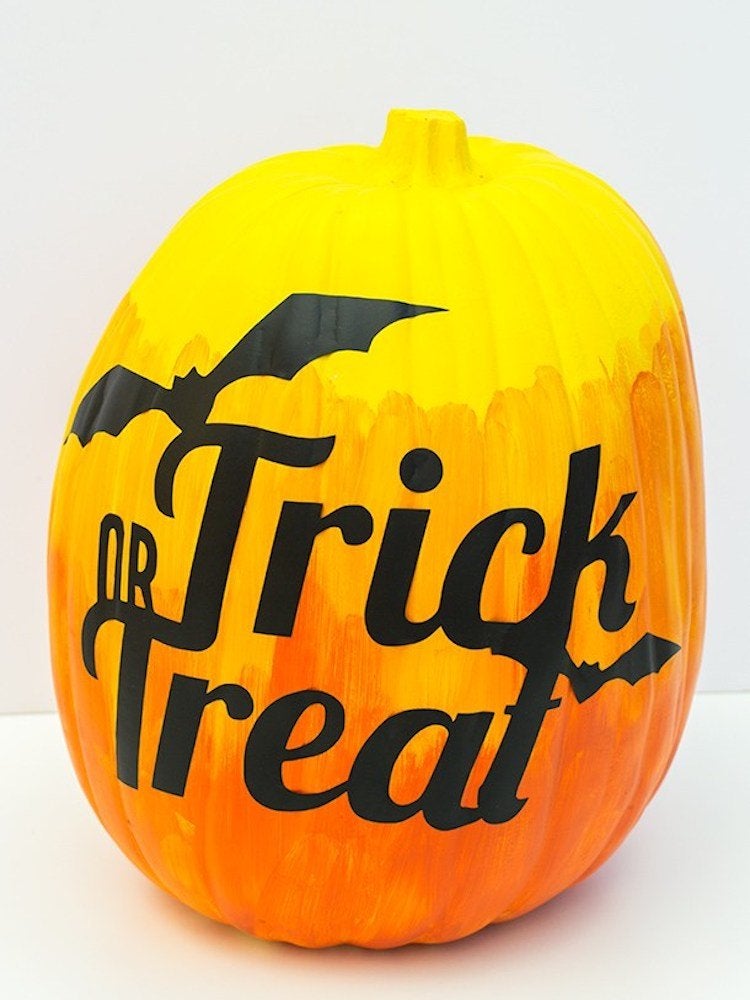
You have to work quickly to achieve this effortless-looking blend of colors, but the work is worth it! Choose a Halloween-colored palette like Sarah Hearts did or pick a family of colors that match your home decor.
Related: 35 Ways to Decorate for Fall When You’re Sick of Pumpkins
Gone Batty
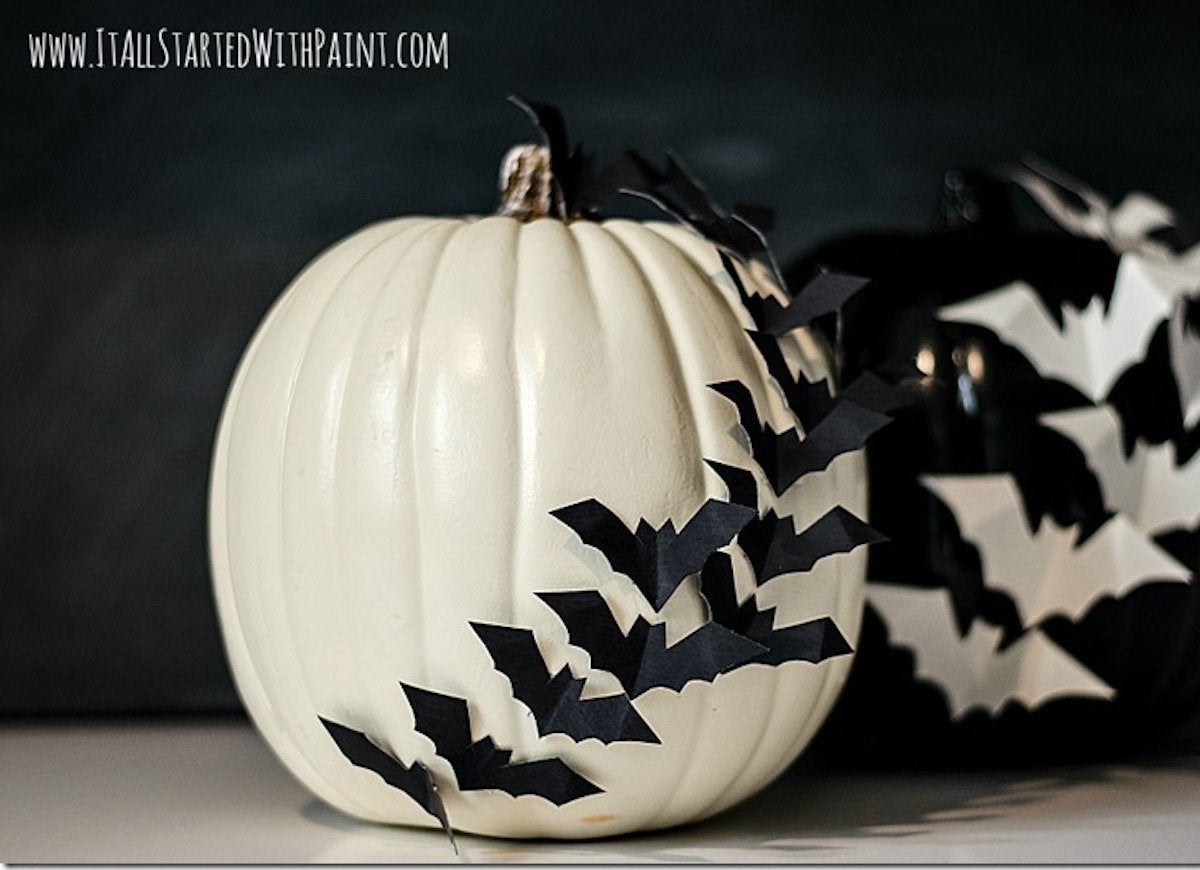
Is paint too two-dimensional for you? It All Started With Paint has a tutorial to give your pumpkin a batty 3-D boost.
A Galaxy Far, Far Away
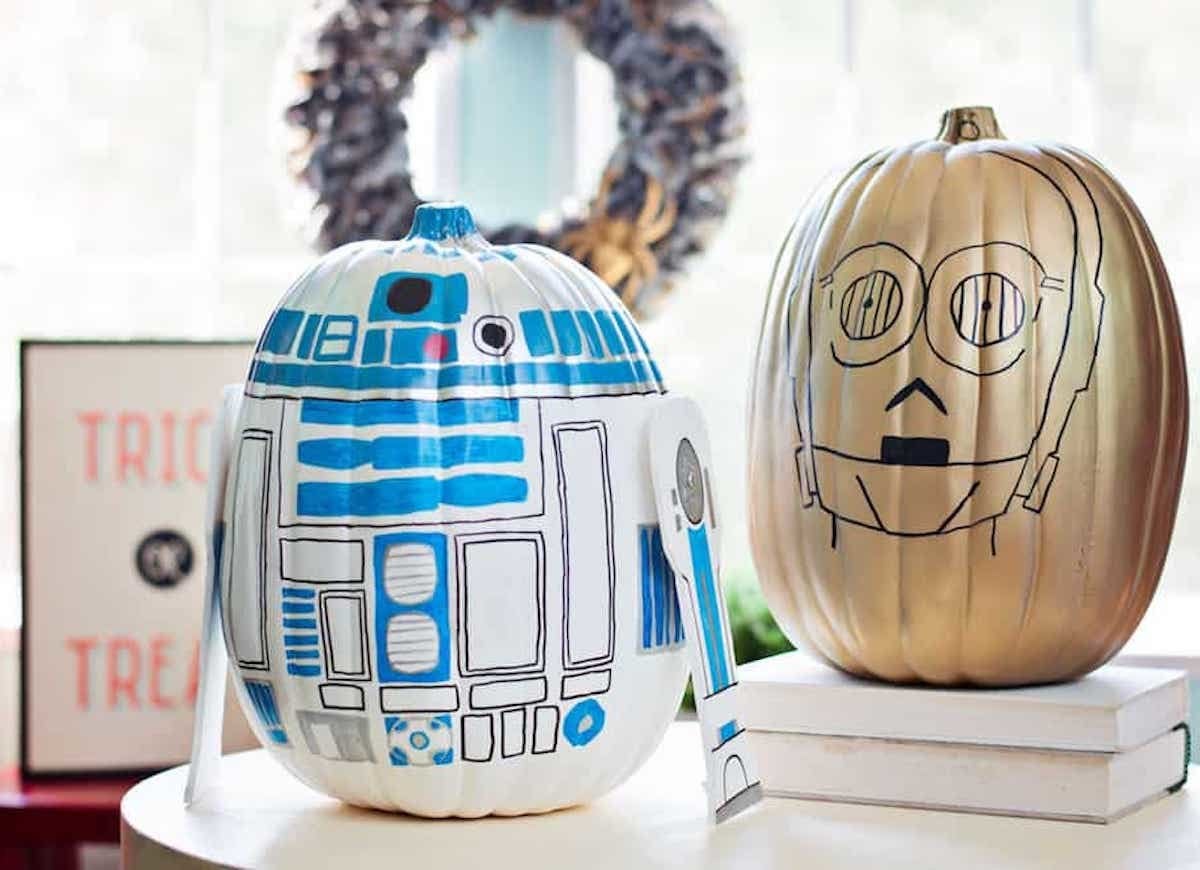
If you’re a Star Wars-loving household then you have to make these! Inspired by some of the droids from the movie franchise, DIY Candy created her own replicas of R2-D2 and C-3PO. With spray paint, markers, and a little love you can have these guys sitting on your front steps too.
Make a Statement
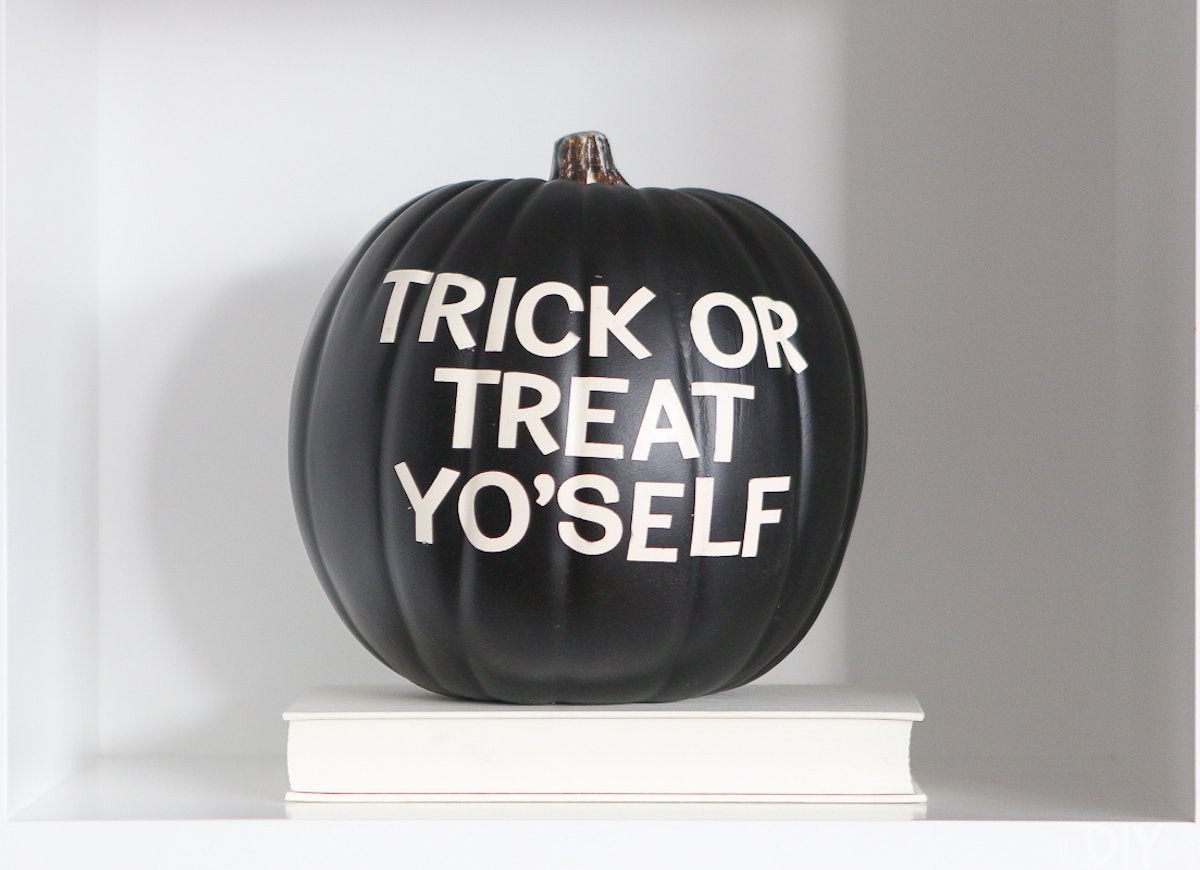
Inspired by the popular letter board trend, Casey and Bridget at DIY Playbook made their own version on a pumpkin! Make your own message with some black spray paint and stick on letters.
Pretty, Pretty Princess
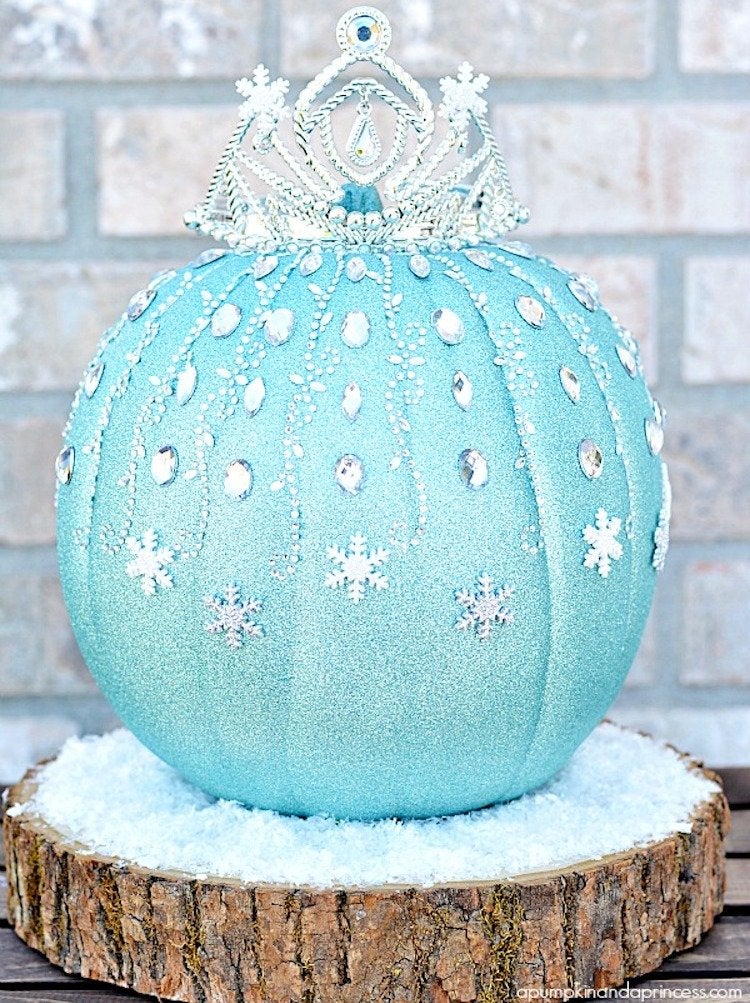
Need a pumpkin for your pretty princess? A Pumpkin and a Princess has tutorials for Disney-princess inspired pumpkins, like this Elsa one. Paint them and dress them up with sparkles, sequins, and obviously a crown—whatever your little empress decrees!
Snap to It
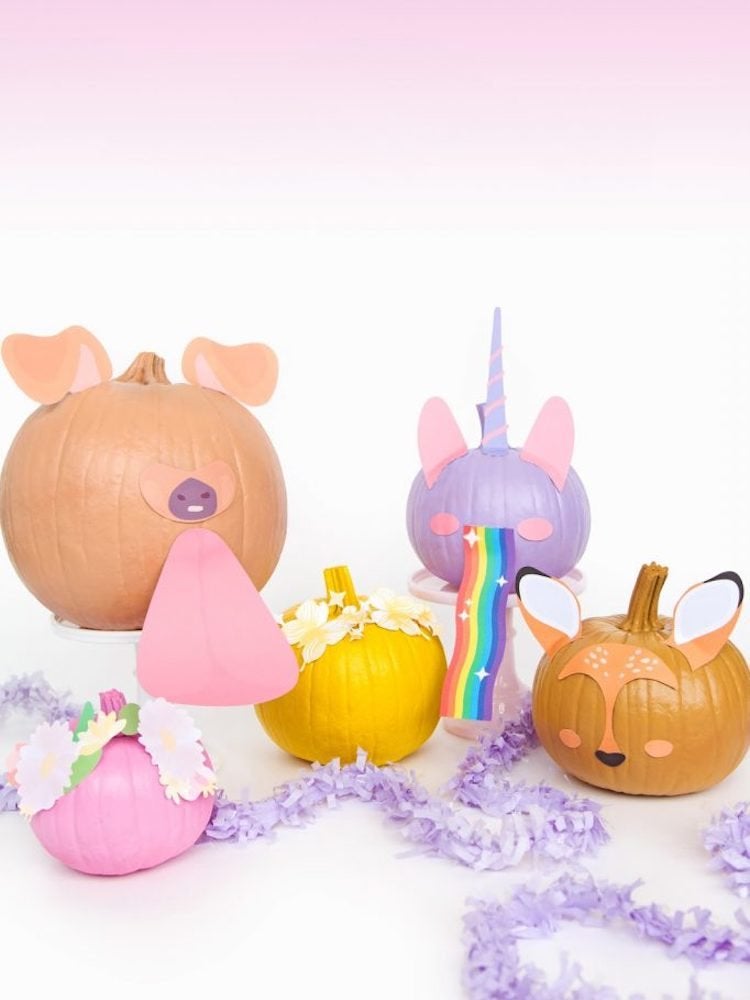
Grab some paint, paper, scissors, and glue to make Snapchat face filter pumpkins. When you finish you know what you gotta do—take a selfie with them!
Feeling Corny
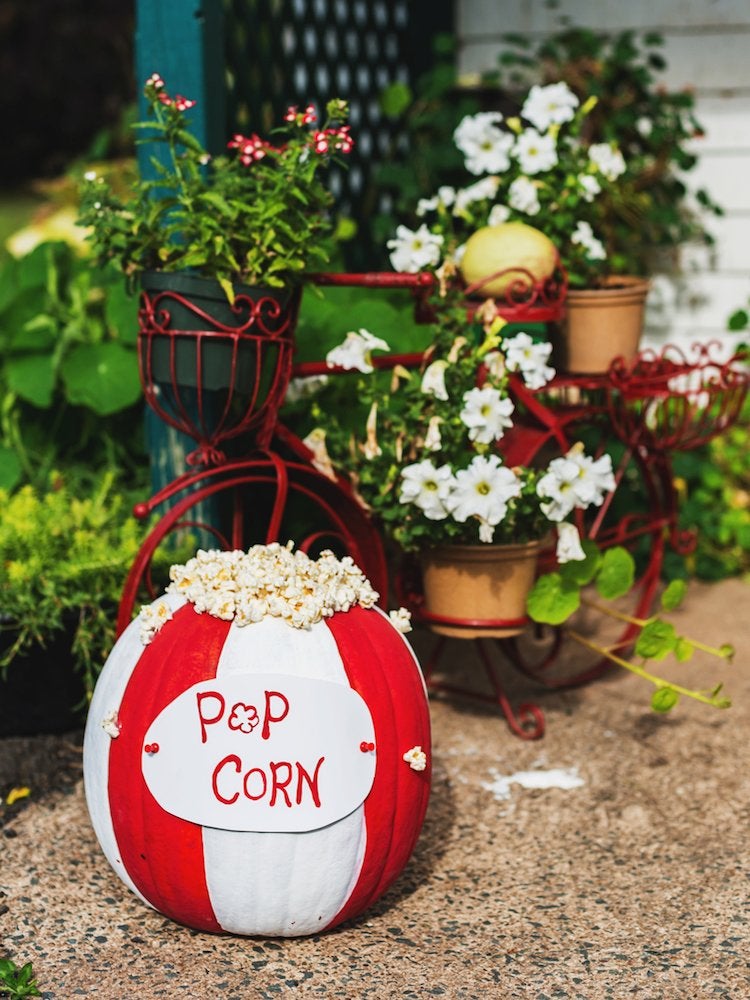
Alternating stripes of white paint and a bright color will turn your pumpkin into popcorn bucket. Then scrunch up pieces of yellow and white tissue paper and glue on top for the overflowing snack.
Starry Night
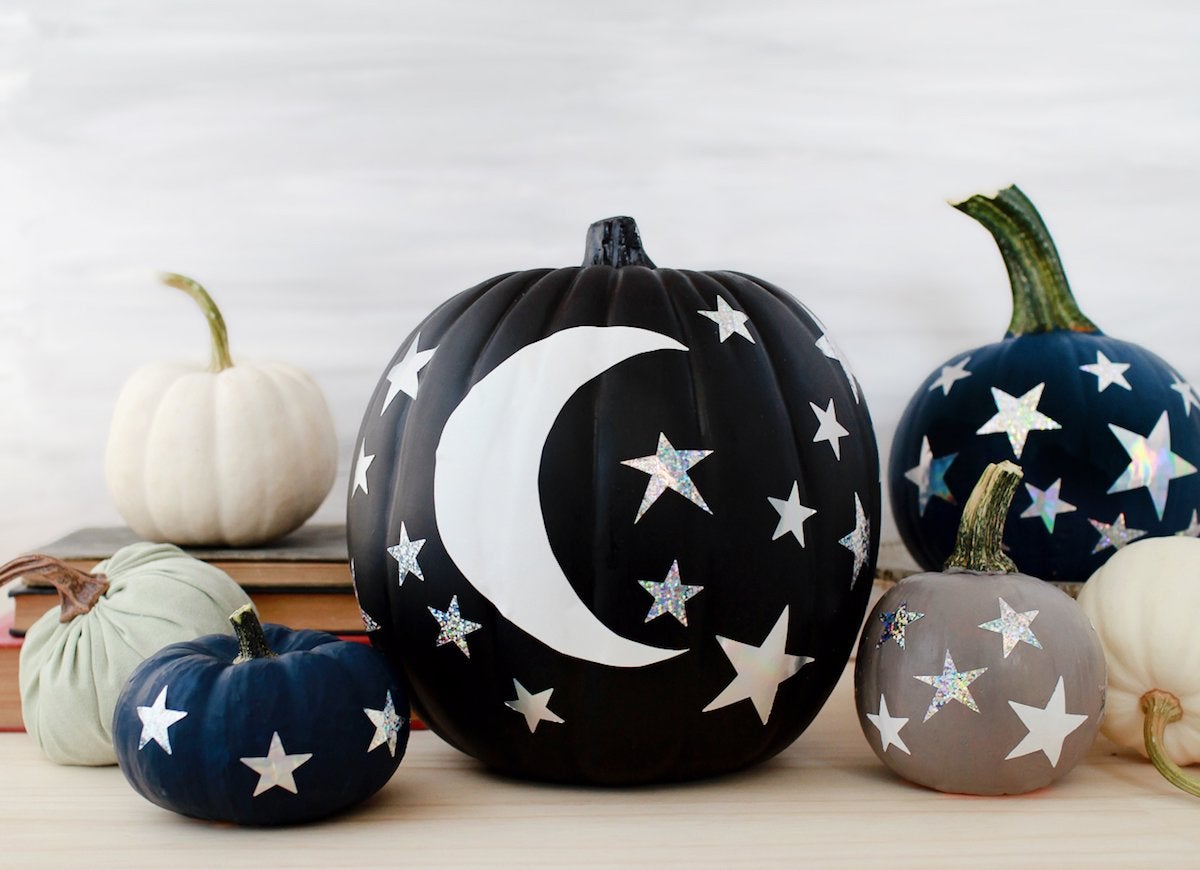
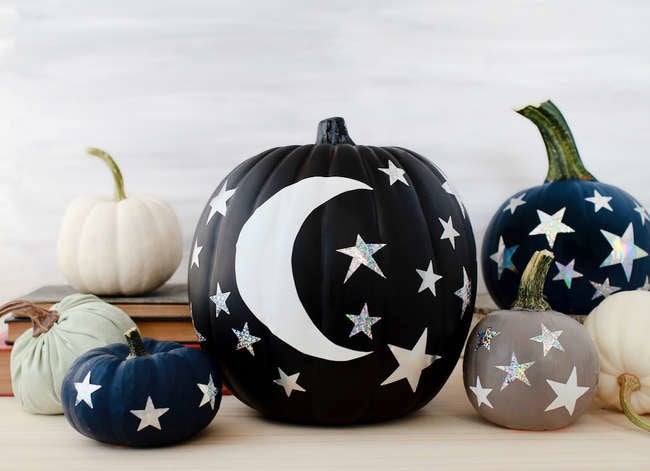
Need some painting inspiration? Look up at the night sky. Oh So Beautiful Paper shares a tutorial for this easy star light, star bright design.
Ghost Gourds
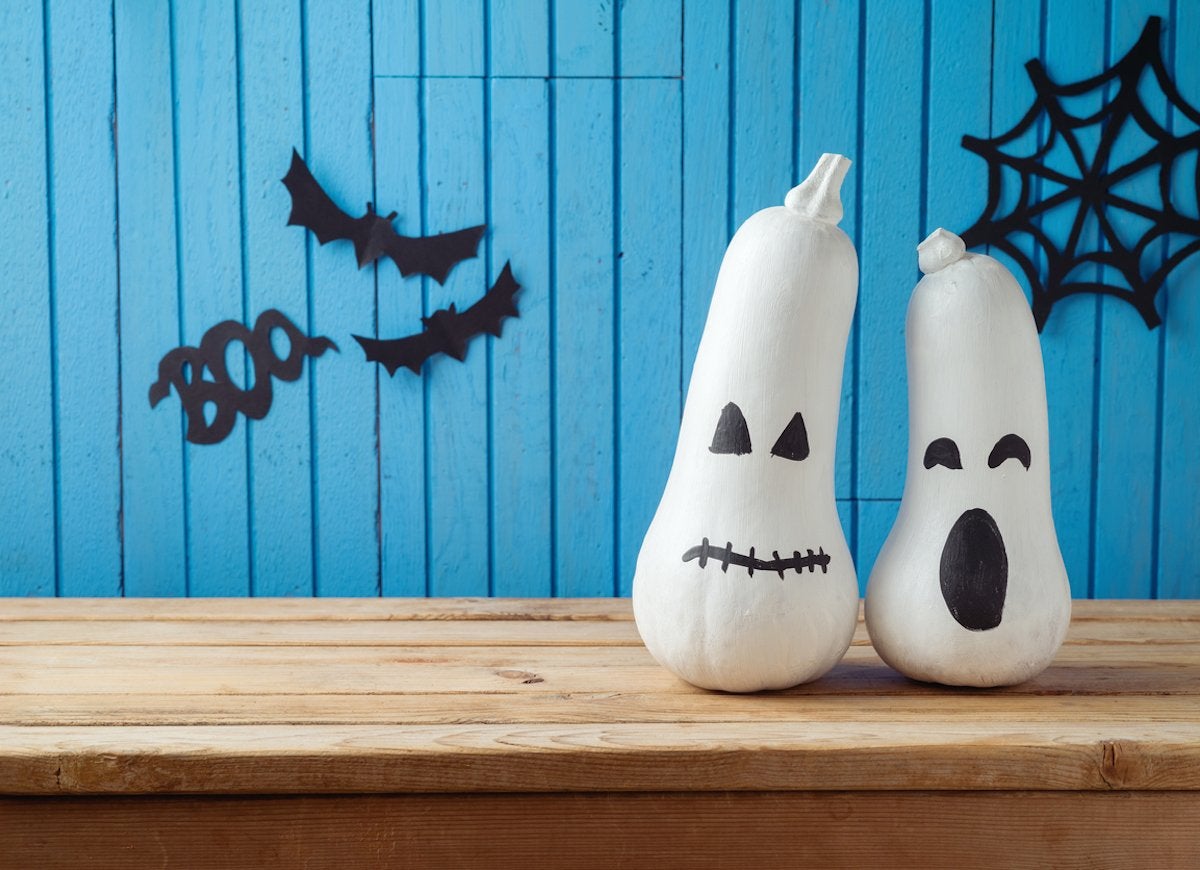
Don’t pass over those oblong gourds at the pumpkin patch—they’re the perfect shape for making these ghouls!
Related: The 16 Best Halloween Decorations To Add Spookiness and Fun To Your Home
Float Around
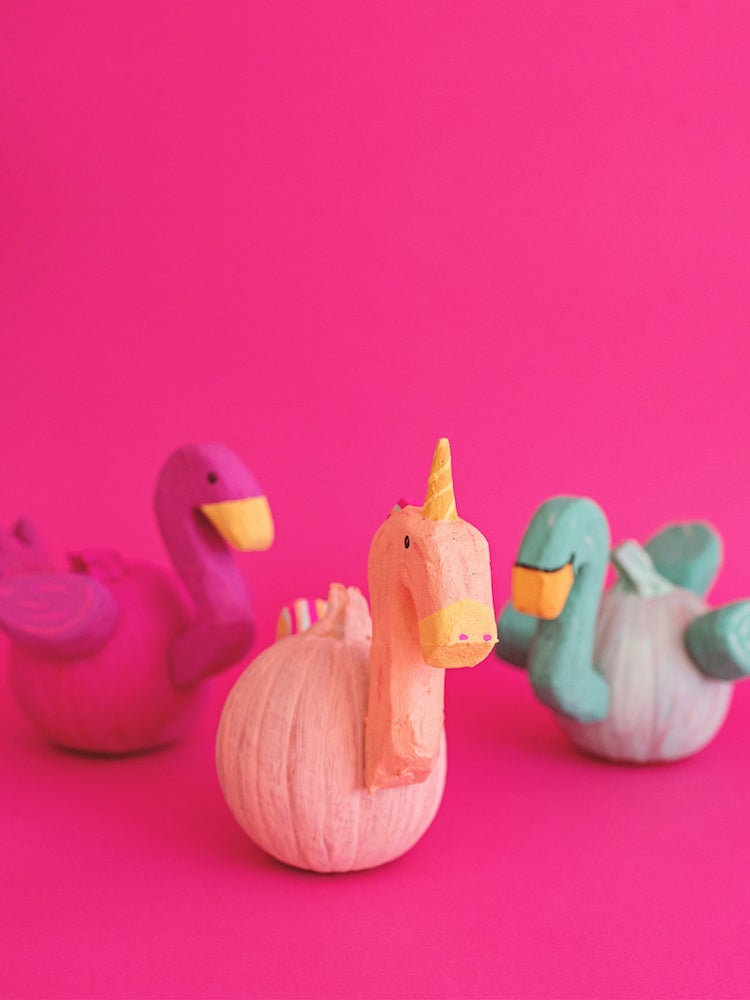
You might have to wait a bit for those warm summer days when you can lounge on your unicorn pool float again, but in the meantime keep a piece of summer with you with these pumpkin designs. A Subtle Revelry shares step by step how to make these creative pool float pumpkins.
Bright and Bold
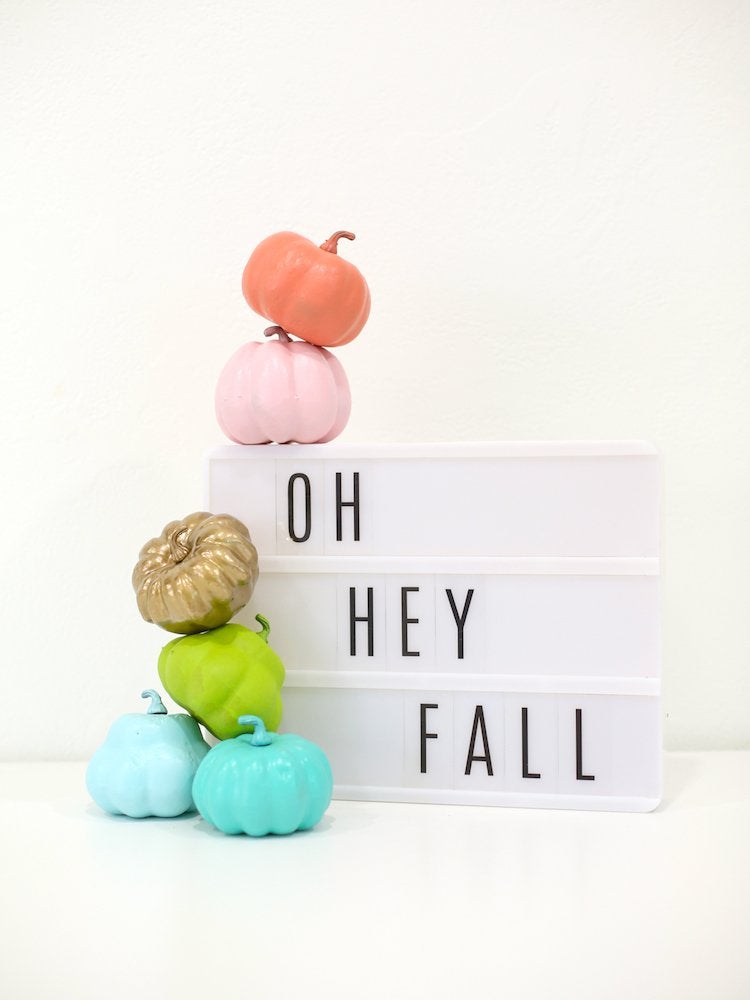
Sometimes simplicity yields the best result. Spray paint mini pumpkins in various shades for a boost to your decor.
Out of this World
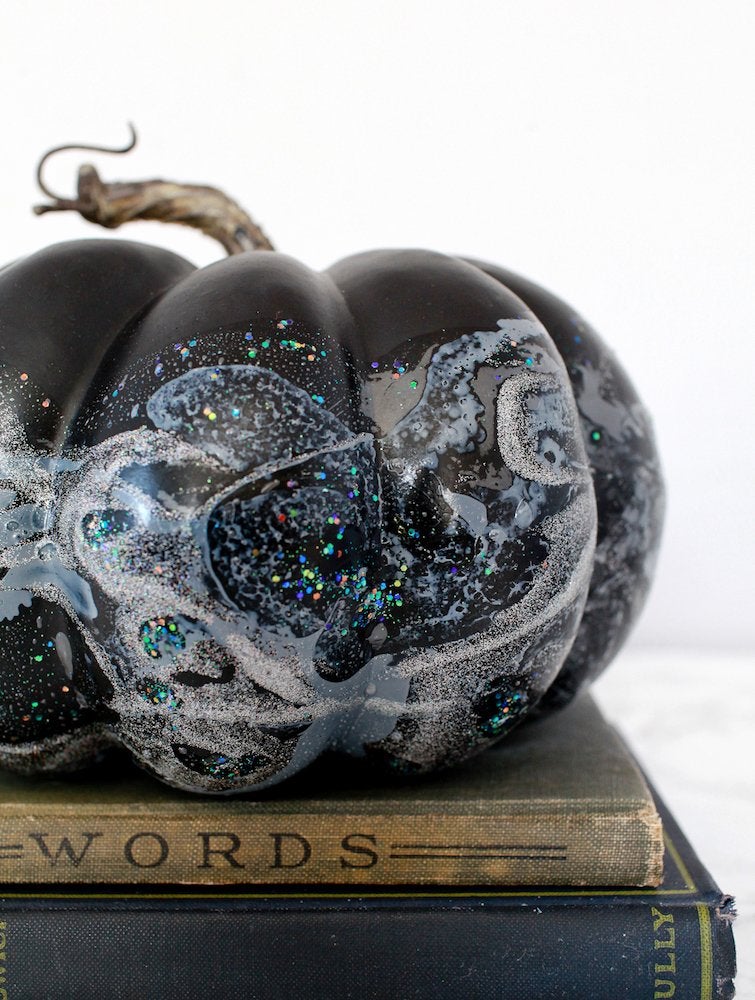
After painting your pumpkin, try adding a little edge with rhinestones or sequins. Oh So Beautiful Paper swirled a black-painted pumpkin in a mixture of different types of paint and glitter for this cool galaxy look.
Freehand Fall Art
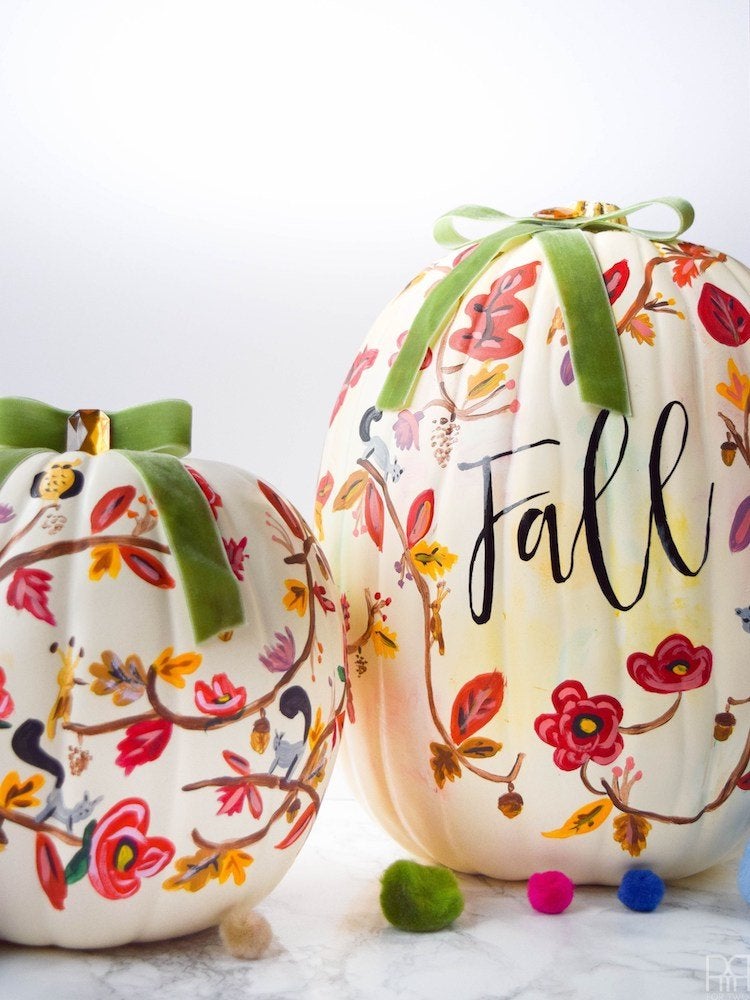
Let your pumpkin be a blank canvas for your artwork. Ariel from PMQ for Two shares her beautiful fall designs, but if you enjoy painting have at it and create your own original work.
Stop to Smell the Roses
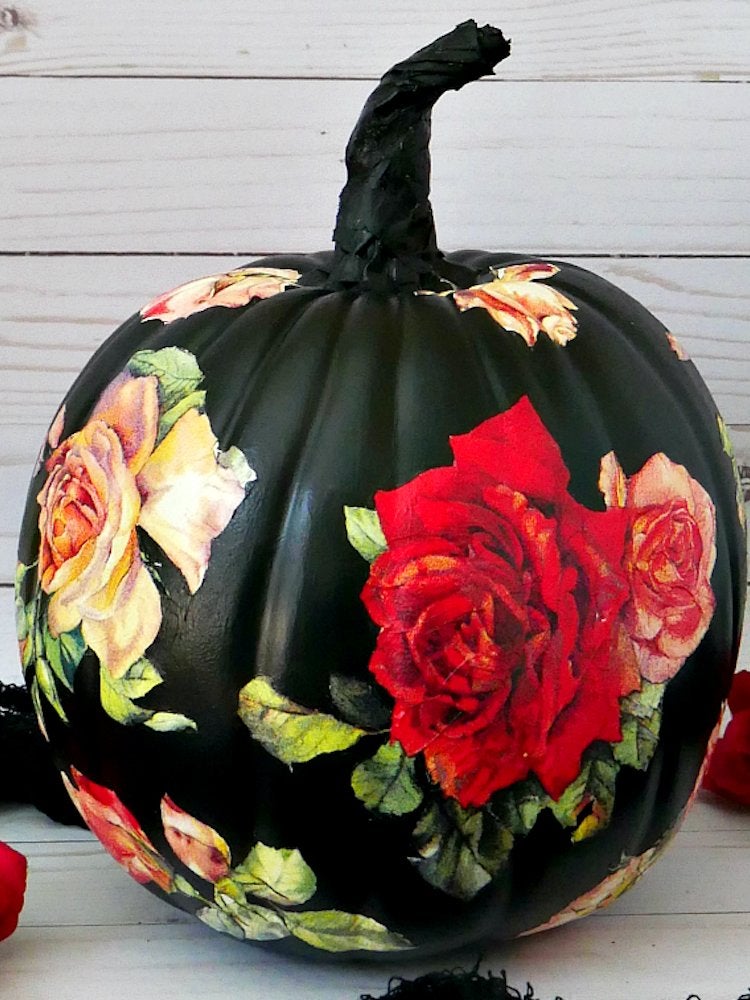
This design takes patience, but look at the final result! After painting a pumpkin black, My Pinterventures decoupaged the pumpkin using rose-printed napkins.
Trick or Treat
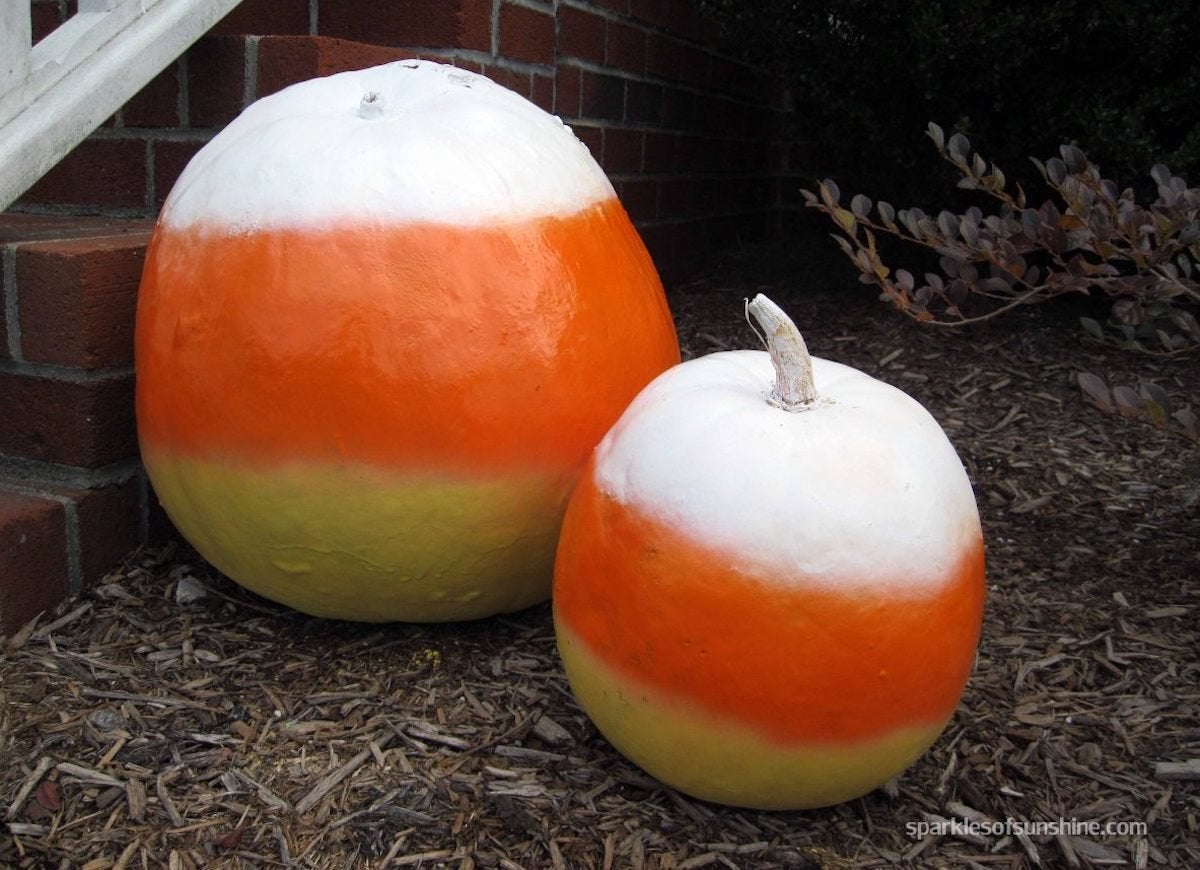
There’s more to Halloween than jack-o’-lanterns. Dress up your pumpkins in the second-most festive Halloween icon—candy corn! With only three colors of paint—yellow, orange, and white—your festive pumpkins will get the extra-special festive treatment.
Colorful Creations
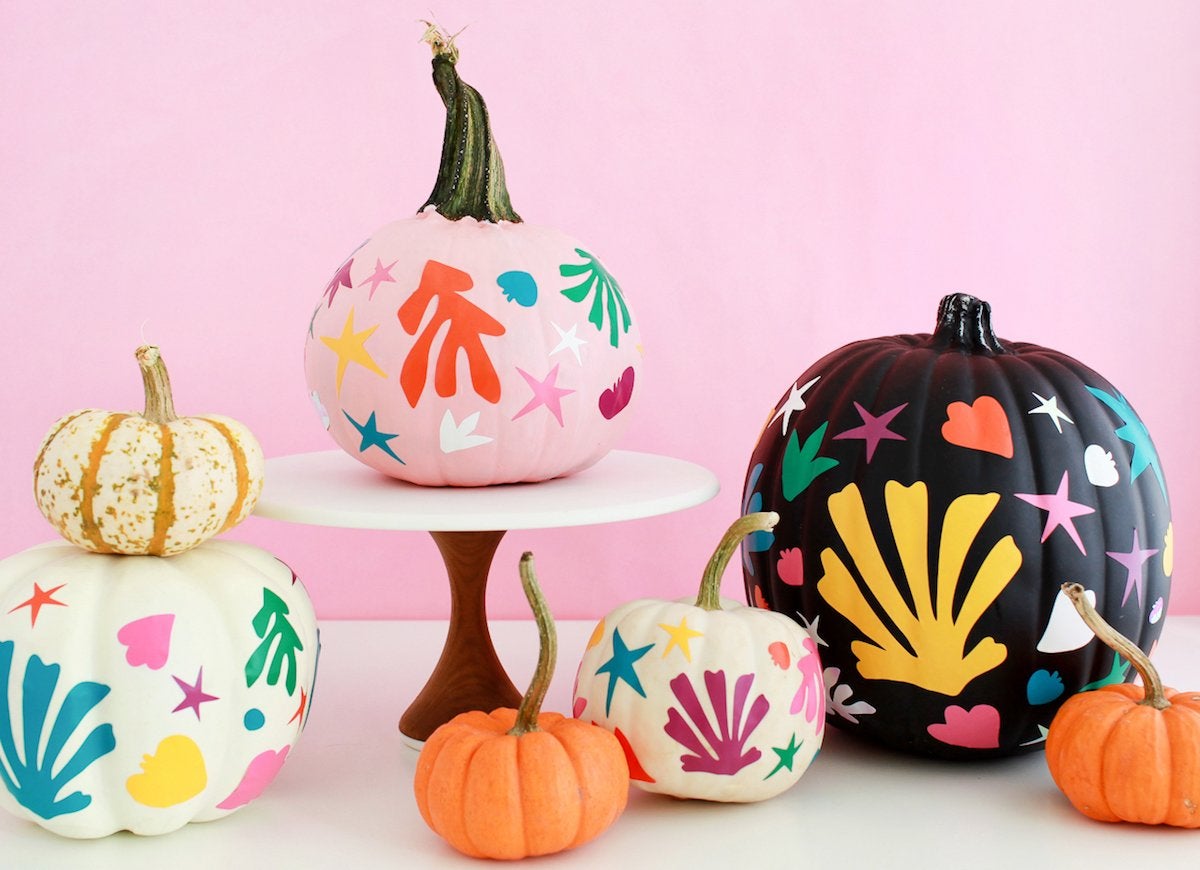
The artwork of Henri Émile Benoît Matisse serves as inspiration for these delightful designs. And you don’t have to be a world-famous artist to paint the different shapes—Oh So Beautiful Paper used different templates and cut them out on vinyl paper to get the look!
Party Animals
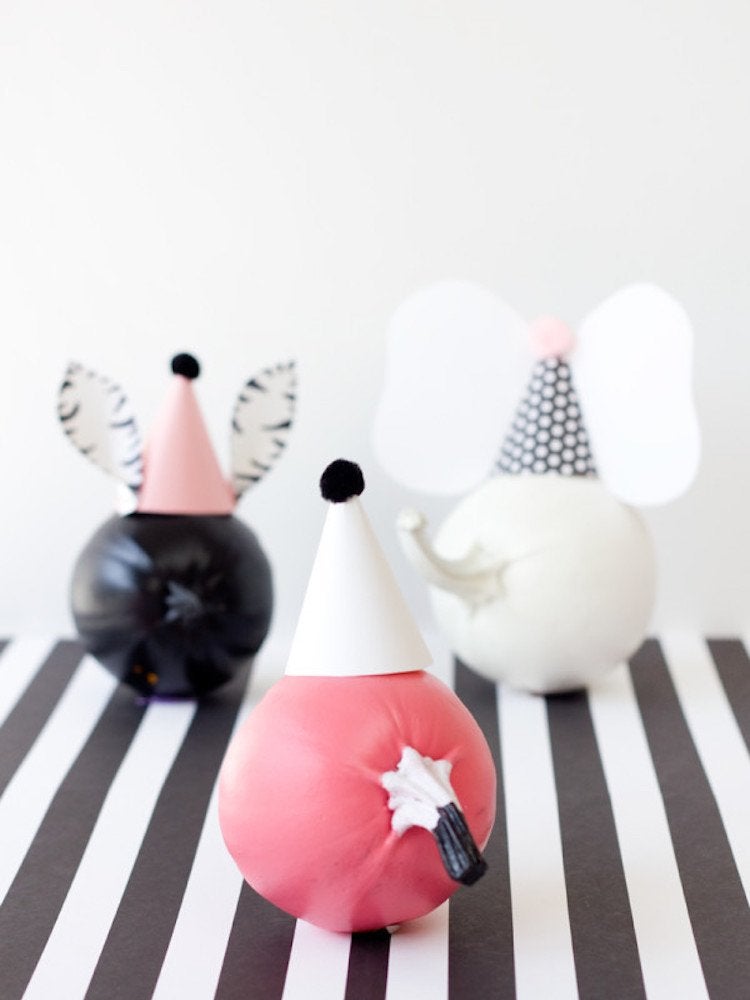
Have some fun with your pumpkin creations. Studio DIY came up with these clever “party animals”—it might also be a good idea for a costume!
Mark It Up
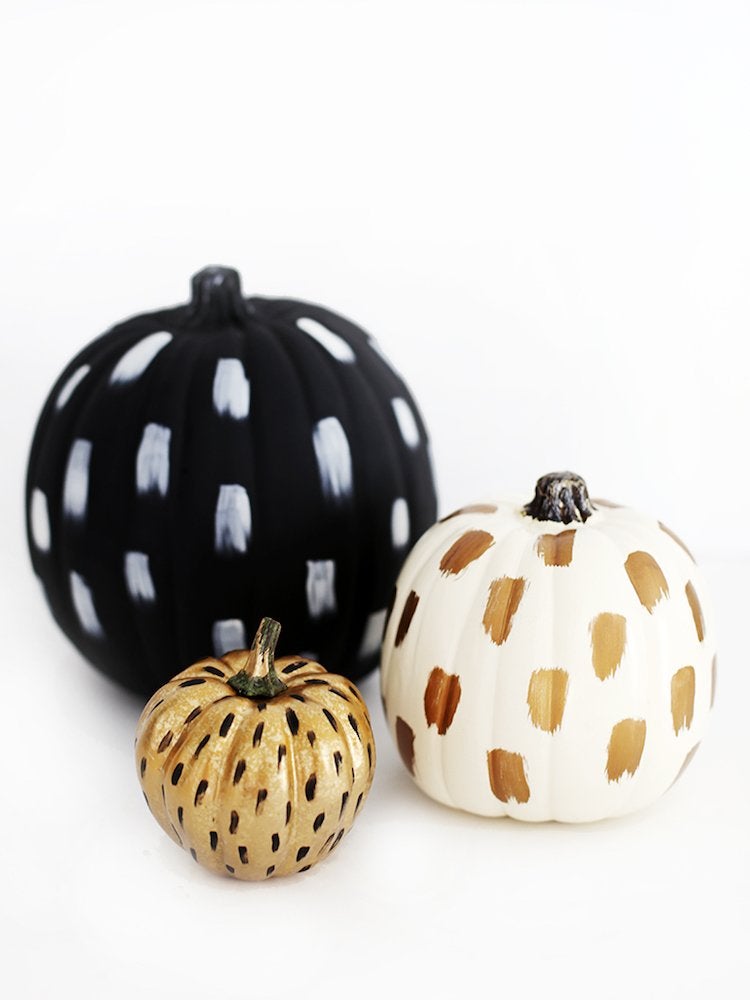
These glam pumpkins can’t get much easier to make. Paint the pumpkin in one color and let it dry. Then, using an accent color paint quick brushstrokes all around. With these pumpkins, you’ll have the trendiest Halloween decor on the block.
Little Flamingos
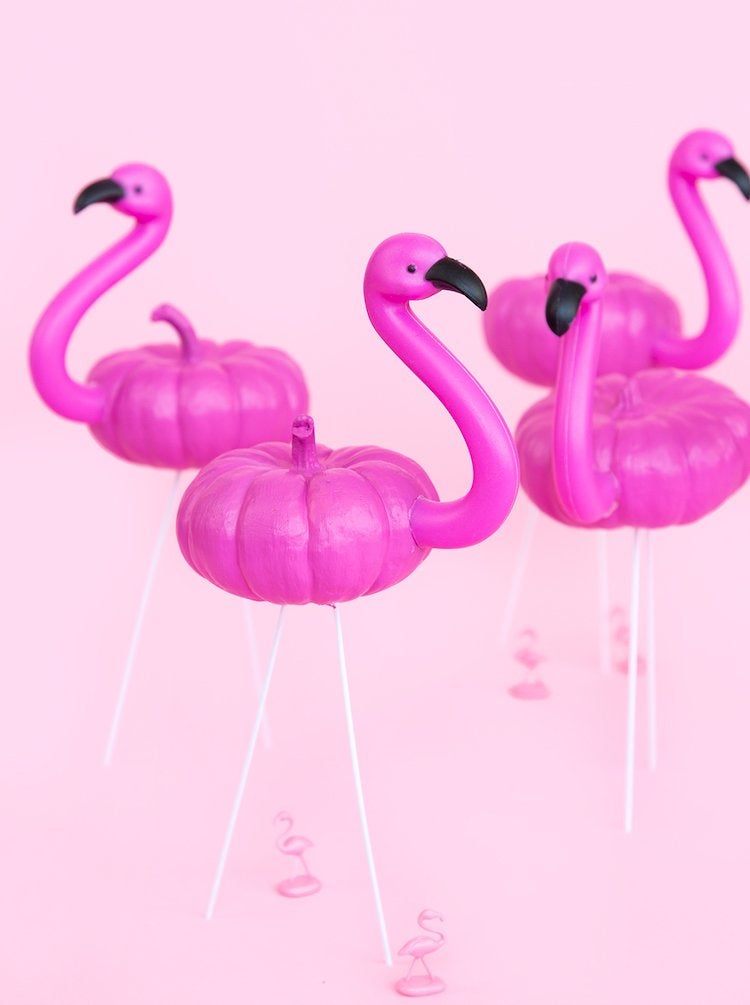
Aww Sam has a funny spin on this classic lawn ornament. While it involves slightly more work than just painting, we think the end result is well worth it.
Glitter and Ghouls
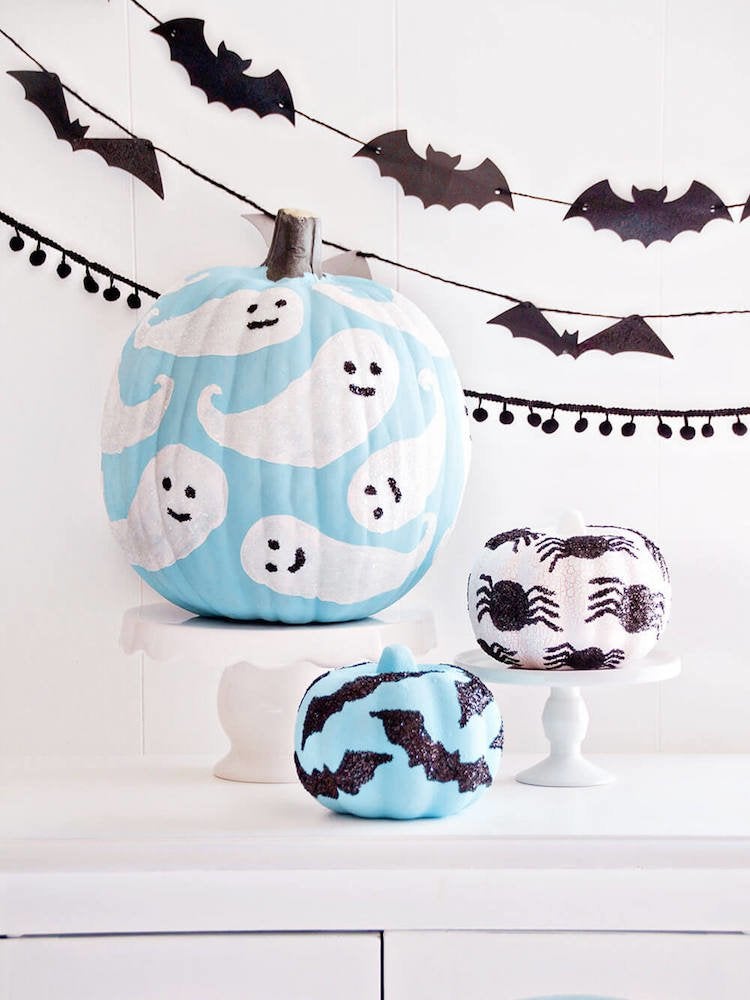
Halloween doesn’t have to be all dark and gory—why not add some sparkle? I Heart Naptime has the tutorial for these charming delights.
Think Pink
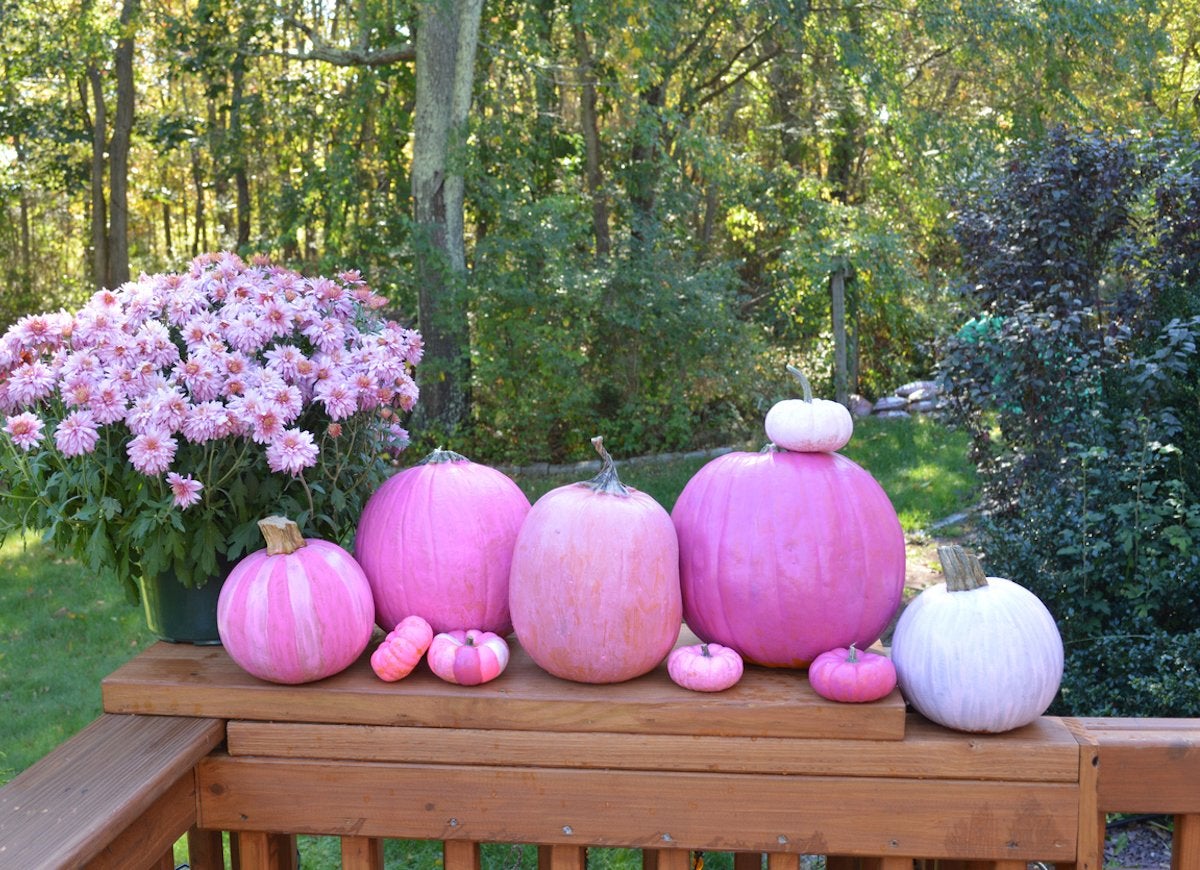
A group of pumpkins painted different shades of the same hue lends a very cohesive and classy look to your porch, without the mess of any carving!
Related: 30 Plants That’ll Bring Color to Your Yard This Fall
Polka Dot Pumpkins
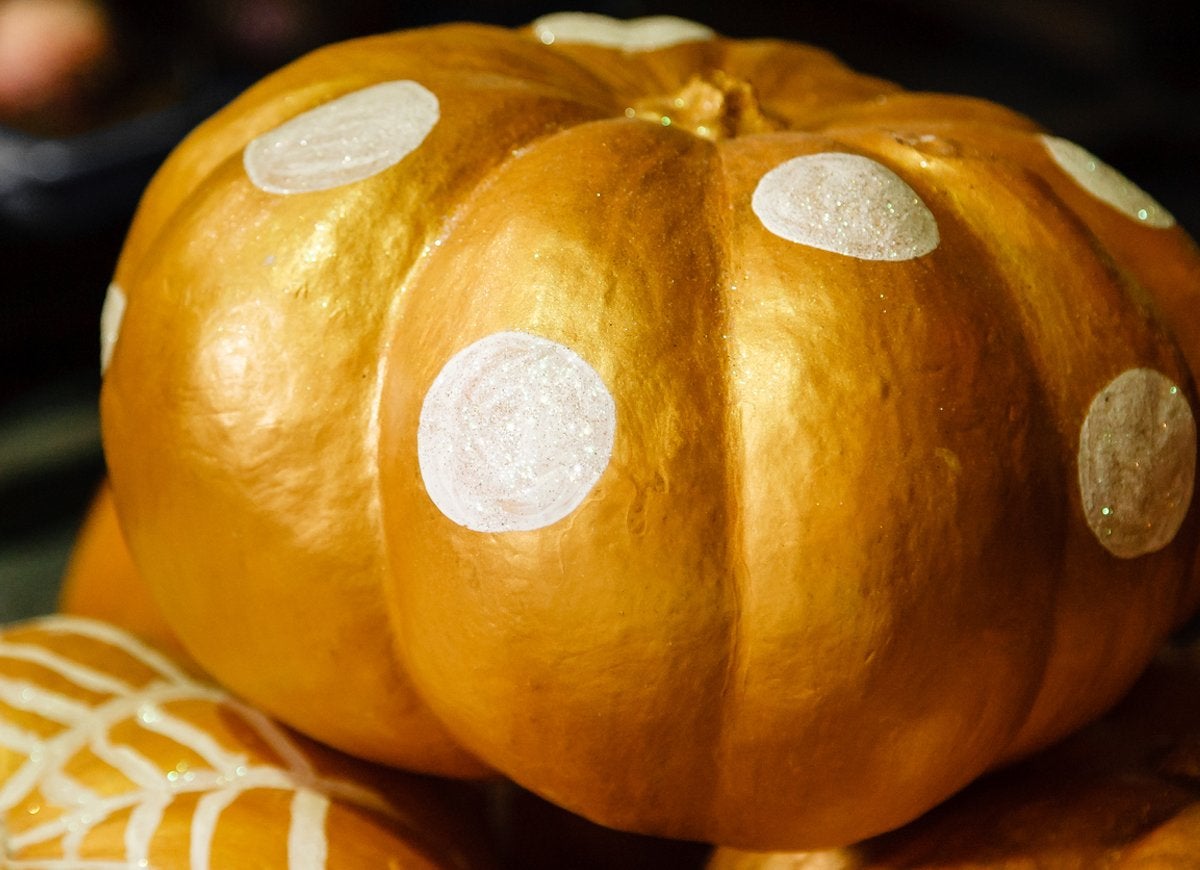
Even if you aren’t the most artistic person, chances are you can handle a polka dot design. If you want to take it a step further, add a little glitter on top of the dots.
Pun-kins

Use your pumpkin to pen a message to everyone who arrives—”Happy Halloween” or “Boo” are standard fare, but Studio DIY has some clever Halloween puns you could borrow too.
Simply Stated
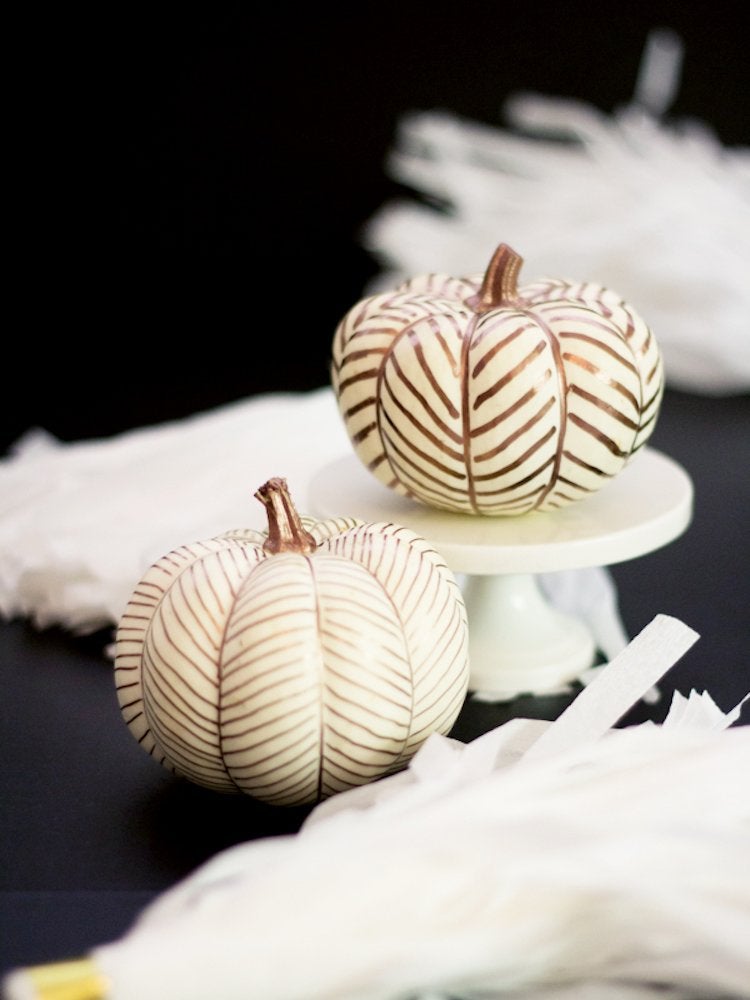
This mini pumpkin design from Lovely Indeed is so simple, we don’t know why everyone doesn’t try it! Paint your pumpkins a lighter color, and then accent them with a herringbone pattern in a contrasting color. Classy!
Piece of Cake
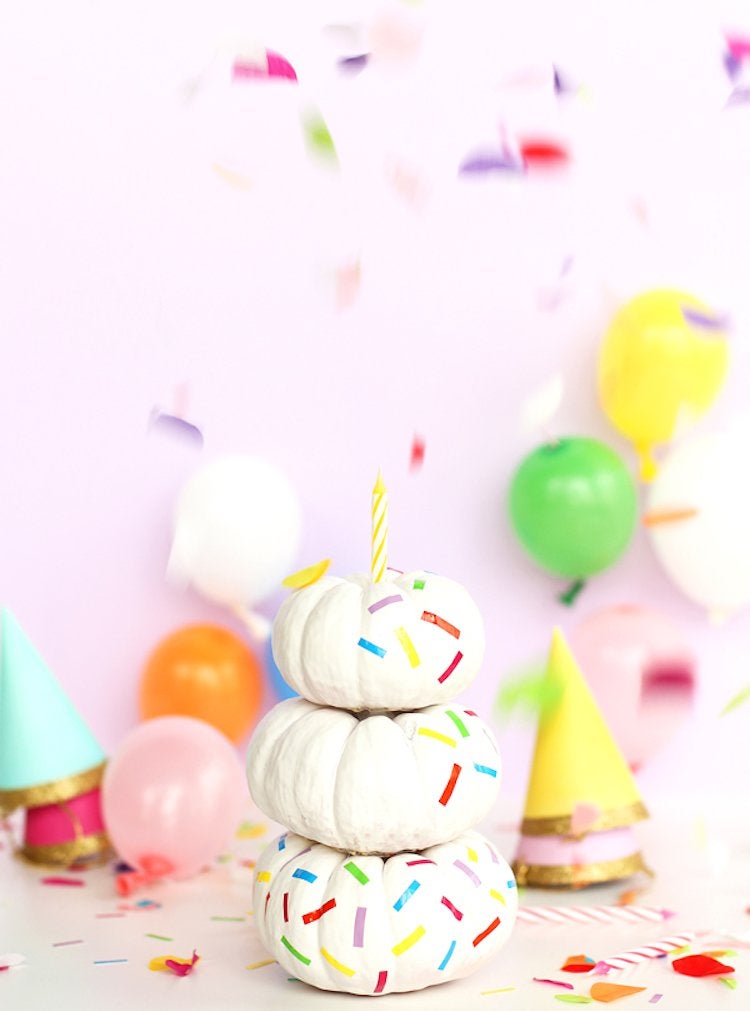
Serve up this delicious piece of décor at your next fall birthday bash. Painted pumpkins of three different sizes hot-glued into a stack and topped with “sprinkles” make this DIY treat look good enough to eat. All that’s left to do is hot-glue on a candle—and blow it out! Visit a Subtle Revelry for the full tutorial.
Related: 35 Ways to Decorate for Fall When You’re Sick of Pumpkins
Beaded Beauty
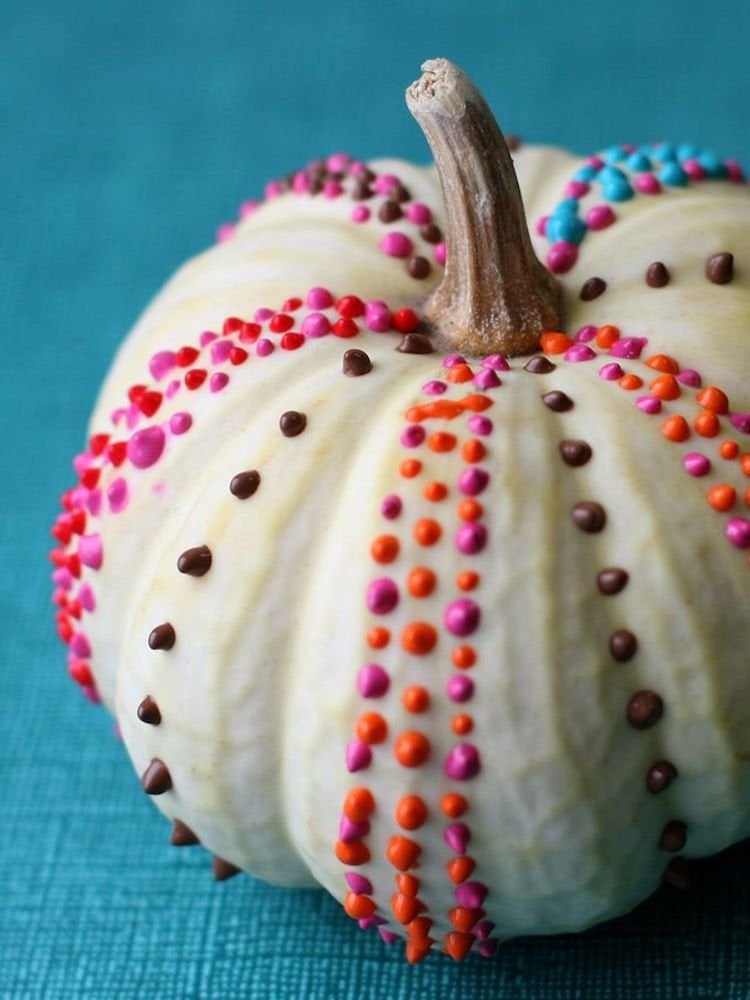
Puffy paint is the hero of this faux-beaded pumpkin. Apply small dots of the no-fuss fabric paint in rows on each face of a painted heirloom-variety pumpkin to evoke the beaded effect. Try alternating paint colors with each dot to attract the eye and boost the beauty.
Mint Condition
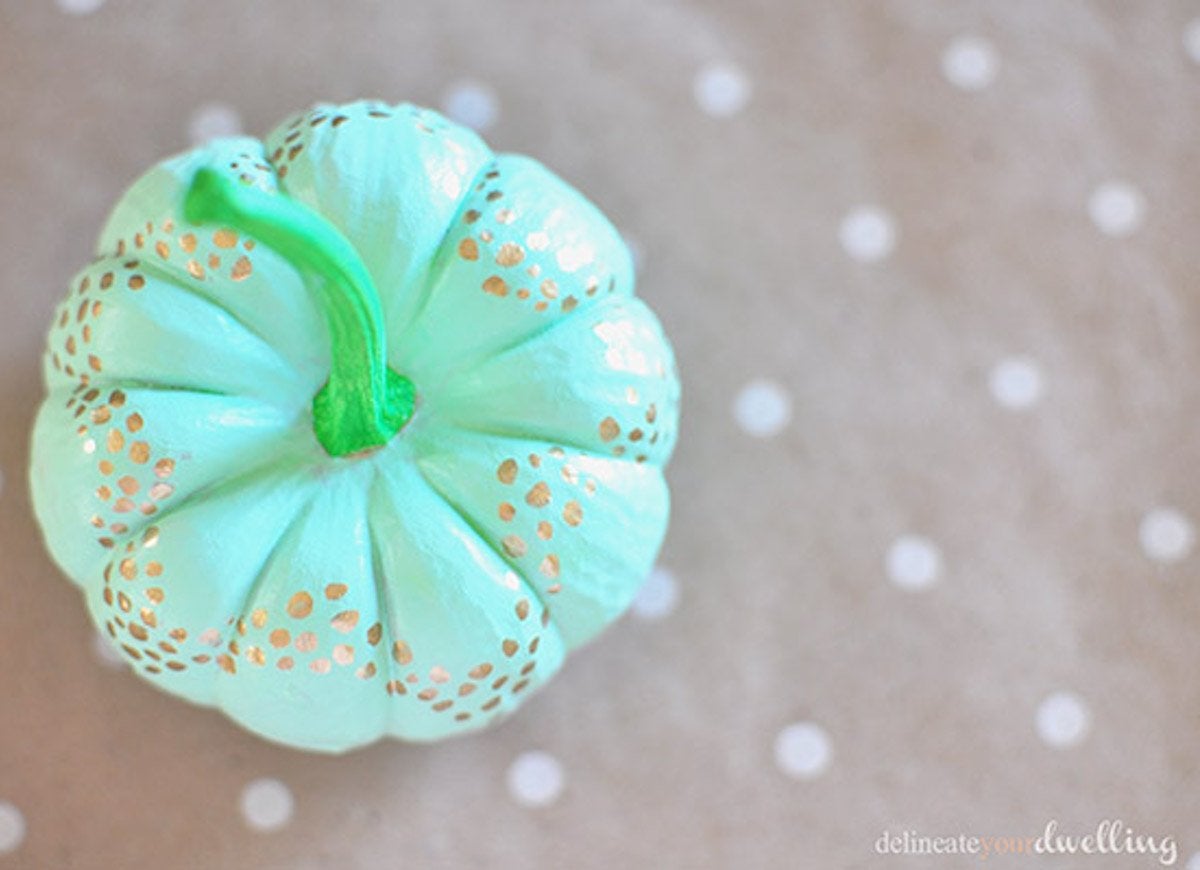
These no-carve mint-green gourds are as fresh as a summer’s day, but you can make them this fall in minutes. Coat the bottoms in mint-green chalkboard paint followed by a true green for the stems. Finally, go for gold—the gold foil paint pen, that is—to adorn the top of the pumpkins in metallic flecks that shimmer in the light.
Mud Cloth Makeover
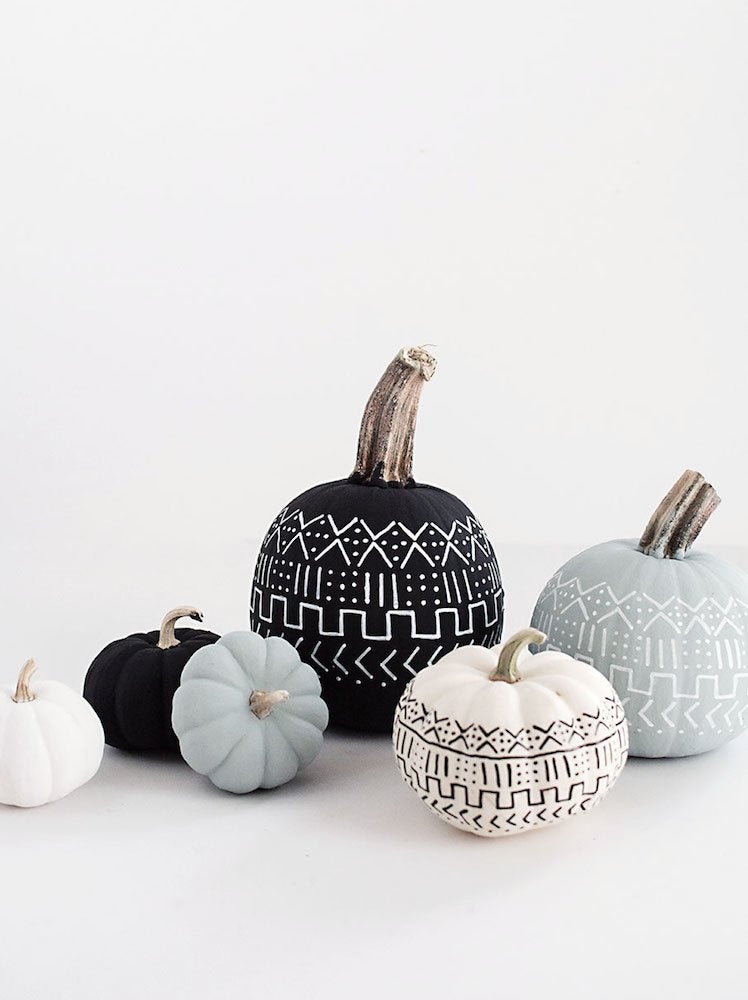
Dress up your home with the fabric traditions of Africa through these mud cloth-inspired pumpkins from Homey Oh My. With chalkboard paint and oil-based paint pens, you can create a tailor-made masterpiece without any sewing required.
Clean Lines
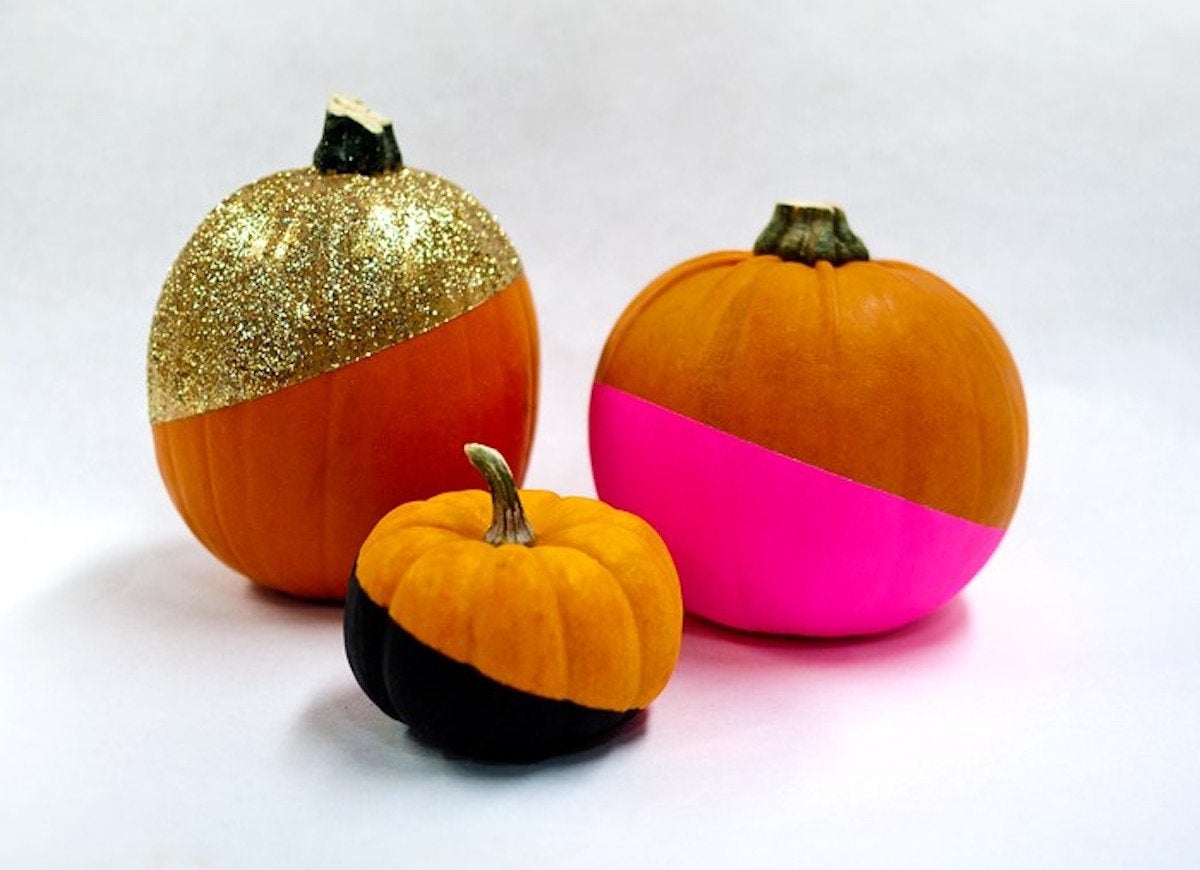
You can achieve this rich color by priming your pumpkins first. Don’t forget to tape all the way around to end up with a clean line where paint ends and pumpkin begins.
A Timeless Touch
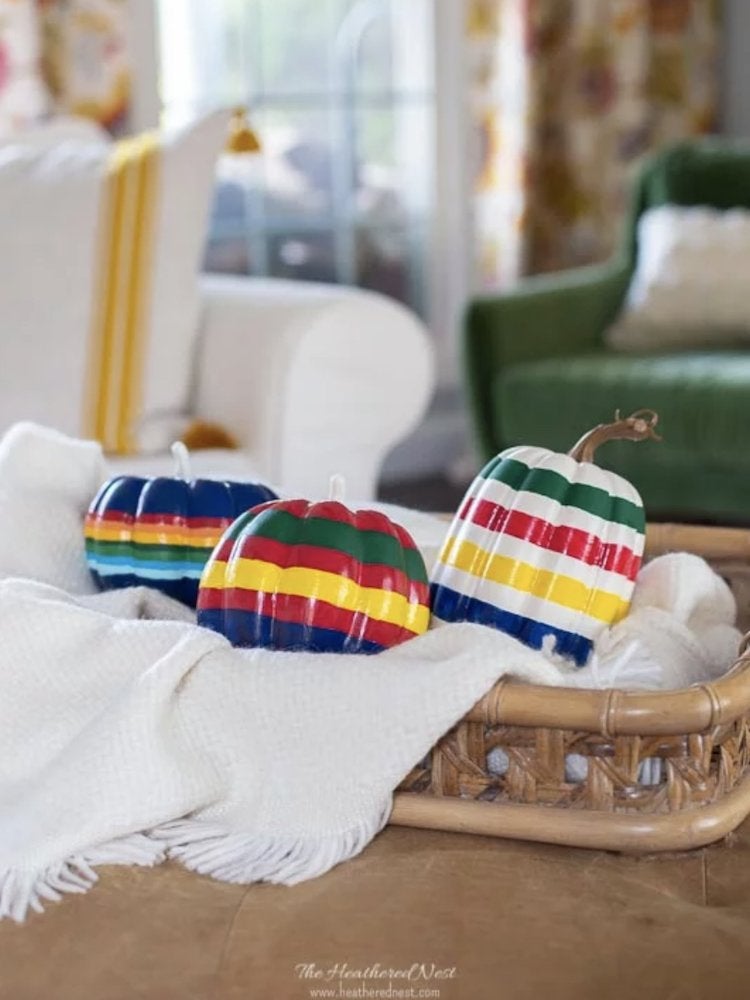
The Hudson Bay Point Blanket and the Pendleton National Parks Blankets are both iconic for their bold stripe prints. Heather from Heathered Nest used the blankets as inspiration for decorating her pumpkins. Follow her tips to achieve the same pattern on your pumpkins. The bright statement-making stripes are the perfect colors for the season.
A Groovy Look
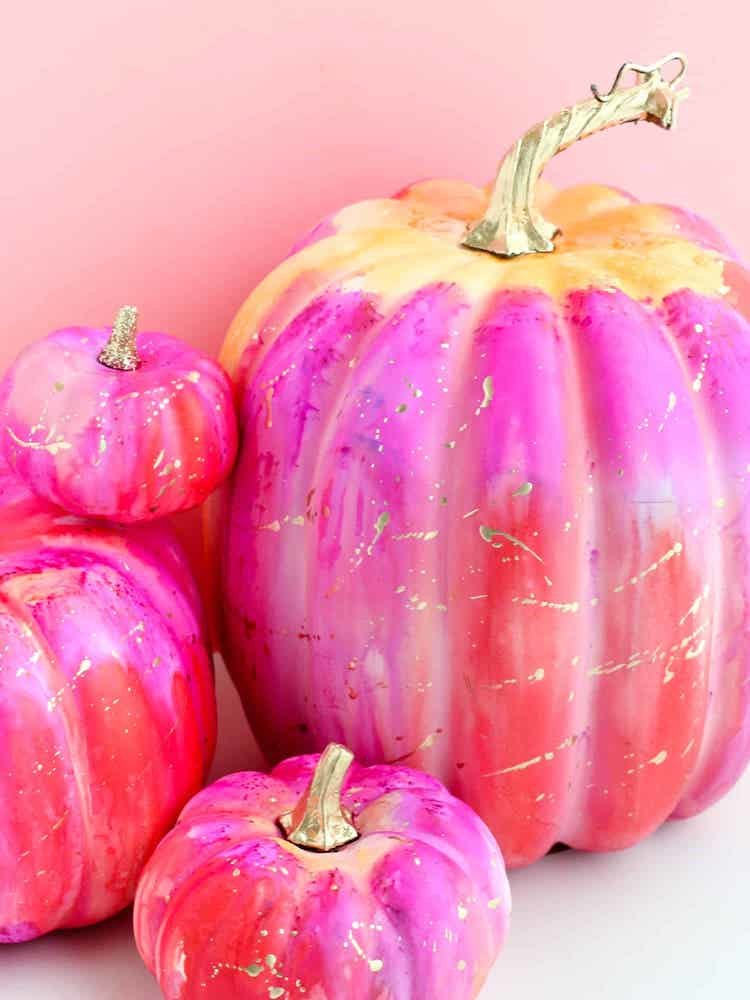
Use your pumpkins to try new crafting techniques. A Beautiful Mess used alcohol ink to create these psychedelic pumpkins. One tip: this works best if you use faux pumpkins instead of real ones.
Pumpkin on the Menu
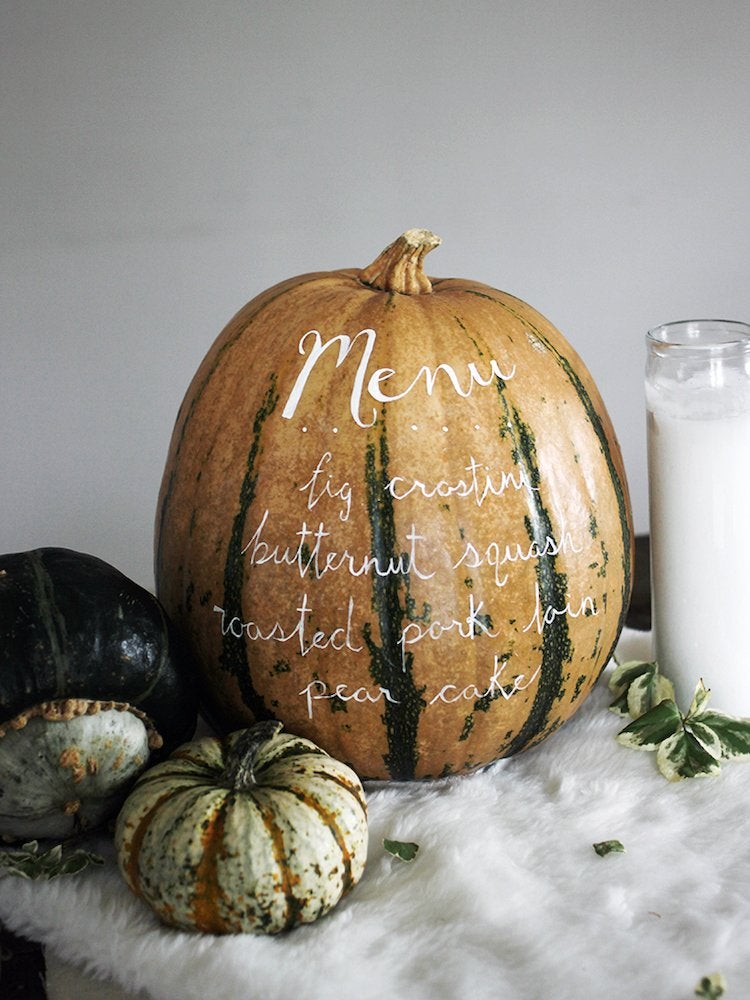
Here’s an idea from The Merry Thought for your next dinner party: display the menu on a pumpkin. Select a large pumpkin and carefully paint the courses on it (paint pens come in handy for this!). It elevates the table decor, and is simple to do.
Mad for Plaid
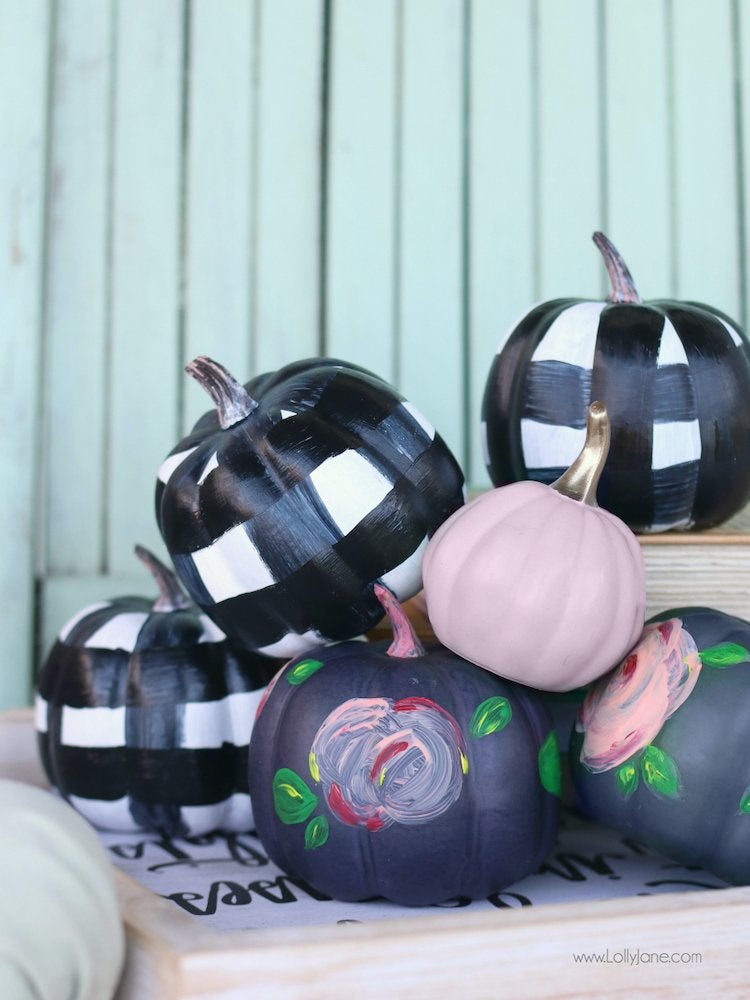
Plaid is a fall staple, so why not dress your pumpkins in it as well? Lolly Jane shares her tutorial for painting this fall look. To round it out she also painted a few pumpkins with floral designs and solid pink.
Delicate Details
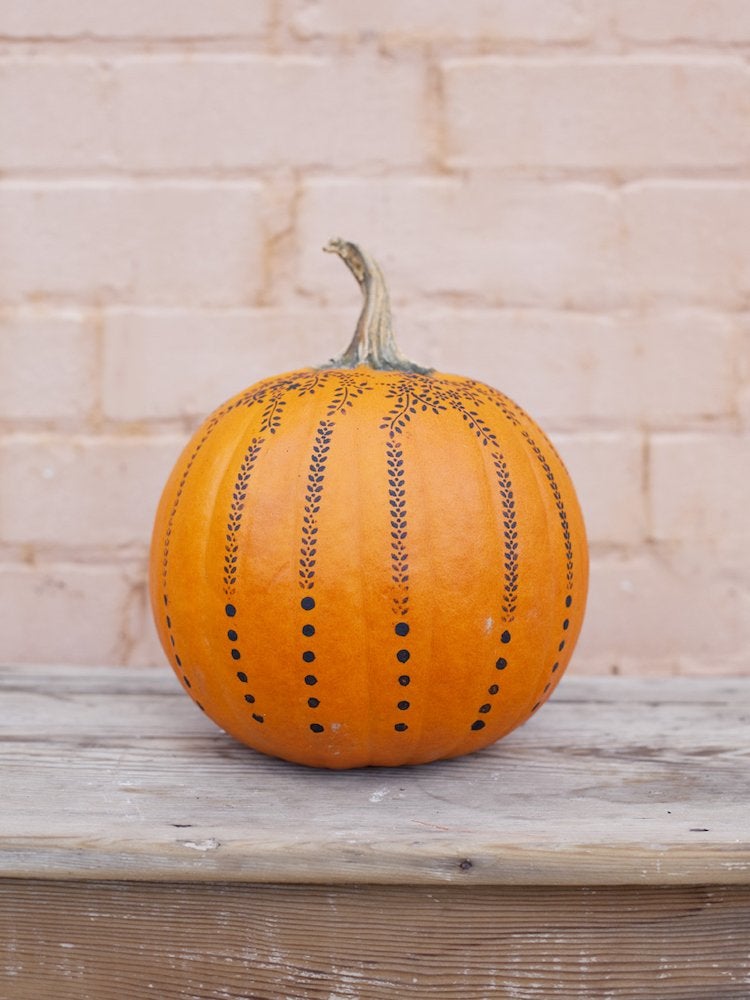
Taking a look at this pumpkin you might assume you need a steady hand to create this intricate pattern, but it’s actually quite easy. A Beautiful Mess just used a stencil to make this delicate design!
Power of Paint
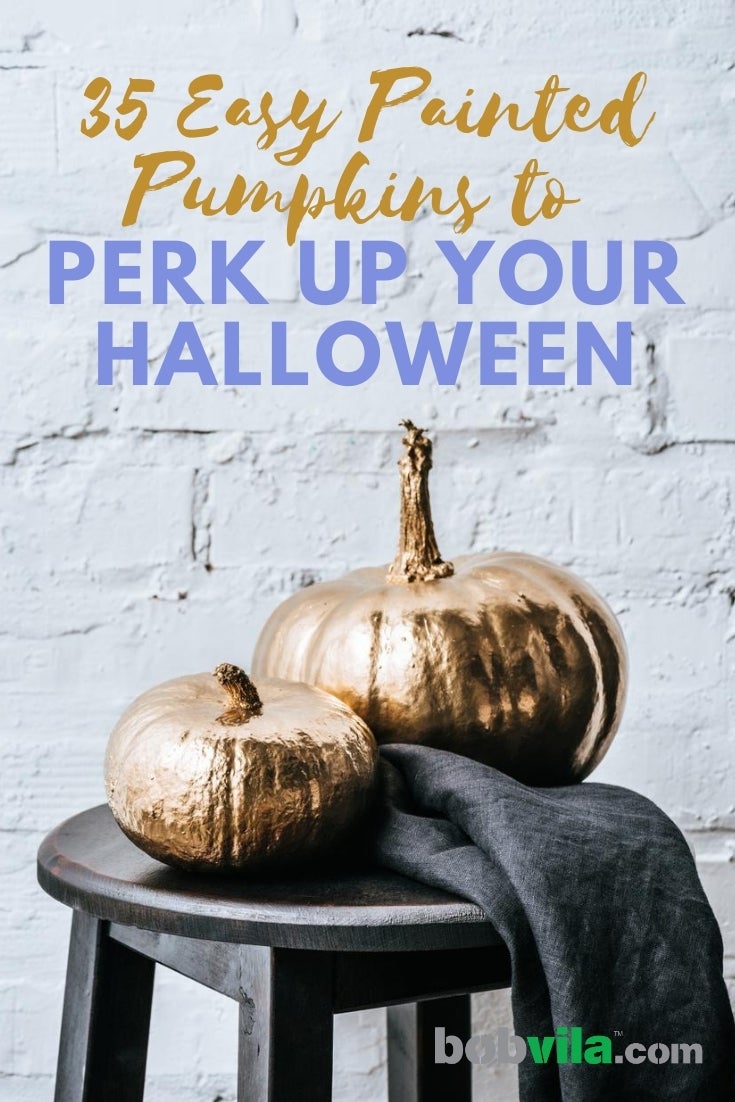
What are you waiting for? Pick up your pumpkins and grab the paint supplies to create some delightful Halloween decor.

Our Favorite Prime Day Deals Are Sure to Sell Out
Prime Day runs July 8 through 11, and Amazon (and many more retailers) have released hundreds of exciting seasonal deals. Check out our favorite products in the sales, from power tools and outdoor equipment to robot vacuums and power stations.