We may earn revenue from the products available on this page and participate in affiliate programs. Learn More ›
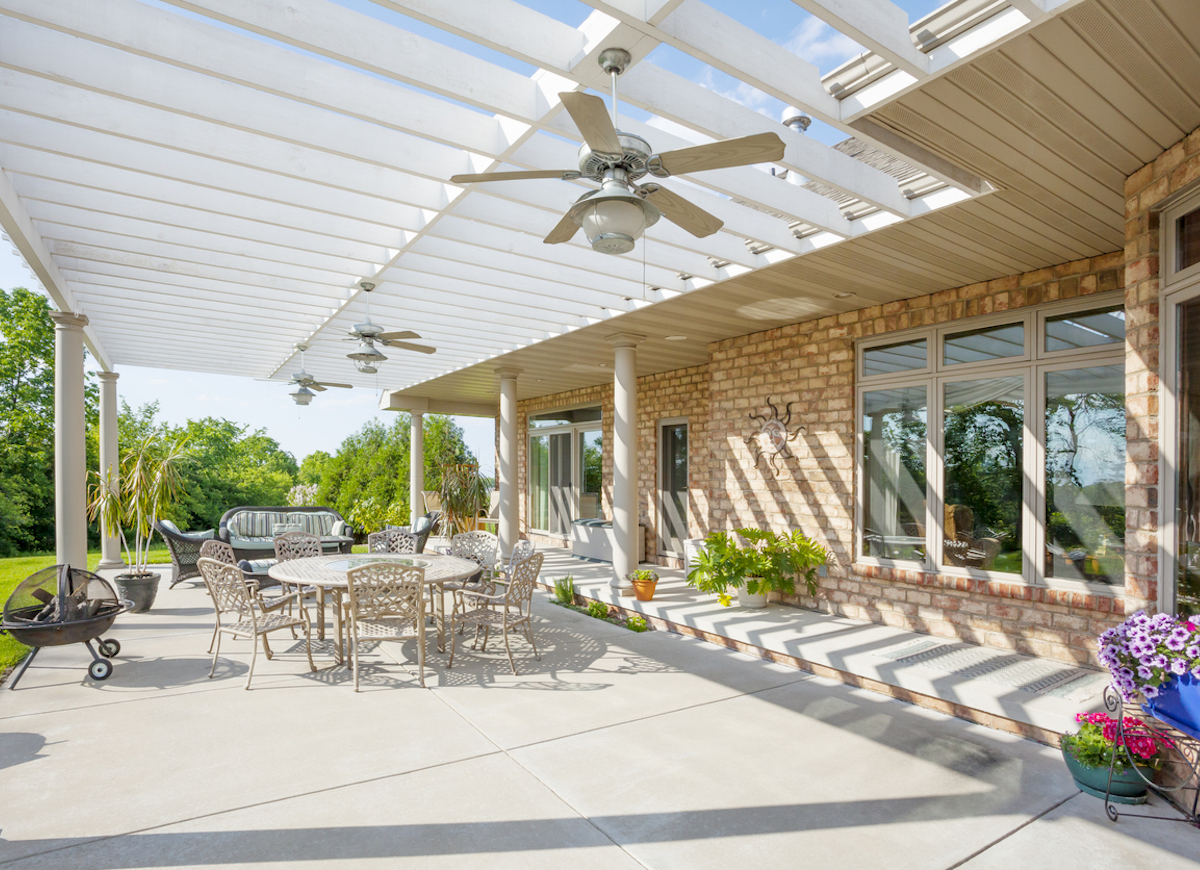
If your patio has seen better days, don’t worry; you’re not alone. While concrete is incredibly strong and durable, natural occurrences like freeze-thaw cycles and ground movement can take their toll on a patio surface. But what can you do about a deteriorating patio?
The solution depends on the issue you’re facing. Some repairs are small, while others might take more effort and know-how. Keep reading to learn about five of the most common issues with deteriorating patios, and what you can do about them.
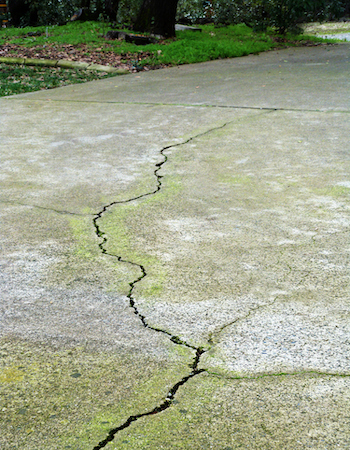
1. Fill and seal common concrete cracking with a caulk-based crack repair product.
More than likely, your concrete patio has a few cracks in its surface. This happens for many reasons, including ground shifting, improper pouring conditions, and just the nature of concrete. But that does not mean you have to live with them just because these cracks are typical.
The best product for sealing and repairing cracks is a flexible caulk-based product like Quikrete Concrete Repair. This acrylic-based caulk is matte gray, textured to blend in with surrounding concrete. All it takes to apply this product is a caulk gun and a utility knife to cut the tip. For hairline cracks, chisel the crack open a bit (wearing safety glasses, of course) to ensure the product flows all the way into the crack. Once filled, Quikrete Concrete Repair can be tooled smooth with a trowel.
For a more in-depth look at how to use this product, check out this video from Quikrete.
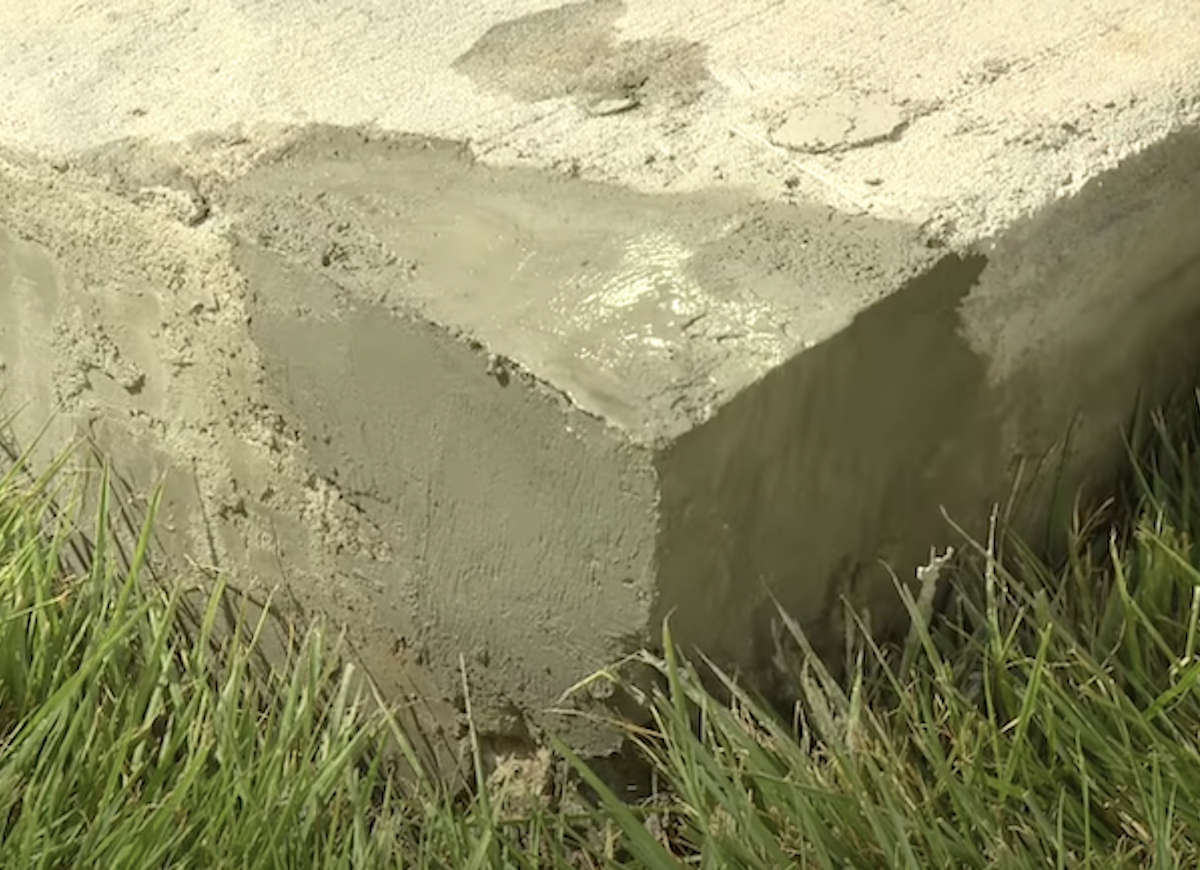
2. Straighten out crumbling corners with a concrete cleaner and patching compound.
One of the most common patio issues facing homeowners is a chipped or crumbling corner. These corners deteriorate from age, water, and typical foot traffic. They start life as a sharp, attractive angle and wind up rounded over and crumbly. Luckily, there’s an easy solution to fix this on your own.
You need to repair the corner, but the first step is cleaning it thoroughly so the repair product can adhere properly. Start by using a brush and clearing any loose debris. Then, pour some Quikrete Concrete & Asphalt Cleaner onto the damaged corner and scrub it with a brush. Be sure to rinse the area thoroughly.
After cleaning the repair area, you’re ready to start rebuilding the corner with Quikrete Polymer Modified Structural Concrete Repair. This repair compound is a rapid-setting, high-strength repair material designed for vertical and horizontal structural repair, so it’s ideal for a crumbly corner.
To use, simply add 1.4 liters of water for each 20-pound pail of dry mix, and ensure that the existing surface is dampened but free of standing water. Then, trowel a thin layer with heavy pressure onto the repair area. Next, rebuild the corner with a trowel, tooling it to match the vertical and horizontal angles of the corner. Once satisfied, allow the corner to cure similar to any concrete repair. In truly hot, dry, or windy conditions, keep the patch covered and damp for at least 24 hours.

3. Dress up an older, unattractive space by covering your patio with pavers.
Like anything else, patios become worn and dated. You can upgrade the look all together by covering your patio with pavers. While you might assume this is a pricey project that requires professionals, you can actually do this on your own!
Pavers might seem intimidating, but if you take your time and lay out your pattern (starting at the corner that’s closest to 90 degrees), it’s an achievable job. To make it even easier, products like the Milano Pavers by Pavestone come in varying sizes, allowing DIYers to achieve the look and layout of their dreams. Simply apply a bit of sand to pitch the patio surface away from the house for drainage purposes, lay out your pattern, and then glue the perimeter course (also known as a soldier course) in place on the existing patio. Apply some polymeric sand, sprinkle with water, and enjoy your new patio.
For a clearer picture of how this is done, check out this video tutorial.
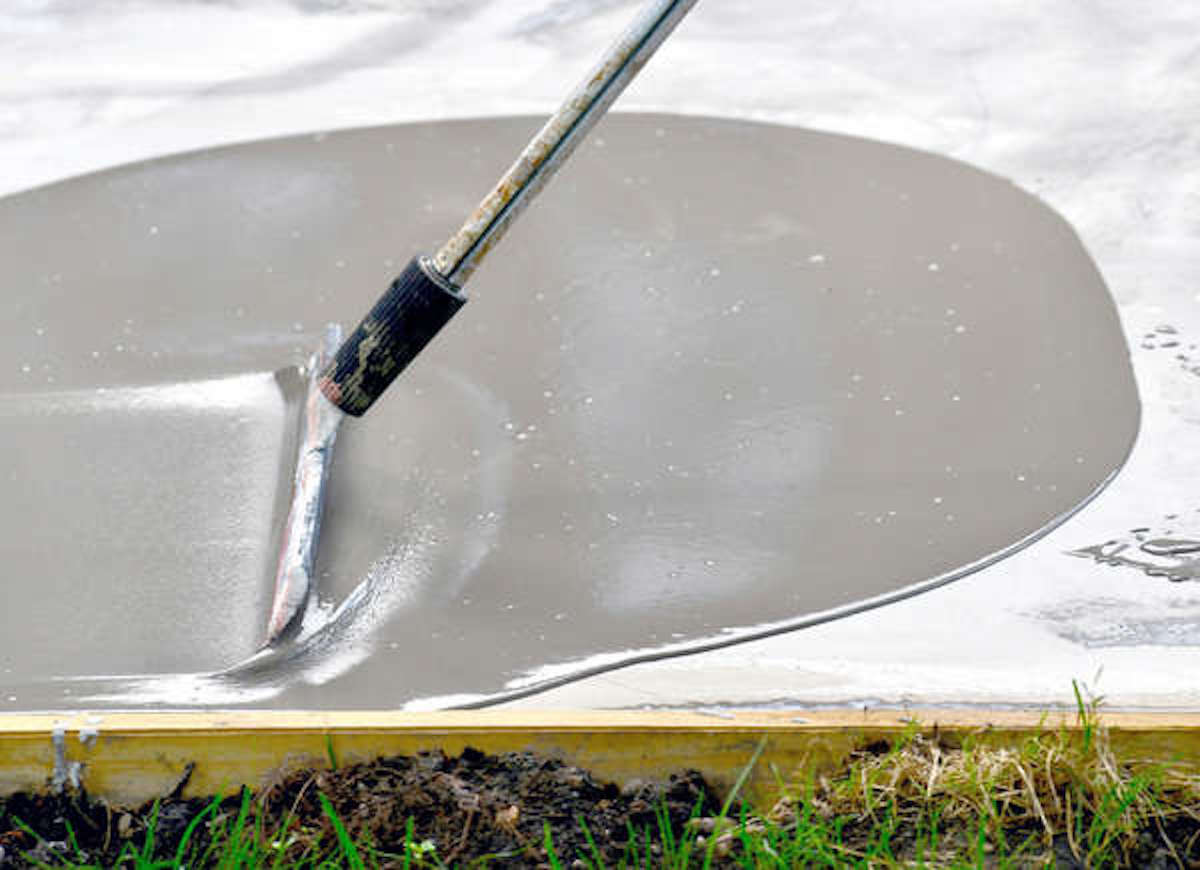
4. Create a smooth, fresh surface atop your patio by resurfacing the slab.
While they don’t rot, horizontal concrete surfaces are prone to pitting, spalling, and cracking. While covering the surface with pavers is always an option, a less expensive and easier route is to resurface the slab.
Quikrete has a product specifically designed for the job. The brand’s Re-Cap Concrete Resurfacer is a strong, durable solution that creates a smooth, uniform surface over unsightly patios, and it’s easy to apply.
Start by deep-cleaning the patio surface with a 3,500 PSI pressure washer to ensure any grease, oil, dirt, and other adhesion inhibitors are removed. This is the time to patch any large chunks or damaged corners (which you can do with Re-Cap mixed to a thicker consistency). Then, simply mix the product with water according to the directions to a syrup-like consistency. Working in small sections, pour the Re-Cap onto the patio surface and squeegee it out smoothly. After a few minutes, use a concrete broom (though a pushbroom will work as well) to apply non-slip texture to the surface.
You can check out the step-by-step procedure in this video, courtesy of Quikrete.
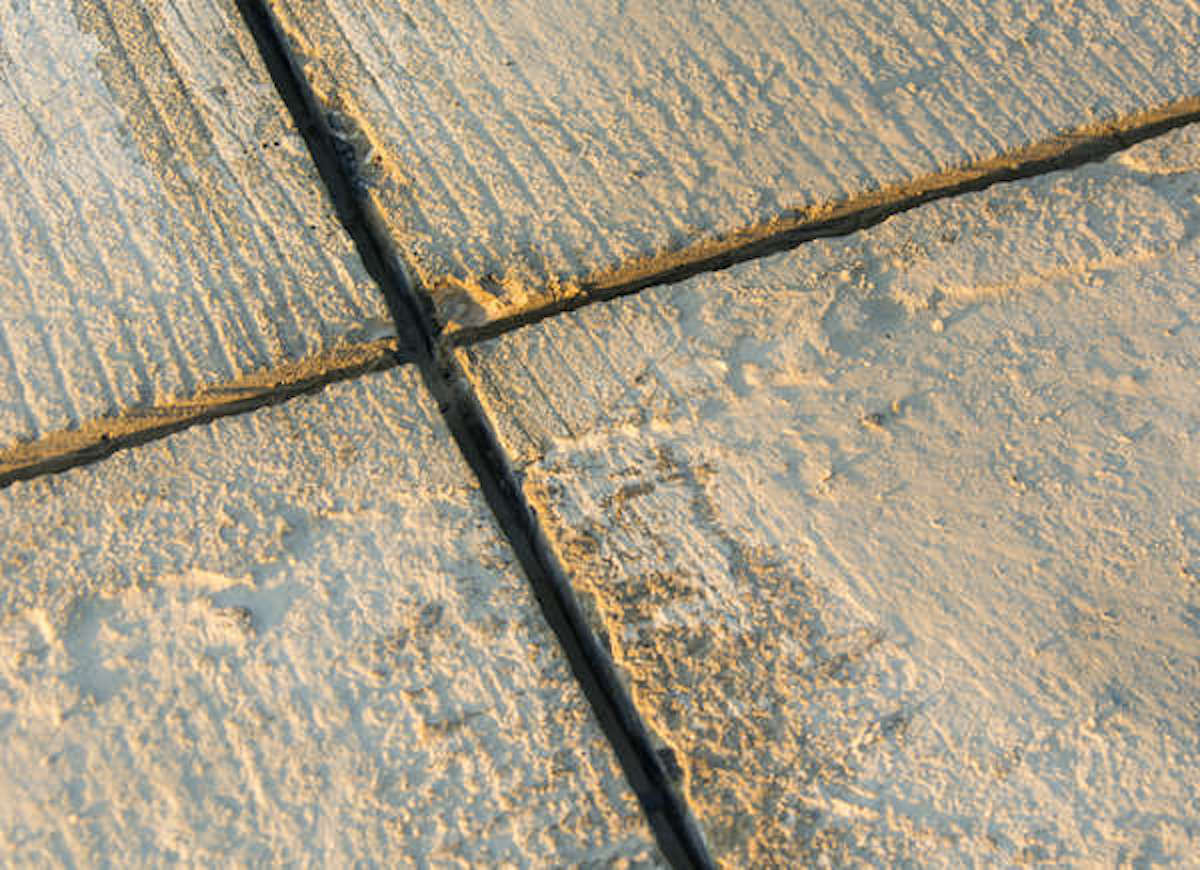
5. Repair and seal expansion joints to keep them working as designed.
Not all cracks and gaps in concrete surfaces are bad. Expansion joints—the gaps created during installation between two concrete surfaces—are designed to allow the slabs to move, or give them somewhere to crack other than the field of the patio. It’s important to repair and seal these joints to keep plants, bugs, water, and other undesirable objects from calling the crack home and causing damage.
The first step to repairing and sealing expansion joints is to ensure they’re clean. Brush any dirt, dust, pebbles, and grit out from the expansion joint. If any oil or grease are present, remove it by using a scrub brush and Quikrete Concrete and Asphalt Cleaner.
Once the joint is clean, use Quikrete Advanced Polymer Self-Leveling Sealant to both repair and seal the joint. This polyurethane-based product is flexible and it allows the slabs to move without tearing. This product comes in a caulking tube, so all that’s required is a caulk gun, and a utility knife. Simply cut the tip of the sealant and squeeze it into the joint. This sealant is very fluid, so it’s likely to disappear into larger gaps. The good news is you can dam those gaps with Quikrete Backer Rod (which is a foam rope designed for stuffing into expansion joints).
Be sure to watch this video from Quikrete for a complete overview of the process.
This content has been brought to you by Quikrete. Its facts and opinions are those of BobVila.com.