We may earn revenue from the products available on this page and participate in affiliate programs. Learn More ›
Snowflakes are falling, and you know what that means! It’s time to put on your snow gear and head outside. The arrival of snow signals a time for winter fun and creativity. Virtually any snowfall of the season is an opportunity to make a snowman, complete with a button nose and two eyes made out of coal, if you wish.
While every snowman is great in its own way, we’d argue that there is a best way to build a snowman. And it’s not just about the appearance of the finished product. A snowman made with quality DIY craftsmanship will hold up longer against the forces of gravity and melting. Rather than risk injury when moving heavy snowballs, or making a snowman that falls apart fast, follow this guide on how to build a snowman.
Tools & Materials
Bobvila.com may earn a commission from purchases made through these links.
Project Overview
Working Time: 1 hour
Total Time: 1 hour or more
Skill Level: Beginner
Estimated Cost: $0 to $30
BEFORE YOU BEGIN
No one wants to have their snow day ruined by getting cold and wet. Snow starts to form at or below 32 degrees Fahrenheit, so it’s imperative that you and your small snowman-building team dress for the cold. Make sure everyone is bundled up, waterproofed, and warm.
RELATED: 31 Vintage Christmas Ideas Worth Revisiting This Year
STEP 1: Wait for the right type of snow before starting your snowman.
When the first snowfall happens, do you immediately run outside to make your snowman? Probably not. Not only do you have to wait for enough snow to accumulate, but it should (ideally) be the right type of snow. If you aren’t patient, you will likely end up with a brown-spotted snowman or a snowman that collapses in on itself.
Once a good amount of snow has fallen on the ground, go outside to check what you’re working with. Snow that’s somewhere between moist and wet—the sweet spot between powder and slush—is preferable. Try making a snowball in your hands. If it clumps easily, the snow is ready to be made into a real snowman. Powdery or dry snow crumbles to dust, so this type of snow unfortunately doesn’t work as well.
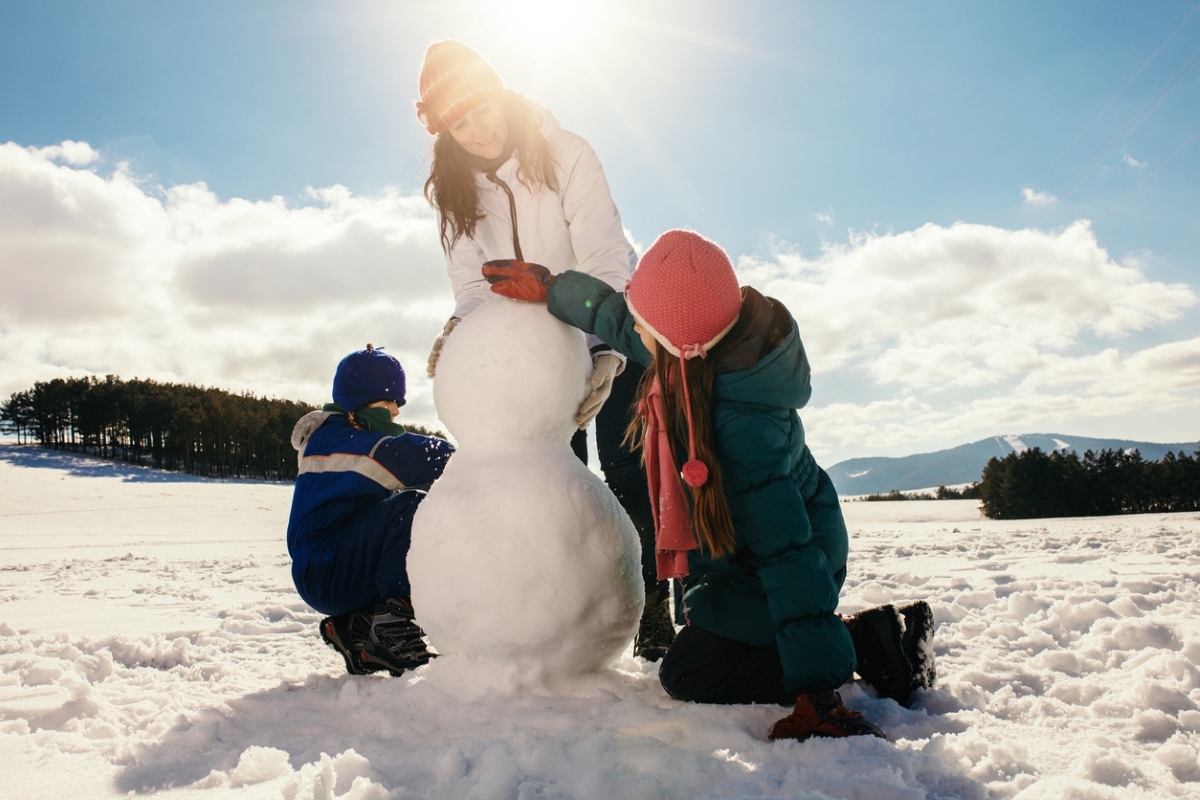
STEP 2: Gather your snowman decorations.

To avoid tracking snow and mud inside after you’ve constructed the body, collect your snowman decorations before you start building. You can purchase a snowman decorating kit or go full DIY with bobs and bits from around the home.
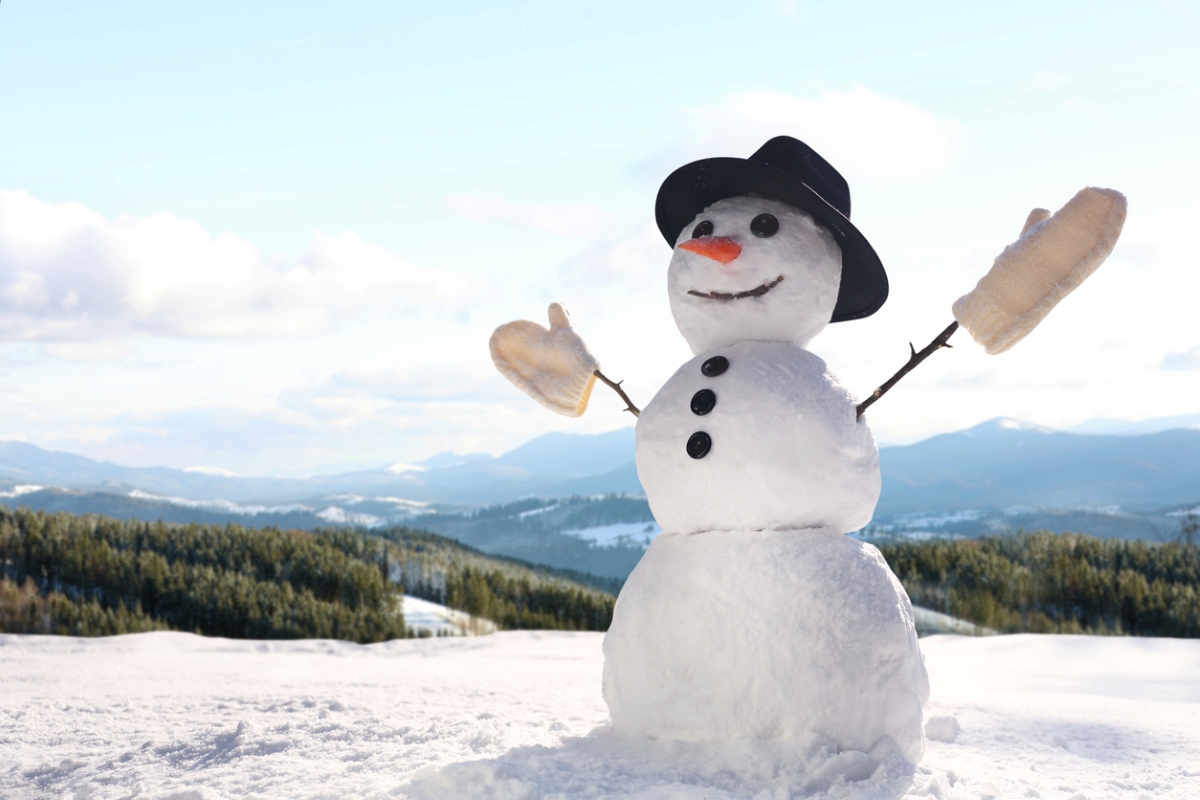
What will this snowman look like? Give it a snowman nose made of a carrot or rock—the choice is completely up to you! As for snowman eyes, you can use festive nuts, charcoal briquettes, classic buttons, sunglasses, or anything you like. Don’t forget to also give your snowman a jaunty cap, scarf, cob pipe, or other props for a little extra personality.
If you’d like to learn how to make a snowman hat, follow The Shabby Tree’s excellent snowman hat tutorial using a round container, spray paint, flat circular tray, glue gun, ribbon, and greenery.
STEP 3: Dress appropriately and make your first snowball.
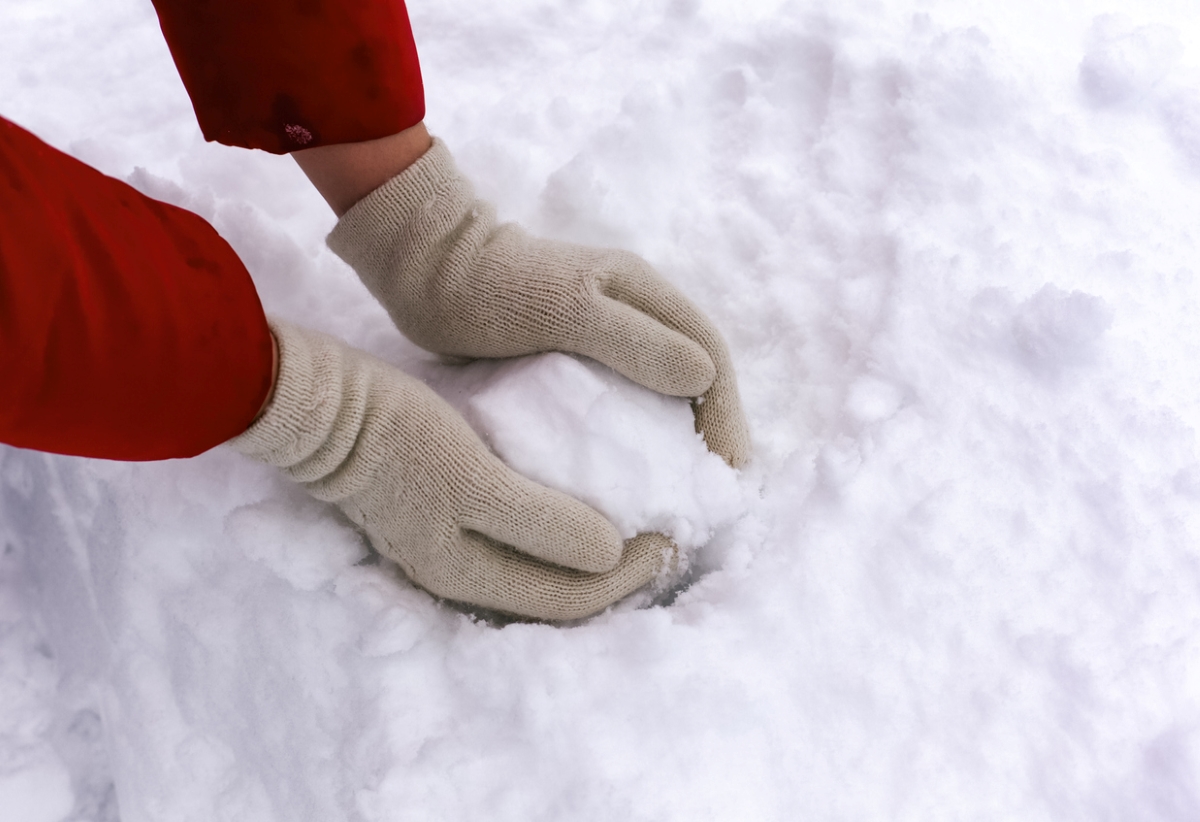
To avoid having your hands and other limbs go numb from the cold, gear up with warm clothing—most importantly, make sure you wear suitable gloves or mitts.
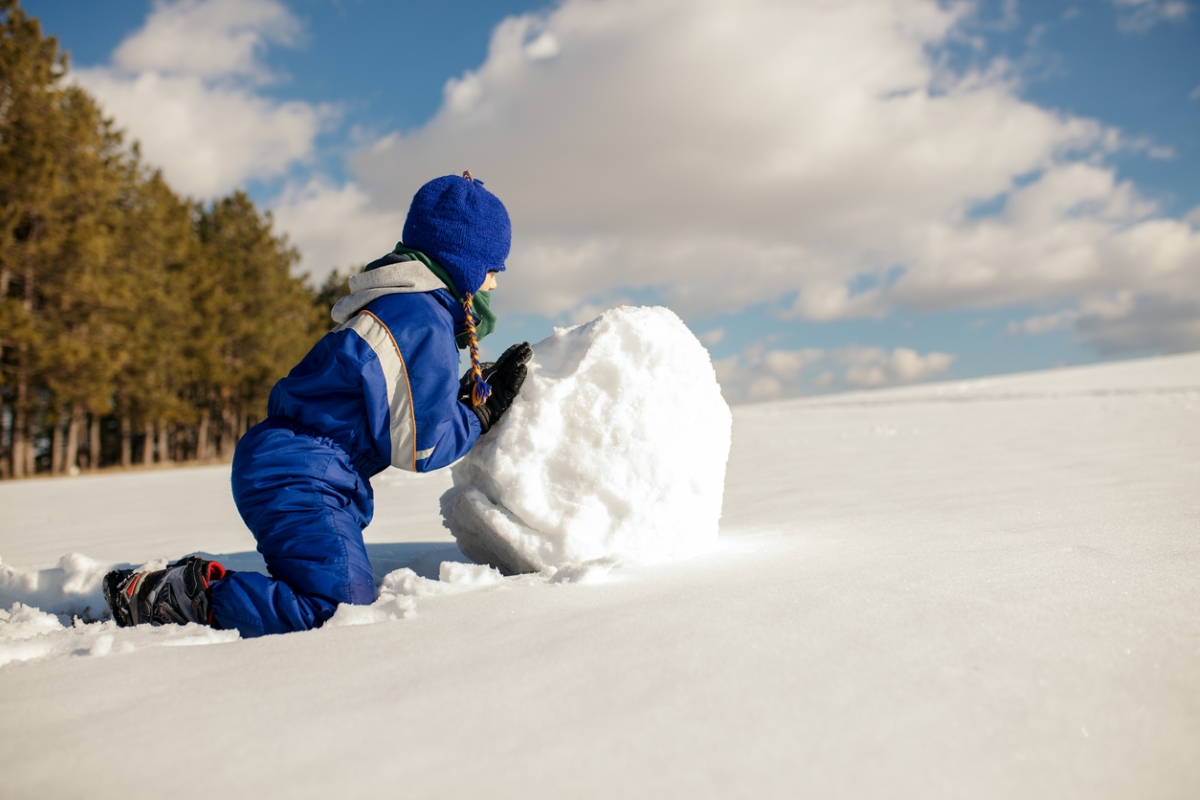
Here’s how to make a snowman base—the largest part of your snowman. Pack snow together into a snowball. The final size of the first snowball determines the size of the following snowballs. No matter the size of your snowman, a good diameter ratio to aim for is 3:2:1 from the bottom to the top. Roll your first snowball across the snow, packing it as you go. Push the ball from different sides so it accumulates snow fairly evenly. If you push the snowball continually in one direction, you will have more of a cylinder than a ball.
Avoid rolling over the same areas too much, since you might expose the ground in those spots. If you do expose the lawn, your snowball will pick up grass and dirt as it grows, making it look more like a mudman than a snowman.
STEP 4: Position the first snowball and build the second.
You’ve built up a sweat pushing that heavy snowball around, and now it’s time to move it to its final spot. Choose level ground on grass, ideally somewhere shady to keep your snowman cool. Asphalt absorbs more of the sun’s heat than grass, so a driveway snowman might melt faster than one on the lawn. Round out the bottom snowball’s shape by shaving off or adding snow as needed.
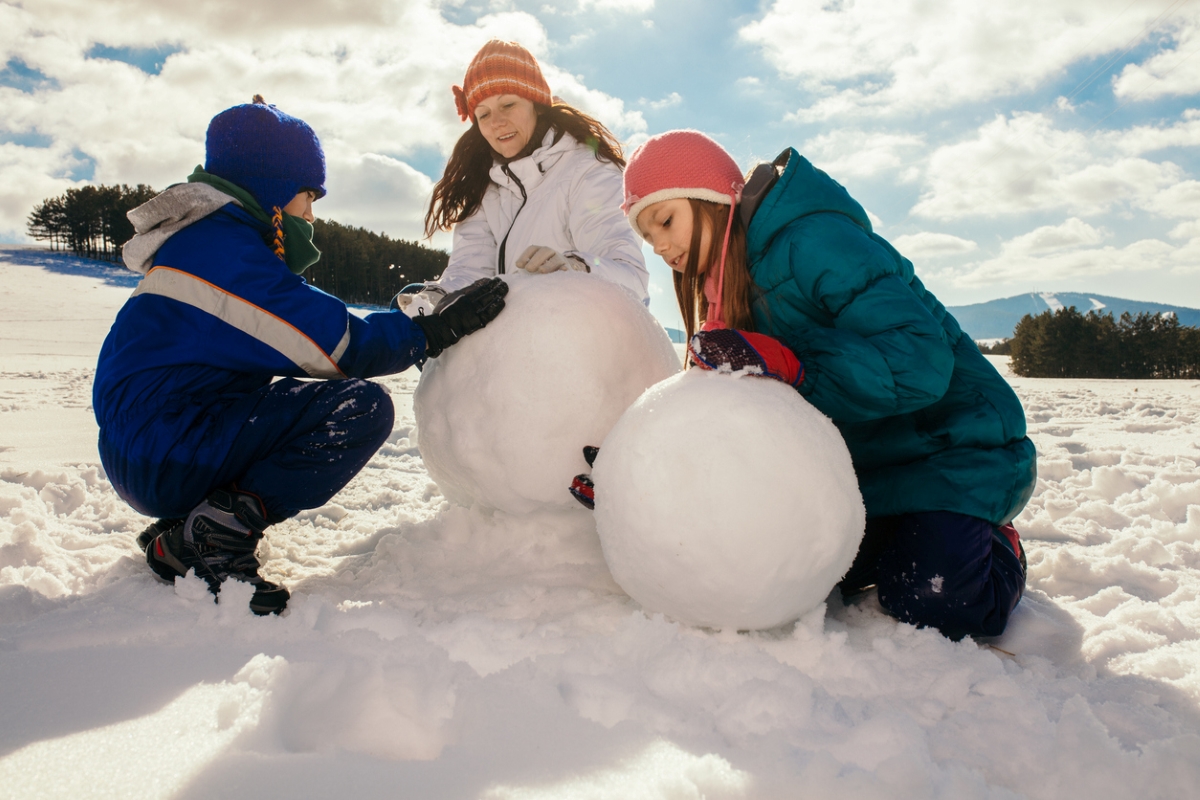
Next, start your second snowball, which will be two-thirds the size of the first. As the ball grows, push this snowball toward your snowman base, ensuring it’s the size you want by the time it gets to your first snowball.
STEP 5: Stack the second snowball on top of the first.
Carve out a shallow bowl shape in the top of the first snowball, where you can nest the middle snowball. It’s recommended to stake a sturdy stick down the middle of the first snowball as a dowel to give the snowman a bit more integrity. When you add the second snowball on top, this stick will add stability.
Be mindful when lifting the second snowball—those delicate little snowflakes get heavy as they accumulate! Get somebody else to help you move it and lift with your knees, build a makeshift ramp out of wood, or find another safe way to lift the middle of the snowman if it’s heavy. Place the second snowball directly on top of the stick. Pack snow around where the two balls meet to keep your snowman secure.
STEP 6: Form and move the snowman’s head into place.

Repeat the previous steps, with a ball that’s one-third the size of the bottom snowman ball. This snowball will become the snowman head, and its shape will need to support your chosen features and accents. Use the same technique of carving the top of the second ball, adding a stick to support the head, and packing snow in the area where the snowman’s head and body meet. Smooth out any imperfections by adding or subtracting snow.
STEP 7: Add decorations to make your snowman stand out.
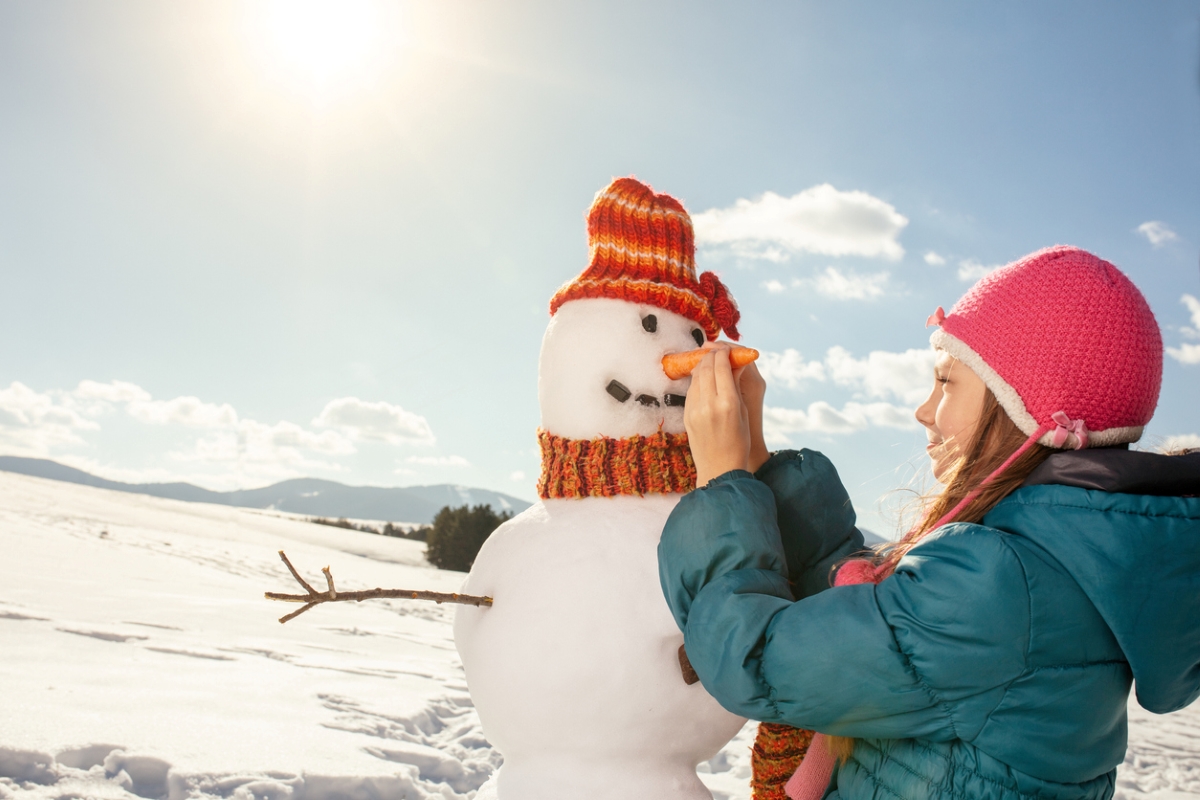
Congrats, the hard part is over! Now it’s time to give your snowman a snow-personality. Before continuing, smooth out any lingering imperfections until you’re happy with your snowman’s size and shape.
Add some finishing touches to your snowman. You can be as intricate or simple as you like, giving it arms, facial features, and/or seasonal decorations, such as adding snowman buttons down the front or a wide-brimmed hat on top. Every snowman is unique; maybe yours will be the type of snowman that likes hockey—so give him a hockey stick to hold. If you want your snowman to be even bigger, use your hands or a snow shovel to pile on more snow to make your snowman large and jolly.
One fun idea to help feed small local animals during the cold season is to decorate your snowman with edible items. A berry and popcorn garland or a carrot nose could bring some little critters to your yard!
RELATED: The Best Outdoor Christmas Decorations to Spread Holiday Cheer
FAQ About How to Build a Snowman
The above guide on how to build a snowman step by step is sure to help you create a snow friend that stays standing longer than the rest in your neighborhood. If you still have any questions about snowman construction, here are some frequently asked questions and answers that should help you get making a snowman with confidence.
Q. What materials, other than snow, do you need to build a snowman?
Besides snow, you’ll need some decorations and props for your snowman and winter gear to keep you warm as you build it.
Q. How many snowballs are typically used to build a snowman?
A classic holiday snowman is typically made of three snowballs, with a size ratio of 3:2:1 from bottom to top. It’s arguably the easiest way to build a snowman, but it’s possible to make a snowman with fewer or more snowballs.
Q. Should you pack the snowballs tightly or loosely when making a snowman?
When building a snowman, pack the snow tightly, otherwise the snowballs could fall apart. Packing the snow helps it last longer, and it also helps with stacking snowballs.
Q. Should you build your snowman on flat ground or a slight incline?
Flat ground is generally the best place to build a snowman, as it doesn’t encourage the snowballs to roll away from you.
Q. Is it necessary to add sticks for arms on a snowman?
Although sticks for snowman arms are traditional, there are no rules about snowman arms. You can use compacted snow, tools, or forgo arms entirely.
Q. Is it better to build a snowman during a light snowfall or after a heavy snowstorm?
If you’re making your snowman during a light snowfall, you can pull it off with high-quality snow (not too wet, not too powdery), but you may be limited by the amount of snow available. If your climate allows, heavier snowstorms are generally better for building snowmen than light snow.
Final Thoughts
The classic three-snowball snowman is a winter season mainstay. Depending on how you do it, building a snowman is a great family holiday activity, solo DIY project, or workout—because you’ll probably use some muscles bringing your snowman to life! In the end, you’ll be left with a fun yard decoration that won’t need to be stored in the garage when spring arrives.
This is a beginner-friendly guide on how to build a snowman. Of course, there are DIY snowman builders out there who start by creating a solid block or mound of snow and gradually carve out the details of their snow person. That’s more of a snow sculpture, and it could make for a great challenge once you’ve mastered making a snowman.
RELATED: 12 Trends for Christmas Decor in 2022
