We may earn revenue from the products available on this page and participate in affiliate programs. Learn More ›
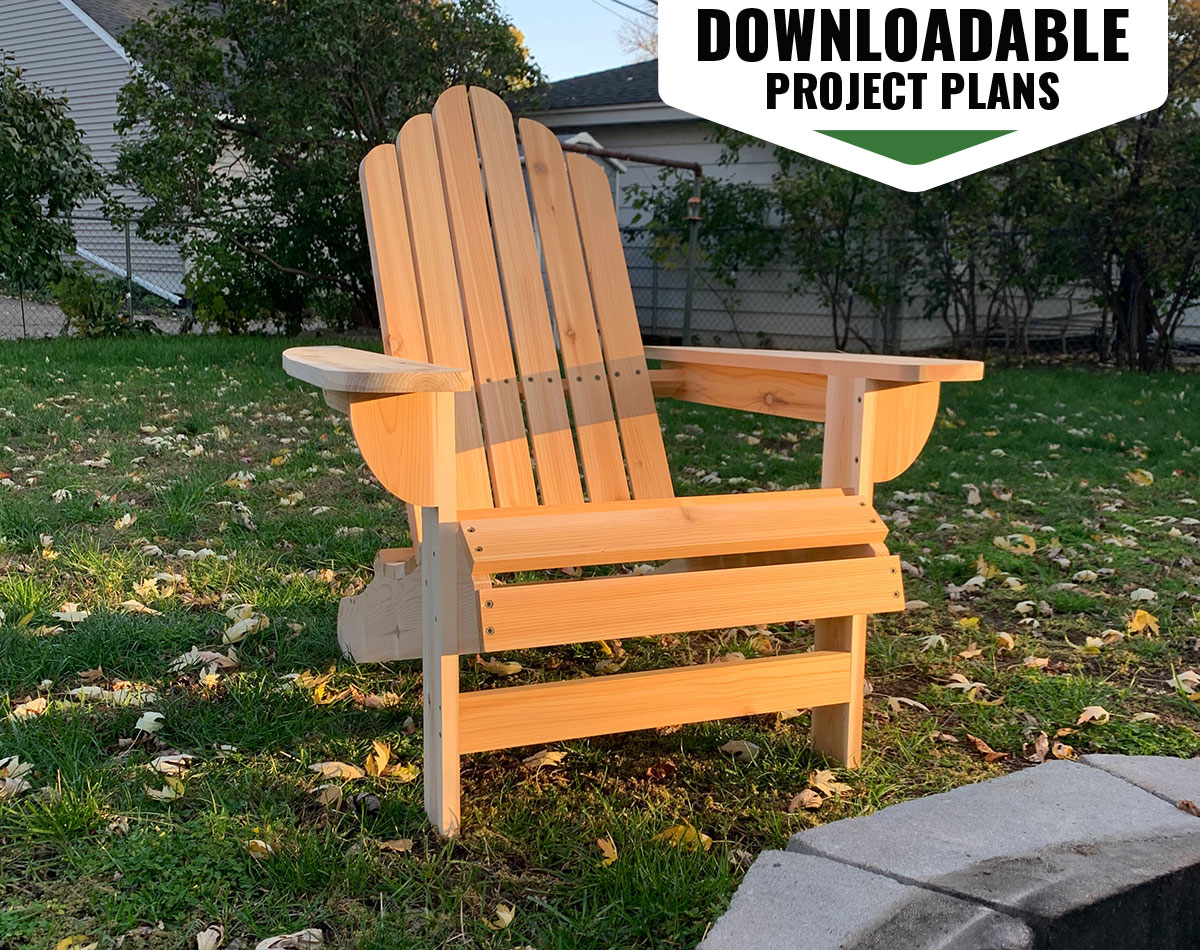
Few pieces of furniture are as recognizable as the Adirondack chair. Its low center of gravity enhances stability, while the slanted seat and backrest invite relaxation. This winning combination dates back nearly 120 years, and the chair is suitable for a wide variety of outdoor living environments. There are many creative spin-offs from the original design, but this project holds true to the most important features.
To boost comfort and add visual interest, our Adirondack chair features slats and curves, which are easy to create using a jigsaw and the templates provided in the downloadable plans. In addition, the full cut list breaks down the precise dimensions of each part, so you can build a uniform set for your outdoor sitting area.
I always use cedar when constructing outdoor furniture, as it’s pest- and rot-resistant and develops an attractive natural patina over time. It’s also readily available at most home improvement stores. Sealing the wood periodically can provide additional protection and increase the life of your DIY Adirondack chairs.
Project Overview
Estimated Time: 5 hours
Skill Level: Beginner
Estimated Cost: $120
Tools & Materials
Bobvila.com may earn a commission from purchases made through these links.
- Pencil
- Planer (optional)
- Miter saw
- Clamps
- Jigsaw
- Drill/driver
- Countersink drill bit
- 1⅝-inch exterior wood screws
- 1×3 cedar boards
- 1×4 cedar boards
- 1×6 cedar boards
- Sandpaper
- Waterproof exterior wood glue
- 1¼-inch exterior wood screws
Before You Begin
This Adirondack chair is a simple build, but it has a few challenging steps. Be sure to clamp down all of your parts when cutting the curves with a jigsaw, and drill pilot holes with a countersink drill bit for all screws. If you are confused about which length of fastener to use for each step, here’s a good rule to follow: Use the 1¼-inch screws if you are drilling into the face of a part, and use the 1⅝-inch screws if you are drilling into an end or edge of a part. Apply a small bead of exterior wood glue to every connection for extra hold.
STEP 1: Cut all the parts to length.
At most home improvement stores, 1x cedar boards are actually ⅞-inch thick rather than the standard ¾-inch thick you get with other types of lumber. Also, these boards typically come with one rough face as opposed to S4S (sanded four sides). If you have access to a planer, shape the cedar boards to a uniform thickness before cutting the parts to length with a miter saw.
Note: You can make the ⅞-inch boards work without a planer, but you’ll want to be sure that the rough faces of each part are hidden when the Adirondack chair is assembled.
STEP 2: Cut profiles in the parts.
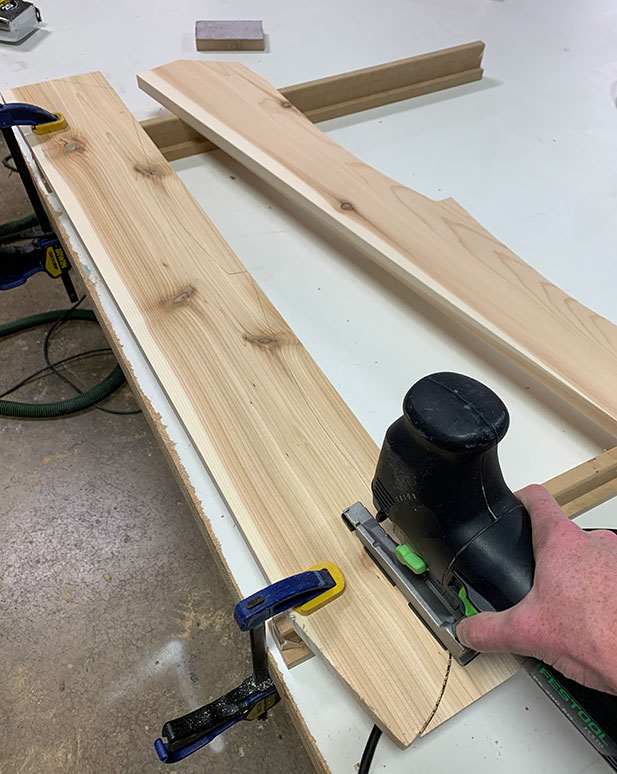
Using the detailed illustrations included in the downloadable plans, mark the shape of each part with a pencil, and then cut along the marks with a jigsaw. For symmetrical parts such as the arms and legs (and if you are making several chairs), it’s helpful to create one of each part and use it to trace out the shape of however many multiples you need. Lightly sand the edges and corners of all parts.
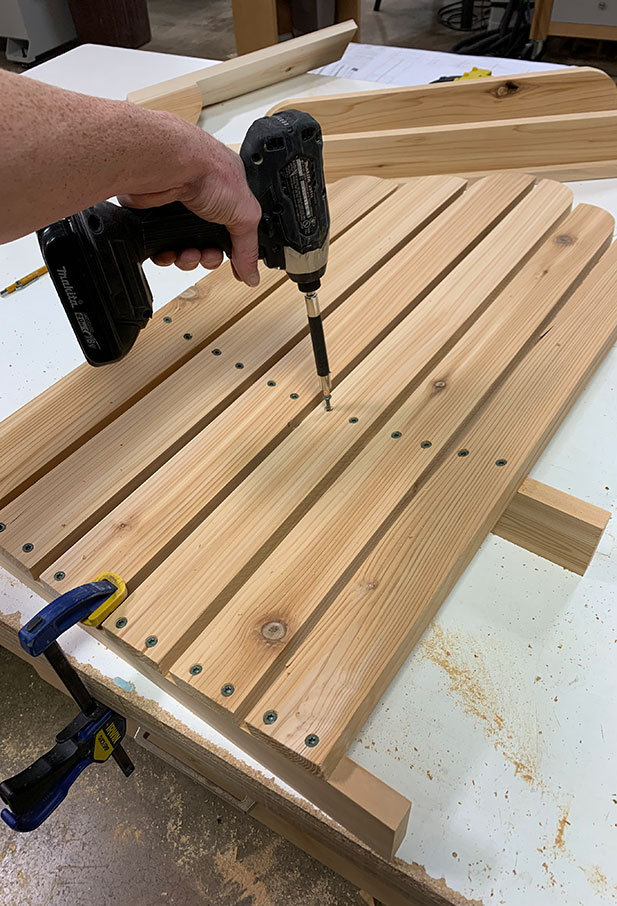
STEP 3: Build the seat.
The runners have three flat sections along the front edge. Attach the first three seat slats to the flat sections of the runners. Be sure to drill pilot holes with a countersink drill bit to avoid splitting the wood. Then, using a ¼-inch-thick piece of scrap wood as a spacer, continue attaching the remaining five seat slats to the runners.
Fasten the runner stretcher to the inner faces of the runners, 10 inches from the back end of the runners.
STEP 4: Build the back.
Attach the back slats to the bottom back brace, starting at the outer edges of the curve and moving inward. Use a ⅜-inch-thick piece of scrap wood as a spacer. Next, measure 10 inches up from the top of the bottom back brace, and place a mark on the outermost back slats. Position the top back brace at this location and secure all back slats to it using 1⅝-inch screws.
STEP 5: Create the arm and leg assemblies.
Secure the arm supports to the underside of the arms, ¾ inch from the long edges and 2½ inches from the narrow ends of the arms. For accurate placement, it’s helpful to prop up the arm supports with a piece of ¾-inch-thick scrap wood while you apply exterior wood glue and drive 1⅝-inch screws into the parts.
With the same size screws, attach the leg supports to the legs so that the long edges of the supports are flush with the top and front-facing edges of the legs.
STEP 6: Attach the leg assemblies to the seat.
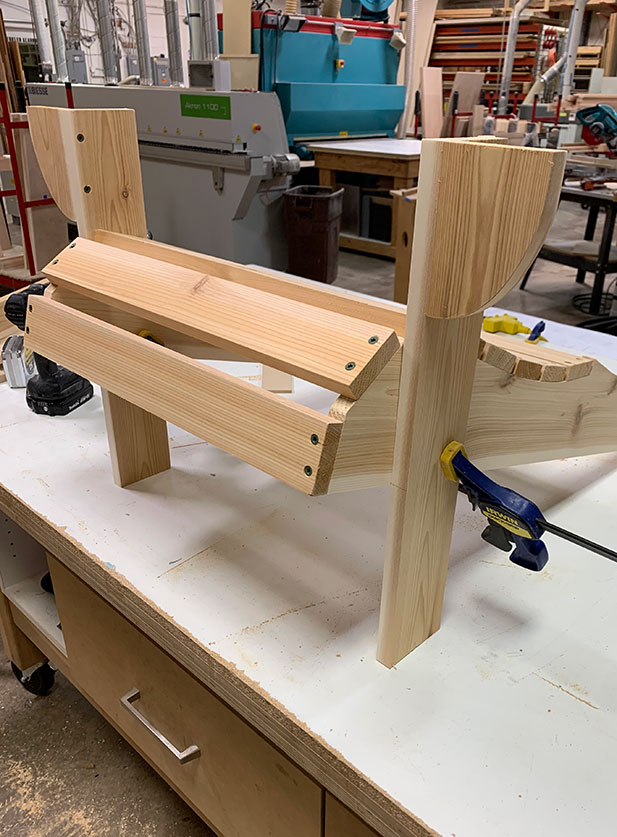
Place a mark on the front edge of each leg assembly, 8½ inches up from the bottom. Place another mark along the bottom edge of each runner, 4¼ inches from the front of the seat assembly (including the seat slat). Working on a flat surface such as a workbench or the ground, clamp the leg assemblies—with the arm supports flared outward—to the seat assembly so that the marks align. Attach the leg assemblies to the seat assembly with 1¼-inch screws.
Use 1⅝-inch screws to attach the leg stretcher to the inner faces of the legs so that the bottom edge of the stretcher is 3½ inches up from the bottom of the legs.
STEP 7: Fasten the back to the seat.
Clamp the bottom back brace to the seat assembly, and secure it in place with 1⅝-inch screws. To avoid putting too much stress on this connection, keep the parts clamped until completing the next step.
STEP 8: Attach the arm assemblies to the chair.
Place a mark on the bottom face of each arm, 3½ inches from the front edge. Clamp the arm assemblies to the chair so that the front edge of the legs and face of the leg supports align with the marks. Attach the arms to the leg supports with 1⅝-inch screws.
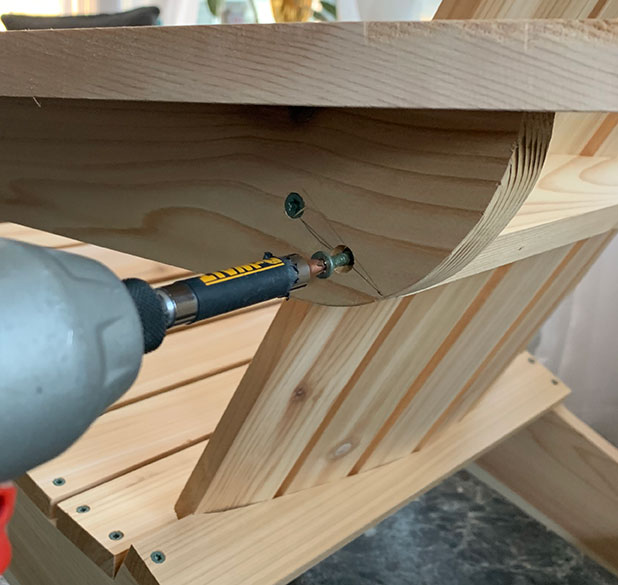
The top back brace meets the arm assemblies at the back end of the arm supports. Use 1⅝-inch screws to attach the arm supports to the ends of the top back brace to complete your Adirondack chair.
Final Thoughts
When allowed to weather naturally, cedar takes on a light gray color that adds character. If you prefer to finish the chair, I suggest using lacquer to enrich the wood. Three coats is recommended, sanding between each with gradually increasing grits. The wood will become smoother and darker as you go.
Building this timeless outdoor chair is easy with the detailed instructions included in the downloadable plans. The classic design works just as well by a fire pit in a backyard as it does on a dock in the Adirondacks.
To see the full cut list, parts illustrations, and more step-by-step photos, download the printable project plans.