We may earn revenue from the products available on this page and participate in affiliate programs. Learn More ›
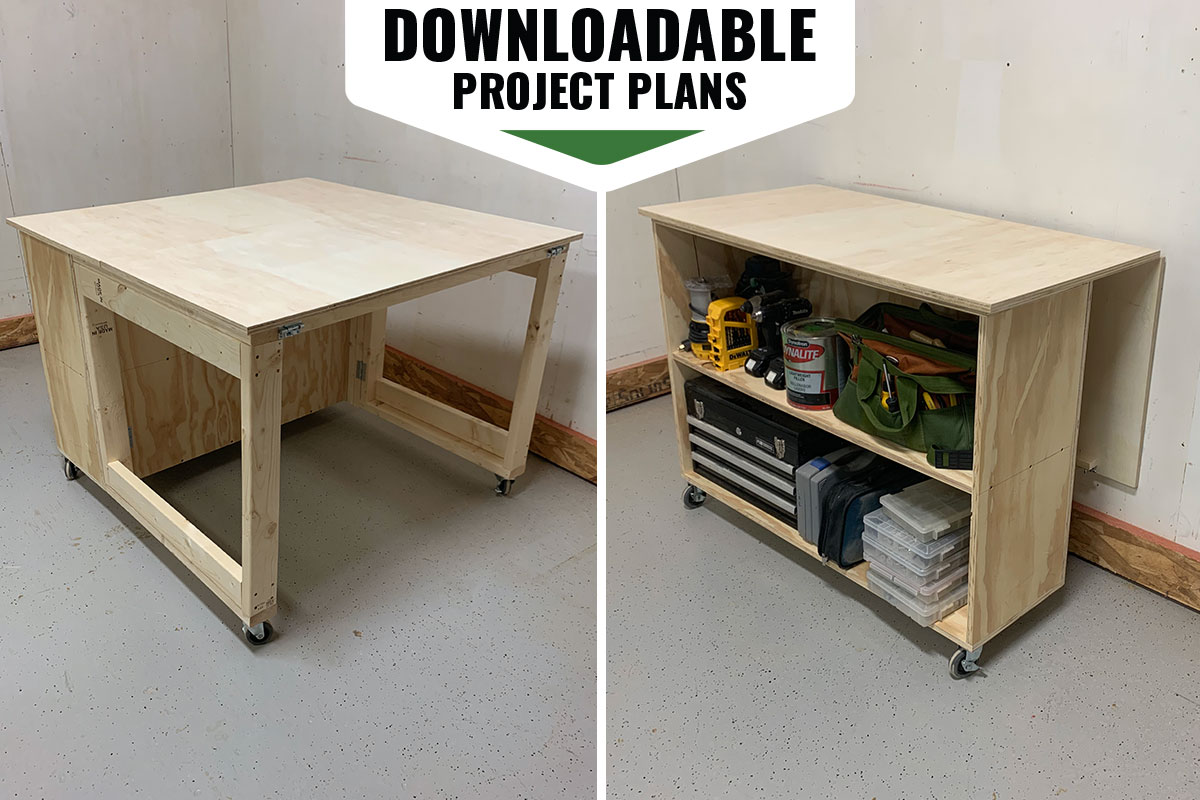
Stationary and sturdy by day, mobile and minimal by night, our workbench is designed to assist DIYers with a wide variety of jobs around the house. When unfolded to its full size, the large work surface measures 4 feet by 4 feet, which is perfect for supporting benchtop tools and other hefty project supplies. When collapsed to its smallest size, the unit can fit within 2 feet by 4 feet of floor space, ideal for stashing in a corner of the garage or even a closet. It also features an open storage cabinet for keeping materials organized and easily accessible.
You can build this wood workbench in one day and for less than $300. It will quickly become an integral part of your DIY setup, plus there’s room for customization.
- Height: Whether I’m building furniture for myself or custom cabinetry for clients, I prefer to work on a standard counter-height surface (36 inches). That’s why these plans are designed to that dimension, but you could make the workbench taller or shorter by simply modifying a few parts in the cut list.
- Mobility: I believe everyone needs some type of rolling cart in their shop. Our design features casters, but you can skip them and hinges if you would prefer a rigid, more permanent fixture. In that case, you would build the end frames the same size and secure them in place through the back of the cabinet.
- Durability: You could also up the durability factor by swapping in melamine instead of the standard ¾-inch plywood for the workbench top. It’s much easier to clean pencil marks, glue, paint, and more off of melamine, and the material won’t splinter like plywood might over time.
Ready to learn how to build a workbench? Download the project plans to see the full cut list, illustrations, and step-by-step photos.
Project Overview
Estimated Time: 5 hours
Skill Level: Beginner
Estimated Cost: $300
Tools & Materials
Bobvila.com may earn a commission from purchases made through these links.
- Pencil
- Circular saw
- Miter saw
- Drill/driver
- Clamps
- Self-centering drill bit
- Mallet
- Wood chisel
- Pocket-hole jig (optional)
- ¾-inch plywood
- 2×4 pine boards
- 1×4 pine board
- 3-inch door hinges
- 2½-inch narrow utility hinges
- 1×2 pine board
- Wood filler (optional)
- 150- to 220-grit sandpaper (optional)
- 3-inch locking casters
- 2-inch barrel bolts
Before You Begin
As mentioned above, you can customize the workbench plans to better suit your specific needs and space; just be sure to adjust the instructions accordingly before you purchase materials.
It’s recommended to cut all the parts first, and then assemble the DIY workbench. As always, exercise caution when operating power tools. Wear appropriate gear such as hearing protection, safety glasses, and a dust mask, and ensure workpieces are securely clamped as you progress through the steps.
STEP 1: Build the cabinet.
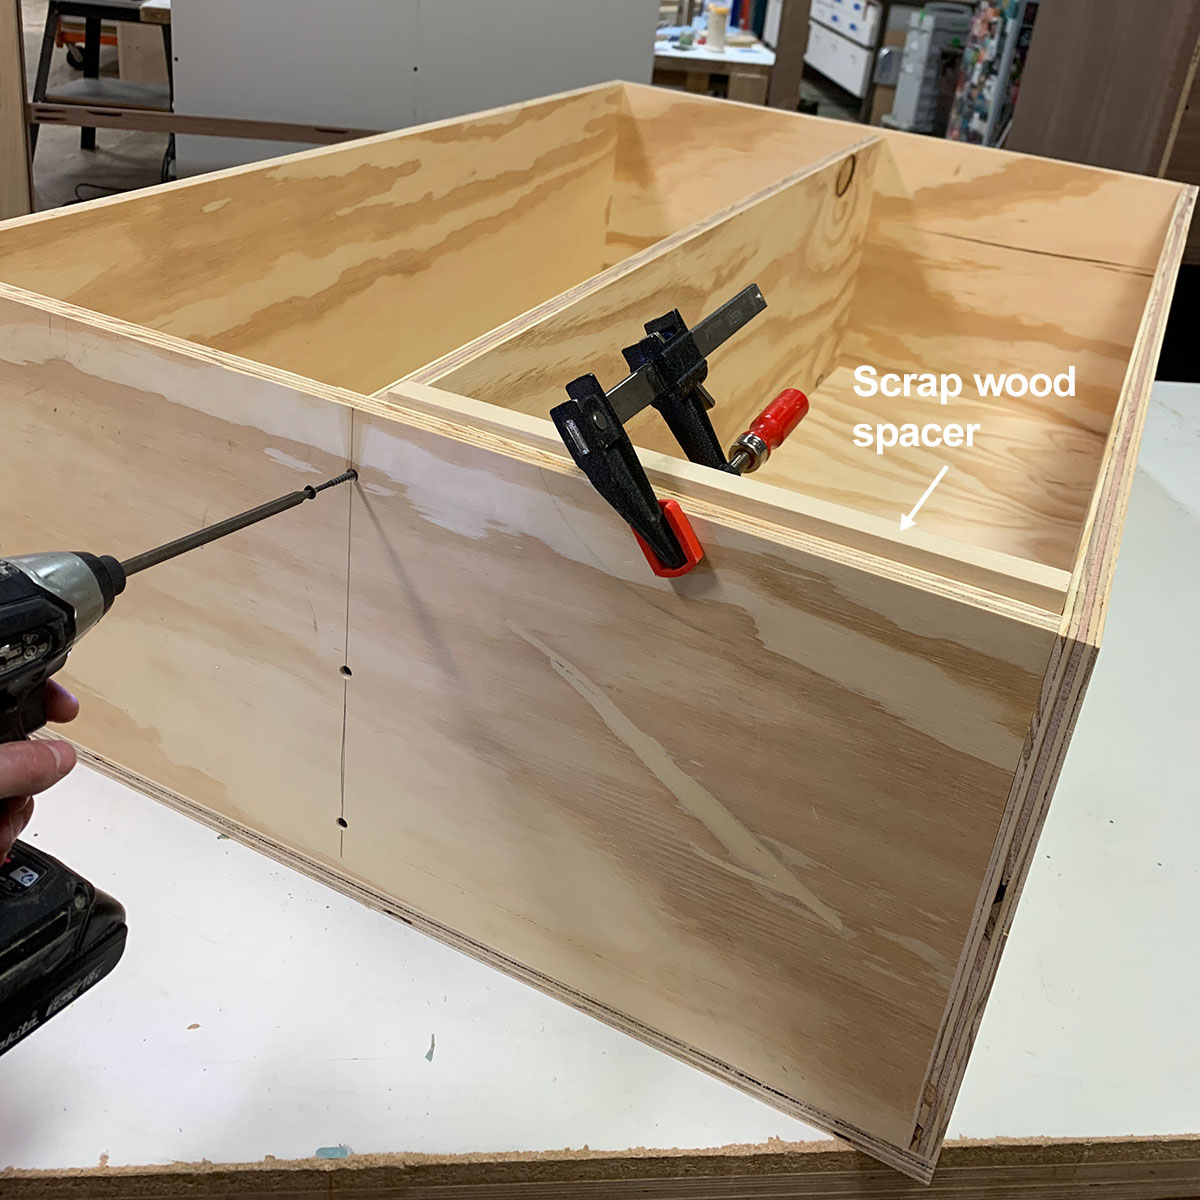
Attach the cabinet sides to the cabinet top and bottom with wood screws. Fasten the cabinet back to the assembly. Then lay the cabinet on its back and screw the shelf in place. For precise shelf placement, it’s helpful to clamp a scrap wood spacer inside the cabinet.
STEP 2: Create the two end frames.
This workbench has two differently sized end frames in order for it to fold up nicely. The folding spacer adds inches to the shorter frame, making it the same length as the larger frame when fully extended while allowing the larger frame to tuck inside the shorter frame when folded up.
To build the end frames, fasten the frame rails to the ends of the frame stiles with wood screws. To bolster the end frames, attach the fixed supports to the interior face of the stiles.
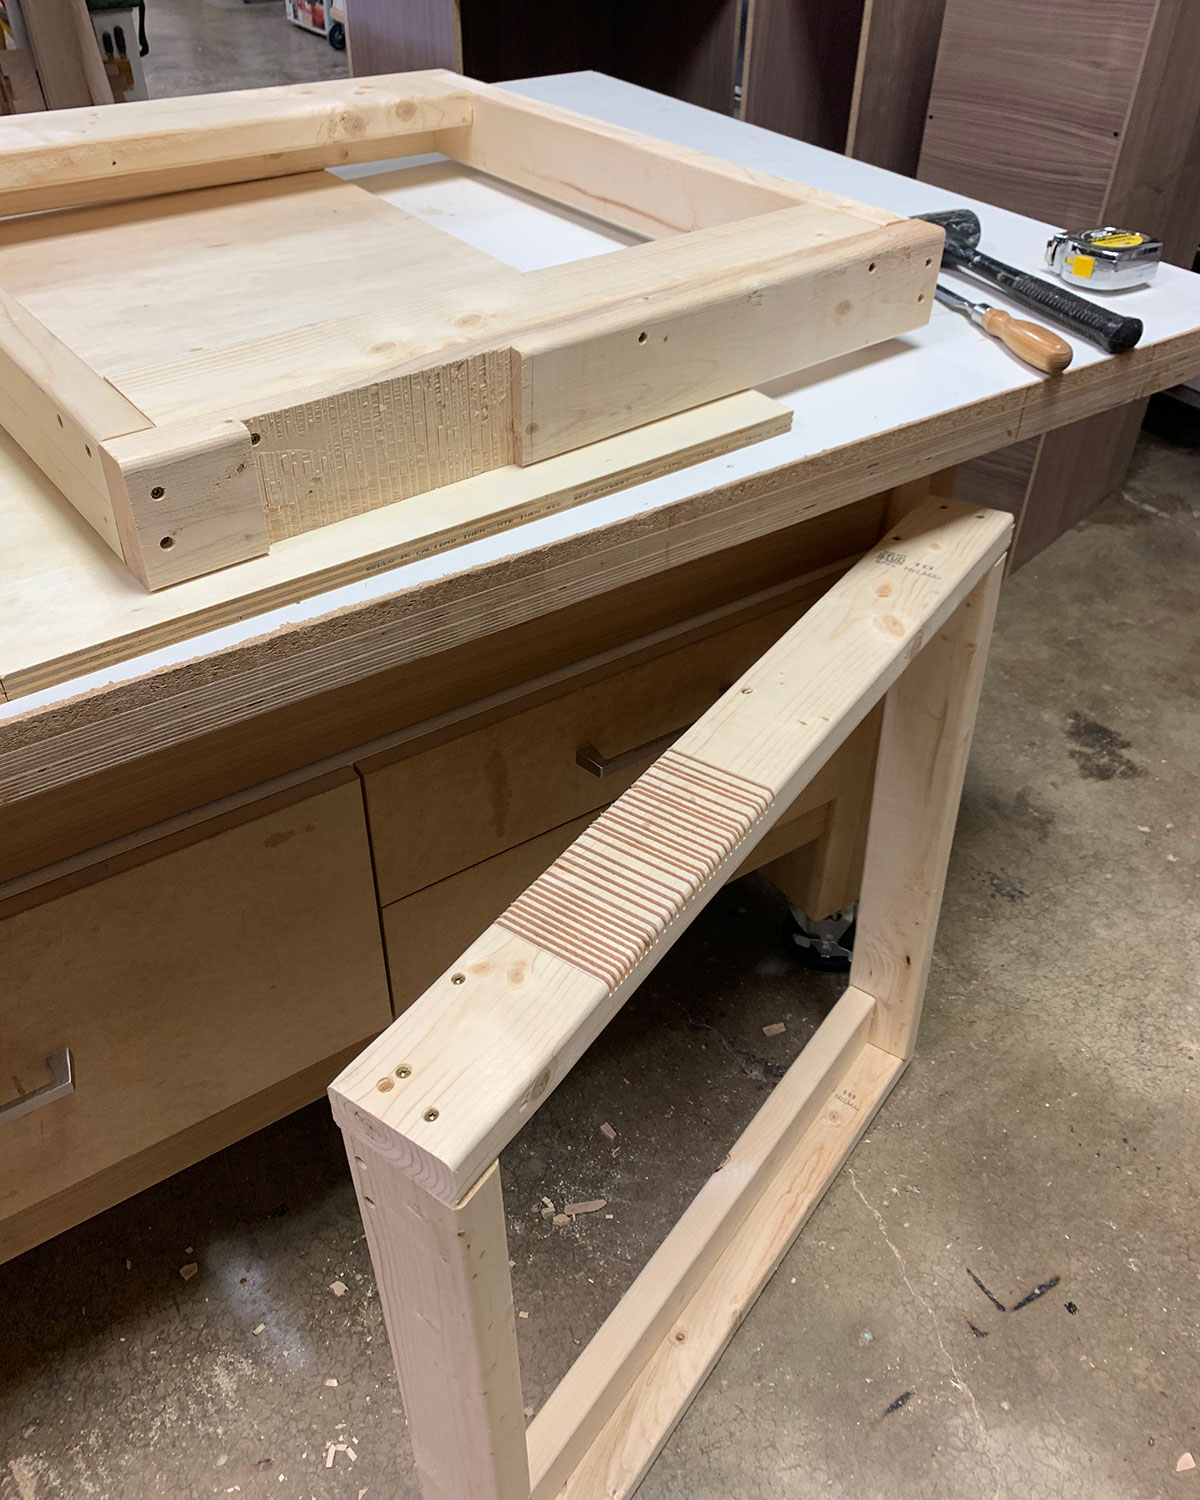
STEP 3: Build the folding spacer.
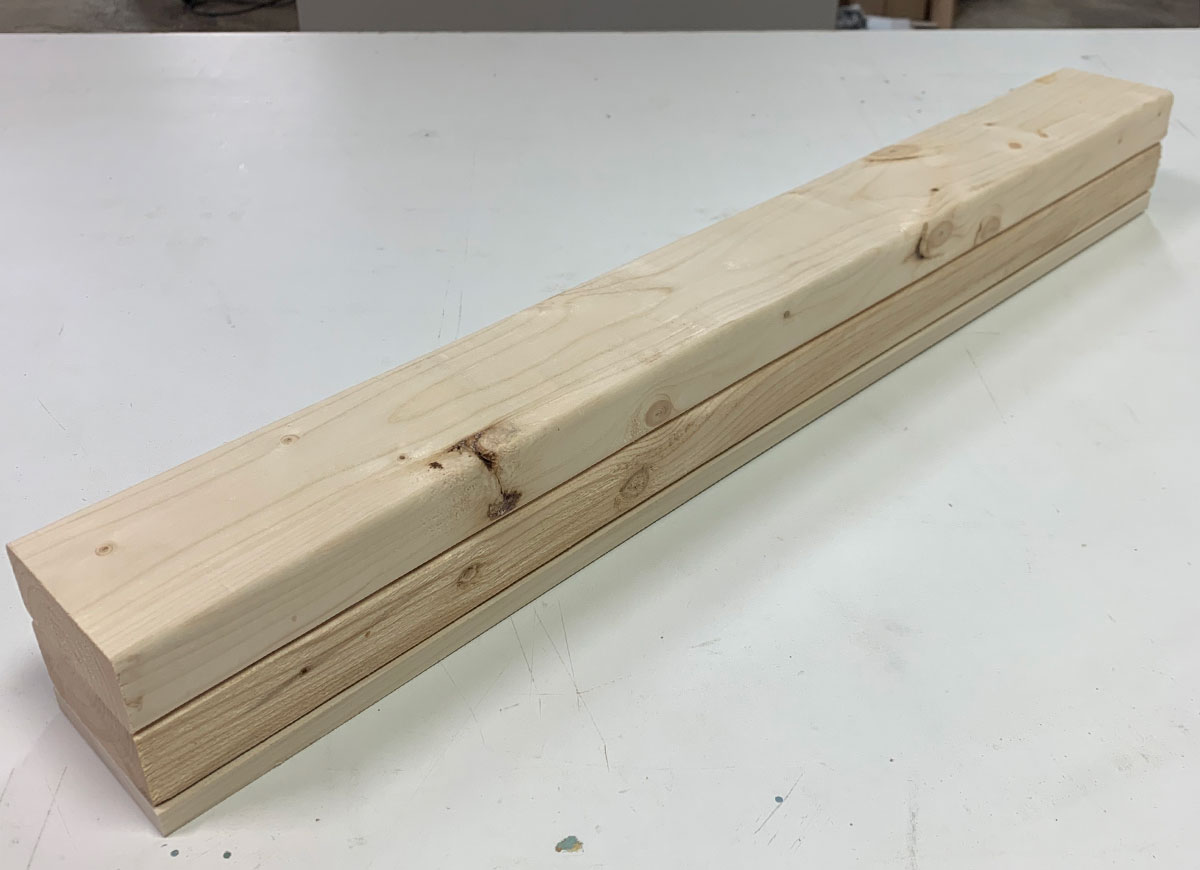
As noted in Step 2, the folding spacer is necessary for this workshop table to collapse down to a sleek, stowable size. Its construction is simple: Screw the 2×4 spacers together with wood screws. Then secure the 1×4 thin spacer to the assembly.
STEP 4: Attach the folding spacer to the cabinet.
Flip the cabinet on its left side and clamp the folding spacer to the right side of the back of the cabinet. Use wood screws to fasten the folding spacer to the assembly.
STEP 5: Assemble the bench top.
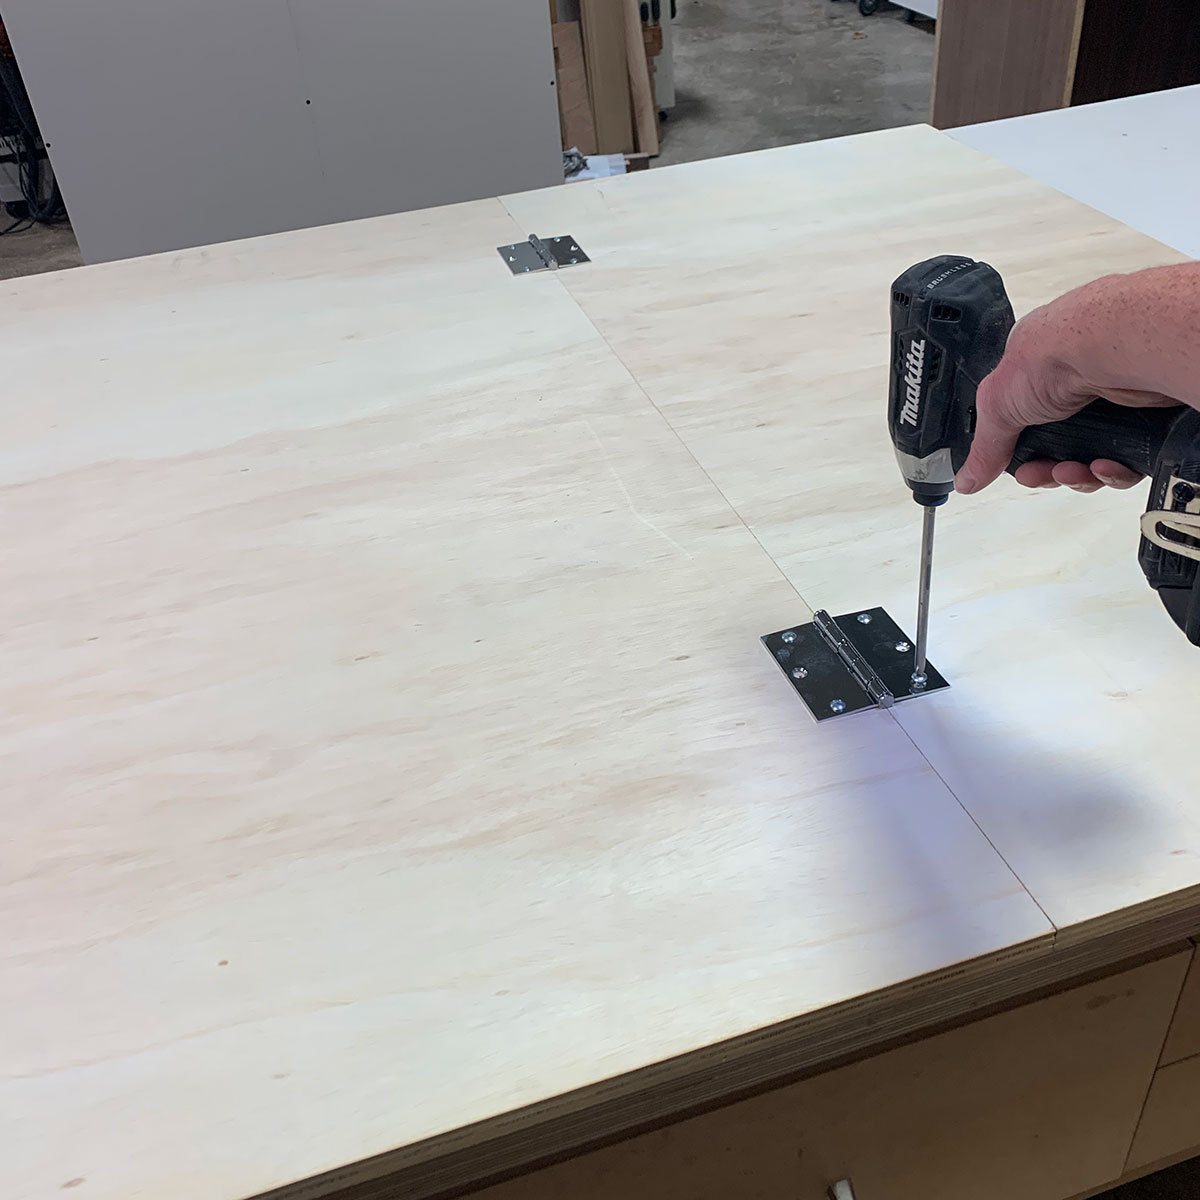
Lay the bench top parts on a flat surface so that a long side of each is abutted. Place the door hinges along the seam. Drill pilot holes with a self-centering drill bit and fasten the door hinges to the bench top.
For the remaining steps, it’s helpful to keep the bench top oriented this way (upside down with the hinges facing up) as you attach more parts to it.
STEP 6: Secure the cabinet to the bench top.
Flip the cabinet upside down onto the underside of the bench top and align it so that the bench top overhangs the sides and front of the cabinet. Secure the cabinet to the bench top.
STEP 7: Cut the notches in the end frames.
There are ½-inch-deep notches in the tops of each movable end frame. The notches allow the end frames to clear the hinges installed on the underside of the bench top.
Mark the notch locations along the tops of the end frames. Set the circular saw blade depth to ½ inch and cut numerous kerfs in the end frames. Break the remaining waste with a mallet, and clean up the notches with a wood chisel.
STEP 8: Attach the end frames to the cabinet.
Flip the end frames upside down. Clamp the short end frame to the folding spacer and the long end frame to the opposite side of the cabinet.
Install two narrow utility hinges along the interior folding seam of each end frame. Use a self-centering bit to drill pilot holes, and secure the hinges in place with the included screws.
STEP 9: Affix the end frame spacer to the bench top.
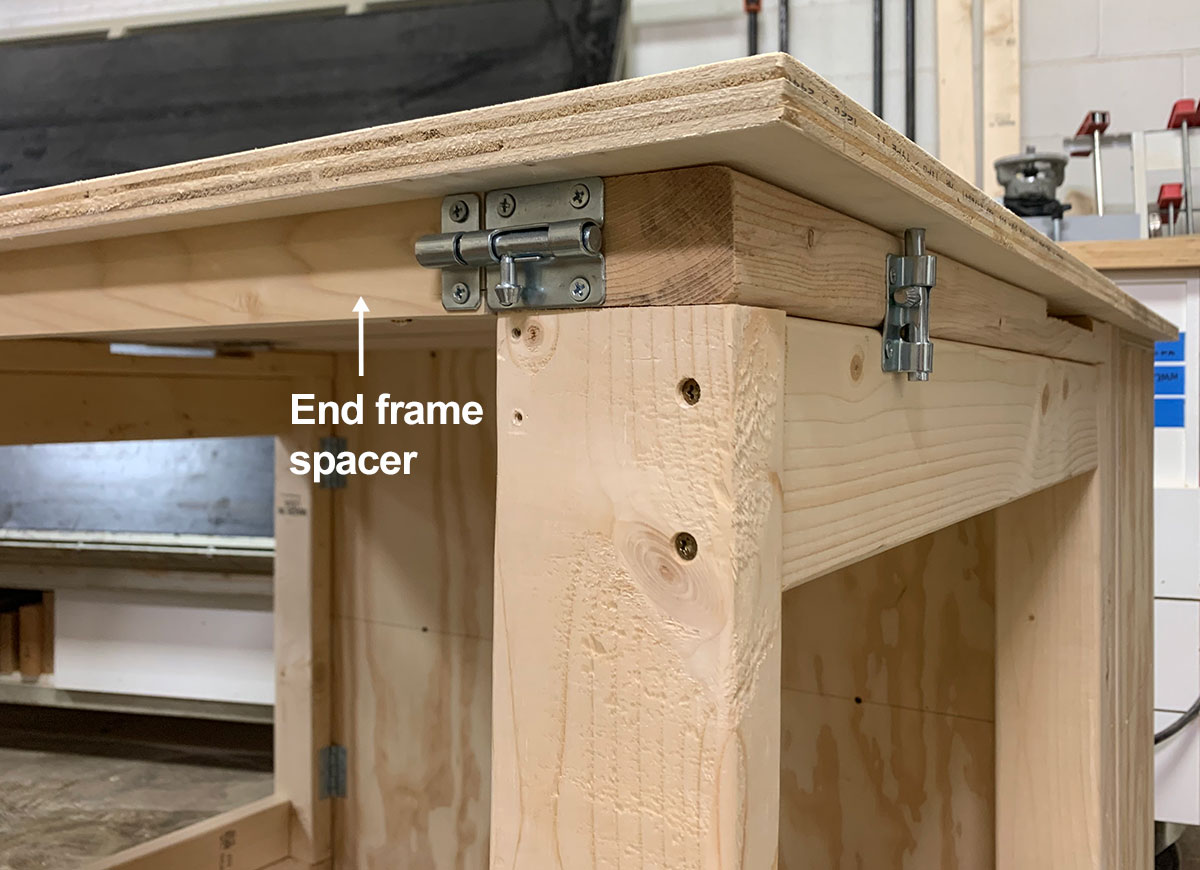
The end frame spacer plays a simple yet important role in the workbench design: It provides a surface for the end frames to register against (and lock to) when they’re unfolded.
Drill four pocket holes along the interior face of the end frame spacer. Center the spacer along the bench top between the unfolded end frames. Fasten the spacer to the bench top with pocket-hole screws. If you do not have a pocket-hole jig, drive regular wood screws through the top of the bench top into the spacer, then fill and sand the screw holes.
STEP 10: Attach the casters and barrel bolts.
Fasten the casters to the outermost corners of the cabinet and unfolded end frames. Attach both members of two barrel bolts horizontally at the seams between the end frame spacer and end frame rails.
Attach the large member only of another barrel bolt to the top rail of the short end frame. Mark where the barrel hits the underside of the bench top. Temporarily fold the short end frame and a drill ⅜-inch-diameter by ½-inch-deep hole at the mark to catch the barrel.
Final Thoughts
With the precise cut list, illustrations, and step-by-step photos included in the downloadable plans, learning how to build a workbench is easy. It’s also a great way to pick up some basic cabinet-making skills, which are useful for a wide variety of woodworking and home improvement projects. In addition, the design of this collapsible, mobile workbench promotes space savings—a bonus in any home shop.
For more detailed instructions, a parts cut list, and helpful illustrations, download the printable project plans.
