
We may earn revenue from the products available on this page and participate in affiliate programs. Learn More ›
It’s only a matter of time: Sooner or later, your chairs with upholstered seats become worn, dirty, or dated. When you decide those chairs have gotten too worn to keep around, weigh your options. Your instinct may be to donate the chairs or throw them away, but if the chair’s frame remains in good condition, why not consider reupholstering the furniture?
While you can hire a professional for these sorts of repairs, it can be much easier—and yet equally transformative—to recover the chairs yourself, replacing their seat covers with new fabric. Even a novice DIYer can do this project in an afternoon and get great results.
Whether you’d like to learn how to reupholster a dining chair cushion or your favorite heirloom entry bench’s cushion, this guide will teach you how to recover chair seats for a fresh new look.
Here are a few things to know before you get started, including a list of supplies, and the step-by-step instructions for how to reupholster a chair seat.
Tools & Materials
Bobvila.com may earn a commission from purchases made through these links.
- Fabric scissors
- Staple gun
- Screwdriver
- Fabric measuring tape
- Batting (optional)
- Upholstery tack strip (optional)
- Dust cover fabric (optional)
- Hot glue gun
Before You Begin Reupholstering Your Chairs
When you’re excited, it’s easy to dive head-first into a project. Before you buy your supplies, make sure the chair you’re reupholstering is worth recovering. Sometimes it’s less expensive to replace chairs that aren’t structurally sound than it is to fix and reupholster them. However, older furniture tends to be studier and built to last, which usually makes decades-old furniture worth recovering.
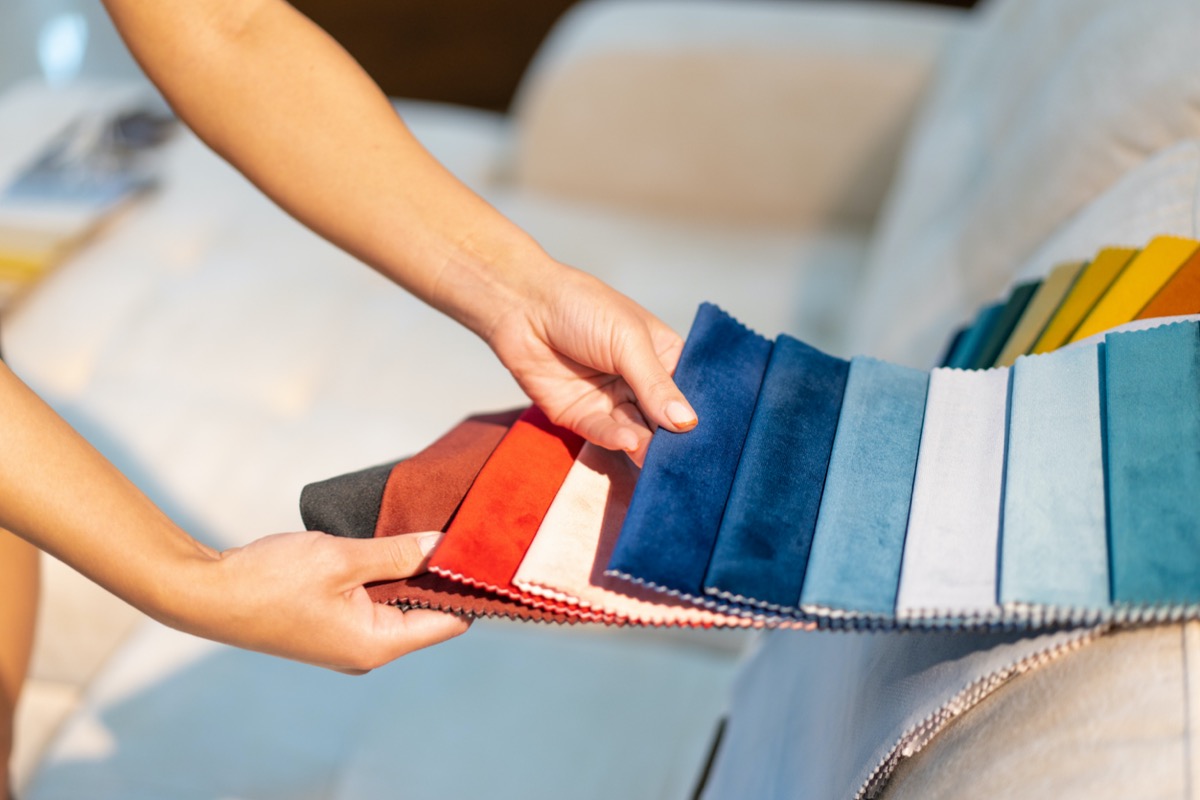
Choose the Right Fabric
Before you go shopping, have an idea of which kind of fabric you need, the budget you’re working with, and if you require extra fabric protection, so you can select material that suits your aesthetic and lifestyle.
Choosing the right upholstery fabric ensures your seats last longer, and offers comfort and style that complements your home. Each type of upholstery fabric has its own charm, perks, and limitations. Here are some natural and synthetic fabric options you might consider when recovering your chairs:
-
Cotton: A natural and breathable fabric with great durability, it resists both abrasion and fading. It’s susceptible to staining and catches dust and dirt, making it safer for homes without kids or pets.
-
Linen: The fibers of this fabric originate from the flax plant, and it’s a popular and affordable upholstery material. Smooth, soft, and strong, this fabric does not pill, and it’s also antibacterial and abrasion-resistant. However, this material does not stand up to rough use.
-
Wool: This environmentally-friendly fabric is durable and sturdy. It’s insulating, resists pilling and staining, and it stands up to a lot of use. This is a less common upholstery material, possibly due to a higher price point than other types of fabrics.
-
Leather: A long-lasting, and likely the most durable upholstery fabric, leather is a comfortable and stylish option. It performs wonderfully with lots of use. This elegant material is a great fabric for homes with pets as it doesn’t cling to pet hair and doesn’t absorb spilled materials (or smells).
-
Polyester: A microfiber material that’s often blended with other fibers, polyester offers a wide variety of colors and prints. It feels soft and comfortable, while remaining easy to clean. Polyester is a tensile fabric, so it may stretch over time and look a little looser on your chair over the years.
-
Olefin: A popular synthetic fiber, long-lasting olefin is easy to clean and withstands a lot of use (including roughhousing). It’s made to look and feel like wool, but unlike wool, it’s water resistant. It can be used for indoor chairs, but it’s more common to see this fabric on outdoor furniture.
Pro Tips for Furniture Upholstery
Recovering a chair is a simple DIY project, but if it’s your first time taking on the project, you may want to start on chairs with straight lines. They’re easier to upholster. After you have a little experience, it’s easier to move onto more ambitious upholstery projects.
When upholstering a chair or any other furniture, keep in mind it’s never too late to restart or reposition the fabric—simply take out the staples and try again.
Here are a few other tips to keep in mind when recovering a chair:
- Make seats feel cushier by adding more cotton batting or new foam under the fabric.
- If you insist on using a less durable fabric because you like how it looks, put a layer of canvas or muslin underneath it to give it a bit more longevity.
- You can reupholster over old fabric as long as the new fabric is darker than the original color.
- If you want to cover the stapled side of the seat neatly, add a dust cover to the underside of the chair.
- Make pleats when upholstering furniture with curved edges.
- For flourishes like nail heads or grommets, wrap your hammer head with batting and secure it with an elastic band to prevent the hammer from scratching the decorative accents.
- When there are multiple pieces to upholster, label each piece of existing fabric that you remove, so you can put the parts back together properly.
- It’s beneficial with larger upholstery projects to either film yourself or take photos as you take the furniture apart, giving you a guide for reassembly.
How to Recover a Chair Seat
Reupholstering your chairs is a low-stakes DIY project. It’s next to impossible to ruin a chair by recovering it. If for some reason following these steps doesn’t work for you, get some help, take your chair to a professional, or consider covering the chair with a slipcover.
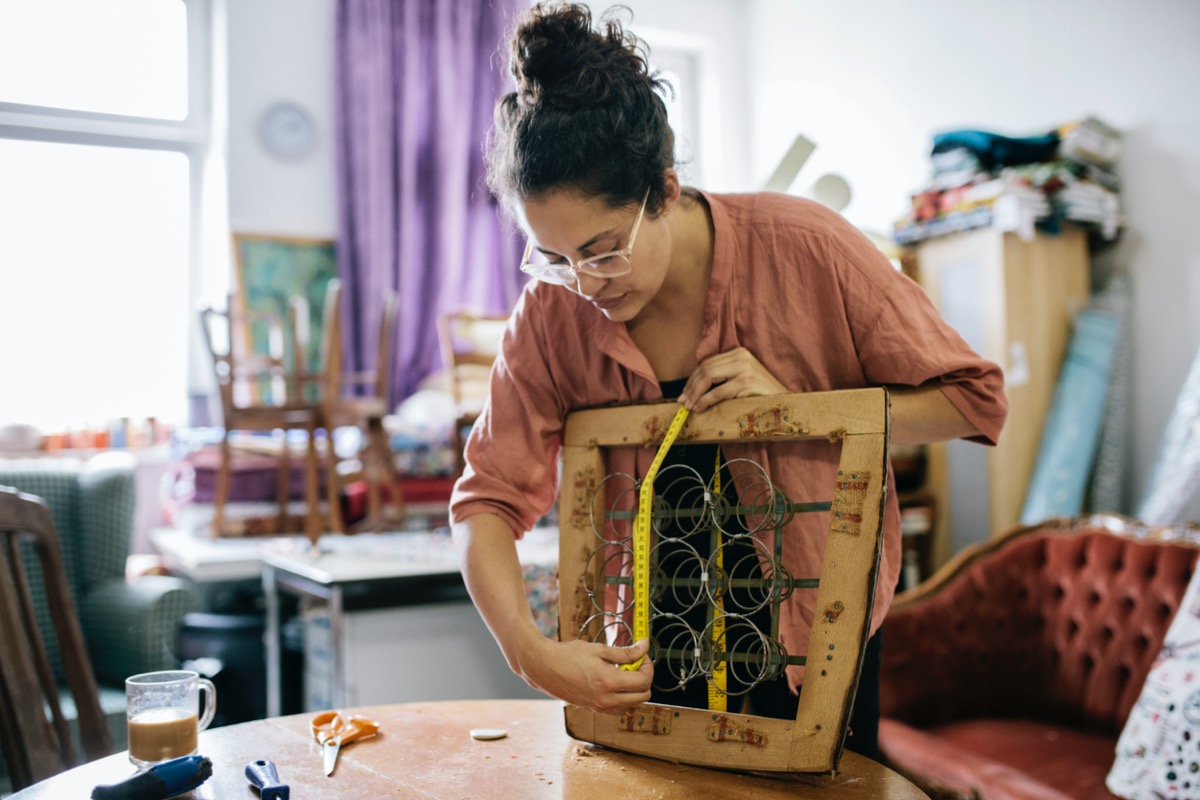
STEP 1: Measure the seat cushion.
Before you begin to recover a chair, start by measuring the seat cushion to determine how much replacement fabric you’ll need. During the measuring process, be sure to allow for at least 3 extra inches of fabric on all sides (in later steps, you are going to work with this excess material on the underside of the cushion).
STEP 2: Remove the old cushion and fabric.
Using a screwdriver, remove the existing cushion from the chair frame. (This would be an opportune moment to address any minor repairs you wish to make on the chair.) Bear in mind that if there’s only one cover on the cushion, you can recover the chair without even removing the old fabric; simply lay the new fabric over the old. When dealing with a cushion that has more than one cover, however, take off the top layer by drawing out the staples that hold it in place.
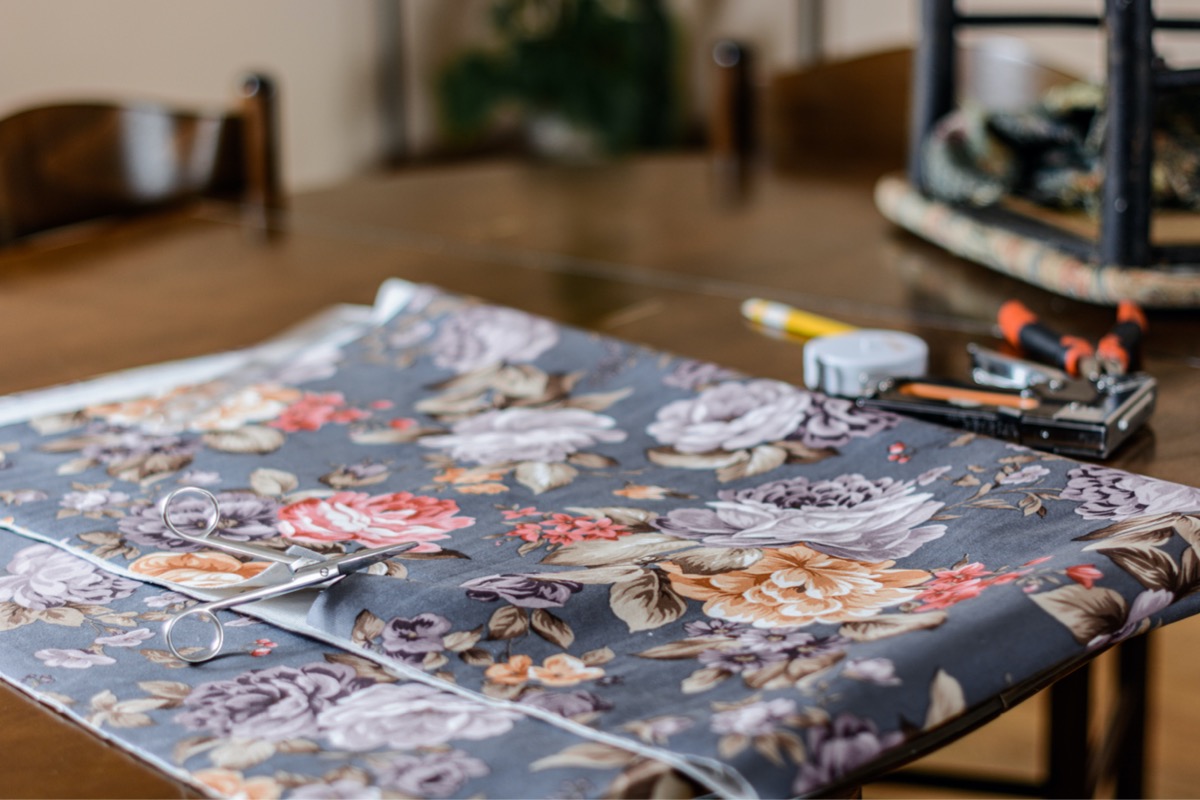
STEP 3: Cut the new seat cover.
Having laid the fabric onto your work surface, cut a piece that conforms to the dimensions you calculated in the earlier step. If you are working with a patterned fabric (for example, one that includes a floral medallion), then take care to ensure that your cutaway includes the part of the pattern you would like the chair seat to display.
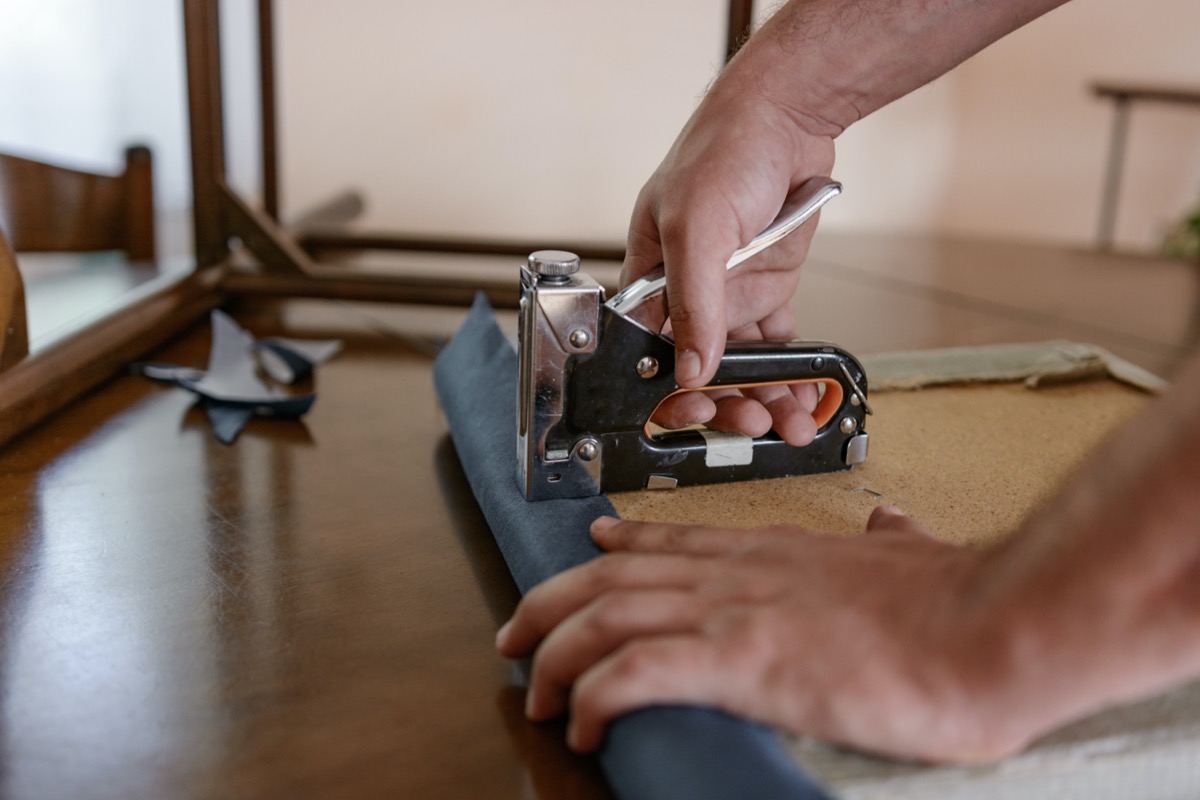
STEP 4: Staple the new fabric to the seat.
To attach the new cover, fold one edge of the fabric over the seat, then staple that fabric to the underside of the cushion, about 1 or 2 inches from the edge. From there, stretch the fabric across the top of the seat, folding the fabric over the opposite side of the cushion before stapling again on the side opposite to where you placed the initial fastener.
After checking to confirm the cover is aligning correctly on the cushion surface, flip it back over and continue stapling along the edge of the underside, all while keeping the fabric taut (but not so taut that the weave or pattern becomes distorted). If the cover goes on crooked at any point while you’re working, pop out a staple or two with your flat-head screwdriver, then re-attach.
STEP 5: Trim and wrap fabric around the corners.
When you arrive at one of the corners, staple at the same time that you stretch and angle the fabric. It may take some trial and error, but eventually you will figure out how to attach the fabric without causing any wrinkles to appear. Remember that if you do get wrinkles, there’s a quick and easy fix: Just pop out a few staples, adjust the cover, then staple again.
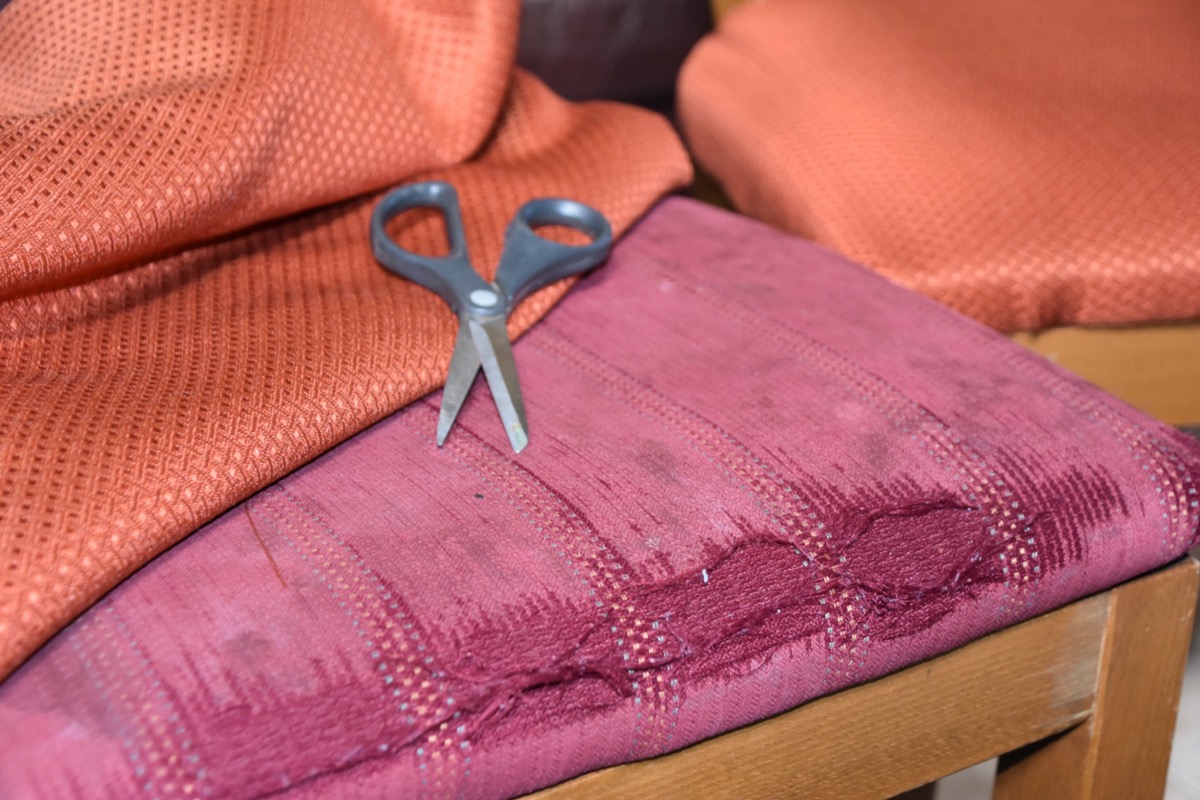
STEP 6: Trim away excess fabric.
By now you will have finished stapling on the cover. Proceed to trim away the excess fabric beyond the staples with scissors, leaving 1 or 2 inches of material beyond the staples. There’s no need to worry about the underside appearance for chair seats that sit on the base of the chair, as the underside of the cushion will not be visible.
STEP 7: Install a dust cover (optional).
A dust cover is the dark fabric on the underside of a chair, which helps hide the springs or the open base of a chair, making it look more professional (and preventing dust from settling inside the springs). Measure the underside of the chair and cut the dust cover fabric slightly bigger than you need.
All staples should be positioned as close to the edge of the dust cover fabric as possible.
Fold the edges of the cover underneath and secure the fabric to the middle of each side of the seat with a staple, ensuring the fabric stays taut. Secure the dust cover by adding a staple about every inch or so all the way around the bottom of the chair.
STEP 8: Attach welting (optional).
Also known as piping or cording, welting adds a little extra decorative element and helps disguise any staples on chairs, especially for chairs with a fixed seat.
A long narrow chain of fabric wraps around a cord, which can be constructed by sewing or using hot glue. Using your glue gun, start attaching the welting to the corner where your cushion is against the back of the chair. Make sure the glue isn’t right on the edge, otherwise it will ooze out. Once you’ve glued the welting all the way around, cut it to fit your seat.
STEP 9: Reattach the upholstered chair seat.
Once the glue has dried, place the seat on the chair frame. Line the seat up with the pre-existing holes from when you removed the chair seat, and screw the chair pad back in place. Make sure the seat is firmly attached, but be careful not to tighten the screws too much, otherwise you risk stripping the holes.
All that’s left is to test out the chair and revel in your handiwork.

Final Thoughts on How to Reupholster a Chair Seat
All this project really requires, beyond very basic DIY tools, is a length of fabric and a staple gun. Now that you know how to recover a chair seat, you may be amazed by how easy it becomes to tackle your other furniture reupholstery projects and refresh your favorite pieces with a new look, all for little more than the cost of new fabric. So go forth, recover, and sit pretty!
FAQs About Chair Reupholstery
Recovering a chair can be a very simple DIY that refreshes the look of a chair and a room. Using the above steps, you’ll be able to reupholster a chair even if you’ve never done it before. If you’re new to recovering furniture, you may have some lingering questions about it. Here are some answers to frequently asked questions about how to recover a chair.
Q: How much does it cost to reupholster a chair DIY style?
When you’re not paying for labor, reupholstering a chair is much more affordable. The biggest cost will be the fabric that you choose. Synthetic fibers tend to be more durable and less expensive than natural fabrics. For the cost of fabric, padding and supplies, you can usually reupholster a typical chair cushion for less than $50.
Q: Can you reupholster a chair without removing the old fabric?
You can recover a chair with the old fabric still attached, providing you know the state of the chair. If it’s a flea market find or second-hand purchase, it’s tough to tell if the cushion and padding have been exposed to moisture, in which case replacing the fabric and padding is recommended to avoid a potential mold issue.
Q: How do you respring a chair?
Respringing a chair is a little bit involved, and this is typically a job for a professional. If you choose to DIY, make sure to purchase replacement springs that match the existing ones in the chair. After removing the old springs, you’ll need to attach the new springs to the webbing, angle them properly, and fasten them carefully before reattaching the seat.
Q: How do you reupholster a non-removable chair seat?
After removing the old trim and covering, cut your fabric slightly larger than what you need to cover the seat. Fold the raw edge under to create a finished edge and staple the back side of the seat in the middle. Pull the fabric taut, fold the edge, and staple the front side, then do the same with the remaining sides. Once secure, staple along each side, keeping the fabric tight. Use hot glue to attach welting to cover up the staples for a finished look.
Q: How much does it cost to have a chair recovered?
The cost of a professional upholsterer to recover a chair depends on the chair, the fabric, and the amount of labor required. An upholsterer may charge anywhere from $150 to $1500 to recover a chair.