We may earn revenue from the products available on this page and participate in affiliate programs. Learn More ›
Q: I spend a lot of time on my deck, and lately I’ve noticed a few creaky boards and some rotting on the railing. We’ve had this deck for several years, but I’m not sure if the deck just needs some new boards or we need to replace it altogether. Should I repair or replace my deck?
A: Decks can be a haven for relaxation, alfresco dining, and outdoor entertainment—so long as they’re in decent condition. Unstable posts, creaky boards, or rot can make a deck unsafe and are clear signs that it needs some TLC. But whether you need to repair or replace your deck depends on the deck’s age, material, and the extent of the damage. If the cost of the repair is more than half the cost of a deck replacement, replacing the deck may be the best option.
Small deck repairs, such as filling holes and cracks or staining boards, can be DIY weekend projects, while homeowners will want to hire a professional to take on larger repairs or replacement. Deck installers will know how to replace deck boards or how to build a new deck railing on an existing deck—and they’ll know how to make your deck safe and secure for you and your family and friends. Keep reading to determine the best route to take with your deck.
Consider the deck’s age: Traditional wood decks have a lifespan of 10 to 15 years, while composite and polymer decks can last for much longer.
Knowing the material of your deck and its age can give you a better idea of whether you should replace the deck entirely or repair it. How long do decks last? Wood decks can last as long as 15 years, while composite decking can last anywhere from 20 to 25 years. If your deck is composed of capped polymer, it could stay in decent condition for up to 50 years.
If the deck is nearing the end of its lifespan and showing signs of significant rotting or damage in multiple areas, deck replacement might be the best solution. However, if the deck still has years left in its expected life and the wear and tear is superficial (think splintering or fading), it may make more sense to replace deck boards instead of rebuilding a deck.
Inspect the main areas of the deck to check how they’re holding up.
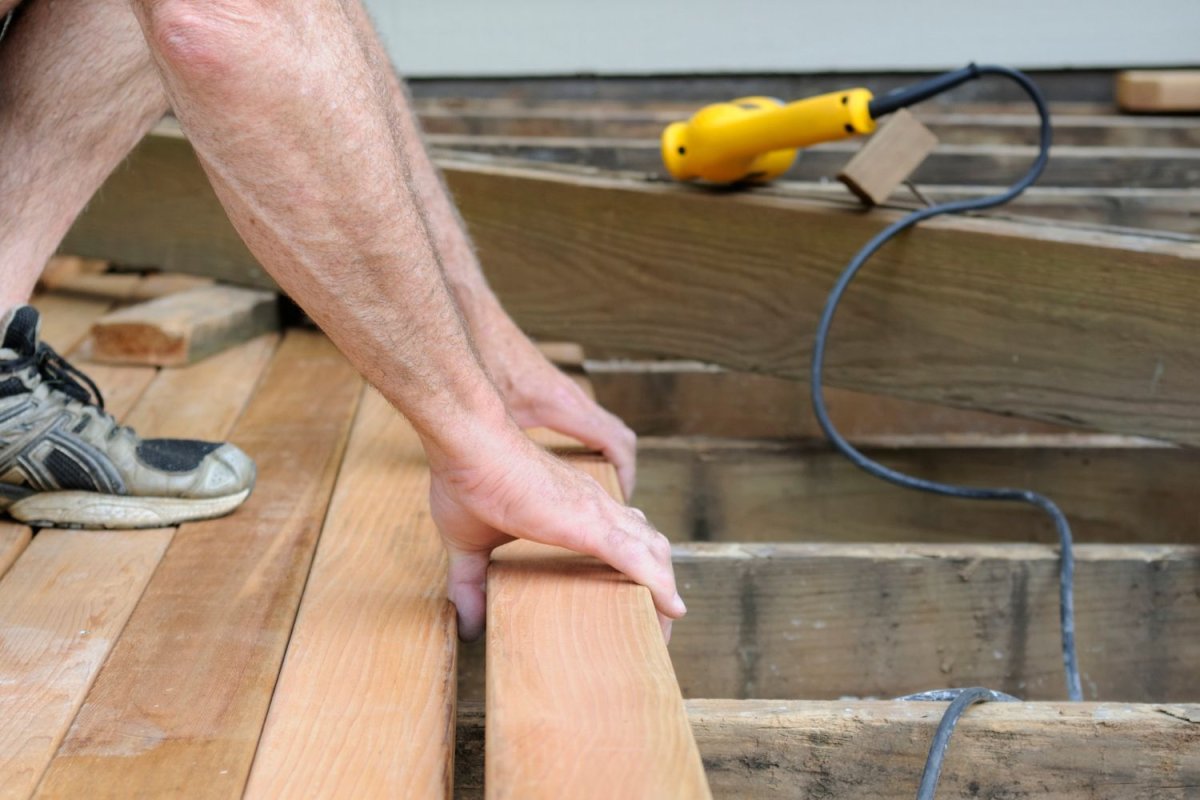
Before you go into DIY mode or call up a local deck repair person, it helps to do an inspection of your deck to see the extent of its issues. Looking at the ledger board is a good place to start; this is the long, pressure-treated board that attaches to your home. If this piece is significantly rotted or damaged, it could result in the deck collapsing. Ledger boards can be repaired, but if rot from the ledger board has spread to more of the deck or the stability of the deck has become compromised, the deck might warrant replacement.
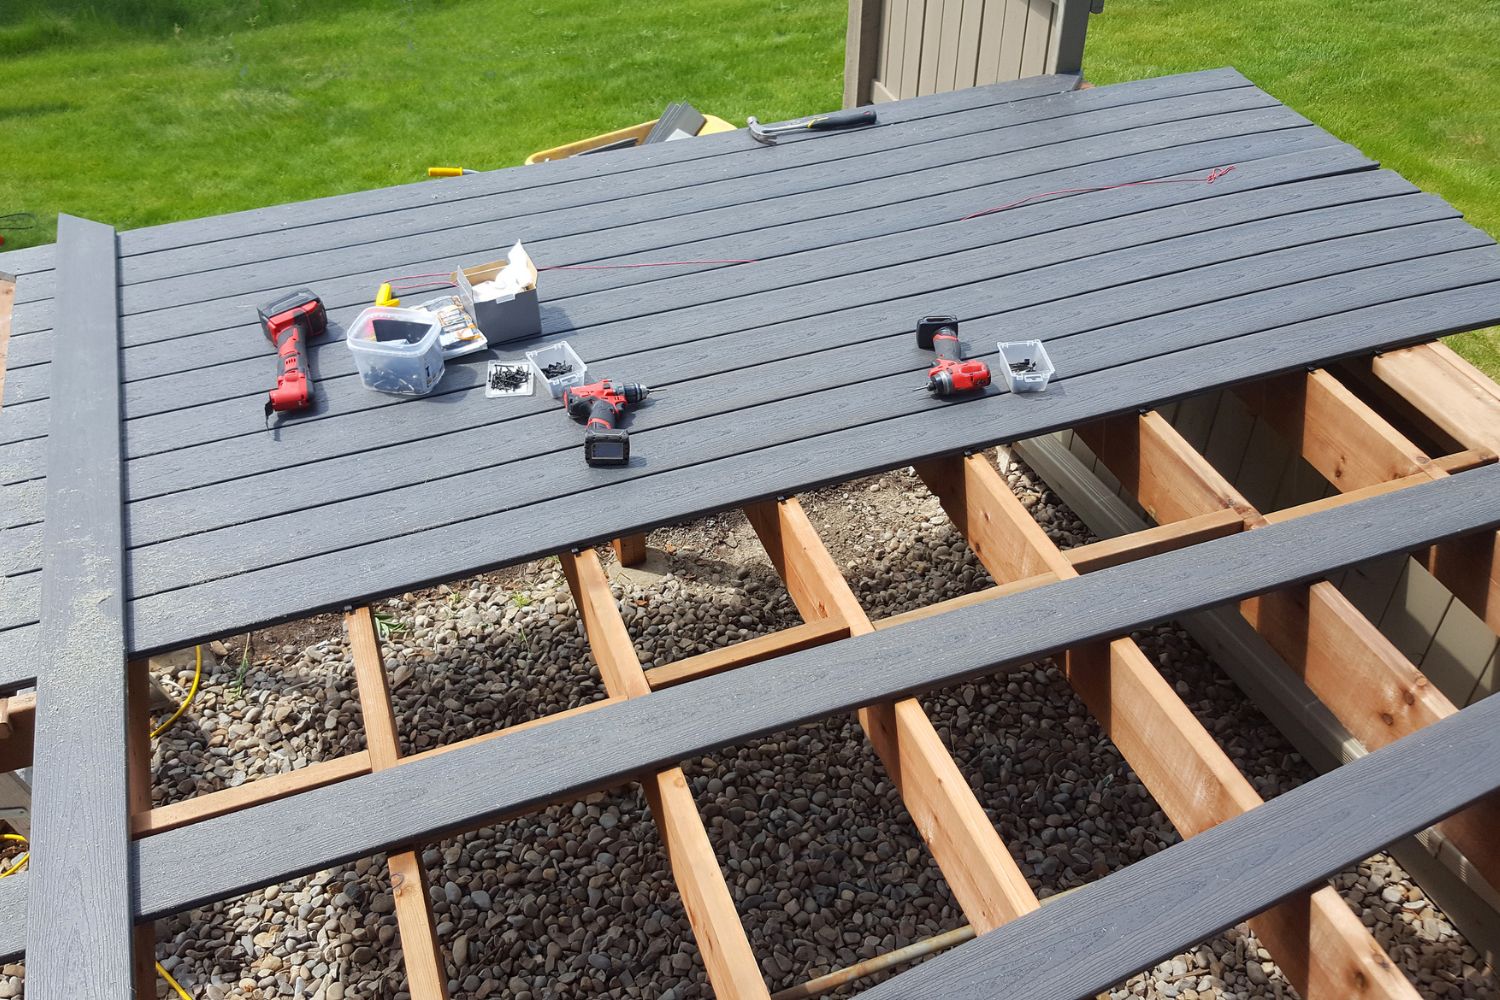
Another important place to check is under the deck. The beams and joists beneath a deck act as the support system and are susceptible to water damage over time. The sooner you catch problems with these pieces, the better:It’s easy for a deck repair pro to fix this area if the problems are relatively new and the deck material isn’t compromised.
Other areas to inspect include fascia board, posts, flashing, railing, and the deck’s surface. Generally, if more than one area is showing signs of damage, you may need to start looking into the cost to rebuild a deck. If you’re wondering how to redo a deck for cheap, be aware that the costs of repairing individual features may add up to more than a brand-new deck would cost.
Deck beyond repair?
Maybe it's time to call a pro for an expert assessment. Get free, no-commitment project estimates from deck building and repair services near you.
Lots of wood rot means a deck likely needs replacement.
One benefit of composite and capped polymer decks is that they’re resistant to wood rot. But even pressure-treated wood can succumb to issues from moisture. Signs of rot are a good indication that you’re in need of wood deck repair. Wood rot is most likely to occur first in horizontal beams and joints, since joints tend to trap moisture and screws allow a path for water to seep into the wood. Fascia board, which is more cosmetic than structural, is also more susceptible to wood rot since water can become trapped against the beams behind it. If you see signs of rot, like soft, darkened timber or fungus growth, it may be time to look into how to repair a deck and consider hiring a deck repair pro. Decks with multiple spots of extensive wood rot may need full replacement.
Getting a quote from a deck installer can help determine if it makes more sense to repair or replace deck components or install a new deck.
If you’re on the fence about replacing deck boards or redoing the whole thing, it’s helpful to get some input from a professional deck installer. They can look at your deck and give you an estimate on the cost of deck repair versus replacement. Professionals have years of experience to rely on and up-to-date figures for materials and labor. Plus, they’ll be able to catch issues that a homeowner might not be aware of in order to give a complete picture of the state of the deck.
For example, a deck installer may see that your deck is in decent shape but looks worse for wear because of peeling, chipping, or fading. In this case, they might suggest one of the best deck resurfacers in lieu of a whole new deck. Or, the expert may give you a timeline for how much longer your current deck will last before it’s time to demo it and build a replacement.
A damaged deck can be dangerous. Replace it ASAP.
A top-rated pro near you can help. Get free, no-commitment project estimates from deck building and repair services near you.
It’s a solid idea to hire a professional to make any deck repairs.
Even for experienced DIYers, deck replacement can be a task that requires more time than they’re able to commit. But whether your deck needs a new railing, new boards, or all of the above, it’s best to hire a professional. They’ll have the tools, time, and skill set to get the job done as quickly as possible. A deck is a complex structure, and mistakes can put your safety at risk when you step out onto the deck. Hiring a pro ensures your deck is safe and lasts for years to come.