We may earn revenue from the products available on this page and participate in affiliate programs. Learn More ›
A shingle roof is an investment you want to protect against damage and heavy wear. Not only is a roof expensive, but it’s also crucial to keeping your home safe and comfortable. Understanding how to clean roof shingles is an essential part of roof maintenance.
Brendan Anderson, the founder of Brix Systems Roofing in Kalispell, Montana, explains, “Regular cleaning keeps moss and algae from aging your shingles prematurely and causing potential leaks down the line.”
Anderson also notes that regularly cleaning a roof can enhance a home’s curb appeal and protect your roof’s warranty. However, if you don’t know how to clean roof shingles properly, you could end up doing more harm than good. While asphalt shingles are common and can be tackled with the DIY cleaning approach explained below, materials like metal, slate, or tile might need the professional touch of one of the best roof cleaning services to ensure the right techniques are used.
Tools & Materials
Bobvila.com may earn a commission from purchases made through these links.
- Roof rake
- Leaf blower
- Pump sprayer
- Soft-bristled scrub brush
- Bleach
- Industrial-strength vinegar (optional)
Project Overview
Working Time: 2 to 5 hours
Total Time: 2 to 5 hours
Skill Level: Intermediate
Estimated Cost: $20 to $150
Before You Begin
Check the weather forecast before you start cleaning your roof. Anderson says, “Don’t plan your roof-cleaning adventure if rain’s on the horizon within the next day. Opt for a dry, cloudy day with mild temps for the best working conditions.”
Don’t overlook safety, either, as you prepare to clean your roof. “Make sure you’re geared up with slip-resistant boots, sturdy work gloves, and if you’re going up on the roof, a securely fastened harness,” says Anderson.
STEP 1: Prepare and protect the area around the perimeter of your home.
As you clean your roof, debris and cleaning agents will be rinsed down onto the area surrounding the home. Before you start the cleaning process, pull any furniture, children’s toys, and other items away from the home to protect them from getting dirty or damaged. To prevent chemical cleaners from harming plants and bushes, start by thoroughly watering them and then cover them with a plastic tarp.
STEP 2: Remove any leaves and loose debris.
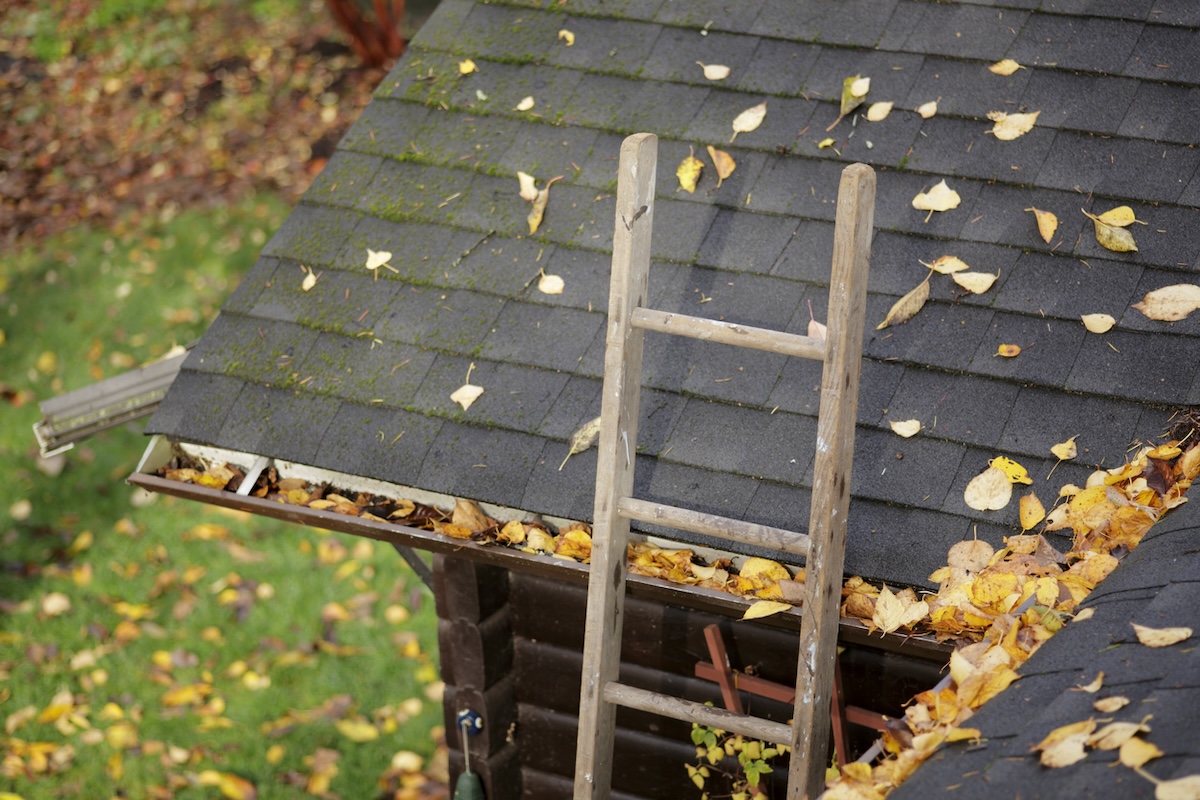
After the area around the home is prepared, you’re ready to move on to cleaning the roof. “Start by using the roof rake and leaf blower to clear away all the gunk,” says Anderson. Rake or blow off any loose debris, such as sticks, leaves, and tree seeds.
According to Anderson, completing this step is important as it not only prevents your gutters from getting clogged but also sets the stage for a thorough shingle scrubbing.
After blowing or raking loose debris off the roof, take some time to clean the gutters and downspouts—you don’t want water to back up when you start rinsing the roof.
STEP 3: Prepare the shingle cleaning solution.
Next, you need to prepare the roof-washing solution. According to Anderson, “a diluted bleach solution (one part household bleach to three parts water) is usually the go-to” when cleaning asphalt shingles.
If you’re looking to avoid using bleach or other harsh chemicals, try a diluted mixture of white vinegar and water (just remember to never mix bleach and vinegar together).
Anderson also recommends double-checking the shingle manufacturer’s recommendations for approved cleaning solutions. Add the prepared cleaning solution to a pump sprayer so you’ll be able to easily apply it to the entire roof.
Some jobs are better left to the pros
Hire for roof cleaning ASAP. Get free, no-commitment estimates from experts near you.
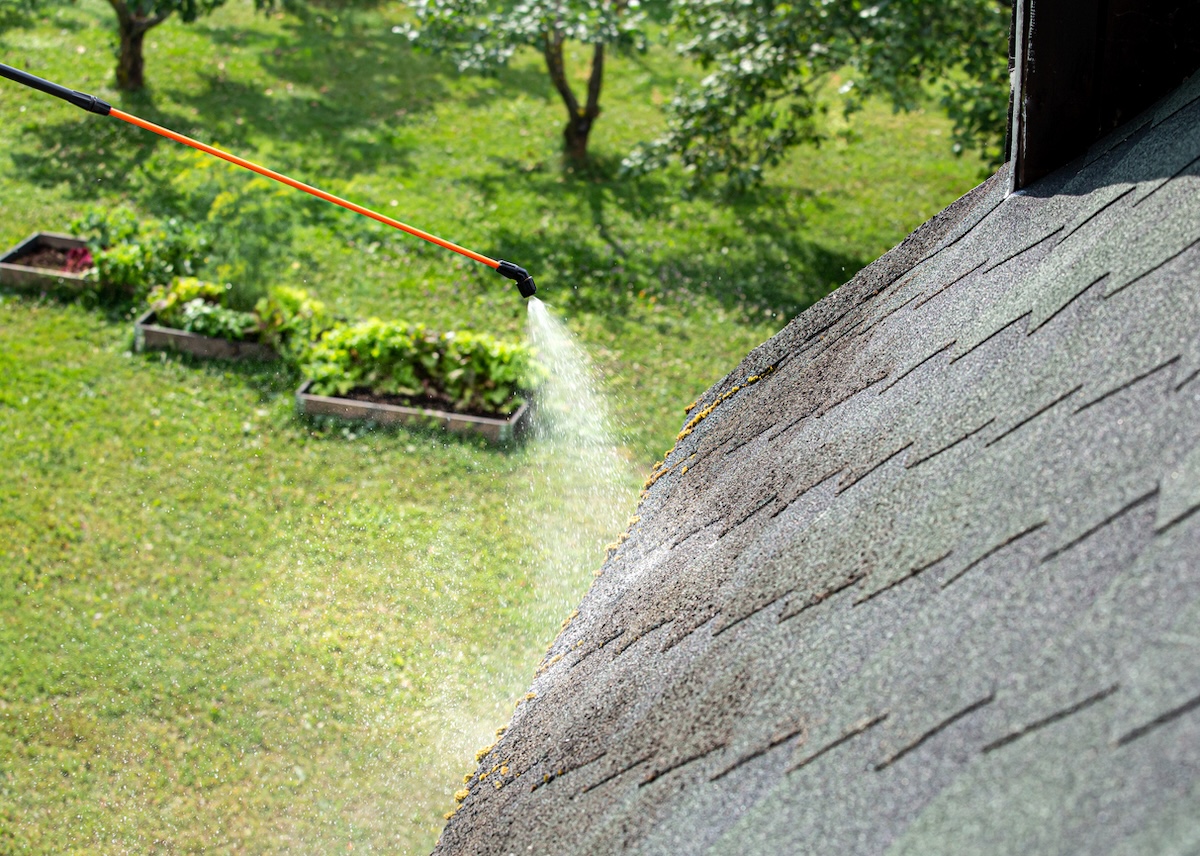
STEP 4: Evenly apply the cleaning solution to the entire roof.
Before you start applying the cleaning solution over the roof, Niki O’Brien, the operations manager of Custom Exteriors in Colorado, says it’s a good idea to choose an inconspicuous spot on your roof and test your cleaning agent and method to ensure it is safe to proceed. “They make cleaning solutions specifically designed for shingles. However, we always test first.” As long as the cleaning solution doesn’t discolor or otherwise damage your shingles, you’re good to go.
Anderson recommends spritzing the solution onto your shingles from the top down, making sure to get an even coating without drenching them. After evenly coating the shingles, let the cleaning solution sit for 15 to 20 minutes. “This gives it a chance to loosen up any moss, algae, or grime clinging to your shingles,” notes Anderson.
STEP 5: Rinse the shingles.
After about 20 minutes, rinse away the cleaning solution using a garden hose with standard water pressure or the pump sprayer filled with plain water. Don’t forget to make sure that your gutters and downspouts are still clear after you’ve finished rinsing grime and debris from your roof.
If you used a commercial roof shingle cleaner, double-check the package instructions before rinsing it off. Some products are designed to remain in place so that they can continue working to fight off algae and moss.
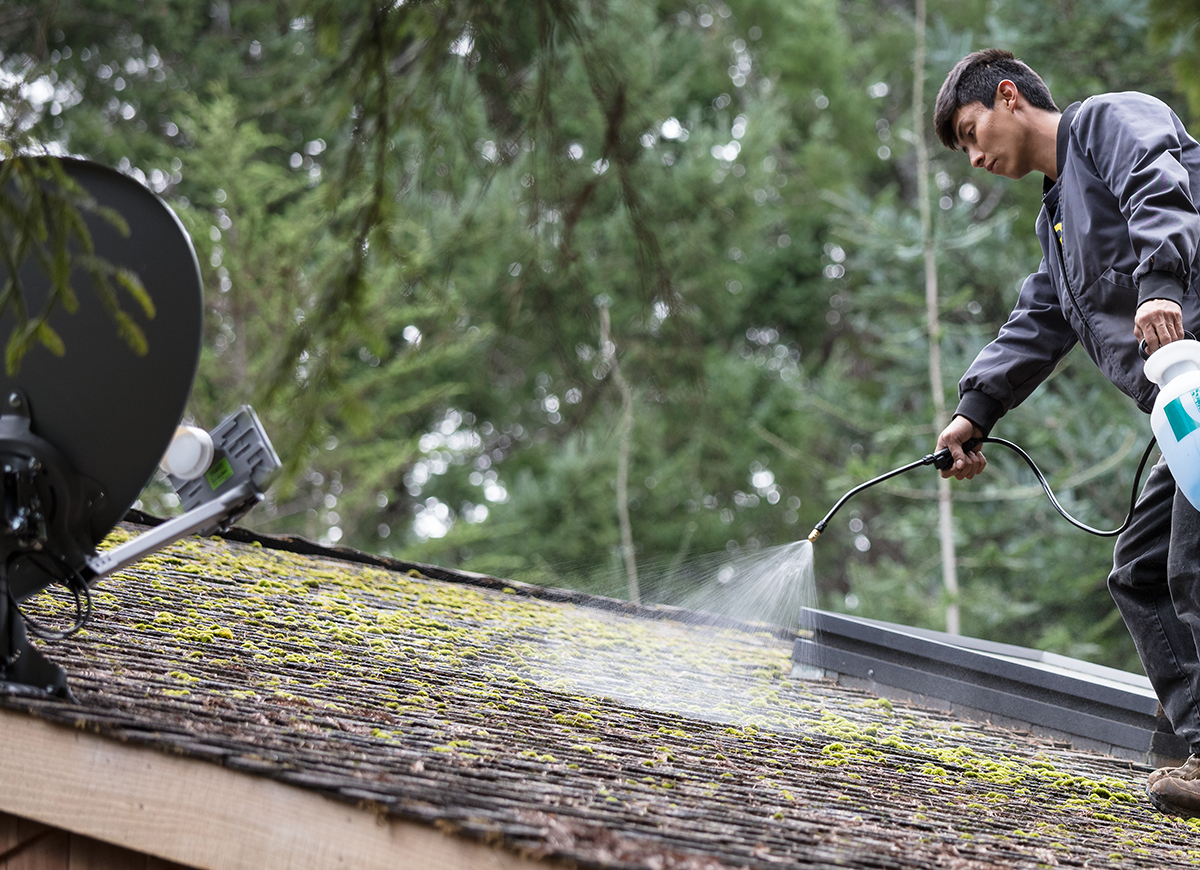
STEP 6: Address any stains, moss, or algae that remain.
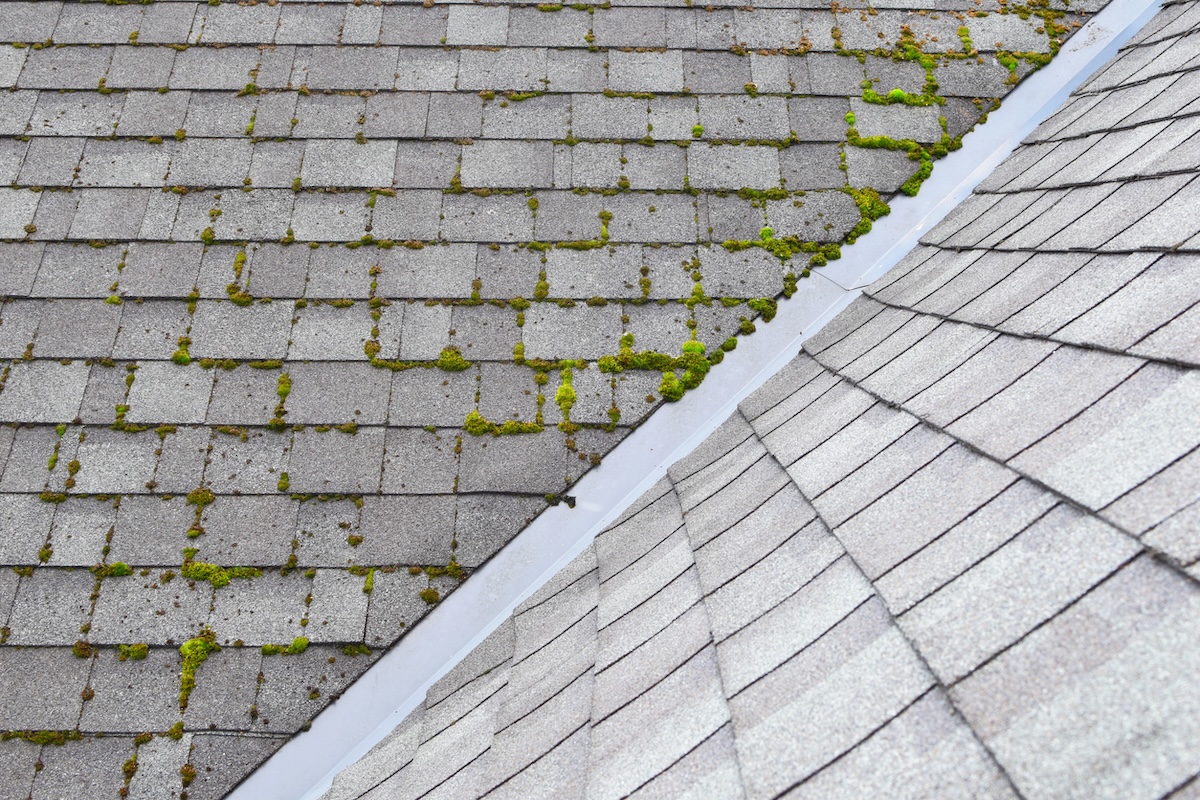
In some cases, you may need to clean roof shingles by hand to remove moss or algae that is still present after the initial cleaning. To address these patches, Anderson says to “break out the soft-bristled brush and gently scrub them away after rinsing.” He adds, “Take it easy, though—you don’t want to go overboard and damage your shingles.”
STEP 7: Rinse the roof again.
Give the roof a final rinse to remove any remaining shingle cleaner left from addressing the patches of moss and algae. Finish up by removing the plastic tarps covering the plants around the home and giving them a good soaking with the hose to rinse away any traces of the cleaner you used.
You don't have to do it yourself
A pro can help. Get free, no-commitment project estimates from roof cleaning services near you.
Final Thoughts
Understanding proper roof-washing procedures is key to maintaining your shingles. O’Brien notes the importance of exercising caution as you work. She explains that special granules coat the top layer of asphalt shingles. “This layer provides protection from severe weather; however, it also sheds fairly easily. So to avoid damaging them, be gentle. Avoid things like high water pressure, harsh chemicals, or aggressive scrubbing. You will damage your roof, and roofs are not cheap replacements.”
FAQs
Q. How often should you clean your roof?
As a general rule, washing roof shingles is a task that should be completed about once every 1 to 3 years.
Q. Does bleach damage roof shingles?
Bleach may potentially damage your roof shingles, especially if left undiluted. “If you’re going with bleach, dilute it in your pump sprayer according to the instructions,” recommends Anderson.
Q. Is it OK to pressure-wash roof shingles?
No, it is not advisable to pressure-wash roof shingles. The high water pressure can remove the protective coating, cause the granules on asphalt shingles to fall off and allow water to get beneath the shingles and into the house. If you’ve painted your roof shingles, pressure-washing could also strip off the color.
Q. How much does roof-cleaning cost?
The cost to hire a professional roof-cleaning service varies based on where you live and the size of your roof. As a general rule, you should expect to spend between $0.20 and $0.70 per square foot of shingles. For a 1,000-square-foot roof, the cost should be somewhere between $200 and $750, and for a 2,500-square-foot roof, you can expect to spend between $600 and $2,100 for professional cleaning services.
Q. What is the best cleaning solution for roof shingles?
The best roof-cleaning solution is often plain water. “When we are tasked with cleaning a roof, we start with standard water pressure from a hose with no cleaning agent. That typically does the trick,” says O’Brien. If plain water isn’t sufficient, you can try a solution of one part vinegar to three parts water or a commercial cleaning product.