We may earn revenue from the products available on this page and participate in affiliate programs. Learn More ›
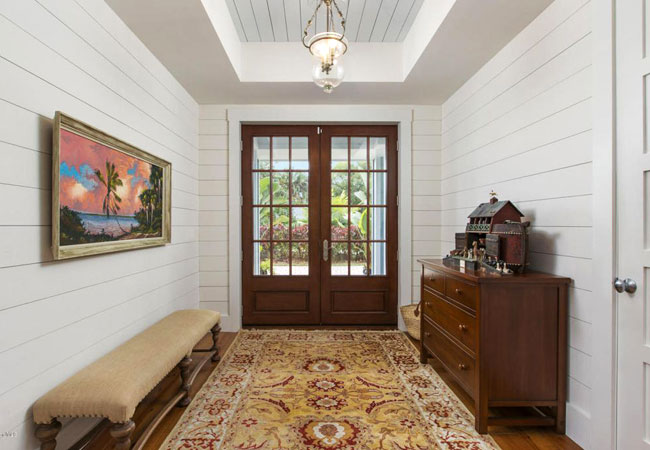
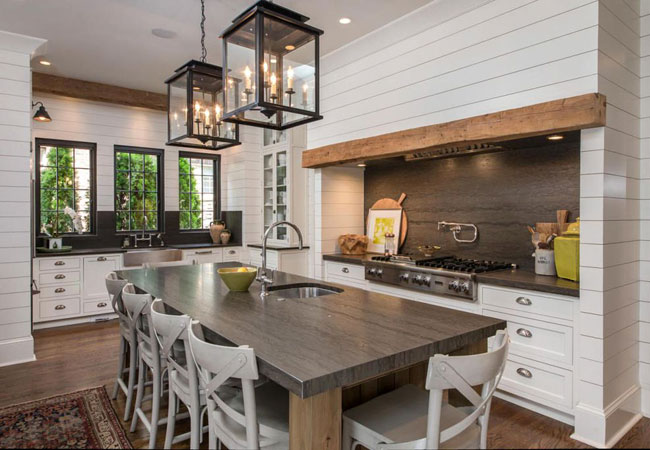
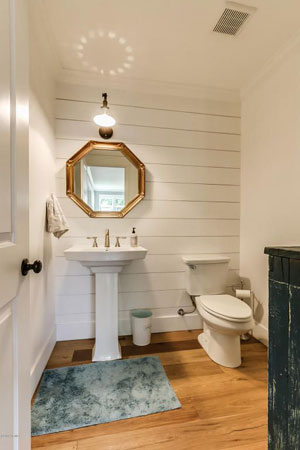
Homeowners can’t seem to get enough of the shiplap look! The on-trend design that mimics historic shiplap—the horizontal planks used on the exterior of ships—is transforming bland walls in bedrooms, kitchens, and family rooms. Though most often seen in Old World, country-style, and rustic homes, shiplap is popping up everywhere these days.
RELATED: All You Need to Know About Shiplap
One reason for it’s surging popularity? It’s so accessible for the do-it-yourself crowd! You can easily install this fashionable element if you have such basic carpentry skills as the ability to use a power saw and swing a hammer. Shiplap boards are installed in a method similar to hardwood flooring—working from one side of the wall to the other. Authentic planks salvaged from old ships may be hard to come by, but you can simply (and inexpensively) cut uniform boards from finish-grade plywood and then paint them to complement your color scheme. Read on for a step-by-step guide on how to install shiplap.
Tools & Materials
Bobvila.com may earn a commission from purchases made through these links.
- Measuring tape
- Safety goggles
- Dust mask
- Hearing protection
- Chalk line
- Table saw
- Chop saw
- Circular saw
- 80-grit sanding sponge
- Paintbrush
- Paint roller
- Paint roller pan
- Putty knife with metal blade
- Stud finder
- Nail gun
- Hammer
- Interior paint
- 400-grit sandpaper
- 2-inch nails
- 1/8-inch spacers
- 2-inch finish nails
- Spackle
STEP 1: Calculate how much plywood you’ll need for your shiplap walls.
Measure the height and length of the wall, and then multiply the measurements to determine how much plywood you’ll need. For example, a wall eight feet high and 10 feet long will require 80 square feet of plywood. A standard 4 X 8 sheet of plywood contains 32 square feet, so purchase three sheets. Don’t sweat the extra plywood: It’ll give you a little wiggle room in case you make a cutting error.
STEP 2: Buy ¾-inch AC plywood.
Plywood is rated by quality, with “A” being the highest quality and suitable for the visible side of your shiplap boards. The “C” represents a lower quality on the backside of the plywood. Since only the “A” side will be seen, AC is the perfect combination for this use.
STEP 3: Gear up.
Don goggles and a dust mask before cutting and sanding wood. It’s also wise to wear hearing protection, as some power saws generate a lot of noise. Follow the manufacturer’s safety precautions when operating any power tool.
STEP 4: Rip your plywood into shiplap boards.
Measure the plywood sheets precisely and then “rip” them to obtain eight individual boards that are exactly eight feet long and 5⅞ inches wide. Ripping simply refers to cutting the plywood lengthwise. The trick to getting uniform-width boards is to snap a chalk line at the desired 5⅞ inches and then cut along the outside of the line. The blade of the saw will eat up ⅛-inch of the plywood. With meticulous measuring and cutting, you’ll get uniform results.
STEP 5: Sand each board.
Sand the cut edges with an 80-grit sanding sponge—a fairly rough grit necessary to remove the rough edges. By holding the sanding sponge at a 45-degree angle to the side of the board, you’ll be able to give the edge a slight bevel while smoothing away roughness. This is called “sanding a chamfer,” and the process will help accentuate the visible line between the boards after they’re installed.
STEP 6: Paint your shiplap boards.
Paint the plywood boards (now, prior to installation) using a brush or paint roller and a good quality interior paint, being sure to cover the face of the boards along with the edges and the ends. Let the paint dry completely.
STEP 7: Sand and apply a second coat of paint.
Lightly sand the surface of the boards with 400-grit sandpaper to remove tiny bits of dust that may have stuck to the paint when it was wet and to smooth the wood grain (paint tends to raise bare wood grain slightly). Then, brush or roll on the second coat of paint and let it dry completely.
RELATED: 17 Times Shiplap Made the Room
STEP 8: Remove the base molding from the bottom of the wall.
Slip a metal putty knife between the molding the wall and pry gently to coax the base molding away from the wall without breaking it. Save it to reinstall after the shiplap is in place. If the molding does break, you’ll have to replace it with new.
STEP 9: Find and mark the vertical studs in the wall.
Locate the vertical studs beneath the drywall and pop a chalk line over each one. The easiest way to pinpoint the location of the studs is with a stud finder. Standard wall studs are spaced either 16 inches or 24 inches apart, and you’ll need to locate and mark each one to serve as your nailing guide.
STEP 10: Create horizontal chalk lines to guide planks.
Snap a horizontal chalk guideline at the bottom of the wall, six inches above the floor. This will give you a ¼-inch expansion gap between the bottom board and the floor. Wood tends to expand with humidity and temperature fluctuations, so it’s a good idea to leave an expansion gap. When installing the rest of the boards, you’ll also leave a small gap between them.
STEP 11: Nail the first board to the wall.
Position the first board in one bottom corner. (Work from left to right, or right to left, whichever is more comfortable for you.) Align the top edge of the board with the chalk guideline you created in the previous step. Insert two, evenly spaced, two-inch nails into the board directly over every chalk line. The quickest way to do this is with a nail gun, but you can certainly use a hammer instead.
STEP 12: Cut and install the next shiplap board.
Although you’d previously cut boards into eight-foot lengths, now you need to cut them to fit the dimensions of your wall. Measure the distance from the end of the previous board to the end of the wall, and then transfer that measurement to a new board. Use a chop saw or a circular saw to make a clean cut. Nail the second board in place using the same nailing pattern, and make sure its top edge is also aligned with the chalk guideline.
STEP 13: Start the next row with the leftover end from the board you just cut.
Installing shiplap is similar to installing hardwood plank flooring—every time you reach the end of one row, you’ll cut the last board to fit, and then use the cut-off end as the first board on the next row. This prevents waste and will give the boards a staggered effect.
STEP 14: Use spacers between shiplap boards.
Place ⅛-inch spacers (you can use ⅛-inch plastic spacers designed for tile installation, or you can use 16d nails, which are the same width) between the boards before nailing to create a uniform expansion gap. After nailing the second row in place, pull the spacers out and use them when you install each subsequent row.
STEP 15: Continue installing shiplap up the wall.
Measure, cut, and install shiplap for the rest of the rows in the same manner. When you reach the top of the wall, you may have to rip the last row of shiplap in order for the boards to fit. If so, measure the remaining space and rip the boards to that width on a table saw, lengthwise, to fit uniformly at the top. Use the same nailing pattern unless you have a very narrow board (2″-wide or less), in which case you can insert just one nail into each stud.
STEP 16: Reinstall the base molding.
Use two-inch finish nails to re-attach the base molding. You’ll need to pull out the original nails and use new nails, but you can use the same nail holes.
STEP 17: Fill all nail holes with spackle.
If you want a smooth look, fill the nail holes in the shiplap boards with spackle, smoothing it on with a putty knife or your finger. If you prefer the rustic look of exposed nail heads, skip this step.
STEP 18: Sand and touch up any nail holes with paint.
Sand over any filled nail holes with 400-grit sandpaper after the spackle dries. All it takes is a light touch to smooth the surface, and then you can use a paintbrush to apply touch-up paint over the holes.
