We may earn revenue from the products available on this page and participate in affiliate programs. Learn More ›
Spice racks, knife holders, and towel bars—there’s no shortage of organizational helpers aimed at bettering one’s life in the kitchen. Ironically, though—given how frequently we use the fridge and how crucial the appliance is to our daily lives—refrigeration organization flies under most people’s radar, even those who have eagerly gone to great lengths to improve storage elsewhere in the kitchen. If poor design or lack of space in the fridge or freezer frustrates you on an ongoing basis, it’s time to act. Proper organization can make your next interaction with the fridge a little easier, whether you’re preparing a meal or grabbing something on the go. Scroll down to see five favorite refrigerator organization ideas, any of which can you buy, usually cheaply, or easily create the DIY way.
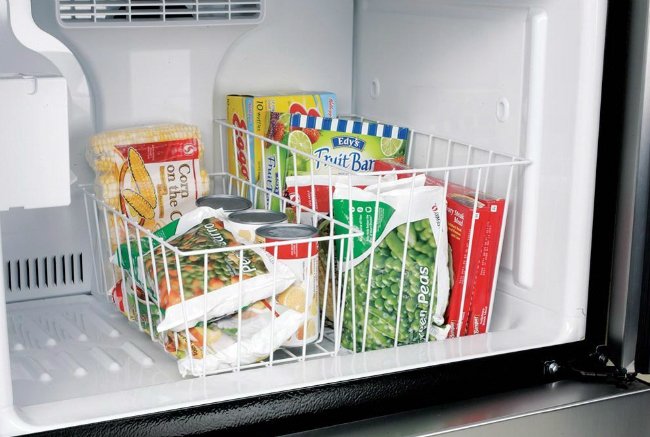
1. WIRE BASKETS
Raise your hand if this has ever happened to you: After making an extra trip to the market for item X, you return home only to find that you had item X all along, only it was hidden beneath something else. To make it easier for you to see what you have and what you need, buy or DIY at least one wire basket to corral all those packages and bags in the freezer.
BUY
You can keep frozen foods organized with a set of wire baskets like these. Put veggies in one, meats in another, dessert items in a third. You might find that the baskets not only help you create and maintain organization, but also free up space, enabling you to pack even more into your freezer. (Ice cream, anyone?)
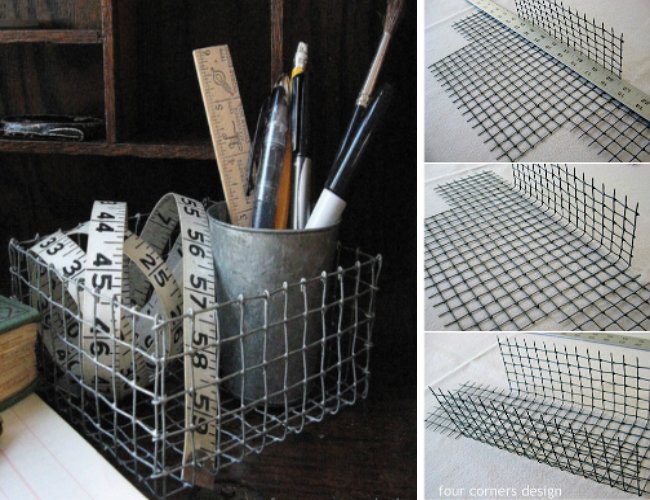
DIY
To make the most of every inch in the freezer, custom-make baskets to fit your freezer’s dimensions exactly. Hardware cloth makes it pretty easy to do this. You’ll need a pair of tin snips, needle-nose pliers, and sturdy gloves. You might choose to use some graph paper, and you’ll definitely want to use this walkthrough from Four Corners Design.
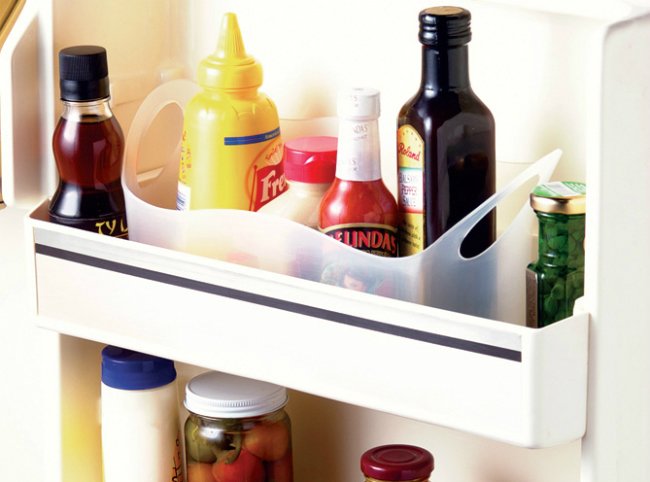
2. CONDIMENT CADDIES
The next time you fire up the grill and set the patio table for an alfresco dinner, wouldn’t it be so much more convenient if you could carry all your condiments outside at once? That’s where the condiment caddy comes in—this is the fridge version of those sweet little handled baskets on the table at your local diner.
BUY
The Refrigerator Condiment Caddy slides right into the door compartment of your refrigerator, and it keeps items like ketchup, mustard, and hot sauce handily portable. When the meal is about to be taken out back, simply lift the caddy out of its perch and take the durable plastic basket along with you.
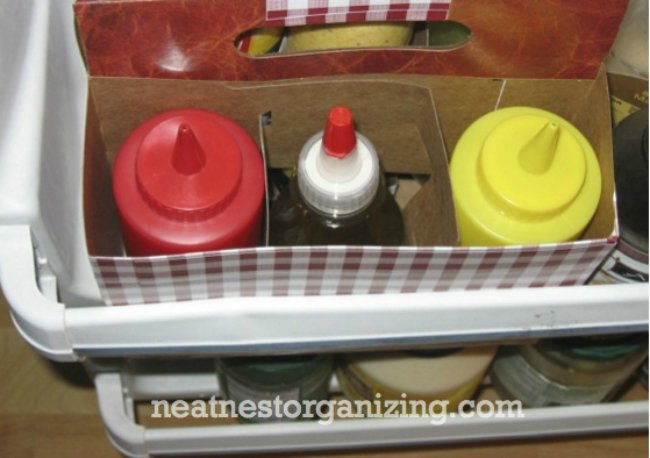
DIY
Create your own condiment caddy with a six-pack carrier and contact paper. (If you’ve never experimented before with contact paper, trust me—you’re going to love how versatile and DIY-friendly it is.) For step-by-step instructions on how to make your own caddy, run—don’t walk—over to Neat Nest Organizing.
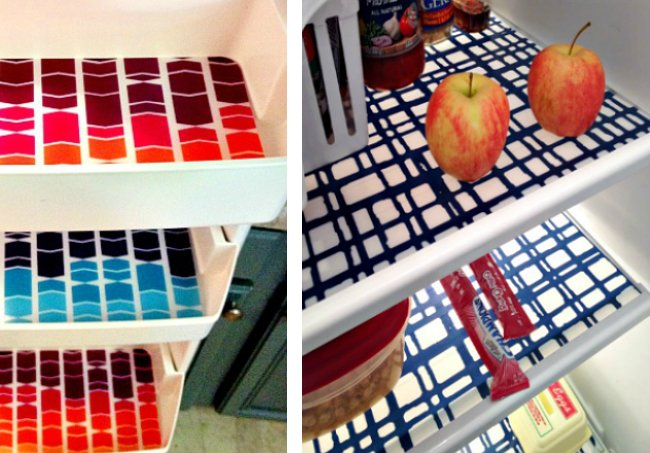
3. ABSORBENT MATS
When it’s all over the refrigerator shelves, there is indeed reason to cry over spilled milk. If you don’t clean up the mess immediately, it soon becomes crusty and caked-on. And what about that rotten tomato in the crisper? Or was it a pepper? Yuck! What you need is the fridge version of cabinet shelf liner.
BUY
The Fridge Coaster absorbs drips and can be cleaned or replaced when necessary. It’s available in colorful prints and in an array of sizes to fit different parts of your fridge, such as the shelves, crispers, and door bins. Not only is the Fridge Coaster functional, but it also relieves the stark whiteness of the fridge interior.
DIY
Take a tip from 2 Little Superheroes and make your own fridge mats out of dollar-store placemats. To get a snug fit, simply remove the fridge shelves you wish to cover, trace their outlines onto the placemats, then cut the mats and insert them. These are as pretty as a picture and ready to rock, no matter what messes arrive.
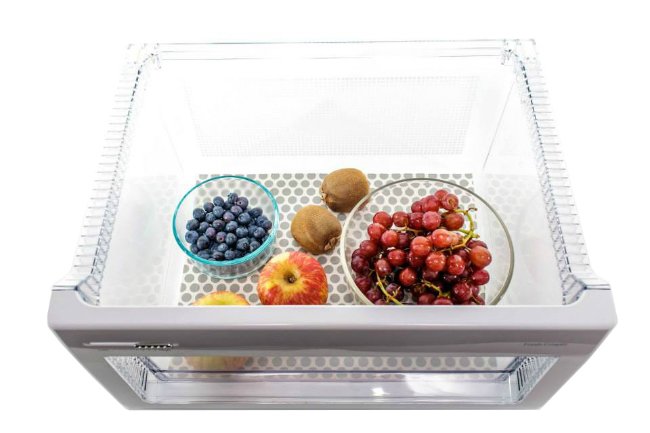
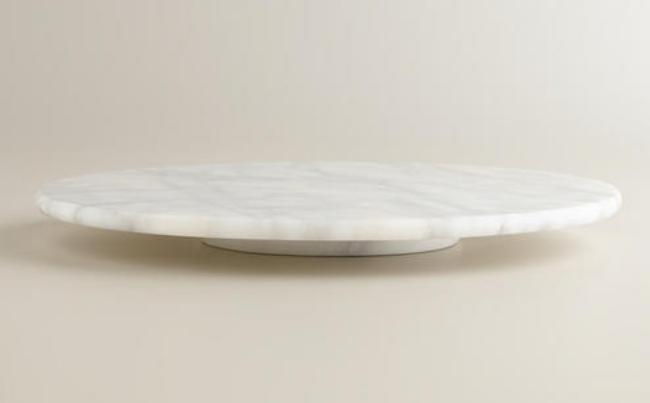
4. LAZY SUSANS
Meal prep would be so much easier if you didn’t have to rifle through almost every jar and plastic storage container in your fridge to find the one thing you need. Oh, wait—there’s such a thing. It’s a lazy Susan, and you can definitely have one in your refrigerator.
BUY
A lazy Susan performs the same role in the refrigerator that it does on your dining table: It make things much more easily accessible. And it need not be an eyesore, as this rotating white marble tray amply proves. Remember to measure your refrigerator beforehand to make sure that your purchase will fit in nicely.
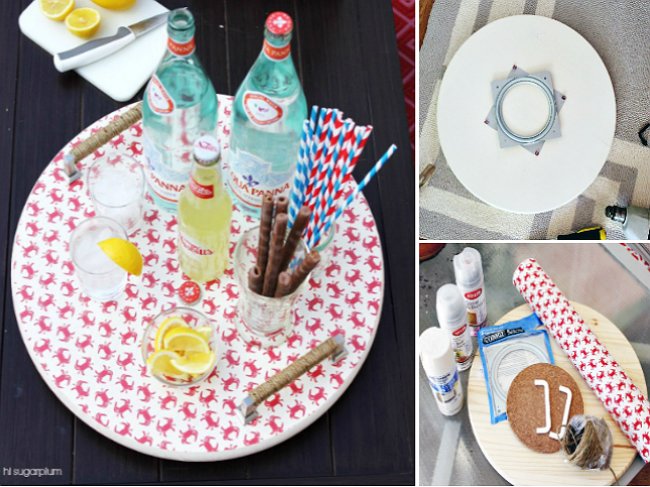
DIY
With only a few inexpensive materials from hardware and craft stores, you can make your own lazy Susan, customizing the creation to your exact specifications in both functionality and style. Seriously, you can do this. Visit iHeartOrganizing to find out what you’ll need and how to get it done.
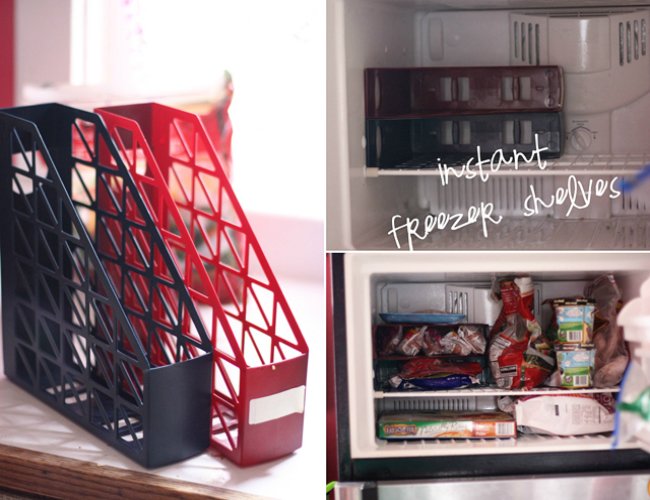
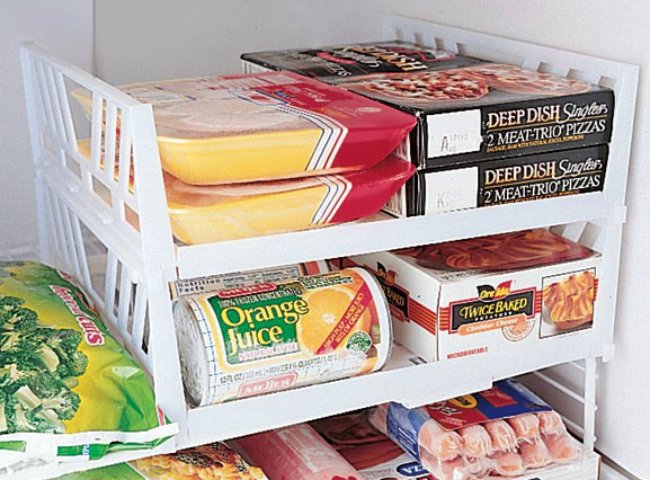
5. FREEZER SHELVES
There’s only problem with stacking things Tetris-style into the freezer. Let’s say you do it very well, brilliantly placing a bag or box into all available space. What happens when you want to get something out of there? You have no choice but to undo what you previously did. Freezer shelves come to the rescue.
BUY
With stackable freezer shelves, you can organize like items into separate compartments. This not only makes it a cinch to find what you need, but also makes it a cinch to reach and remove what you want. That’s right—no more tumbling hockey pucks of hamburger hurtling dangerously toward your toes.
DIY
If you’re like me, then these days you are using your paper storage accessories less and less. If you have any magazine files lying around, why not repurpose them into instant, magnificently simple DIY freezer shelves? For details on this project and even more repurposing ideas, visit Aunt Peaches.