We may earn revenue from the products available on this page and participate in affiliate programs. Learn More ›
Q. We’ve just moved into our new home, and the previous owners left behind some bathroom wallpaper that has got to go. Unfortunately, we have no idea how long it’s been in place, or what to expect when taking it down. What’s the best way to remove wallpaper?
A: While scraping away the glued-on wallpaper of years past may seem daunting, it doesn’t have to be. The right tools and technique can greatly ease the amount of work you have to do. Of course, the exact tools and technique to use depends on what type of paper is up on your walls.
Follow these tips to determine whether the wall covering you’re dealing with is removable, strippable, or vinyl wallpaper, and how to take off wallpaper of that type.
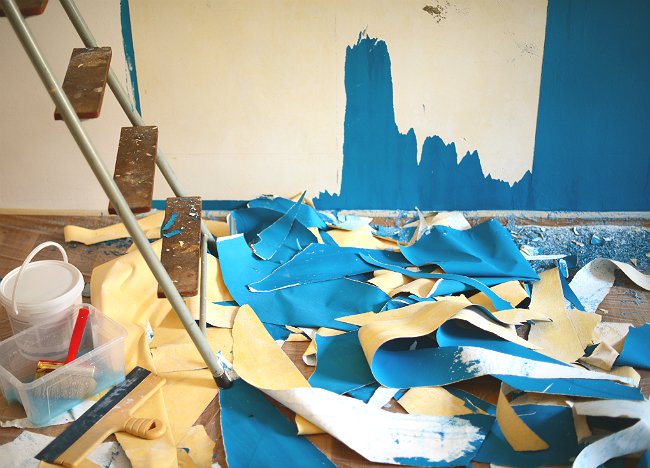
Before you begin removing wallpaper of any kind, cover your floors.
Protect your precious hardwood or plush carpeting with drop cloths (non-slip canvas works best) and cover the baseboards with wide painter’s tape.
You’ll want to ensure that no peeled wallpaper strips or glue residue accidentally touches and sticks to these features as it comes down from the wall.
Tools & Materials
Bobvila.com may earn a commission from purchases made through these links.
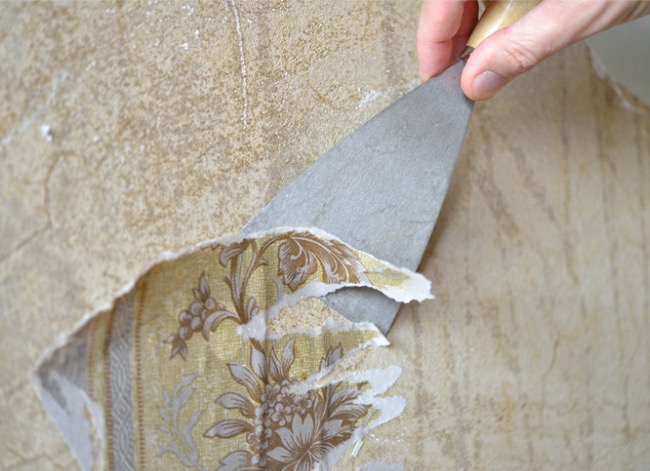
For temporary wallpaper removal, simply start tugging.
Removable wallpaper (also called temporary wallpaper) was designed to come down easily. Locate a corner of the paper, and give it a tug. If it pulls away from the wall easily, it is temporary wallpaper and will be fairly easy to remove.
Assuming the wall beneath the paper was painted in an eggshell, satin, or semi-gloss with a slight sheen and properly prepped and cleaned before installation, the paper should release from the wall with a careful pull at any of its seams.
Stand on a ladder and use a putty knife to unstick the top left corner of the wall (likely the first sheet of wallpaper to be installed). Once you have enough of the perimeter lifted to grasp, take the sheet between your fingers to continue removing it.
Note: If you like the pattern enough to place the wallpaper elsewhere within the house, aim to pull the sheets directly down rather than out from the wall in order to prevent curling and bending them.
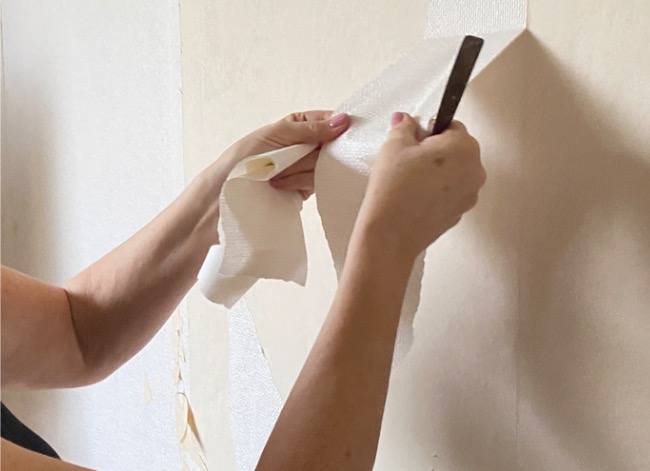
Hot water is the key to strippable wallpaper removal.
Strippable paper is more permanent but permeable, meaning that water can seep through and soften the adhesive for easy removal.
The easiest way to remove wallpaper of this kind is to fill a spray bottle or pump sprayer with hot water, and dampen the first panel thoroughly. After allowing it a few minutes to absorb, try peeling the panel back at its top left corner. If the paper lifts, great!
Removing wallpaper that’s strippable is best done one section at a time. Wet the first panel to confirm whether you’re working on strippable wallpaper. (If the paper does not yield to hot water alone, it could be that you’re looking at water-resistant vinyl wallpaper. In that case, proceed to the method outlined below.)
Proceed one panel at a time until the wall is bare.
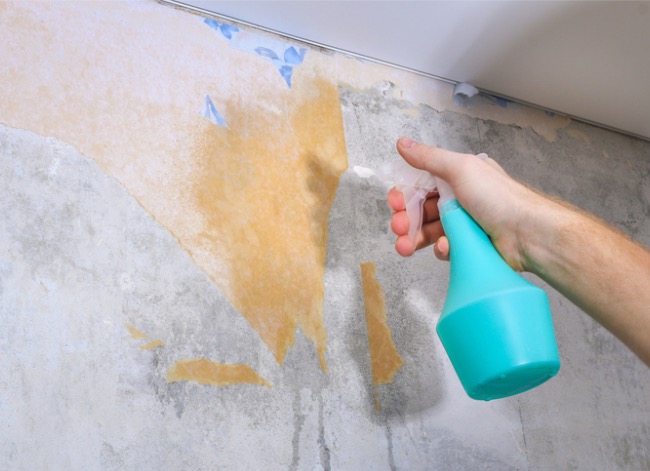
To remove wallpaper made of vinyl, you’ll need a scoring tool.
Removing vinyl wallpaper is not a difficult task, but it is a little more labor intensive than taking down strippable or temporary wallpaper. You’ll also need liquid fabric detergent and a wallpaper remover or scoring tool. Here’s how to remove wallpaper made of vinyl:
- First, roll a wall paper remover scoring tool, such as the WP Chomp Wallpaper Scorer, over the wall. This is the best way to penetrate water-resistant vinyl and reach the glue itself. Hold the tool against the wall and roll it from corner to corner, and from floor to ceiling in a random pattern. This tool’s tiny teeth create small slits that allow the liquid to seep in and loosen the glue.
- Next, help dissolve the glue by mixing 1/4 cup liquid fabric softener per gallon of hot water in a spray bottle or pump sprayer. Heavily saturate one section of wall at a time starting at the top left and working your way down.
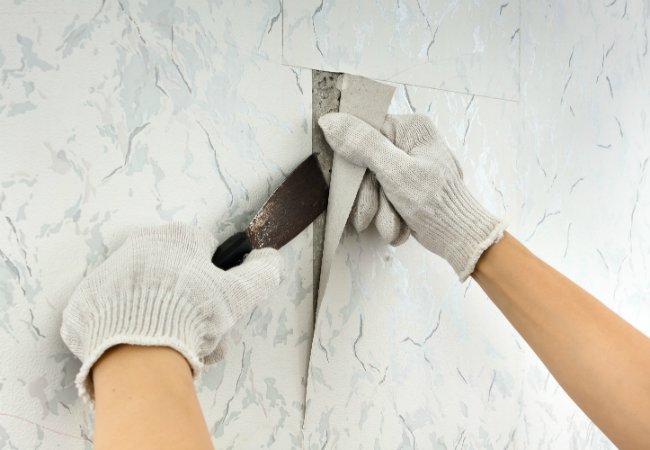
- Wait 10 to 15 minutes, and begin peeling back damp wallpaper where the wall meets the ceiling. Once the glue softens you should have luck removing large pieces, but it’s still a good idea to keep a wall scraper handy to shave away strips of paper that do not come off in one continuous strip.
- Continue spraying the hot fabric softener-and-water solution onto the wall as needed, and you’ll spend less effort scraping. When you do use the scraper, take care to hold the tool so its blade is nearly parallel to the wall when you work so that you have fewer gouges to repair when you’re all finished.
Don't want to do it yourself?
Some jobs are best left to the pros. Get free, no-commitment project estimates from wallpaper specialists near you.
Once the wallpaper is lifted, scrub away residual glue.
Wash the walls with warm water and a large non-cellulose sponge frequently as you go to remove residual wallpaper glue. Otherwise, any glue dries will require rewetting and a little extra elbow grease to remove later.
Removable wallpapers leave minimal residue behind, but could still use a cleaning. To tackle most other glues, you’ll need a bucket of hot water, liquid dish soap, and a tablespoon of baking soda—as well as an extra cup of vinegar for every gallon of water on standby if the adhesive is particularly stubborn.
- Soak the sponge and wring out most of the water before rubbing the solution into the sticky leftovers.
- Once the adhesive softens enough to scrape it with your fingernails, wipe as much as you can away with a clean rag. Then, scrape up the tough stuff with a putty knife.
- Clear the adhesive until not a speck remains, because even one lump can mar the appearance of a fresh paint job. Finish with a quick and easy clean.
Final Thoughts
Removing old wallpaper is not a difficult task for DIYers to complete, but spraying the walls and peeling off strips of paper can get a little messy. Covering your floors with a drop cloth makes cleanup a lot easier—simply collect all of the discarded wallpaper strips on the cloth, and then dump them into a trash bag. You’re well on your way to giving your walls a new look!
