
We may earn revenue from the products available on this page and participate in affiliate programs. Learn More ›
A home’s entire electrical system runs through one distribution hub: the electrical panel. The electrical panel, or breaker box, is full of individual circuit breakers that control circuits or branches of electrical wires throughout the house. One circuit breaker may control all of the outdoor lights, another your kitchen outlets, and another may control individual appliances like a washing machine or air conditioner.
The circuit breaker’s job is to trip if the circuit is drawing too much power, as this can be hazardous for many reasons. However, circuit breakers don’t last forever and eventually need an upgrade, so learning how to replace a circuit breaker may be a handy skill to have. This guide will explain how to safely handle this potentially dangerous—but surprisingly simple—job.
RELATED: Why Won’t My GFCI Outlet Reset?
When to Replace a Circuit Breaker
Circuit breakers don’t last forever. Many can effectively operate for around 20 years or so. Frequent circuit breaker tripping can wear down a breaker’s internal components over time, however, causing it to trip even without much electrical load on the system. Circuit breakers that get hot often or for extended periods (such as in breaker boxes located in very warm utility rooms or along exterior south-facing walls) can also degrade more quickly than those that remain cool. Below are some signs to look for if you’re unsure if your circuit breakers need to be replaced.
- The circuit breakers are worn. To test a circuit breaker for wear, unplug everything from the circuit and reset the breaker. If it doesn’t snap into the “on” position and stay there securely, or if it feels like it lacks resistance, it’s time for a circuit breaker replacement.
- The circuit breakers don’t meet code requirements. Building codes often require homeowners to upgrade existing circuit breakers from standard models to those that detect arc or ground faults. Adding an outlet on a circuit or rewiring a switch may require heading to the panel and swapping out the circuit breaker controlling that device.
- The breaker amperage needs an upgrade. There are cases where a new circuit requires a larger breaker, such as moving from a 15-amp to a 20-amp breaker. In this case, the wiring will need to be replaced as well, but it starts with the circuit breaker.
- The circuit breaker is faulty. There are several symptoms of a bad circuit breaker, like burn marks, cracks in the casing, or a smoky smell. Look for these telltale signs in new and old circuit breakers alike.
In any case, circuit breaker installation or replacement isn’t very difficult. However, it does require a bit of experience and care to do it safely, and the sections below cover everything you need to know. Learning how to change a circuit breaker safely stands to save DIYers a lot of money when compared to hiring an electrician for this easy job.
Tools & Materials
Bobvila.com may earn a commission from purchases made through these links.
Project Overview
Working Time: 20 minutes
Total Time: 30 minutes
Skill Level: Intermediate
Estimated Cost: Under $10 to $170
BEFORE YOU BEGIN

This guide explains how to change a circuit breaker, not the main breaker. The main breaker is the large one (usually two 100-amp breakers attached to each other) where the main power comes into the panel. If you need to replace a main breaker or replace the entire electrical panel, it’s best to call a professional. The only way to shut off the power to a main breaker is to call the utility company, so do not attempt to do this on your own.
Also, understand that even with the main breaker off, there is still voltage in the panel. Those wires feeding the main breaker still have power feeding to them, though they’ll be shunting that power from the rest of the panel. Never touch anything above the main breaker for this reason.
The main breaker may shut off the power from the utility pole, but homes with solar panels or automatic generators may have additional power backfeeding the electrical panel. If that’s the case, it may still be energized with the main breakers off. Be sure to test the voltage before touching anything in the panel.
RELATED: 10 Mistakes Not to Make with a Home Generator
STEP 1: Mark the breaker in need of replacement and shut off the main power.
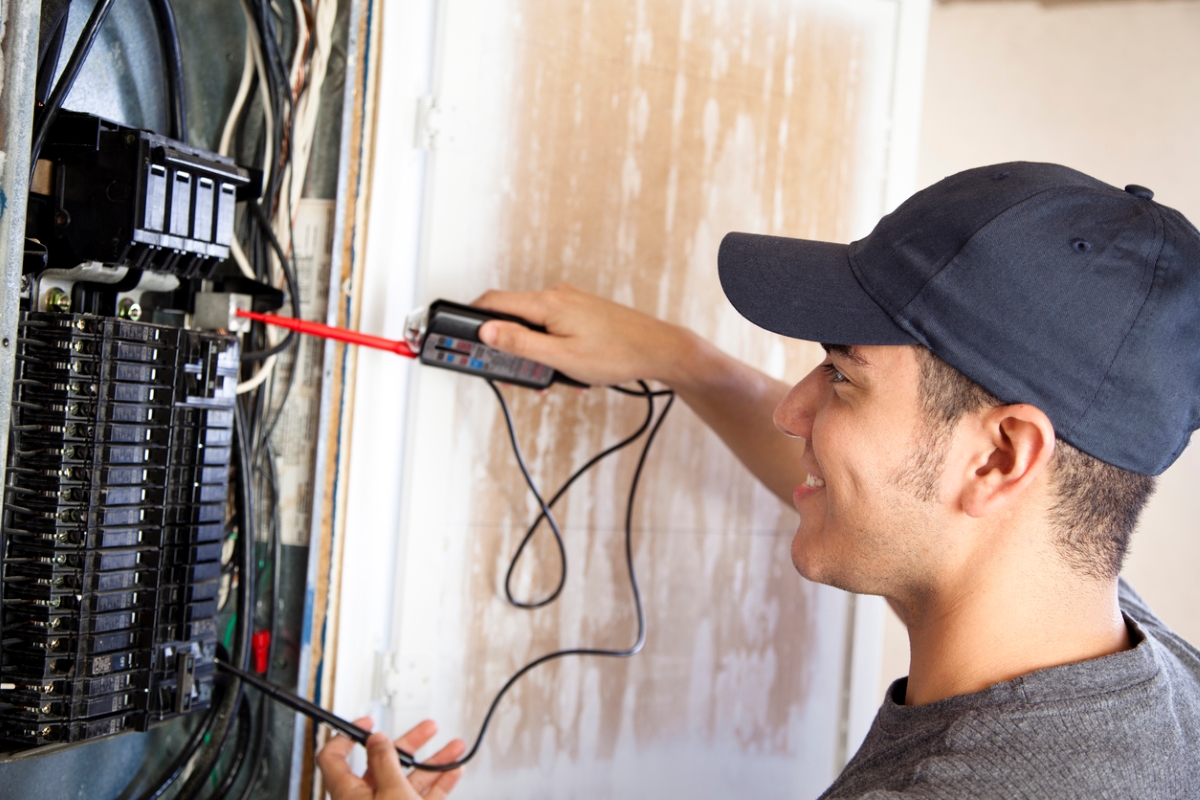
Set up a flashlight or work light to illuminate the electrical panel. Before removing the panel cover, identify the circuit breaker in question. If the breaker doesn’t trip automatically, you can plug a radio into an outlet on the circuit and turn up the volume until it’s audible. One by one, flip the breakers to the “off” position until the radio goes silent.
Once the music or static stops, test the last that was switched off with a non-contact voltage tester or multimeter to be sure it’s off. Then, shut off that breaker before marking it with a piece of electrical tape (a bright color like orange is best for convenience, but any color is fine). Shut off the main breaker and any ancillary equipment breakers like solar circuits or backup generator circuits before proceeding.
You can also use a circuit breaker finder for this process, but when replacing just one breaker that you already know needs replacement, this may not be necessary.
STEP 2: Remove the panel cover and test the circuits.
With the main breaker shut off, remove the electrical panel’s cover by using the appropriate screwdriver. The cover is heavy and will drop, so follow this procedure:
- Remove the top two screws completely and then thread them back in one or two turns. Some panels have oversized holes that fit over the screwhead before sliding up to a smaller hole. If that’s the case, just loosen the screws a bit rather than completely.
- Remove the cover’s bottom screws completely.
- Hold the panel with one hand while removing the top screws with the other hand, bracing for the weight of the panel cover.
- Carefully place the panel cover aside.
Once the panel cover is off, use your non-contact electrical tester to check each circuit breaker. If the tester lights up and beeps, there is still power feeding that
circuit—do not proceed, as the panel may still be energized. If it’s not possible to identify where the power is coming from, call a professional electrician.
STEP 3: Remove the wire from the breaker.
Find the circuit breaker marked with electrical tape. After ensuring that the main breaker is still shut off, use a screwdriver to loosen the black wire attached to the screw-down terminal on the side of the breaker. It’s not necessary (and usually not possible without force) to remove this screw completely. Simply loosen the screw until the wire can pull out directly from the breaker.
Once removed, bend the wire outward from the panel. This will avoid accidentally clamping it under the new breaker once it’s installed.
RELATED: The Best Electrical Tape for Your Projects
STEP 4: Remove the old breaker from the panel.
There aren’t any bolts or screws holding residential breakers in place. Circuit breakers are friction-fit into the panel, but learning how to remove a circuit breaker can be a bit perplexing for first timers.
Starting on the opposite side of the breaker from the wire terminal, use a thumb to apply firm pressure, pushing toward the side of the panel. This end of the breaker will begin to pull off of the hot bus bar (the copper bar that distributes the power to the breakers) with a slight rotating motion. Once the breaker lifts off of the bar completely, it will unhook and come right out of the panel.
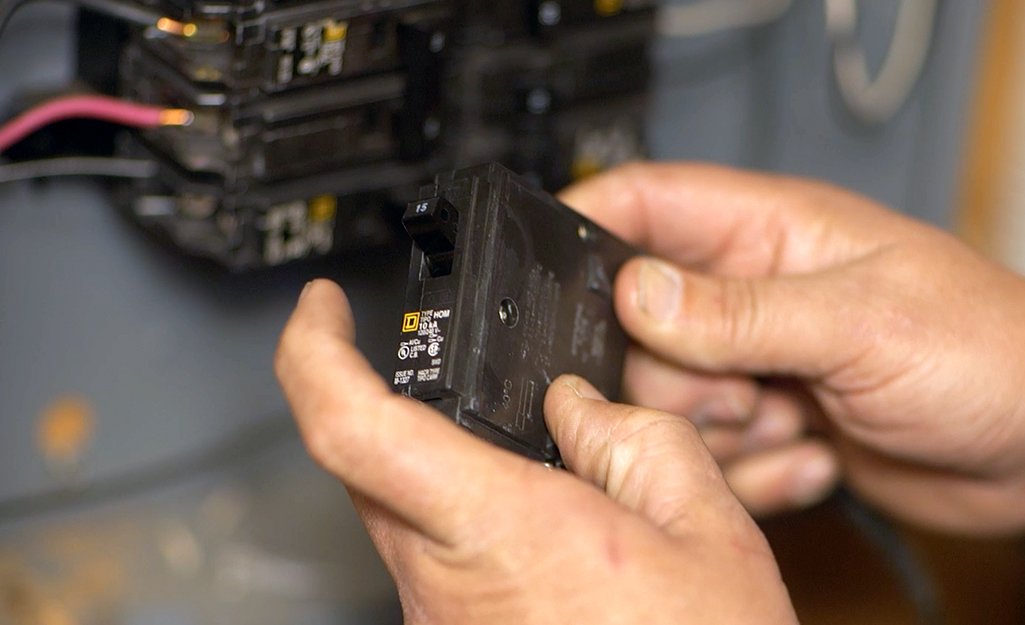
STEP 5: Install the new breaker in the panel.
Set the new breaker to the “off” position and make sure that the wire removed in Step 3 is out of the way. Notice that the circuit breaker has a hooked shape on one end and a set of copper contacts in the other covered in lubricant. Do not wipe off the grease.
Place the hooked side of the circuit breaker into the panel. Rock the breaker forward into the panel, seating the contacts over the bus bar. It should feel snug and line up with the other breakers. Give the breaker a light outward push just to ensure it’s secure on the bar.
STEP 6: Wire the new breaker.
Locate the terminal screw on the new breaker. Use a screwdriver to loosen this screw but do not attempt to remove it. There are two terminal plates underneath the screw that will clamp down on the wire so they need to stay in place.
If you’re installing an AFCI (arc fault circuit interrupter) breaker, it will have a white pigtail that needs to attach to the neutral bar, which is the bar that all of the other white wires are attached to in the panel. To do so, pick a nearby terminal that isn’t in use and loosen the screw with a screwdriver. Stretch the pigtail so the exposed end of the wire can slide into the terminal before clamping it down with the screw.
Locate the wire that was removed from the old breaker and bend it so it aligns with the new breaker’s terminal. Place the exposed tip of the wire between the two terminal plates up to the jacket (the coating around the wire). Use the screwdriver to tighten the terminal screw and clamp down on the wire.
STEP 7: Replace the panel cover and turn on the power.
With the new circuit breaker installed and wire attached, take a moment to ensure that all of the other wires are neatly tucked inside the panel box. Then, carefully lift the panel cover back into place and thread the two top screws in by hand to hold it. Install the bottom screws before fully tightening the top screws.
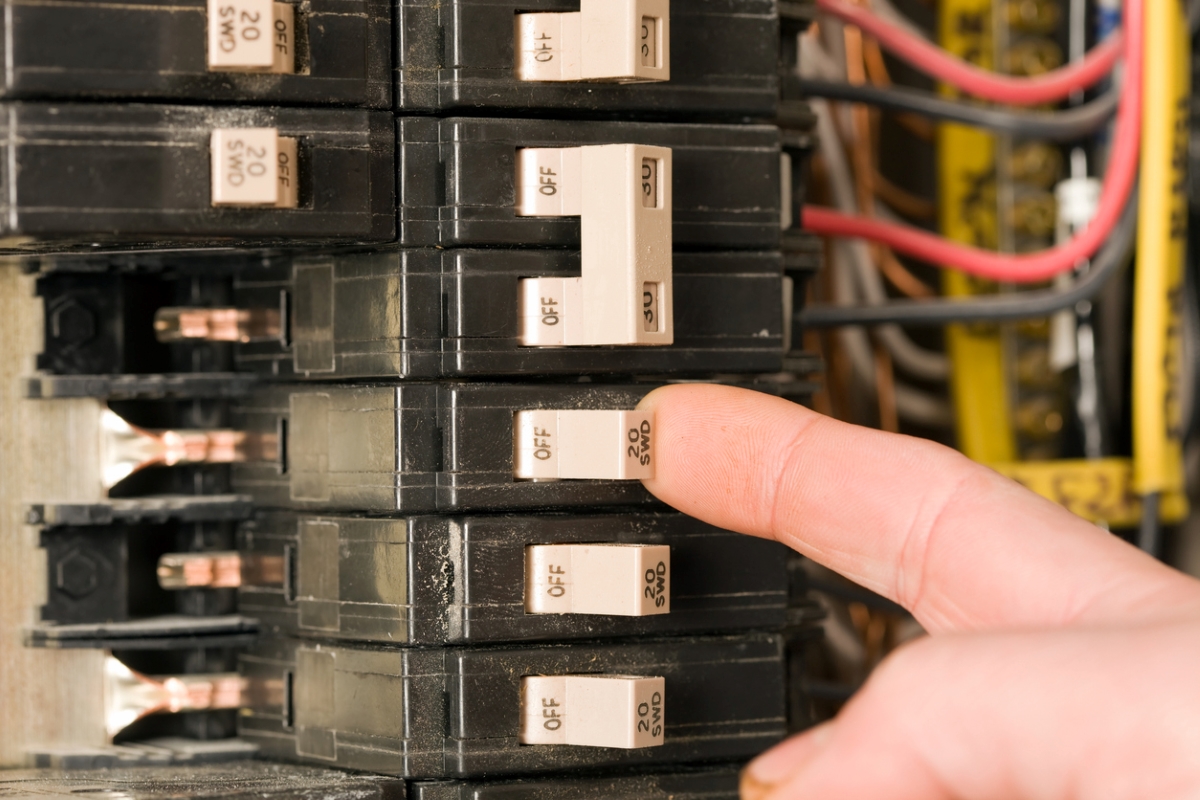
Once the panel cover is back in place, flip all of the circuit breakers into the “off” position. Next, flip on the main breaker before also flipping each of the circuit breakers into the “on” position, one by one. Doing so prevents your home from drawing too much power at once, which could potentially be damaging. If the installation was successful, the new circuit breaker should now be up and running.
You don't need to do it yourself
A professional electrician can help. Get free, no-commitment project estimates from experts near you.
Final Thoughts
Learning how to change a breaker isn’t all that difficult, but it does require care and attention. The electricity in the panel can be very dangerous, but as long as DIYers respect that power, have the right tools on hand, and take the proper precautions, they should be able to handle the job without issue.
RELATED: All You Need to Know About GFCI Outlets
