We may earn revenue from the products available on this page and participate in affiliate programs. Learn More ›
If you’re painting a room, one of the first decisions you’ll face is whether to paint the trim or the walls first. While there’s no single “right” answer, most professional painters agree it’s best to start with the walls. That said, the order can depend on your tools, experience, and how precise you want your final finish to look. Here’s what the pros recommend—and how to decide what works best for your space.
What the Experts Recommend

While there’s no universal rule, most pros agree that painting the walls first tends to be the smoother route, especially for DIYers. “Painters have different opinions on this,” says Paula Murray, owner of CertaPro Painters of Pittsburgh. “Most of our skilled finish painters typically paint the ceiling, followed by the walls, and then the trim.”
Nevertheless, it’s ultimately a matter of preference. Some people prefer painting the trim first so they don’t have to cut into the wall later. Others find it easier to tackle the larger surface area of the walls upfront and finish with crisp, clean trim work. As Chip Gaines, co-host of Fixer Upper, once put it: “It’s one of those catch-22s… For me, I paint a wall first, and then I come back in and I paint the trim.”
The bottom line? Both approaches work. You just need to pick the one that fits your tools, timeline, and comfort level.
Pros and Cons of Painting the Walls First
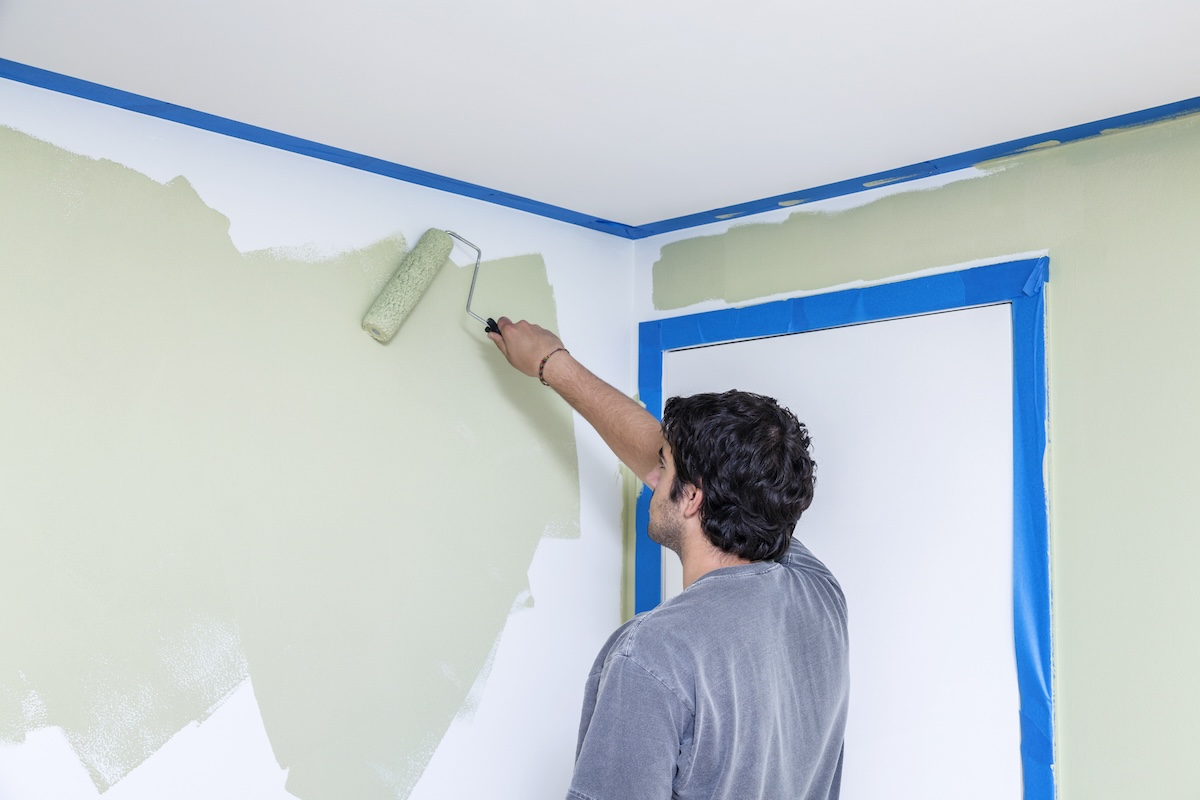
For most DIYers, painting the walls before the trim is the easier and more forgiving route. It lets you work quickly without stressing over precision (especially around the edges).
Pros
- Faster and more forgiving: “You can bring the wall color all the way up to the trim with your roller, then only ‘cut in’ once when you paint the trim,” says Murray. That means less tedious brushwork overall.
- Less risk of visible mistakes: If paint gets on the trim, no worries! You’ll be covering it next.
- Bigger visual payoff early on: Painting the walls first gives you a more dramatic transformation upfront, which can motivate you to finish the project.
Cons
- You’ll need to tape carefully (or have a steady hand): Once the trim work begins, precision matters. Bright white paint will highlight any slips.
- Some extra prep may still be required: To get a clean line between the wall and trim, you’ll likely need painter’s tape or a high-quality angled brush.
For many, the time-saving benefits and visual progress make wall-first the preferred method. But as we’ll cover next, there are valid reasons to reverse the order, too.
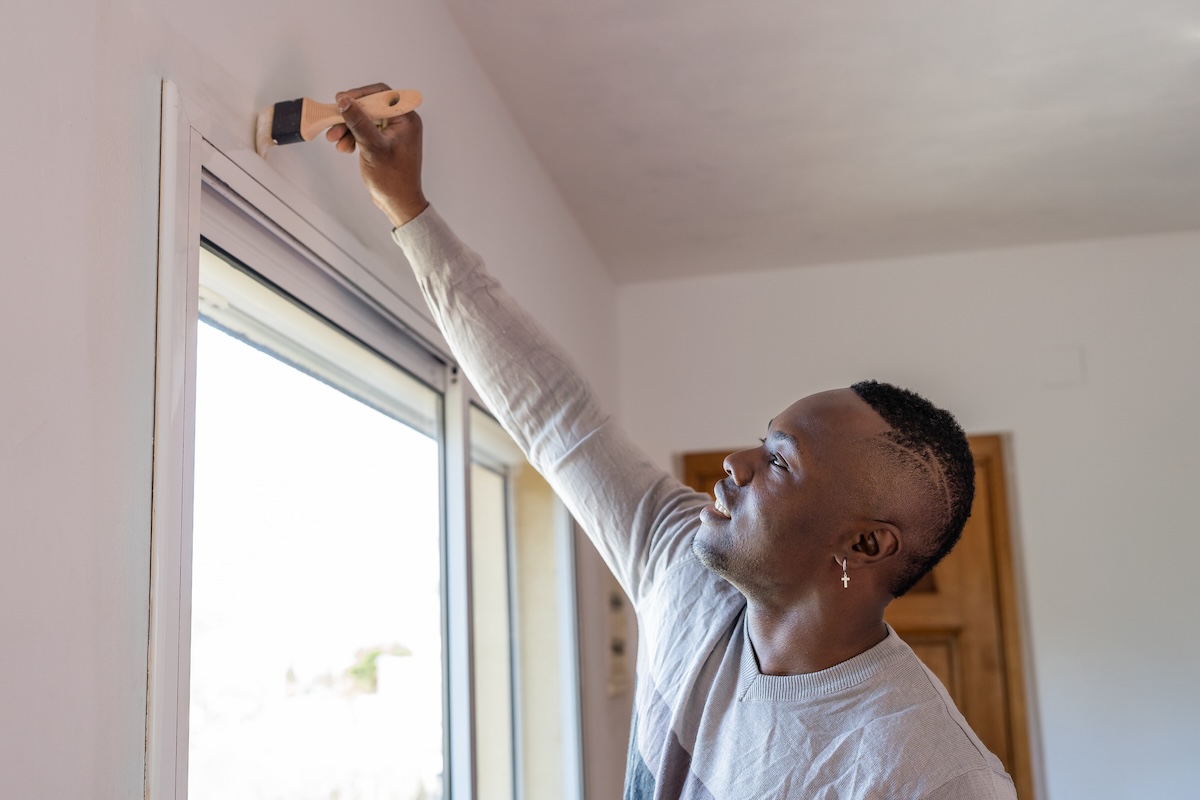
Pros and Cons of Painting the Trim First

While many experts recommend starting with the walls, others swear by painting the trim first. This approach can make taping and cutting in easier, especially if you’re confident in your brush skills.
Pros
- Cleaner lines for pros: “You don’t have to cut into the wall, which can make the process faster,” says Murray.
- Easier to tape walls than trim: Once the trim is fully dry, it’s often easier to run painter’s tape along it than to try taping intricate trim edges beforehand.
- Better for precise painters: If you have a steady hand and the patience to cut in along walls, painting trim first can lead to crisp results.
Cons
- Risk of splatter on the trim: “There’s a risk of getting splatter on the trim, which is typically white,” Murray warns. You’ll need to tape carefully, especially around baseboards.
- Cutting in twice: Any type of wall paint that accidentally touches the trim may require a second round of touch-ups with a steady hand.
This method might be best suited to experienced painters or DIYers who are painting a room with ornate trim or molding.
Tips for Getting Clean Lines When Painting

No matter which surface you paint first, the real secret to professional-looking results is in your technique, not the order in which you paint the room’s elements. These expert-backed tips will help you get crisp, clean lines every time.
Take Your Time
Painting might not be difficult, but it’s easy to get sloppy if you rush. “Slow down, be patient, take your time,” says Gaines. “Even if it takes you a day longer than you hoped, you’ll be proud of the end product.”
Always Use Primer
Primer helps paint adhere evenly and prevents streaks, especially on new drywall or patched surfaces. It also creates a more uniform base, reducing the number of coats needed. As Murray notes, “New construction absorbs paint more than other projects,” so priming is essential for a lasting finish.
Use the Right Painter’s Tape
Painter’s tape is your best defense against messy lines. Stock up before you start, and avoid low-quality masking tape. “While blue tape can work, I recommend using Frog Tape or Pro Sharp for the best results,” says Murray. “Avoid using masking tape.”
To ensure the tape seals properly, press the edges down firmly using a 5-in-1 tool or utility knife. This prevents paint from bleeding underneath. If the surface is textured or bumpy, you’ll need even more care to make sure the paint is stuck down.
Try a Paint Edger
Paint edgers are handy tools for getting sharp lines near trim or ceilings, especially if you’re not confident in your cutting-in skills. Roll-on edgers come with a built-in shield, while smear-on edgers use a flat pad to help guide your hand. Either type can help you achieve clean results without relying on painter’s tape alone.
Final Thoughts
At the end of the day, whether you paint the trim or the walls first, the most important thing is to take your time and stay patient. Clean lines come down to prep work, quality tools, and a steady approach—not necessarily the order of operations.
And if you do make a painting mistake? Don’t stress. “It’s just paint,” as the pros say. The beauty of this project is that it’s easy to fix small slip-ups with a little touch-up paint and a second pass. With the right mindset (and a few pro tips) you’ll end up with results you can be proud of.
