We may earn revenue from the products available on this page and participate in affiliate programs. Learn More ›
Anyone with a garden knows that fertilizer and enriched soil can be expensive. But did you know there is a source of high-quality organic material that you can build and maintain yourself at low cost? Yes! Brace yourself: It’s a worm bin.
Each year, the average household generates pounds and pounds of organic waste. With a worm bin, you can put all those kitchen scraps to excellent use, producing your own fertilizer suitable for vegetable gardens, flower beds, and lawns.
Worm composting, also known as vermicomposting, resembles regular composting in many ways but requires less work. A traditional compost pile or bin requires human intervention—turning, aerating, heat management. In a worm bin, however, the worms do all of the work.
Benefits of Vermicomposting
Besides saving the gardener time and money that would otherwise be spent on purchasing commercial fertilizers, there are numerous benefits to vermicompost. For one thing, it improves soil aeration and contributes beneficial enzymes.
In fact, worm casings add micro-organisms that generate ten to 20 times more microbial activity than you’d find in regular soil. That attracts deep-burrowing earthworms already present in the soil, and these worms make tunnels that let water and nutrients flow to your plant’s root systems.
Rich in nitrogen, phosphates, and potash, worm casings can be mixed into a powerful liquid organic fertilizer and insecticide known as “worm tea,” which if sprayed directly onto plants, nourishes the leaves and creates a natural pest repellent.
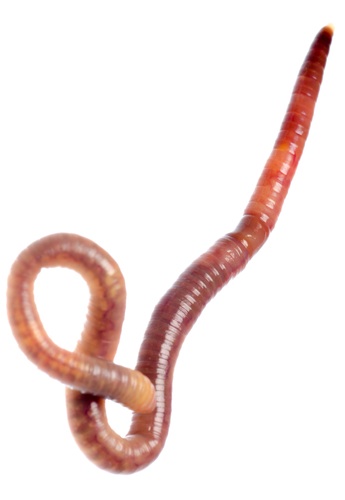
Red Wigglers
The “kings” of vermicomposting are worms known as red wigglers (Eisenia fetida or Lubricous rubellas), sold from garden suppliers both in stores and online. Of course, adventurous gardeners can harvest their own worms in the backyard, and there’s anecdotal evidence to suggest that “local” worms may be more productive than “imported” ones, at least in the early stages of a worm bin.
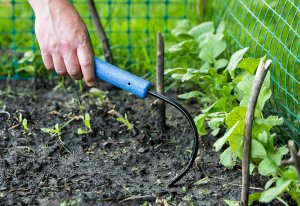
Building a Worm Bin
Even for beginning do-it-yourselfers, setting up a worm bin is not especially challenging. There are many kits available, or you can make your own bin using readily available materials. Scroll down for a step-by-step overview of the project….

Tools and Materials
– Lidded rectangular plastic or wood storage bin
– Drill
– Newspaper and corrugated cardboard
– 2 cups ordinary soil
– Red worms (Lubricous rubellas) or compost worms (Eugenia fetid)
Step 1
Locate your bin on a part of your property that is removed from direct sunlight. Drill two rows of ventilation holes just beneath the lid, around the top edge of the bin itself. Space the holes three to four inches apart, keeping their diameter to less than 1/4 inch to prevent the worms from escaping.
Step 2
Shred newspaper into fine strips. (Avoid printer paper, which includes bleach, and glossy magazine pages, which contain dyes.) Meanwhile, tear corrugated cardboard into small, three- to four-inch pieces. Wet the newspaper strips until they are the consistency of a damp sponge, then squeeze out excess water.
Related: The Most Beautiful Chicken Coops We’ve Ever Seen
Step 3
Add four to six inches of newspaper into the bin, followed by a layer of carboard pieces and anywhere from two to four cups of ordinary garden soil. Finally, add the worms, placing a small layer of damp paper over them. Close the lid, and you’re done for now.
Worm Feeding
You can ultimately expect to feed the worms table scraps every day, but at the outset, try about a cup every other day. Place the scraps in a corner and cover them with newspaper; add scraps to a different corner with each feeding. Certain food scraps are more suitable for use in worm bins than others.
Here are the best food sources for worms:
- Oatmeal and other cooked grains
- Soft breads and cooked pasta
- Coffee grounds and tea leaves
- Crushed eggshells
- Fruit, except citrus
- Lettuce
- Squash
- Chopped vegetable matter (roots, tops, etc.)
- Dry cornmeal, just a sprinkle, as a treat
Avoid putting the follow items in the worm bin:
- Citrus fruits
- Dairy
- Meat
- Oil
- Extremely salty or processed foods
- Sugar
- Vinegar
- Seeds
Worm Bin Maintenance
One of the advantages of worm bins is that they require so little maintenance. Make sure the interior of the bin stays damp but doesn’t become wet. Mist with a spray bottle when necessary. If the contents of the bin are getting soggy or too densely packed, add in a few handfuls of dry shredded newspaper. Avoid letting the bin material get too deep; that can lead to an excessive degree of dampness. (Shoot for the contents of the bin reaching a height of only six to eight inches.) For bins that always seem to harbor excess moisture, a window screen may be substituted for the solid lid.
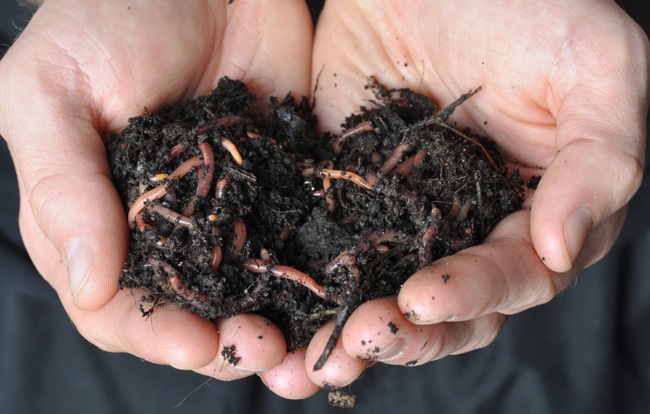
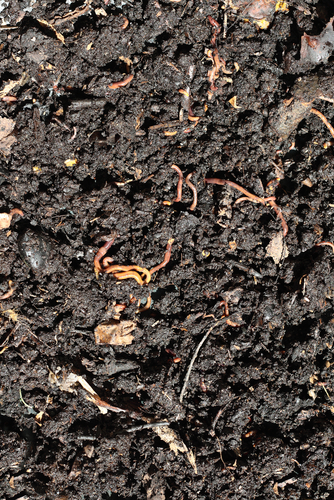
Harvesting
After about two months, once the contents of the bin begin to look black, it’s time to harvest the casings. Stop adding fresh food for a few days in order to stimulate appetite. After that time, put something worms love (oatmeal or squash) on one side of the bin. Let the worms migrate to the food over the course of a couple of days, then scoop out the material from the other side. Pick through what you’ve gathered, replacing any worms accidentally taken out, and use the rest of the material to make your garden the envy of the neighborhood!