We may earn revenue from the products available on this page and participate in affiliate programs. Learn More ›
Raised beds have some major advantages over standard in-ground gardens: they warm up faster in spring, drain beautifully, and allow you to grow deep-rooted plants in gardens that would otherwise be too rocky to accommodate them. But while there are plenty of fantastic raised bed options on the market, the DIYer in me was much more interested in building my own when I finally decided to try out raised bed gardening.
I’ll walk you through the basics of how I made a simple raised bed garden on the cheap, as well as the mistakes I made along the way so you can avoid them.
Planning My Raised Bed
Before I started on the actual DIY, I did a fair amount of planning to ensure my raised bed garden was the best it could be. I knew that I mostly wanted to grow vegetables, as well as a few herbs, so I researched the recommended depth of the bed I’d need. For deep-rooted crops, like carrots, it seemed I’d need a minimum depth of 12-inches of soil, so my raised bed would need to be at least that tall.
As I researched, I found a number of raised garden bed plans that seem like they’d work for my goals, but the plan I settled on was a simple 8-foot long bed that was 4 feet wide and 12 inches deep. My decision on the length of the bed was totally arbitrary, but most resources agreed that 4-foot wide beds were easier to reach across, weed, and work in.
As far as building supplies went, there were clearly a few essentials I’d need to build a raised bed garden. I would need soil and other materials to fill the bed, as well as outdoor-grade screws, and wooden boards for the frame. Many sources agreed that cedar was the best wood for building raised beds as it’s naturally water-resistant; however, I decided to go with pine ledger board since it came in the 8-foot length boards I’d need to create the bed length I wanted—and they were comparatively easier on my budget. At this point, I knew the basics of how I planned to build my raised bed.

How I Made My Raised Garden Bed
When I was ready to start DIYing the raised garden bed, I found an appropriate location in the landscape that was mostly level and received full sun throughout the day. A used a shovel to even out a few raised areas of soil and then, although this is optional, I tilled the top few inches of earth to loosen it up. My logic was this would remove some weeds and grass, but also give me more soil depth for growing tap-rooted veggies.
This done, I gathered my supplies: six 8-foot long pine ledger boards, four 1-foot length scrap pieces of 2×4, a handful of exterior grade screws, and an electric drill. I used a circular saw to cut two of the ledger boards in half to create 4-foot length boards for my garden bed ends. Then, I held one 8-foot length and one 4-foot length ledger board piece together in an L-shape and screwed them together at the ends to create a corner. I added three more screws to this corner to make it really snug.
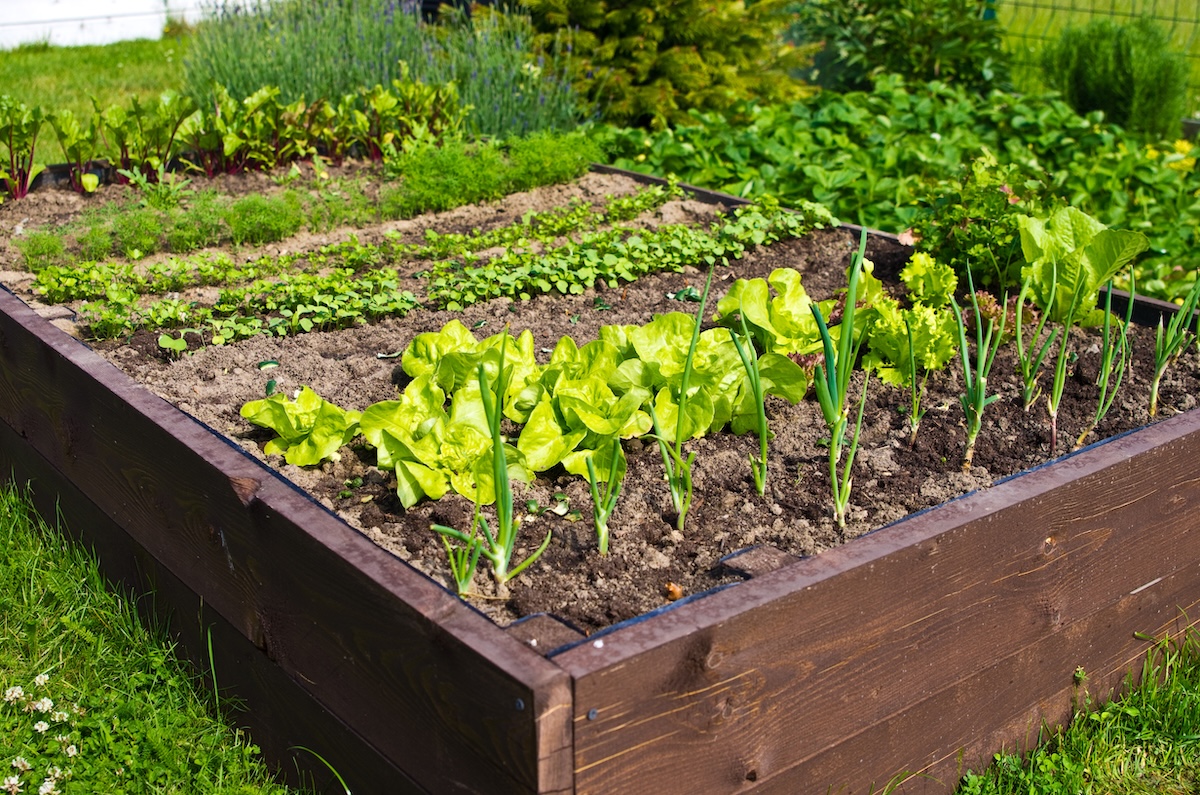
After creating the first corner, I repeated this process on the three additional corners to create a rectangular bed that was 8 feet long by 4 feet wide. Since the ledger board I bought was only 8 inches tall, I decided to repeat this process to create a second ledger board rectangle. I installed the first ledger board rectangle in the location I’d selected, sunk the 2×4 scraps into each corner of the rectangle, stacked the second ledger board rectangle on top of the first and screwed the rectangles into the 2×4 scrap pieces from the outside-in. This created a final raised bed garden frame that was 8 feet long, 4 feet wide, and 16 inches tall.
Once I had finished construction, I needed to fill the raised bed. I filled the bottom half with organic debris from my yard: autumn leaves, sticks and twigs, pinecones, kitchen scraps, and other natural items that I knew would eventually break down into soil. This ultimately saved me some money as it reduced the amount of soil I needed to buy. I then topped the rest of the bed off with a raised bed soil blend that I purchased from a local landscaping company and mixed with about 30 percent compost.

The Results
I made my raised bed garden about 3 years ago and it’s been holding up quite well. The structure has remained relatively sound and, while the pine ledger board isn’t as water-resistant as more expensive and recommended cedar boards, I’ve yet to see any signs of rot or decay. The boards, however, did begin to bow out slightly at the center after about a year, so I added some rebar stakes to the sides of my bed last year to keep them from bowing out any further.
Although I filled my garden to the brim with soil when I started, the soil line did drop over time, which is totally normal. To fix this, I’ve replenished the soil with additional compost and mulch each fall, which keeps the soil naturally rich and is all the winterizing I personally do. I’ve also added a few extra screws to the corners of the wooden frame to make it even more secure and I know I will need to replace the ledger boards eventually when they rot, but they seem just fine for now.
Since creating the bed, I’ve grown all sorts of veggies and the garden has been productive. The soil warms up early in spring, and drains quickly. Having an elevated growing space is one reason people make or buy raised garden beds, and the sides of my DIY bed are tall enough to make bending over and working in the garden a little easier.

What I’d Do Differently
Despite working on a budget, I felt that building a pine ledger board garden was sufficient for my needs and I wouldn’t swap out any of the supplies I used to start the raised bed garden. In hindsight, tilling the soil before building my garden was probably unnecessary, but it might have reduced some weed issues.
The only major difference that I would make if I recreated this bed is to add supports to the center of the garden when I constructed it. I used rebar to fix the bowing sides after the fact, but I think installing a 4-foot length of ledger board in the middle of the garden and screwing it to either side of the frame would have kept the bed from bowing in the first place.
