
We may earn revenue from the products available on this page and participate in affiliate programs. Learn More ›
Refinishing wood furniture can bring new life to a tired set of old dining chairs, aging dresser, or beat-up end table. A wood furniture restoration project is also a great money-saving and environmentally conscious alternative to purchasing new furniture. While this project doesn’t require any special skills or expensive tools, you do need to follow the right process to end up with satisfying results that you’ll be proud to display in your home.
We sought guidance from Chris Marshall, the former senior editor of Woodworker’s Journal magazine and current senior content creator for Rockler Woodworking and Hardware, an online retailer, and his more than 30 years of experience in furniture building and cabinetmaking to help guide us through the process.
Safety Precautions
Refinishing old wood furniture involves sanding and the use of chemical-based products to remove finish. You’ll also be using stains and paints that produce potentially harmful fumes. With that in mind, it’s crucial to take certain safety precautions when refinishing wood furniture. Work in an area with adequate ventilation, and wear gloves, eye protection, and a mask or ventilator while you work to avoid inhaling fumes or dust.
Tools & Materials
Bobvila.com may earn a commission from purchases made through these links.
- Tack Cloth
- Sandpaper (varying grits)
- Citrus-based chemical stripper
- Wood filler
- Wood stain or paint
- Polyurethane
How to Refinish Wood Furniture Step by Step
Before getting started, set yourself up for success by organizing your workspace. Choose a space that can accommodate the size of the piece you’ll be refinishing and that offers ample ventilation, such as a garage with the door open. Clear any clutter from the area, then gather all the tools and supplies you need and organize them in the space, so that you can find them easily as you go through each step of the furniture-refinishing process.

Step 1: Assess the furniture.
Refinishing a piece of furniture is labor intensive, so it makes sense to assess the piece to see if it’s worth the effort and investment. While scratches may be reparable, furniture with deep water stains, or structural issues that require more complicated repairs may not be worth it. “A 19th-century armoire might have astonishing character, but if its mahogany veneer is cracked and blistered, do you have the skills to repair it satisfactorily?” Marshall says. “If its condition falls short of the mark, it might be better to take a pass and find something in better shape.”
Step 2: Clean.
Even though you’ll be stripping the finish, you’ll still want to remove any grime or sticky residue from the surface before you get started. Decades-old furniture has had a lot of time to gather dirt, especially if it’s been sitting unused in an attic or antique store. Wipe the furniture clean using warm soapy water and tack cloth, which is just abrasive enough to remove any stuck-on dirt without damaging the furniture. The bristles of a small paint brush are perfect for cleaning dirt out of harder to reach nooks and crannies. Use a sponge to rinse the piece and a clean cloth to dry before proceeding.
Step 3: Strip the old finish.
You have options when it comes to removing the old finish. You can either sand it using sandpaper or strip it using a chemical-based finish remover. Whichever option you choose for removing the old finish, you’ll want to wear a respirator to protect yourself during this step. Also, lay down a drop cloth or tarp as this stage of the process is messy.

- Sanding: If you choose to sand, start with coarse, 60-grit sandpaper and gradually move to finer 200-plus grit sandpaper to smooth out the surface of the furniture. You can use an orbital sander over broader areas, but do so with care to avoid damaging the wood. Avoid using a belt sander, which is too powerful for this project and can easily damage the wood. You’ll need to sand by hand areas that you can’t reach with the electric sander.
- Chemical stripper: If you choose to use a chemical stripper, Marshall suggests using a citrus-based product. “A citrus-based paint/finish stripper is a good first step, because the stripper won’t contain volatile or caustic chemicals that are harmful to you or to the wood,” he says. Apply the stripper based on the instructions then remove it along with the old finish. Marshall advises using scrub pads, steel wool, or a plastic bristle brush to remove the stripper as opposed to a metal scraper, which can easily damage wood.
Step 4: Make repairs.
Repair any gouges or deep scratches by filling them with wood putty, wood filler, or patching compound. Choose a product that mimics the color of the wood and is stainable or paintable. Allow it to dry, then sand it until it’s smooth and level with the rest of the piece.
Step 5: Sand.
Sand the piece to prep it for the new finish. If you stripped the old finish chemically, start with a medium 120-150 grit sandpaper, gradually moving to finer 220-320 grit. If you’ve already used sandpaper to remove the finish, you can start with the finer grit. When sanding, move in the same direction as the wood grain. Use a sanding block for large flat surfaces and a sanding sponge to sand around corners and along edges. Take your time, as rushing the sanding job can lead to uneven, inconsistent results. Use tack cloth to wipe down the surface afterward to remove sawdust.

Step 6: Choose stain or paint.
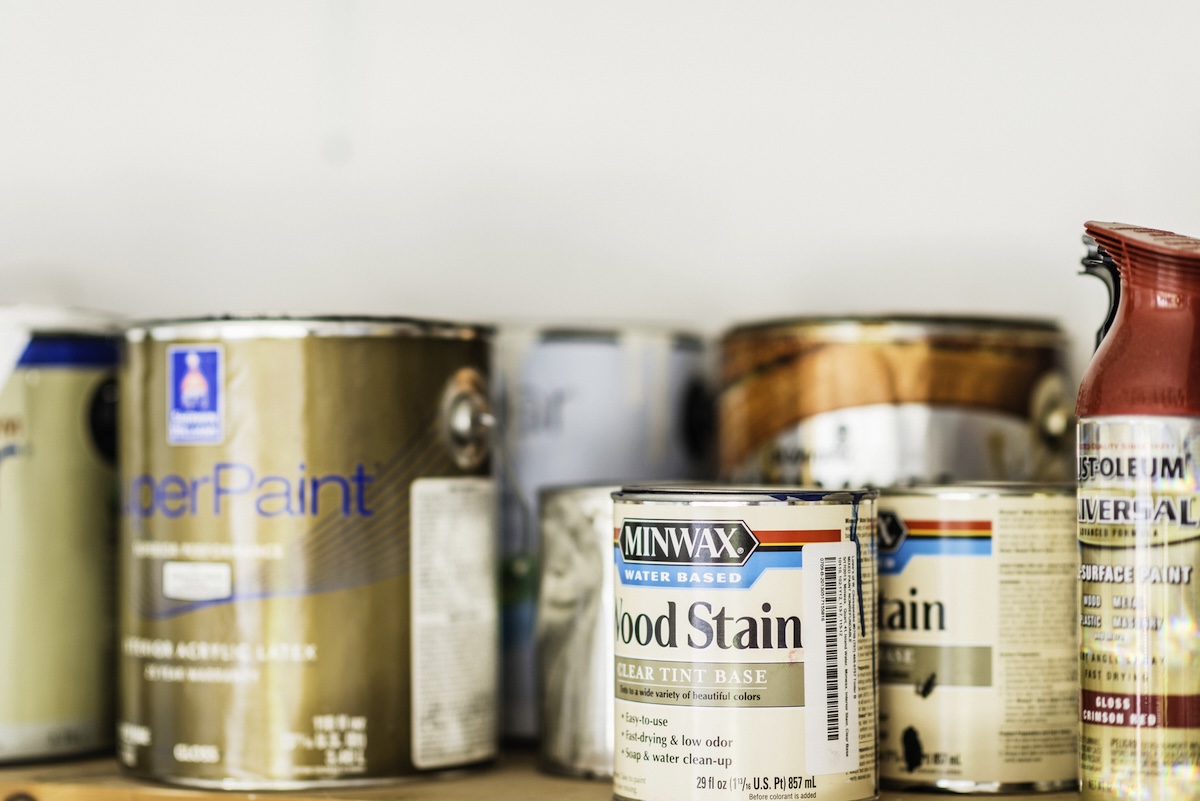
Whether you choose to paint or stain the furniture is entirely your preference. While staining wood furniture helps to enhance the wood grain, painting can give you more control over color when coordinating a piece of furniture with a room.
Since stains can react differently to different species of wood, Marshall suggests testing the stain prior to committing to it. “Stain a small area on your furniture piece that you won’t see during normal use—the underside of a tabletop or the back of a drawer are good spots,” he says. “If you don’t like the color, you’ll have the option to try something different before committing.”
Step 7: Apply the stain.
Apply the stain or paint using either a brush or a sprayer, following the instructions for the product. “The goal is to flood stain onto the wood, let it soak into the wood fibers and then wipe off all the excess,” Marshall says. Avoid putting the stain on too thick. Applying multiple thin coats gets better results. Be sure to allow the prescribed amount of drying time between coats.

Step 8: Seal and finish.
After allowing the stain to dry thoroughly, complete the job by applying a seal or finish that protects it. You’ve got many options to choose from, including lacquer, oil, varnish, shellac, wax, and polyurethane. Hard wax produces a more natural look while polyurethane offers the best protection. Marshall highly recommends polyurethane for furniture that sees a lot of use. “Polyurethane is an excellent choice for indoor furniture that will be subject to routine wear-and-tear as well as occasional spills and moisture,” he says. Apply the seal following the product instructions.
Final Thoughts
Furniture restoration can be a tremendously rewarding DIY project, but it does require time, effort, and meticulous attention to detail if you want to achieve great results. Follow each step carefully and don’t rush the process. Most importantly, don’t forget to take care of yourself as your work. The chemicals required for refinishing furniture are hazardous to your health, so resist the urge to ditch an uncomfortable respirator or pair of goggles.
