We may earn revenue from the products available on this page and participate in affiliate programs. Learn More ›
Having had a large number of years to learn how to start seeds indoors—plus how not to—I’ve learned that there are a few things on which I can’t afford to economize. For example, I usually use a sterile seed-starting mix rather than potting soil for my planting, since the sterile mix is less likely to cause damping off in my seedlings.
However, there are several ways in which I do save money on my hobby. And at least one of those—seed swapping—provides me with entertainment during the months when it is still too early to plant seeds.
I acquire seeds in swaps instead of purchasing them.
Although I buy seeds from one or more of the sellers included in my earlier article on the best seed companies, I acquire most of the seeds I sow from trades. The swaps I like best typically include 15 to 30 gardeners posting the purchased and gathered seeds they have to trade and bidding on those offered by the other gardeners. However, there are a variety of ways to trade, both online and at local garden meets, including round-robin swaps and those between just two gardeners.
By participating in seed swaps, you often can find types of seeds that aren’t readily available from seed companies. The disadvantage is that gardeners don’t always identify their seeds correctly and generally don’t keep plants of the same genus separate from each other. So, some of their species or cultivars might have crossed, resulting in flowers or vegetables that don’t come true from seed. I happen to enjoy such garden surprises, but realize that not everybody does.

I consult the best free book on seed starting.
The best book I’ve found on seed planting is Seed Germination Theory and Practice originally self-published by its author, the late chemistry professor Norman C. Deno. He experimented with thousands of seeds, learning what worked and what didn’t, and also popularized the idea of cold-stratifying seeds in paper towels.
Years ago I purchased copies of his book and its supplements, which more closely resemble research papers than traditional tomes, and got much more than my money’s worth from them. But, aAfter they began to fall apart due to frequent use, I was happy to discover that the books, which I consider essentials for starting seeds indoors, now are available for free download on a U.S. Department of Agriculture web site. If you aren’t interested in the science behind seed germination, you can skip the original book’s first 80 pages and go directly to the seed listings in Chapter 20.
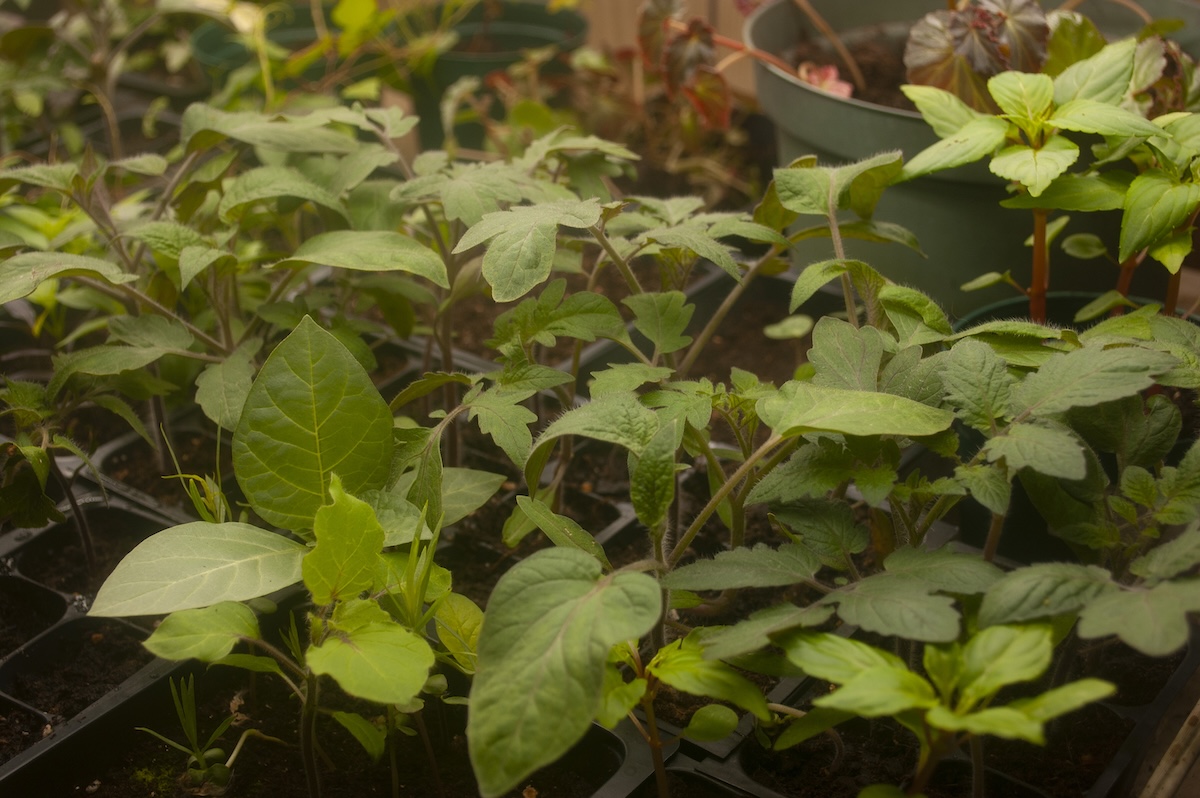
I buy inexpensive planting packs from a greenhouse supplier.
When starting seeds indoors, I prefer to buy inexpensive “open packs” from a greenhouse supply company. Each measures almost—but not quite—5 by 5 inches and slightly over 2 inches high. In one of those packs, which typically cost under 10 cents each, I can plant five different types of seeds in rows, often using needle-nosed pliers to space smaller seeds such as pelleted ones. And eight of the packs fit conveniently into one watering tray or daisy tray, making it easy to hydrate and move them.
For winter sowing, I also can place one of those packs inside a square, transparent plastic ice cream box with a lid and place the box outdoors. If I don’t damage the packs over the growing season, I can reuse them, and they are easier to clean than those with smaller cells. However, if my seedlings are growing too closely together after germinating, I often transplant them into 6-cell packs filled with potting mix.

I occasionally substitute appropriate kitchen supplies for garden tools.
Instead of domes, I cover my packs with kitchen wraps—either plastic wrap for seeds that need light to germinate or aluminum foil for those that prefer darkness. (Deno’s book will tell you which plants prefer which conditions.) I usually don’t need a heating mat since I have a high wooden shelf in my living room that is positioned above a wall radiator. During most winters, the radiator will provide all the warmth my seeds need to sprout.
However, this winter has been a frigid one, and my not-well-insulated house is chillier than it should be, which can cause some damping off in annual and tropical seedlings. So, due to climate change, I might have to invest in heating pads or find another best spot for plant starts, such as on top of the refrigerator. Some perennial or hardy annual seeds actually prefer cool temperatures for germination, so those go directly under the grow lights in my chilly basement.
I place sprouting seedlings under inexpensive LED grow lights.
Grow lights need not be expensive. In fact, they don’t necessarily have to be grow lights at all. I used to opt for 4-foot fluorescent shop lights, which worked fine. Now that fluorescent tubes are harder to find, I am switching over to LED fixtures of the same length, which provide brighter light and are easier on my electric bill. I’ve learned that seedlings grow faster under the LEDs than they did under the fluorescents so I’m adjusting my times to start seeds indoors accordingly.
I found some LED grow light fixtures online that cost only about $15 each. But even LED lights that aren’t called grow lights should work for seed planting and (especially if they are full-spectrum bulbs). The lightweight LEDs are easy to mount or string up. I usually run my lights on timers for 12 hours per day, but some gardeners stretch that to 14 or 16 hours. If you prefer, you also can place your seedlings on sunny windowsills, but the illumination will be less consistent there.
