
We may earn revenue from the products available on this page and participate in affiliate programs. Learn More ›
Only 2 years into homeownership, my growing project wish list is daunting. As a result, I’ve procrastinated some major projects—including replacing siding and windows—until the end of the year. Luckily, after two exterior upgrades in back-to-back years, my house stands as proof that these kinds of renovations can be done successfully.
Yes, there are still a few things I might have wished I had done differently. I could have calmed a lot of anxiety if I just made some decisions and signed contracts soon enough to move my project a few months up. But renovating in winter is not impossible. Let my experience—and the advice from professionals at James Hardie and Renewal By Andersen—help you decide on the right timing for your projects this year.
Be Prepared for Longer Installation Windows
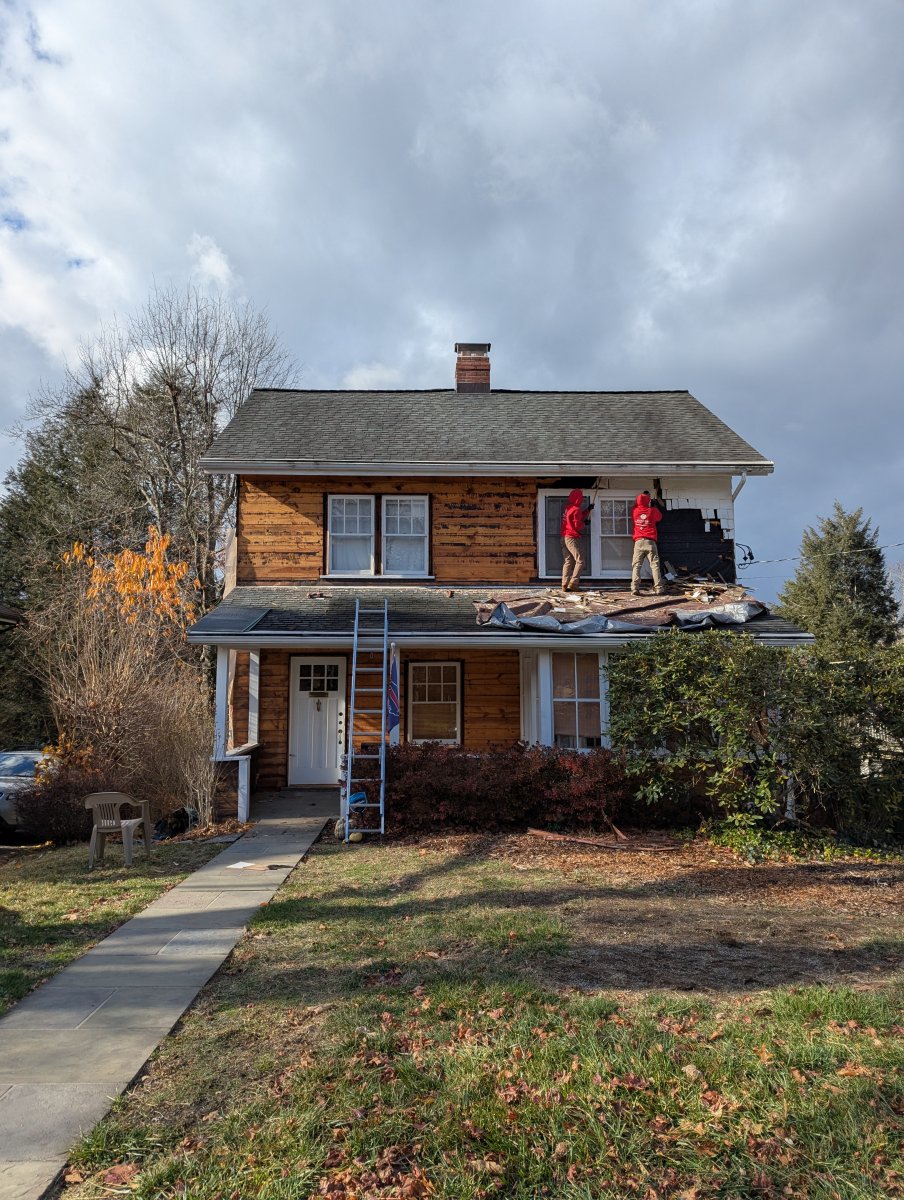
When tackling any exterior project, weather can get in the way. That’s not exclusive to wintertime, though—rain delays happen any time of year. The unique challenge of a winter project is the likelihood of snowstorms, below-freezing conditions, or freezing rain. “Extreme winter weather could add risk to the safety of installers on the job or delay the delivery of materials,” says Joshua Moore, director of installation at James Hardie, a top exterior manufacturer specializing in fiber cement siding. “If conditions are icy, most contractors will choose to pause the project for the safety of their installers.” Slick surfaces can be dangerous, and frigid temperatures reduce dexterity and increase the risk of frostbite while working extended hours outdoors tearing off or installing a new exterior. Outdoor temperatures may also be a limiting factor if you’re working with an exterior product that requires a coat of paint on-site. (My James Hardie siding is pre-finished with ColorPlus Technology, so it could be installed in all temperatures with the same workability.)
During our siding project, my project manager would check in with me on mornings when there was a chance of rain, snow, or temperatures too low to reasonably have anyone working outdoors. Siding our practically 3-story house was bound to take at least 2 weeks to complete, but with a holiday and three rain delays in the mix, our project took 24 days total.
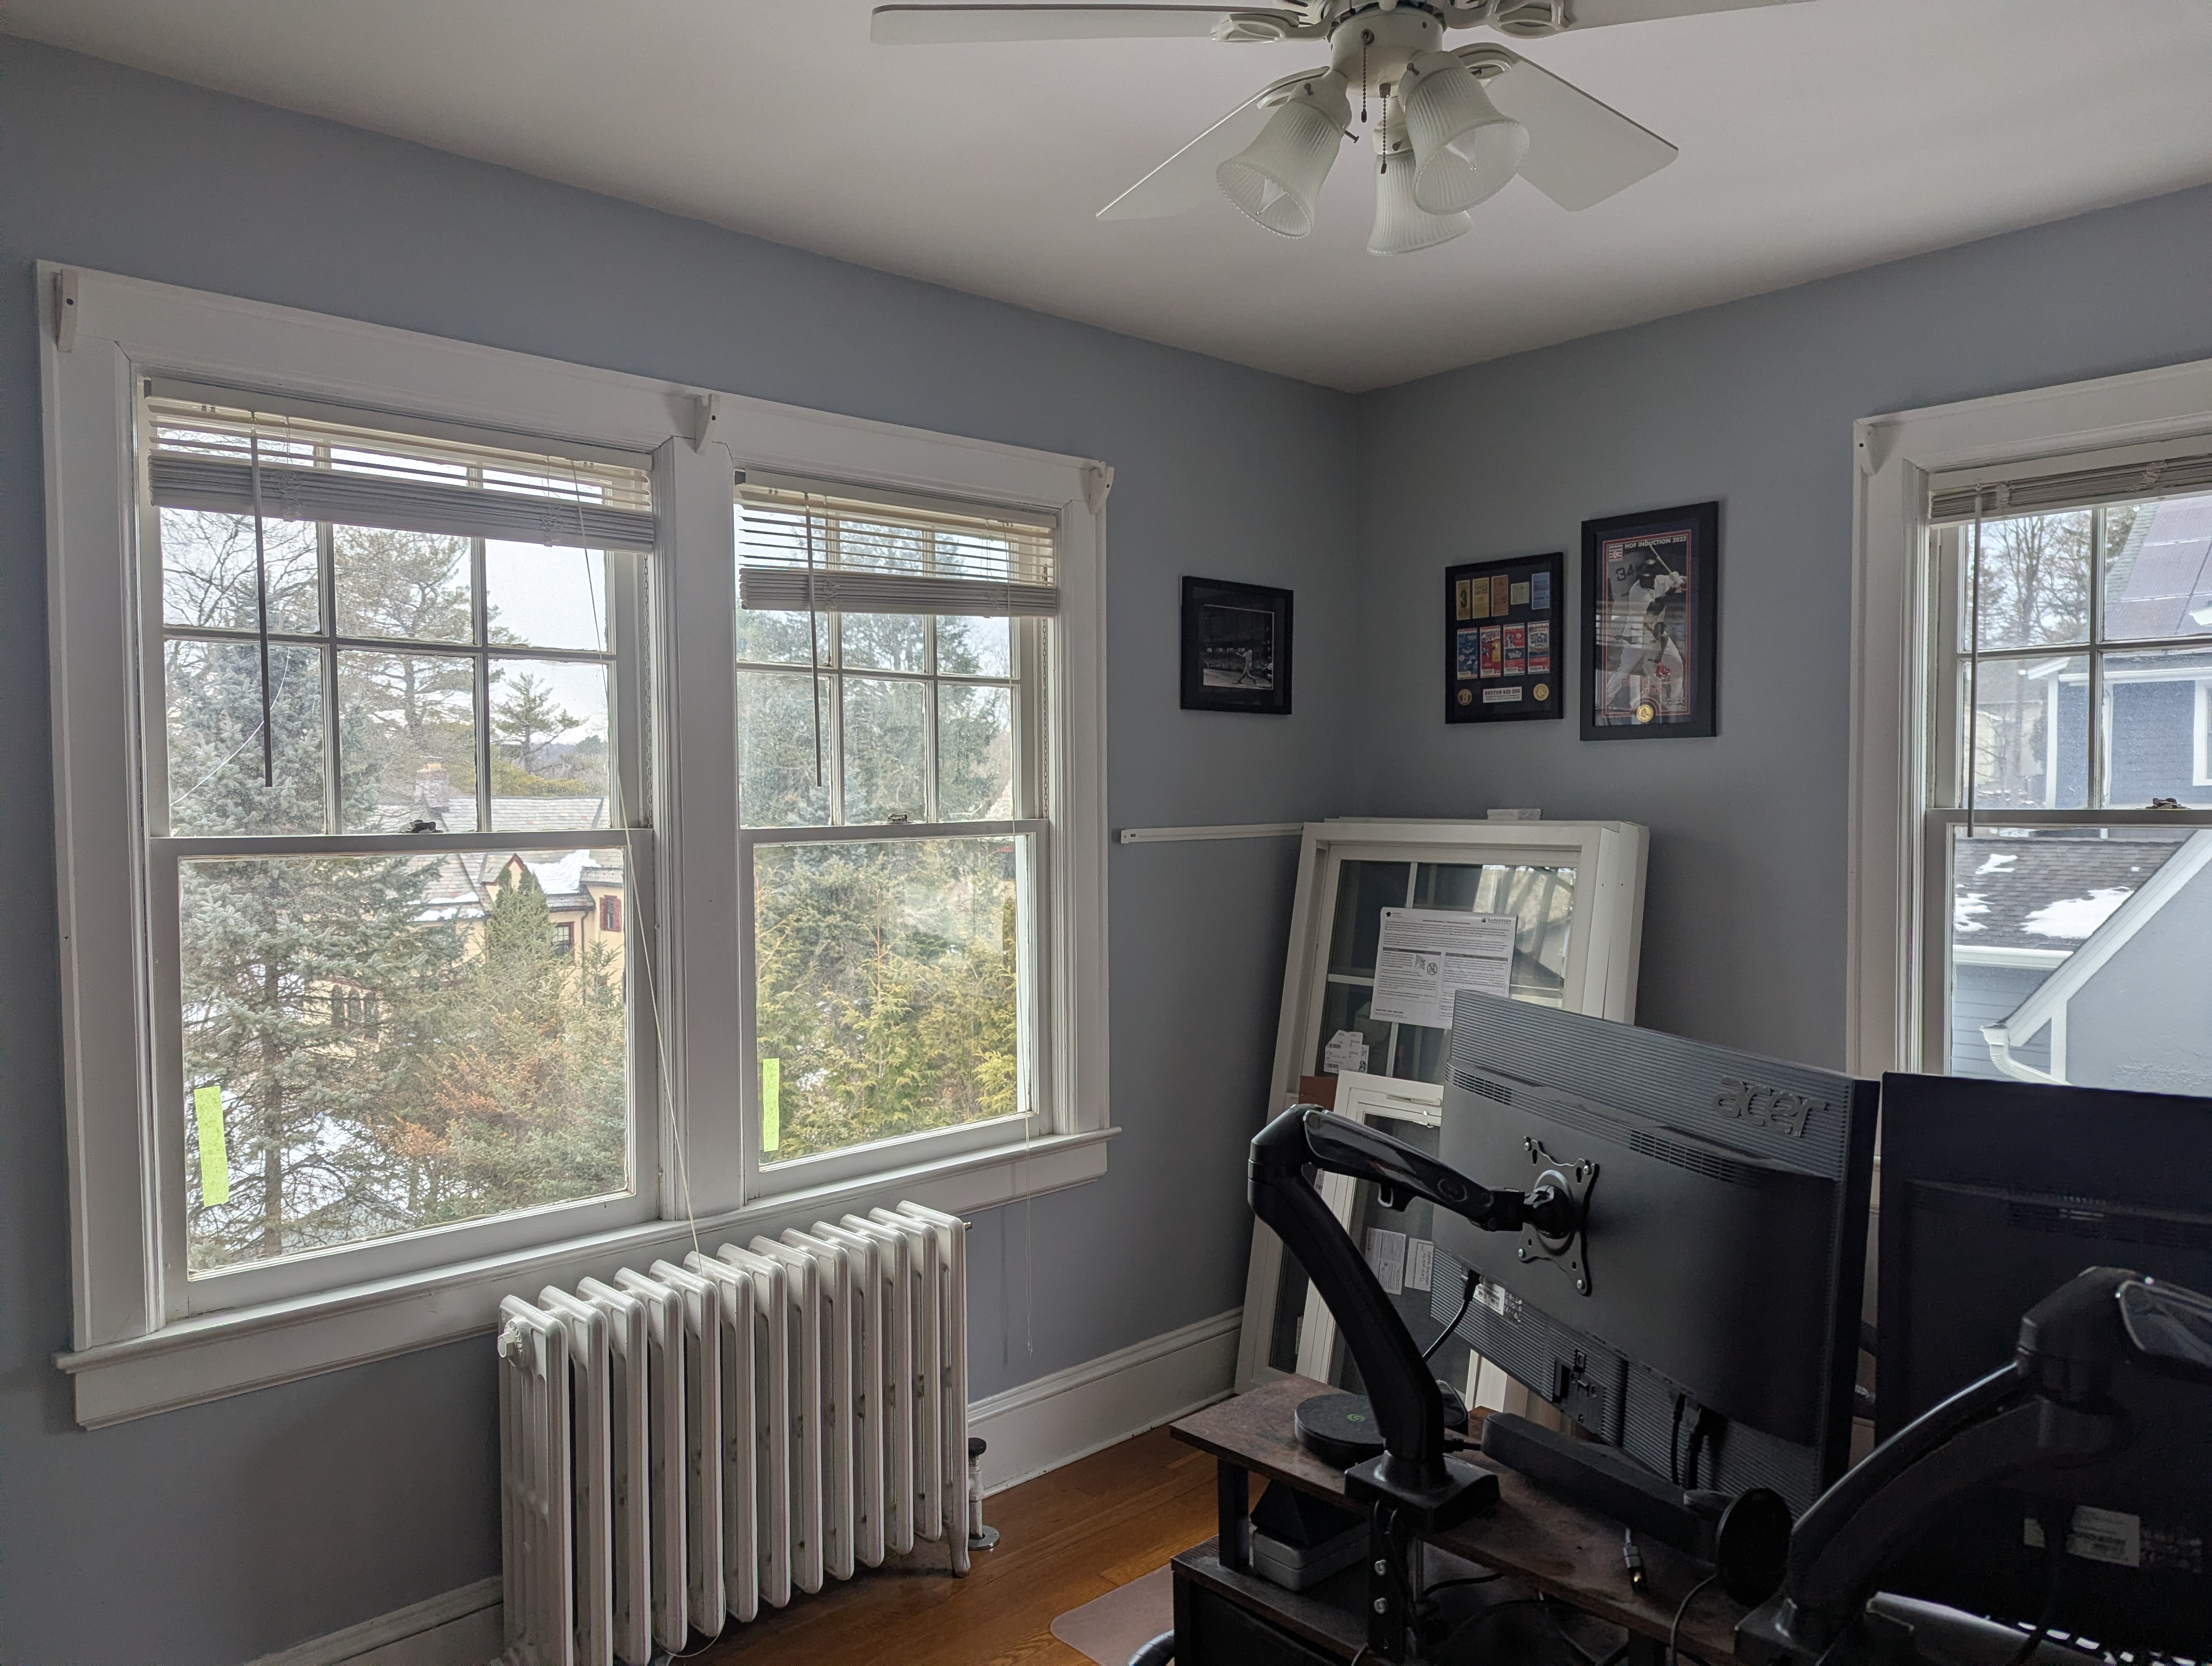
Replacement windows, to my surprise, do not face the same limitations. Sure, the team may set up a spot on our porch for a table saw to cut wood trim to size as needed, but most of the work replacing the average window happens from the interior of the house. The skilled window professionals replaced all 10 top-floor windows in the house over just 2 days.


Plan to Be Flexible with Your Holiday Travel
When you schedule a multi-week project for winter, it’s tough not to run into a holiday. Our siding project started the week of Thanksgiving and ended the week before Christmas. If your project has similar timing, try to at least make your holiday travel plans flexible (road trips are preferable over nonrefundable flights) so that you can stick around. Your contractors will likely take a holiday off, but they may not want to wait for you to make your annual Christmas trek to visit with your in-laws for a few days. That delay could set completion back and prevent the next job from starting.
Now, often you can coordinate with your team to find a set of dates that works for you and their schedule. But it’s smart to budget for not just the estimated project time, but also a buffer before and after these planned dates. “As with any home improvement project, it’s always best to be cautious when planning commitments around your project and home,” Moore says. “Depending on the time of year and risk of extreme weather, giving a 2-week buffer on either side of your timeline is likely the best approach to ensure the project is fully completed before you need to leave town.”
The final days of a team on-site generally include a punch list, and a good project manager will run through it with you before the job ends, even do a once-over when the job is complete. That’s two walkthroughs that you want to be available to do, whenever possible, because it’s often your last opportunity to address any issues with your crew directly before you have to sign a certificate of completion.
“It is ideal to be on-site during the final days of the project as most contractors like to walk around the project to ensure all turned out the way you expected and address any questions. You can work with your contractor to coordinate this as your project nears completion if you have scheduling concerns. In a best-case scenario, there are no surprises, and everything looks great… but it’s not unlikely that you want to point out an item or two to address before completion. (On our list, we had a couple of storm windows that needed to be rehung, porch trim to install, and caulk touch-ups.)

Find Reliable Ways to Keep Cozy Indoors
Whether you’re shedding a layer of siding or creating a hole in your house to replace a window, you open your home up to heat loss.
When our wood siding came down, the team also had to remove storm windows, which hung from the old exterior trim. (And our home’s single-pane original windows were already leaky.) To minimize drafts, we hung thermal curtains, which we opened during the day for sunlight and closed at dusk to retain heat. We also ran space heaters in the spots of the house where we spent the most time to avoid the impulse to turn up the thermostat as temperatures dipped close to freezing.
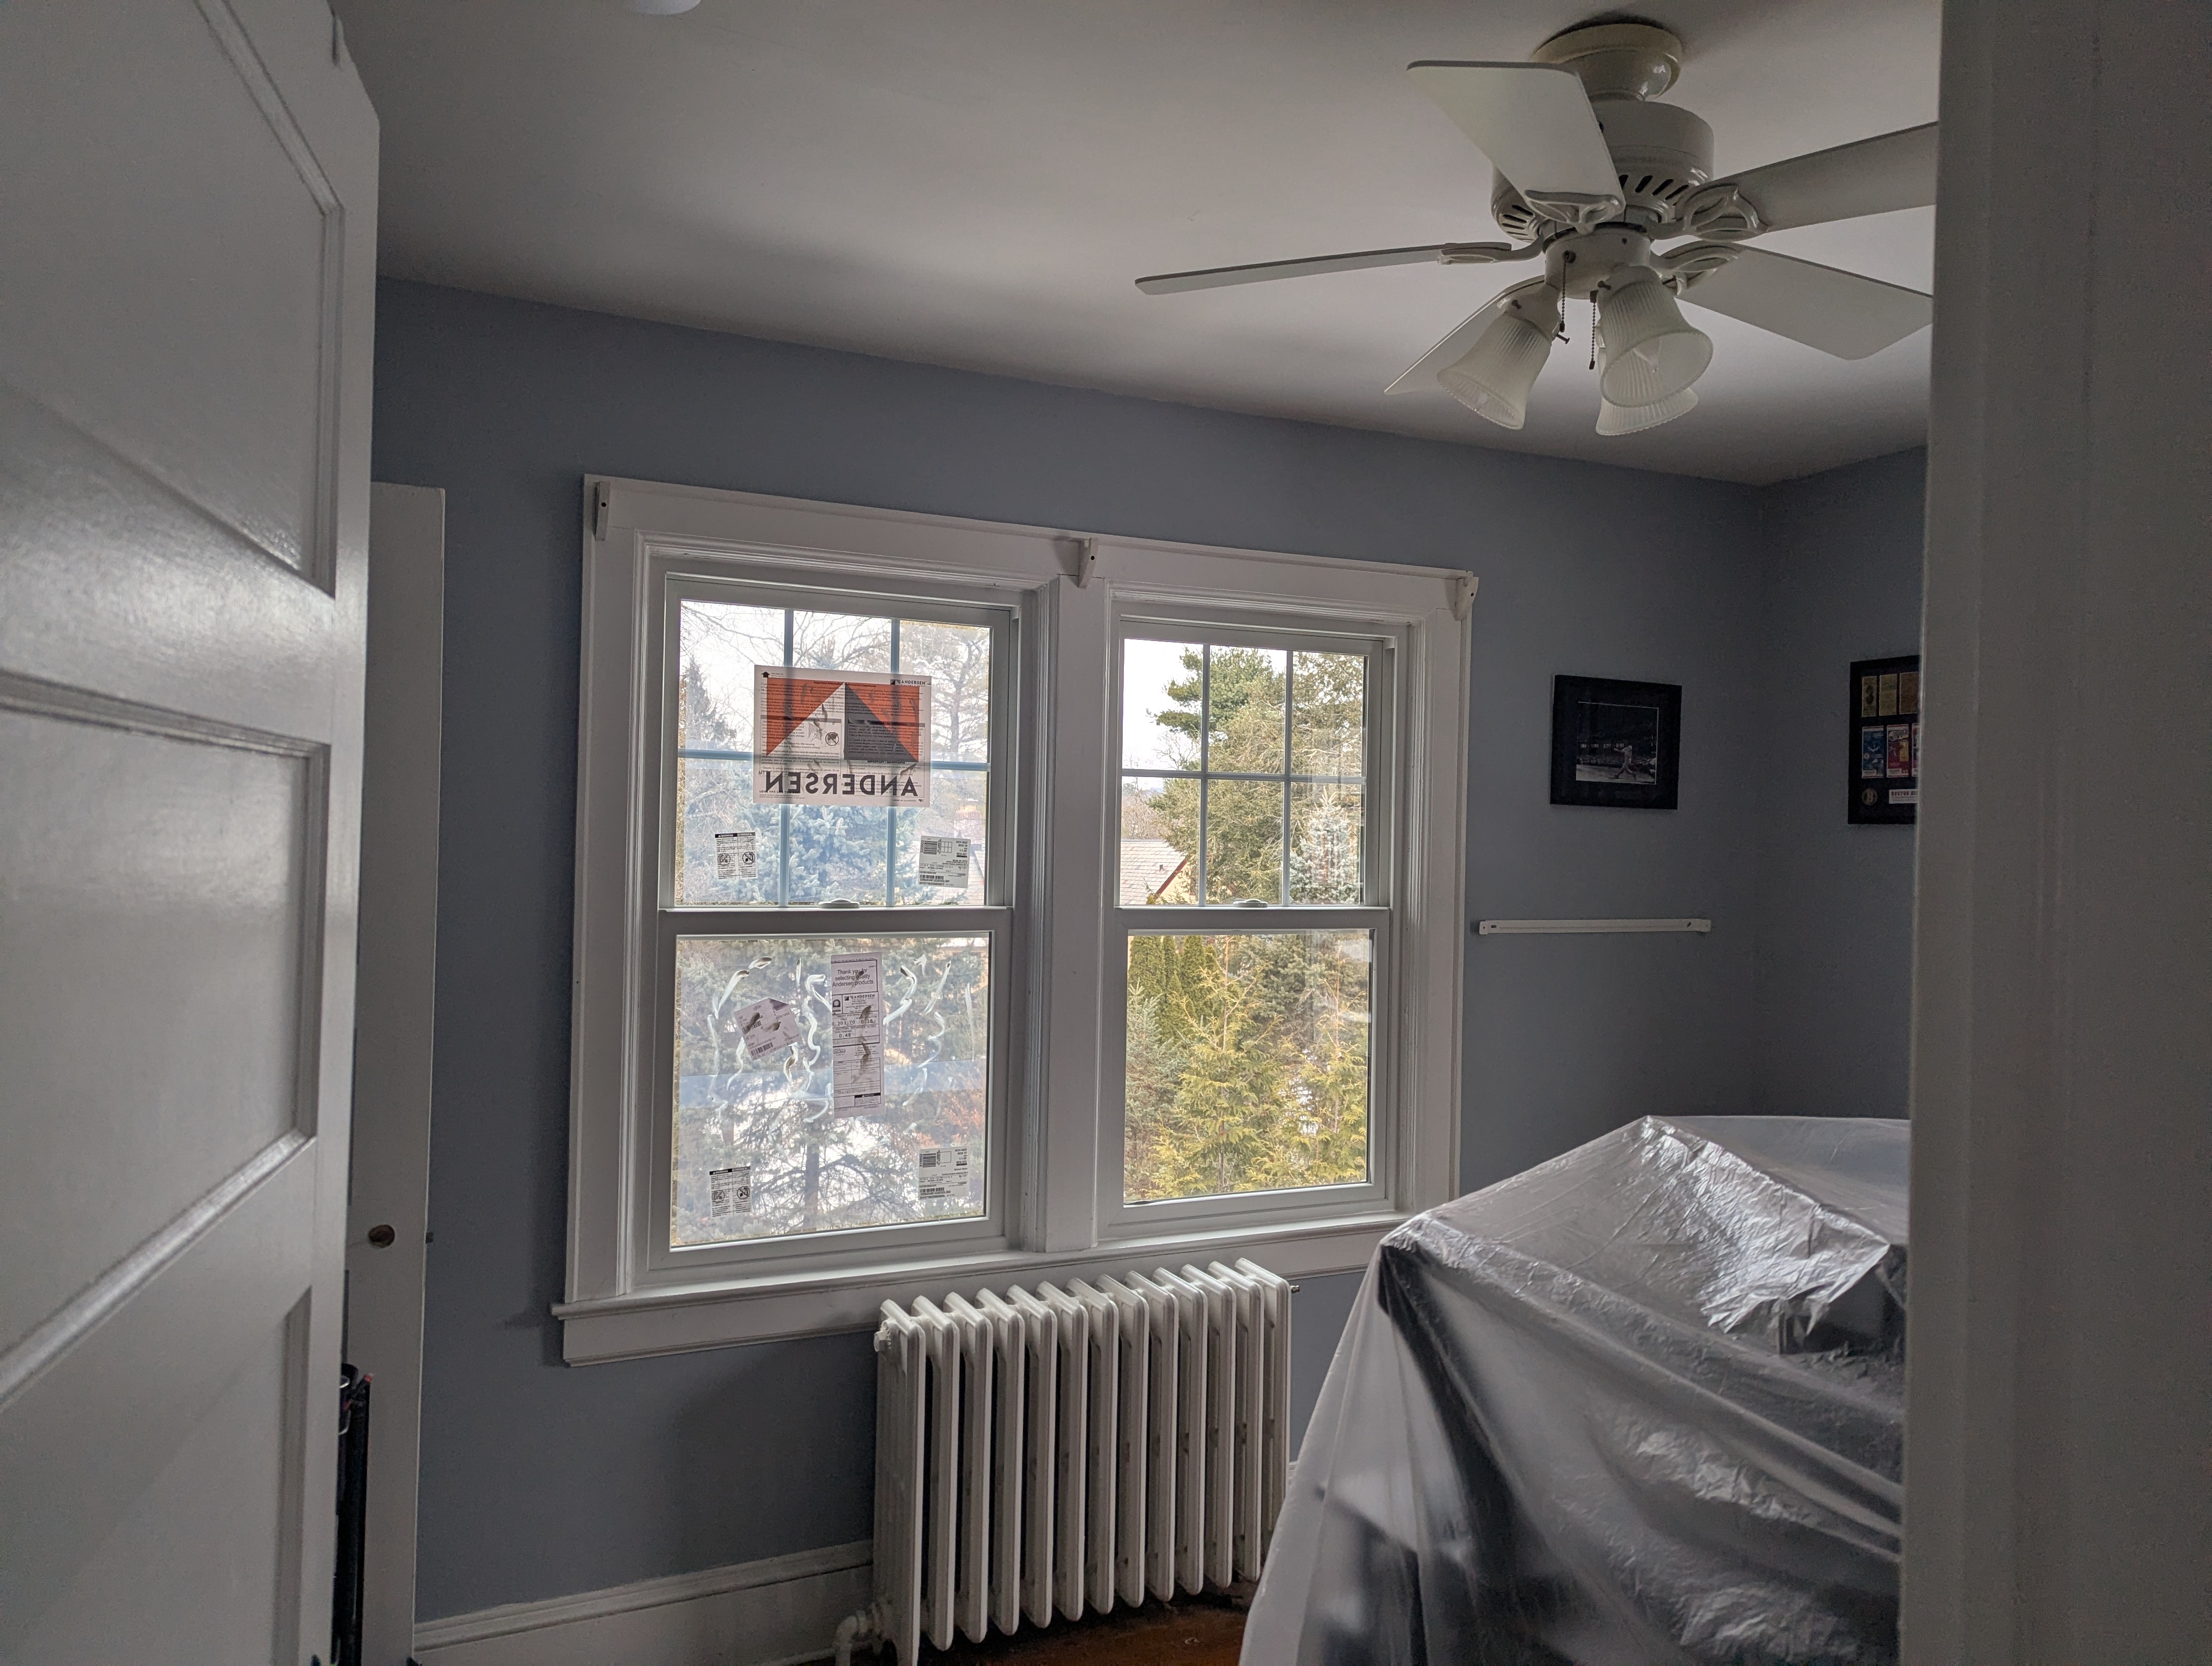
Plus, I learned that a routine window installation moves at such a clip that you won’t have gaping holes in your exterior for too long. “Professional installers work efficiently, removing the old window and installing the new one in quick succession to minimize exposure to the elements,” says Anthony Bolton, the senior director of retail operations at Renewal by Andersen, an industry leader in window replacement. “They take additional steps such as covering heat vents to minimize heat loss and keep debris out, closing doors to other rooms to retain warmth, and even putting up plastic barriers to close off the space being worked on.”
When Possible, Make Exterior Power Sources Available
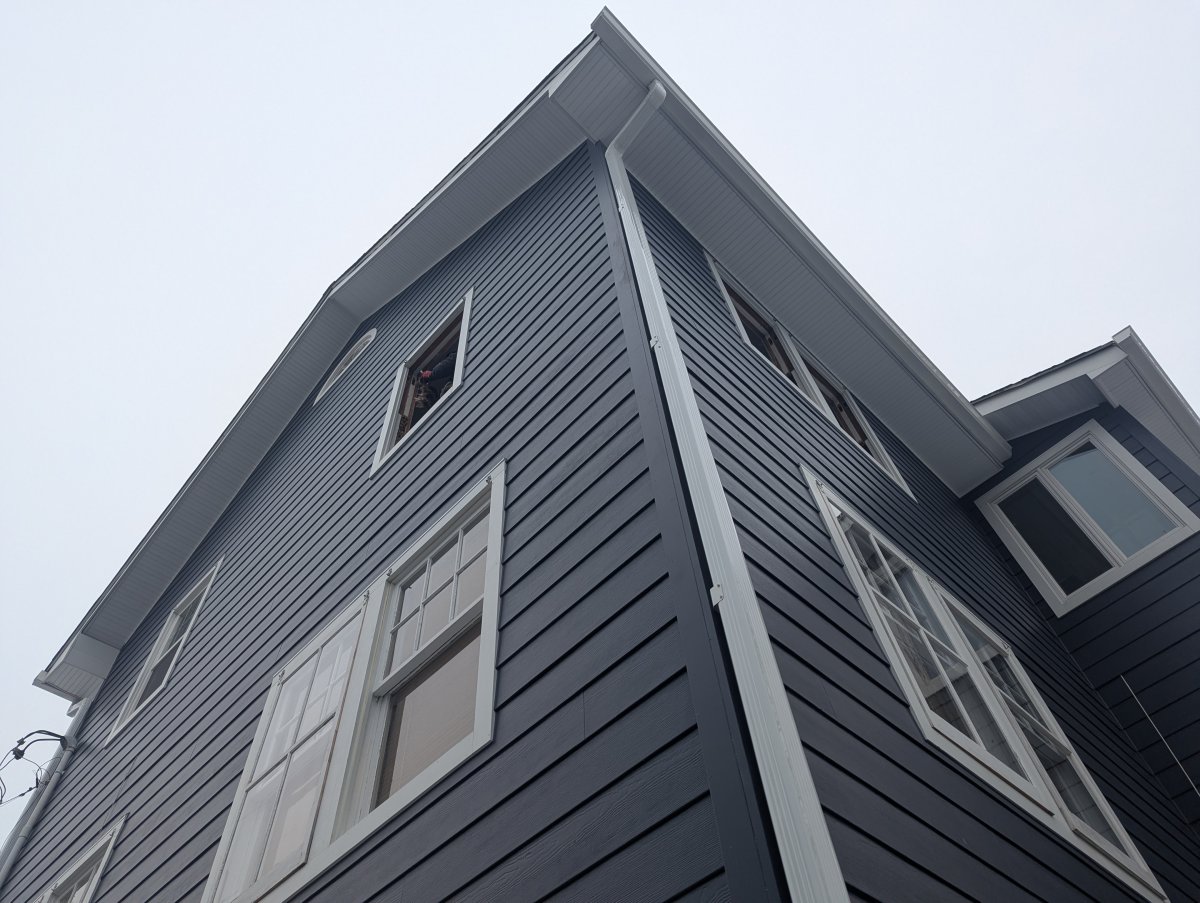
On an exterior siding job, of course, the whole job is occurring outdoors. It can be a multi-week process, and your team may be prepared with their own generator to run power tools and create a makeshift workstation in your driveway that they keep on site until the job is done.
For our short, 2-day window installation, our team brought a pair of sawhorses and a power saw to cut trim as needed out on our front lawn. Unfortunately, we are extremely limited on exterior outlets, so we were forced to run an extension cord from our living room out the front door, keeping it slightly ajar for about 6 hours per day. If you have a convenient exterior outlet, make sure your team knows about it, so you don’t have to open your home to the elements any more than necessary during a window replacement.
If You Really Want a Fall Installation, Sign a Contract ASAP
Early bird gets the worm—or, generally, the pick of their dates with their choice in contractor. We took most of the summer to figure out what materials we were interested in and which contractor and quote fit our needs and budget. We signed our siding contract in September, optimistically hoping for an October timeline; our team started around Thanksgiving. One year later, we signed our window contract in October in hopes of early December installation but got on the schedule right after the new year. (We didn’t learn our lesson.)
Ultimately, your timing depends on the availability of materials and your chosen team’s schedule. Renewal by Andersen’s windows are custom-made for each home, so there is some time required for manufacturing after consultation and measuring. “Homeowners can track the progress of their project through Renewal by Andersen’s My Project tool, which provides updates and alerts to keep them informed,” Bolton says.
My advice? Have these conversations early with your exterior pros to get the best idea of timing, especially if you’re set on milder weather. If I could do it all over again, I’d have scheduled earlier with residing my home to avoid conflicts and feeling exposed to the chill, but window installation in early winter was pretty painless—and I appreciated the efficiency of the new models immediately. “Many people assume that window installation is a spring or summer project, but winter offers unique opportunities,” Bolton says. Namely: “New, energy-efficient windows can immediately reduce heating costs during the colder months, as they prevent drafts and retain indoor warmth.