We may earn revenue from the products available on this page and participate in affiliate programs. Learn More ›
Keeping your garden looking its best takes commitment, time, and a fair amount of money. According to the National Gardening Survey, in 2020, the average household spent about $458 on gardening activities. By 2023, that average had shot up to $671, and costs show no signs of coming down.
It can be tough to come up with money for plants, soil, containers, and gardening tools, especially when times are lean. This is where ingenuity and a can-do attitude can really help, especially if you have a knack for repurposing or upcycling items you have on hand to help your garden grow.
Get creative and save time and cash with a few of these inexpensive gardening hacks that will help your yard and garden thrive without breaking the bank.
DIY some drip irrigation.
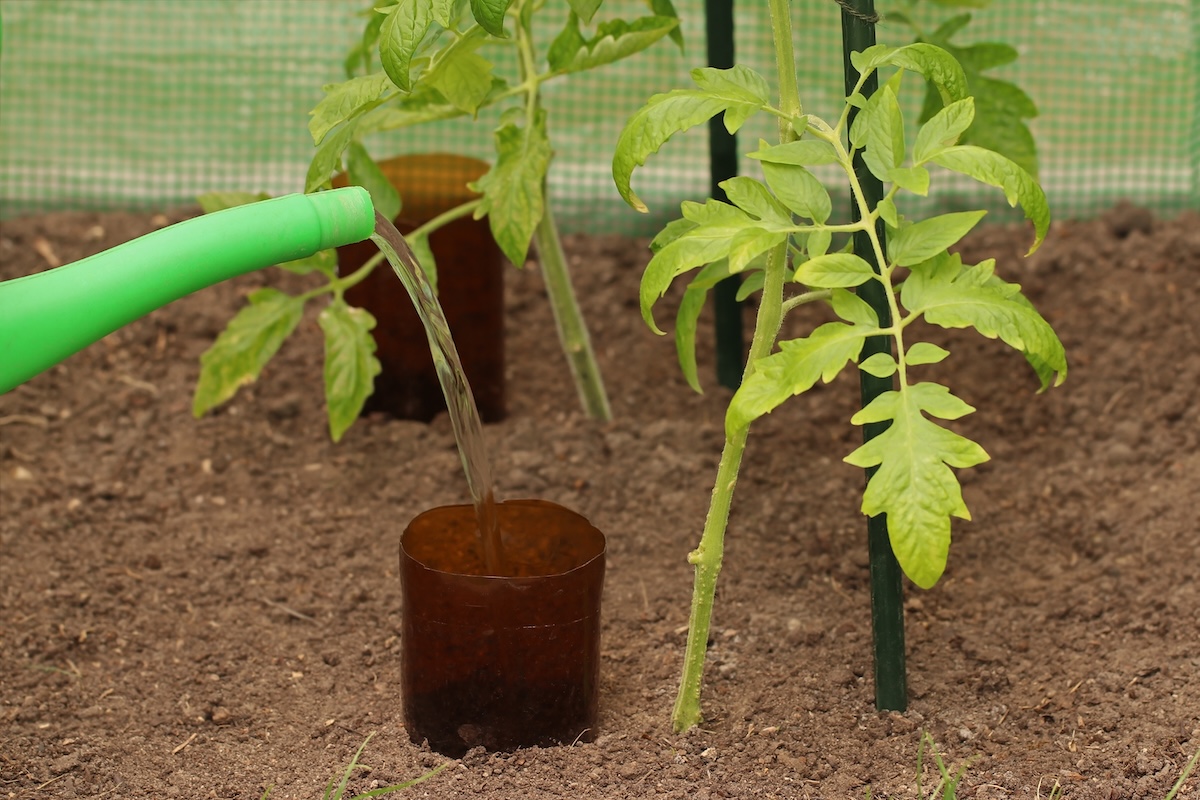
Photo: andreswd via Getty Images
Drip irrigation gives plants consistent and deeper watering, but it can be costly to install. Instead, create your own mini-drip system and save watering time with nothing more than a plastic bottle and an orphan sock. Just puncture holes around the sides of the bottle, stuff a sock in it, and then bury the bottle in soil up to the neck. Unscrew the cap and fill the bottle with water. The sock will retain the water, slowly distributing it to plant roots. This hack is especially helpful for new plants, container plants, or anything you grow that needs regular watering.
Kill grass with cardboard.
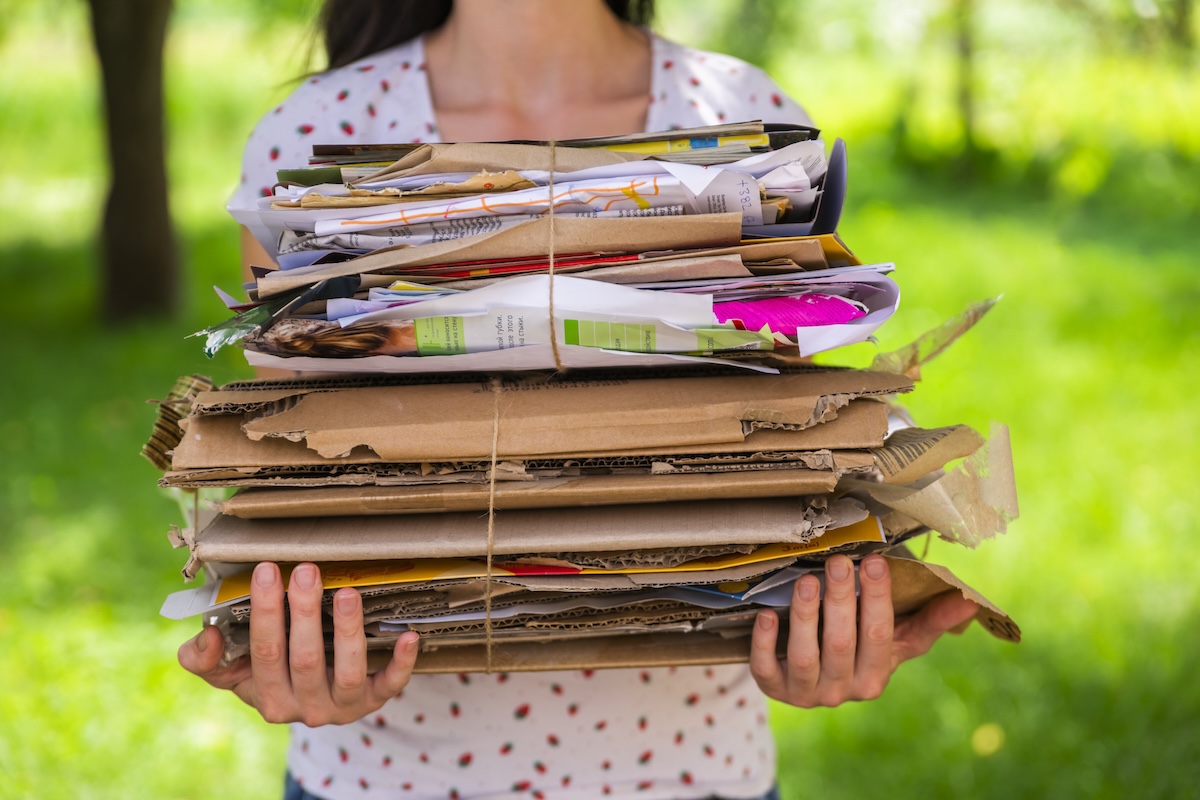
Photo: Anton Petrus via Getty Images
With this time- and money-saving hack, you can use cardboard from online shopping deliveries as sheet composting to create a new garden bed. To convert a section of lawn into a low-maintenance planting bed, start in the fall by covering a recently mowed patch of grass with cardboard, overlapping the sheets like shingles to block sunlight. Next, lay about 2 inches of compost or grass clippings over the cardboard, followed by an equally thick layer of dry leaves or wood chips.
Keep layering—if you have enough materials, you can go as high as 3 feet—and then water the area. The cardboard should decompose by spring, and your new bed will be ready for design and planting.
Shade new plants with lawn chairs or sheets.
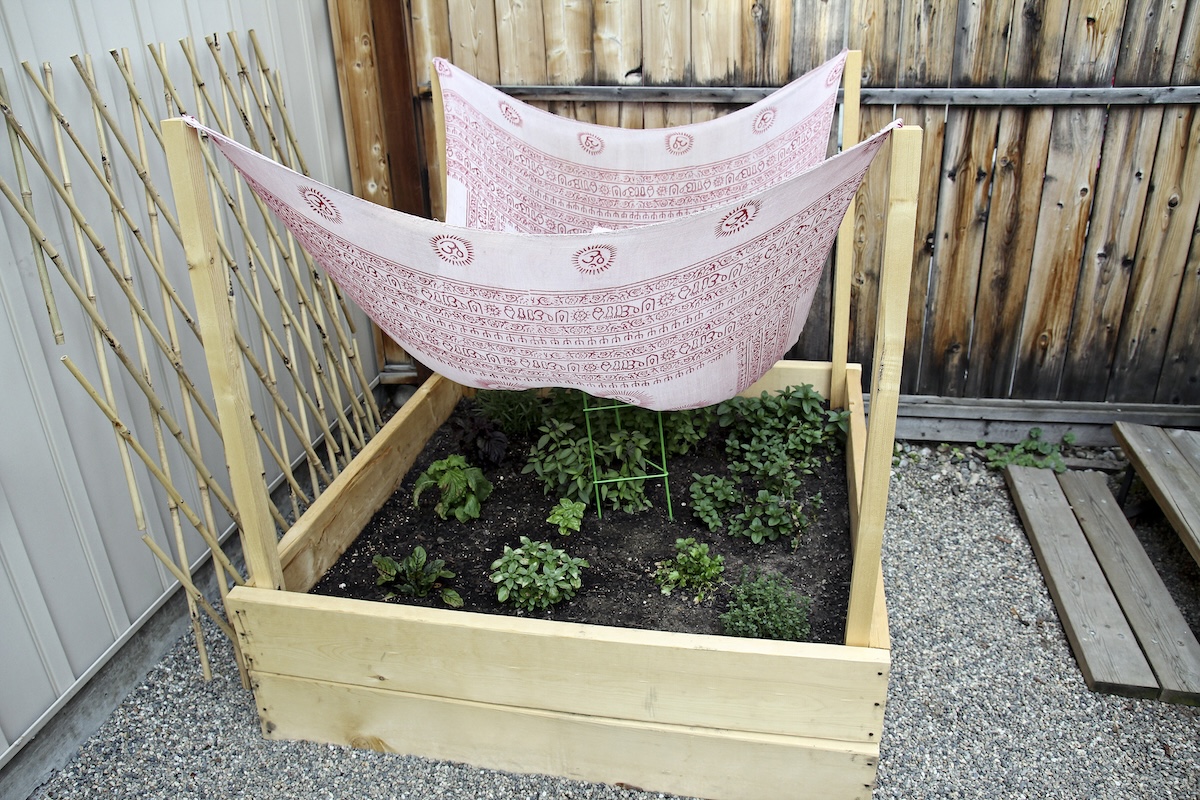
Photo: Magalie L’Abbe via Getty Images
The best way to save money on plants is to make sure that the plants you buy survive transplanting into your landscape. Moving a plant from its nursery container to a spot in your garden shocks it temporarily. Even a plant that requires full sun might need a break on a hot afternoon in its first week or two.
If you have landscape shade cloth, rig it up. Easier (and cheaper) yet, grab one of those folding lawn chairs you take to ball games and place it so it casts a shadow on your new plant during peak heat without rubbing against the plant or blocking airflow. Other free options are old sheets clipped to stakes or an unused tomato cage, or a patio umbrella for taller plants. Just be sure to secure your homemade shade structure with a rock, yard stake, or bungee cord if there’s a breeze.
Plant a garden in a bag.
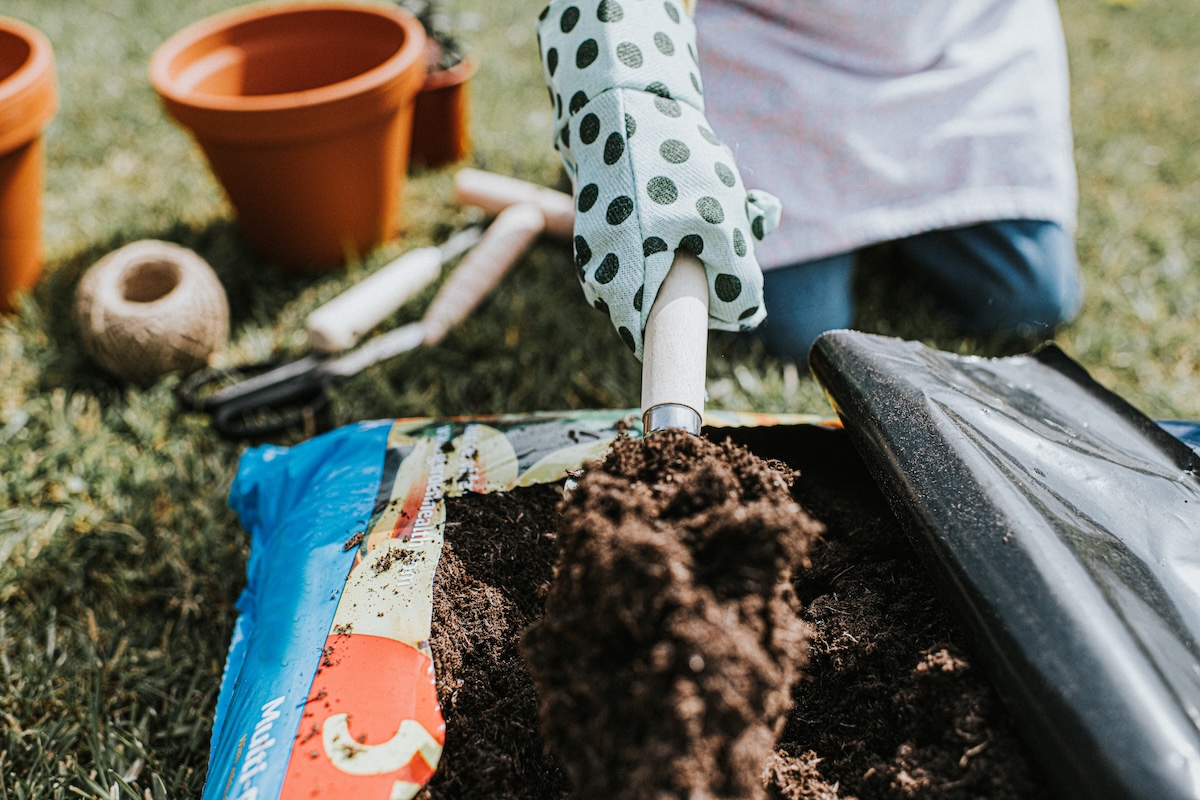
Photo: Catherine Falls Commercial via Getty Images
Grow vegetables straight out of a potting mix bag, and you’ll eliminate the need to till and improve poor soil. The only cost is the potting medium, which you would need anyway if you were using a container. This trick works for shallow-rooted plants like lettuce, spinach, parsley, and other herbs, or an assortment of easy-to-grow vegetables. This hack will also save some weeding time, since weed seeds in the ground are not likely to break through the bag. Simply lay the bag down on one side and cut an X pattern through the top to make room for your edibles.
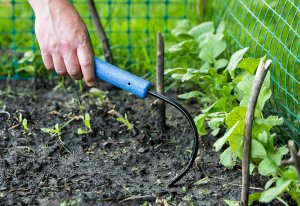
Use old wine corks to sow seeds.
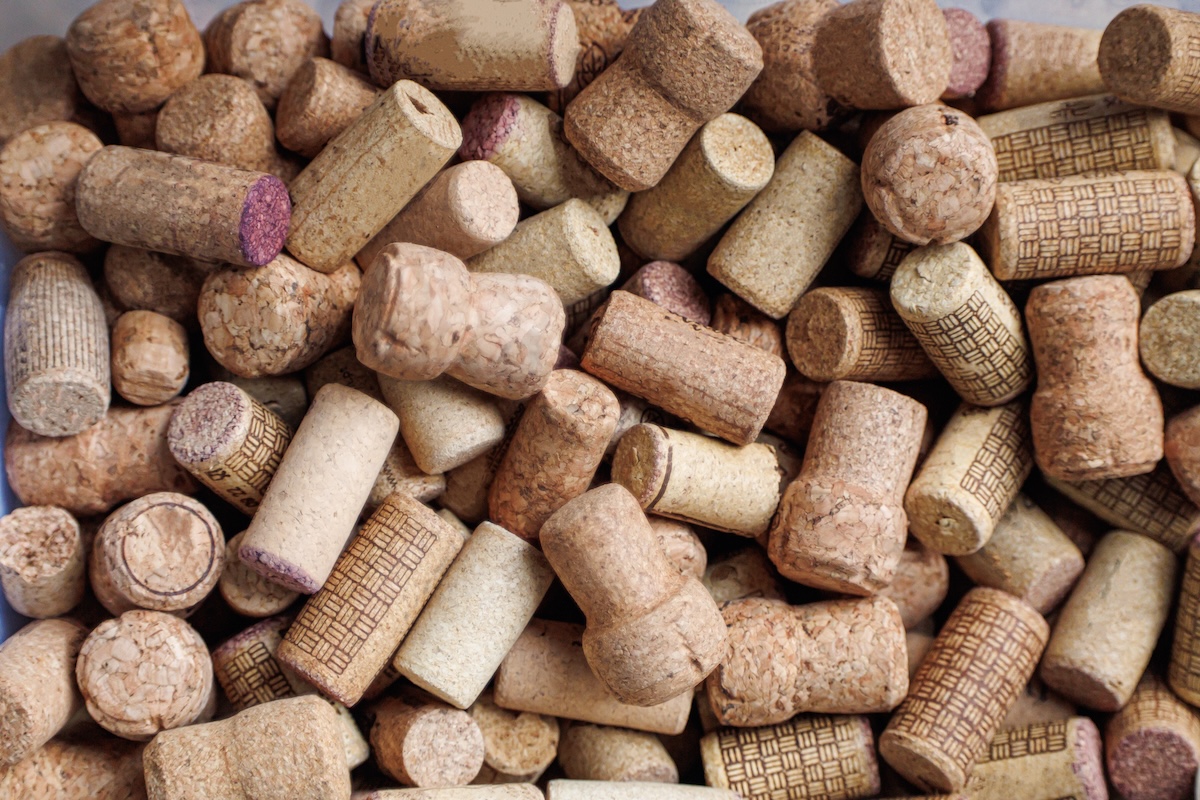
Photo: Iuliia Burmistrova via Getty Images
Sowing seeds just got simpler. Rather than digging individual holes all along your garden bed or investing in seeding tools, enlist the help of old corks to turn a garden rake into a makeshift sower. Just press an old wine cork onto each prong of a bow rake or gardening fork so that the cork, when pressed into the soil, matches the desired depth of the seed holes. To use the tool, push it into slightly damp soil. When you pull it back up, you’ll be left with a row of holes ready for seeds.
Bag plants to protect them from pests.
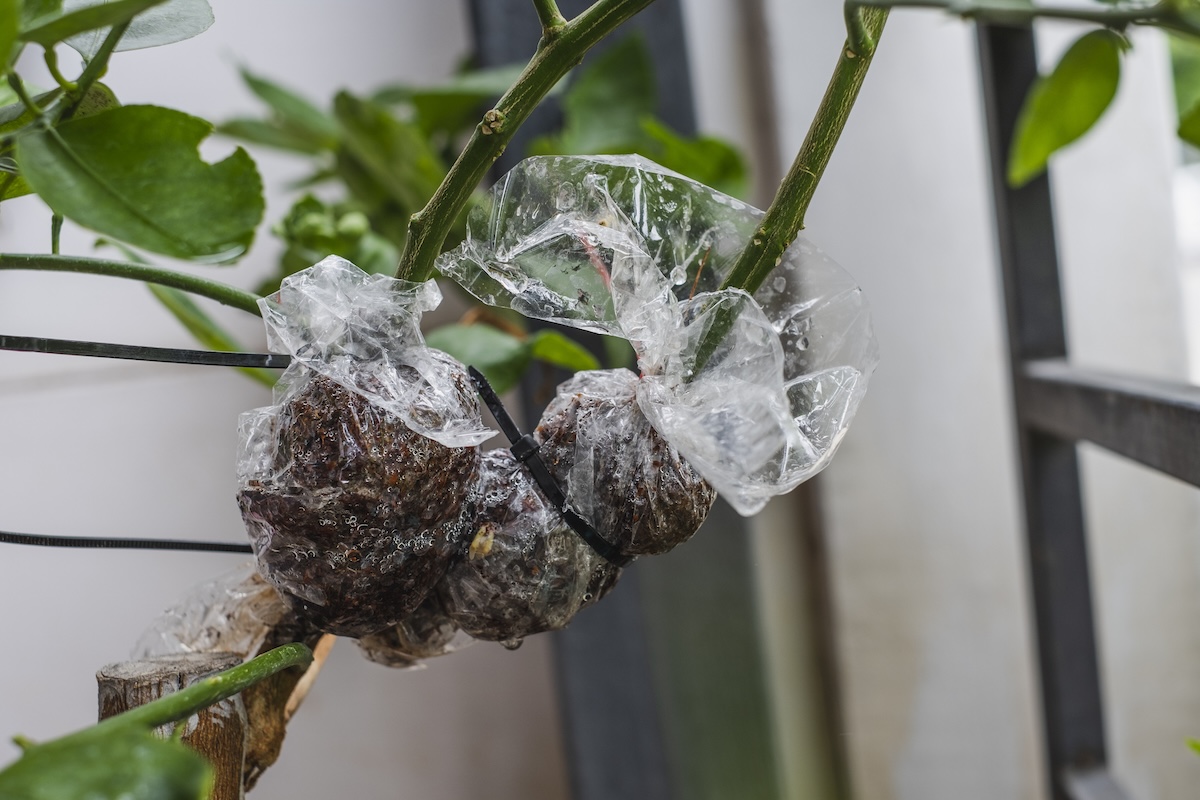
Photo: Sutthiwat Srikhrueadam via Getty Images
Keeping caterpillars and bugs off ripening fruit can be a daunting task if you don’t want to use chemical sprays. Protect that fruit quickly, easily, and cheaply by slipping a Ziploc bag over apples or pears once the fruit has set. Seal it as closely around the stem as you can, and then let it be. As the fruit grows and turns downward, the baggie will go with it, and you can harvest fruit blemish-free when it’s ripe. Look for sales or bulk deals to save money on bags.
Remove tomato hornworms manually.
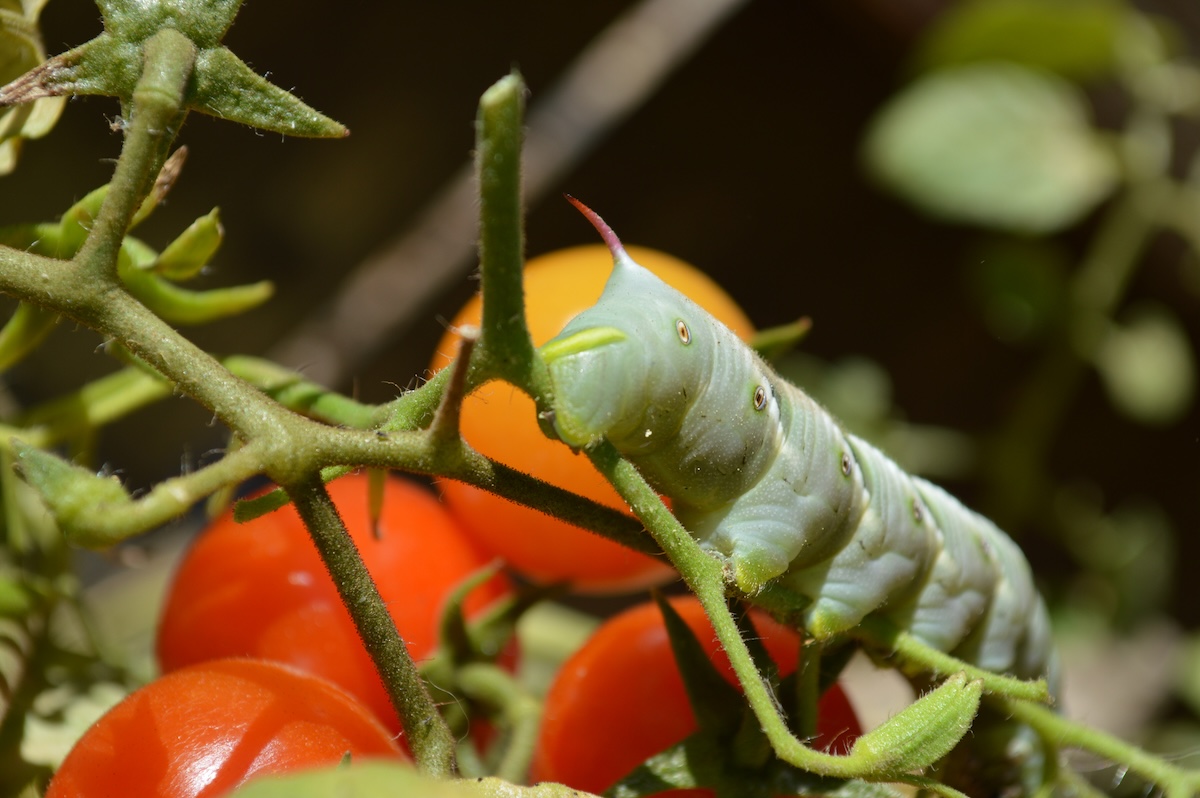
Photo: Andrea via Getty Images
Tomato hornworms can cause heavy damage to tomato plants as well as potatoes and other tomato relatives. The best control is handpicking the worms at dawn or dusk before they camouflage themselves in the middle of the plant. Find an old bucket or plastic container at least 6 inches deep and fill it with water and dish soap. Instead of touching the worms, grab a pair of tongs or light-duty pliers, and use them to gently pull the hornworms off the stems. Release them into the soap mixture and dispose of them.
Make your own seed tape.
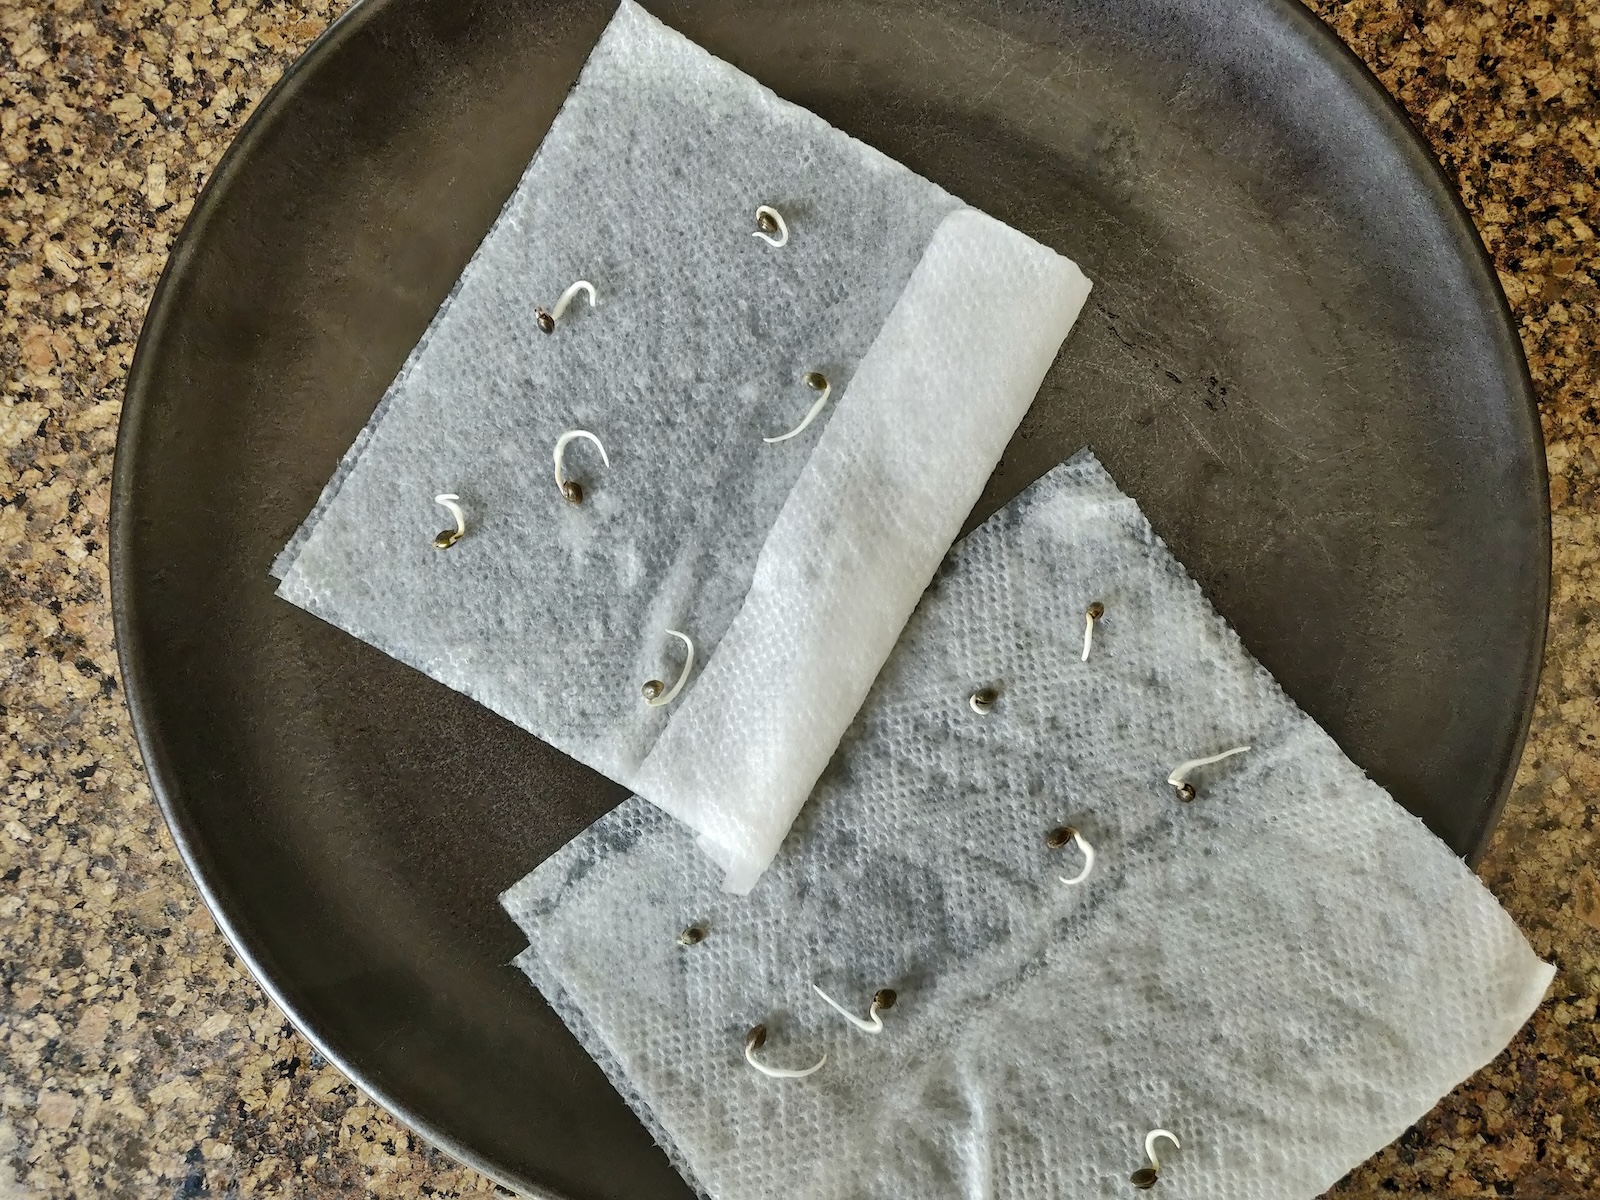
Photo: Cavan Images via Getty Images
Seed tape is a convenient way to plant a lot of tiny seeds, like carrots, quickly and neatly. It’s expensive to buy, but easy to DIY. Just roll out some toilet paper and mist it with water from a spray bottle. Place your seeds in a line at the appropriate distance from one another. (As an alternative, create a planting-friendly “glue” from flour and water using instructions from the University of Florida Extension Office.)
Fold one-third of the paper over the seeds and mist it to make it adhere. Fold the opposite third over and mist again to complete the job. Roll the tape up on a toilet paper tube and store it until you’re ready to plant. When it’s time, unroll the tape and place it in the soil at the recommended depth for your seeds.
Space out seeds with a muffin tin.
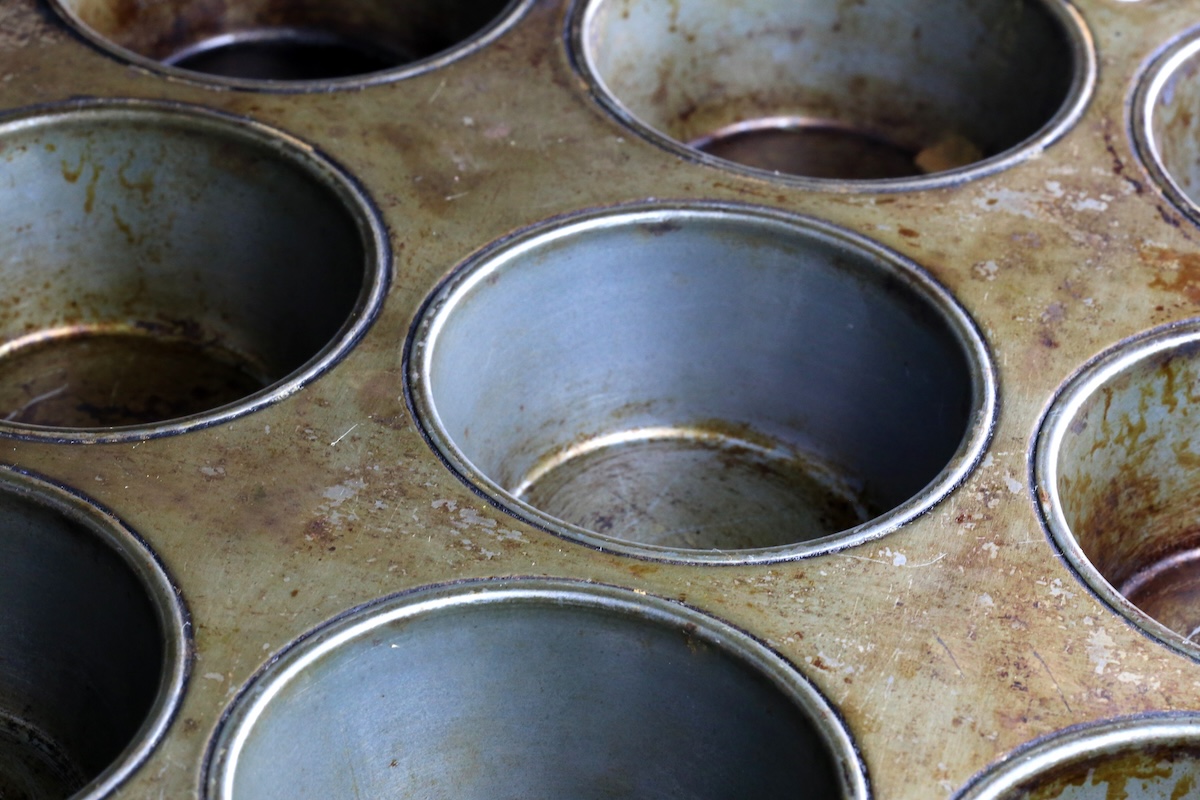
Photo: Douglas P Sacha – droopydogAJNA via Getty Images
Tape won’t work for spacing larger seeds, but a typical 12-muffin tin has 3 to 4 inches of space from the center of one depression to the other—good spacing for plants like cucumbers, beets, peas, and soybeans. Simply press the tin into the ground to make depressions in the soil, drop the seeds in, cover them with soil, and water. If you need a little more space between plants, skip every other hole.
Protect plants with plastic forks.
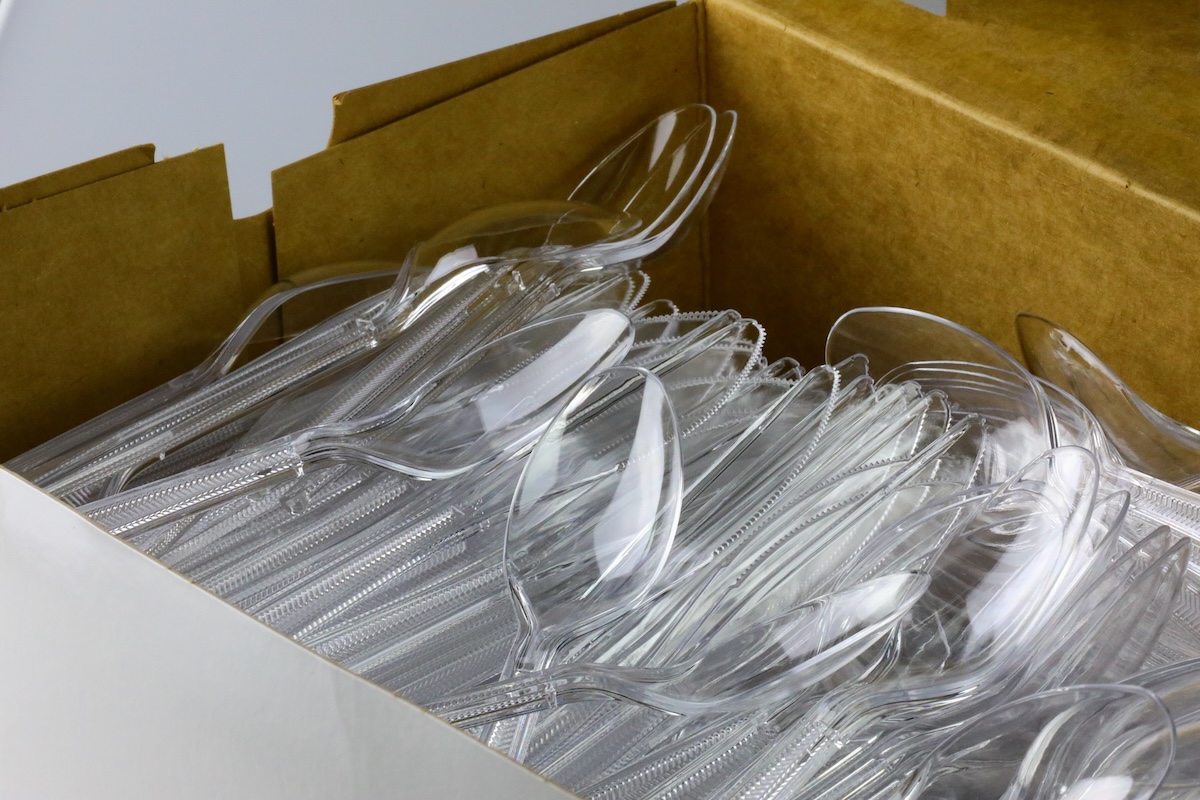
Photo: Douglas Sacha via Getty Images
Finally, a great use for leftover picnic or takeout forks: If you’ve spotted stray cats, rabbits, mice, or other small critters around a favorite plant, stick a few forks in the ground, tines up. The sharp tines will deter most small animals and keep young plants out of harm’s way.
Grow vegetables in straw bales.
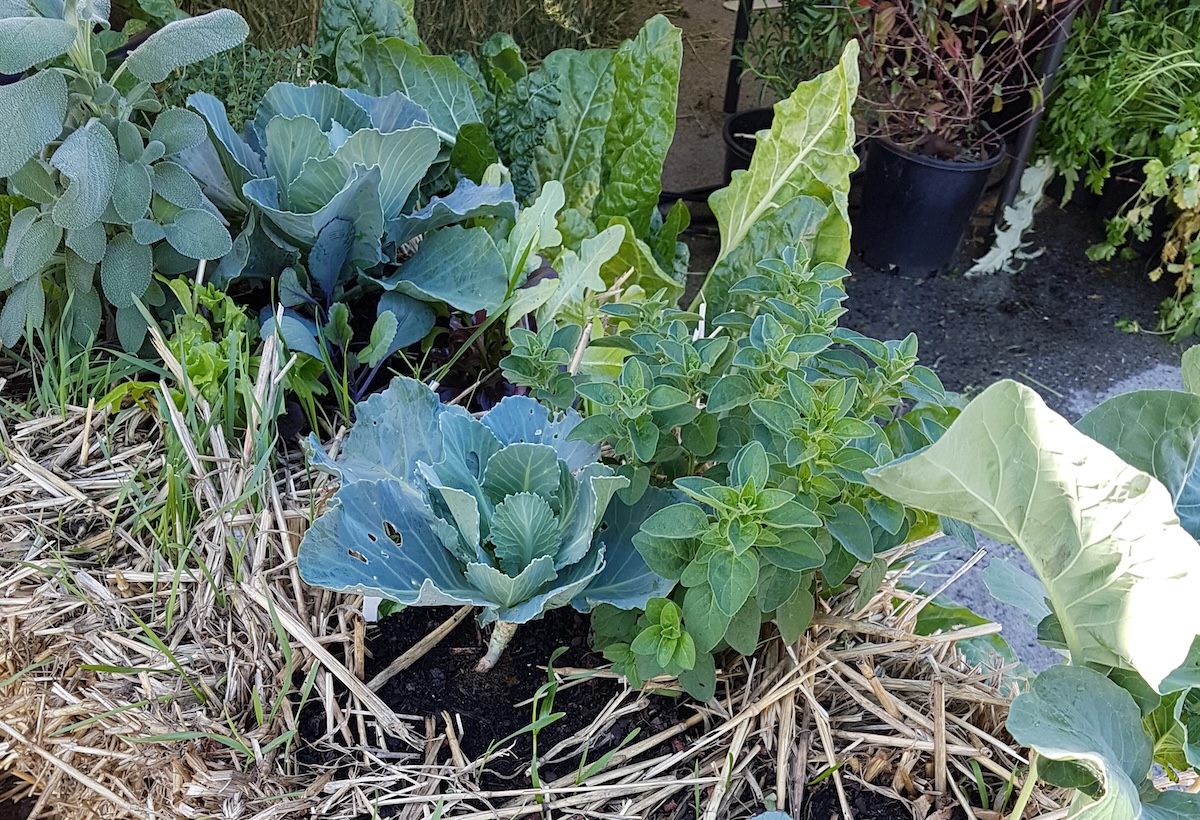
Photo: Firdausiah Mamat via Getty Images
Straw bales make quick and easy raised beds for growing vegetables where you have poor soil or limited space. With prices as low as $10 to $12 per bale, this kind of gardening is a less expensive and lower-maintenance alternative to raised bed gardening, and it may be more comfortable for those who cannot kneel to ground level. First, decide where you will place your garden. Put the bales in place a month before planting, and condition them by keeping them wet for 3 to 4 weeks. This will start decomposition. Around 3 to 10 days after first wetting the bales, you can sprinkle additives like urea or compost and water them in. Get tips on straw bale gardening from West Virginia University Extension Service.
Straw bales are virtually weed-proof (especially if you spread a layer of newspaper under each bale) and require less watering than soil-based beds. Because the bales should last at least 2 growing seasons, you’ll save money in the second year and gain the benefit of added nutrients as the straw breaks down.
Water the garden with reused tap water.
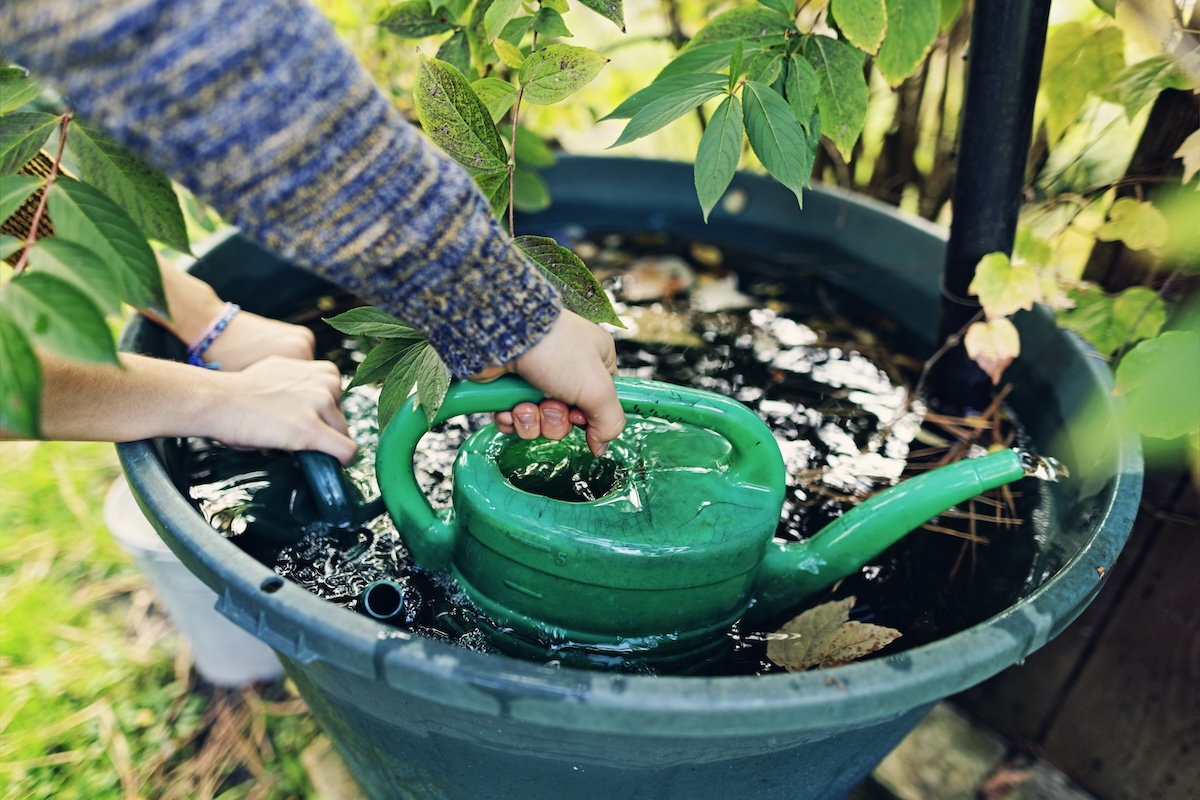
Photo: Imgorthand via Getty Images
Drought and water shortages mean home gardeners are ever more mindful of conservation. Use your resources wisely, and lower your water bill, by reusing water when you can. If your shower takes a long time to warm up, catch the first flow in a bucket. Save the water you use to boil eggs or rinse veggies, which includes a small amount of minerals as well, providing a bonus for container plants. Let hot water cool to room temperature before using it on your plants.
Water harvesting with rain barrels is a more expensive and complex project, but you can capture a few gallons in buckets for watering plants indoors and out. Just be sure to use the water quickly to prevent mosquitoes from laying eggs in standing water.
Build a natural trellis.
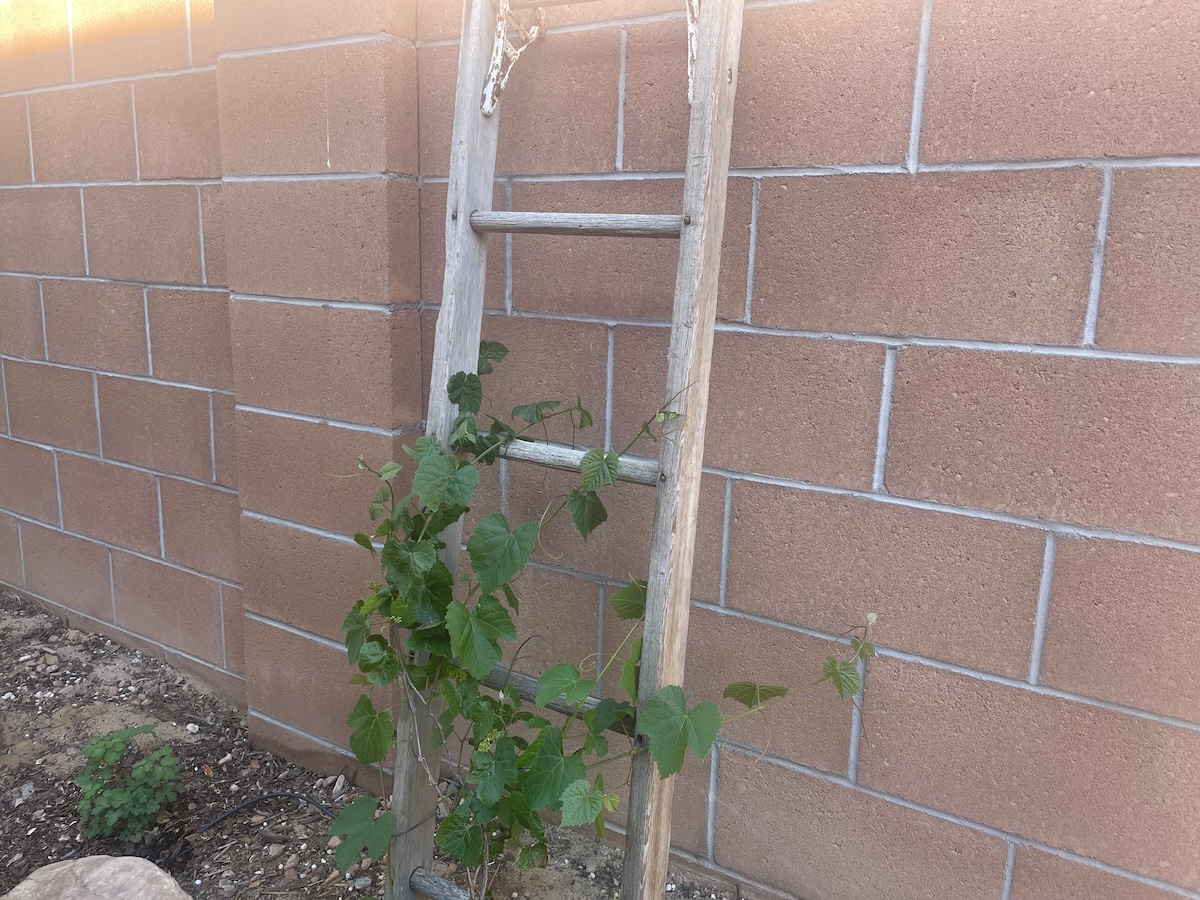
Photo: Teresa Odle for Bob Vila
Vegetable plants like beans and cucumbers grow better and stay healthier if they have a trellis or cage to support them while they grow. You can make a trellis out of natural materials on your property without spending a dime by using the pruned limbs of trees or other found materials. Lay the materials out in a grid, fan, or ladder shape on the ground, and tie them together with study twine where they cross. Another option: Set one metal post in the center and place three sturdy branches around the outside, tied at the top. Other alternatives include repurposing old wooden or metal ladders, discarded screen doors (with nails to hold wire or string), or leftover chain link or horse panel sections.
Make your own insecticidal soap.
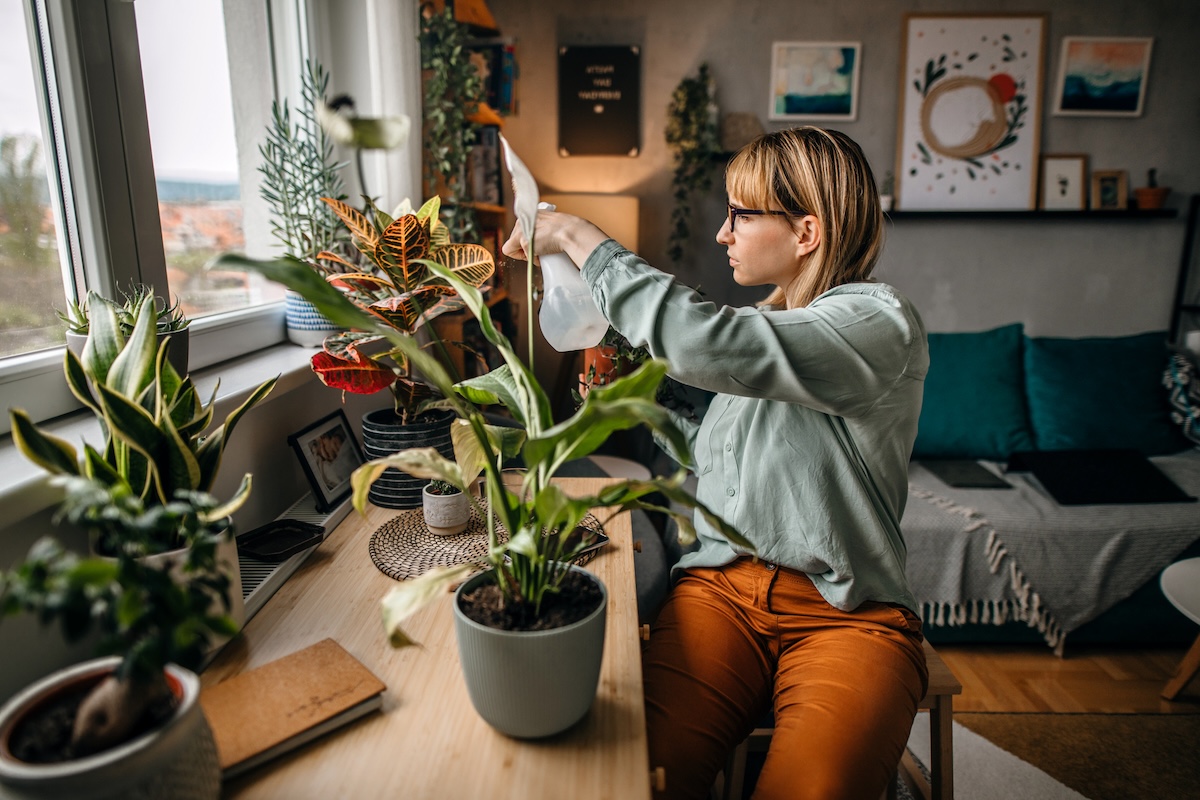
Photo: Hobo_018 via Getty Images
Insecticidal soap is a nontoxic solution for spraying pests that are harming plants. To avoid having to buy a commercial product, try a mix of 1 to 2 drops of lemon essential oil and 1 tablespoon of pure liquid soap (like castile soap) per 1 quart of water, and put it in a spray bottle. You can spray it on edibles up to a day before harvest. Avoid dishwashing liquid, since the additives can harm plants.
Propagate new plants from cuttings.
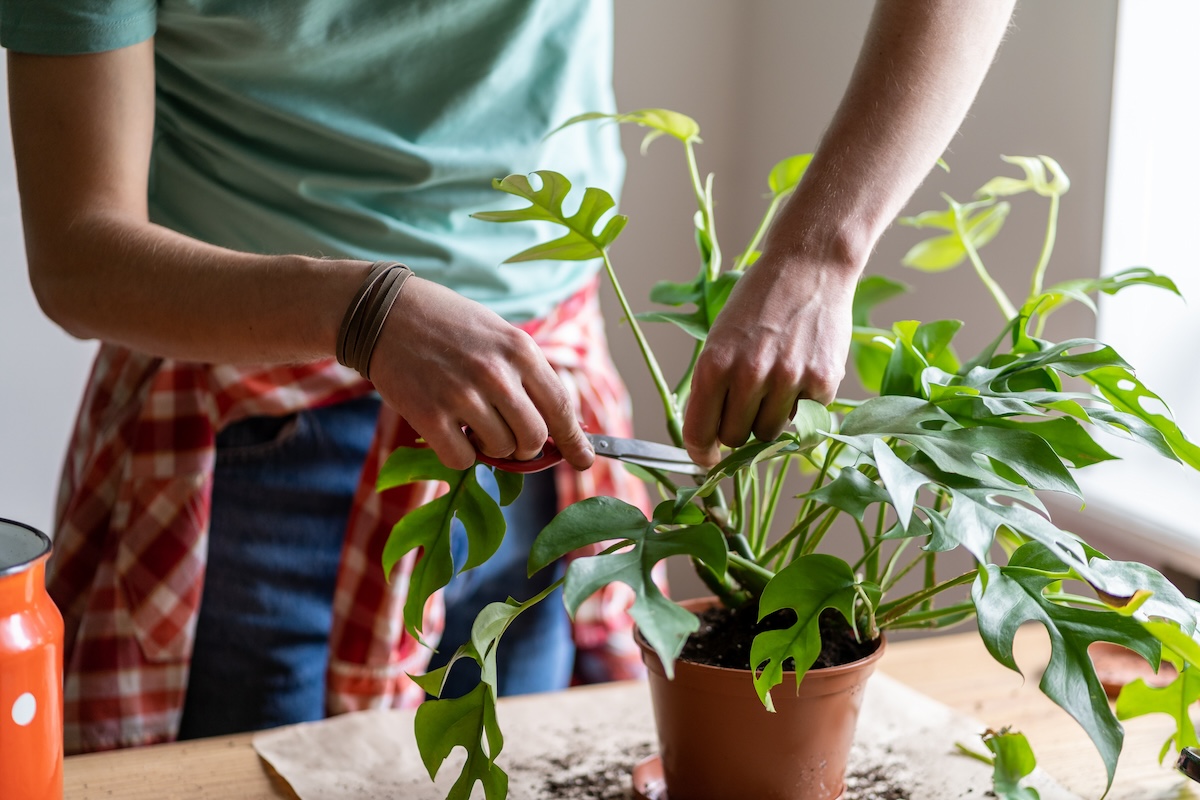
Photo: Dmitrii Marchenko via Getty Images
Save money on new plants by taking a cutting or two of those that perform best in your landscape. Jade, lavender, chrysanthemum, and butterfly bush are just a handful of plants that can be propagated from cuttings, usually in spring (see more from University of Georgia Extension about timing for various plants and how to take cuts). Snip a 6- to 8-inch piece of green growth, then remove all but just a few leaves at the top; also remove any flowers or flower buds.
For most cuttings, pour some rooting hormone into a cup or onto paper and dip the cuttings in the powder before placing them in a pot or the ground. The propagated plant should take root in a few weeks.
Add color or interest with repurposed objects.
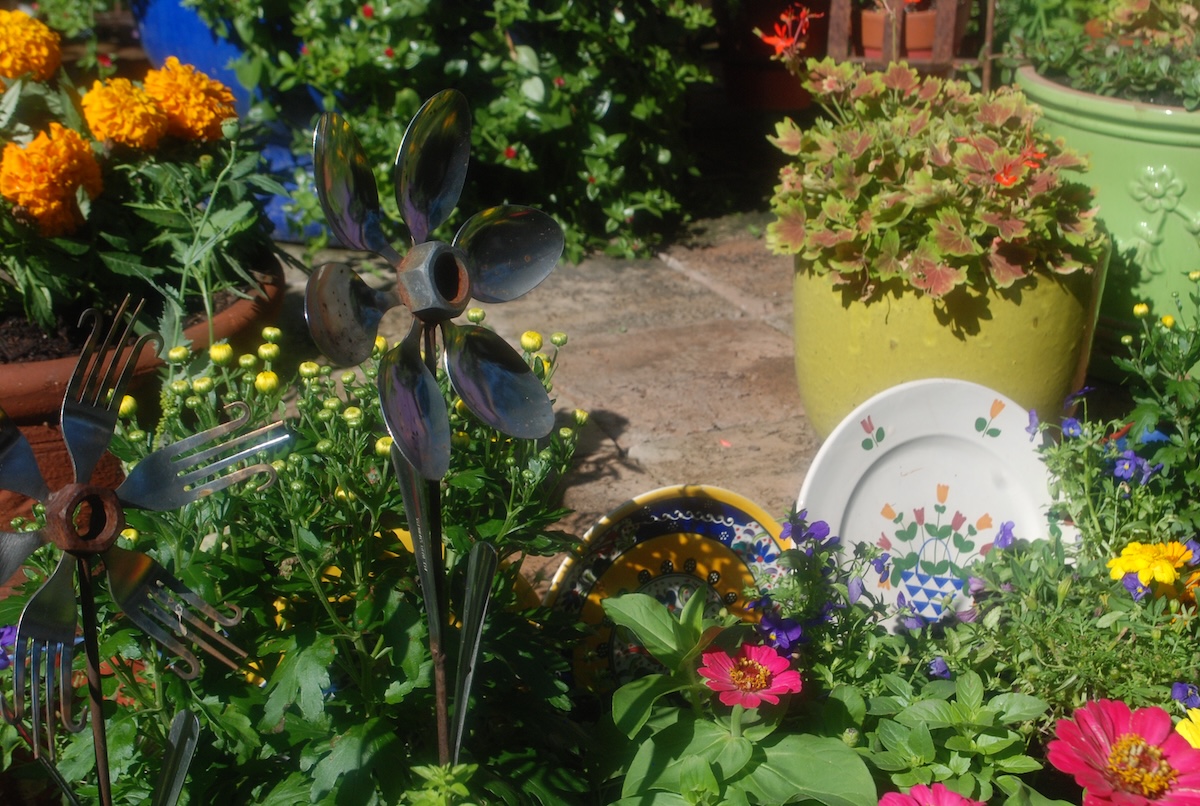
Photo: Teresa Odle for Bob Vila
Not all garden color has to come from blooming plants. You can repurpose items like thrift store dishes into decorative backdrops by gluing them to a stake, or even make garden borders by “planting” the plates in a row. Add pebbles to a decorative plate or tray to create a bee or butterfly water station. Lay colorful but broken containers on the ground and plant a spreading groundcover to spill out of the opening. If you’re really crafty, make plant markers, wind chimes, or other yard art from old or thrifted silverware.
Protect seedlings with plastic cloches.
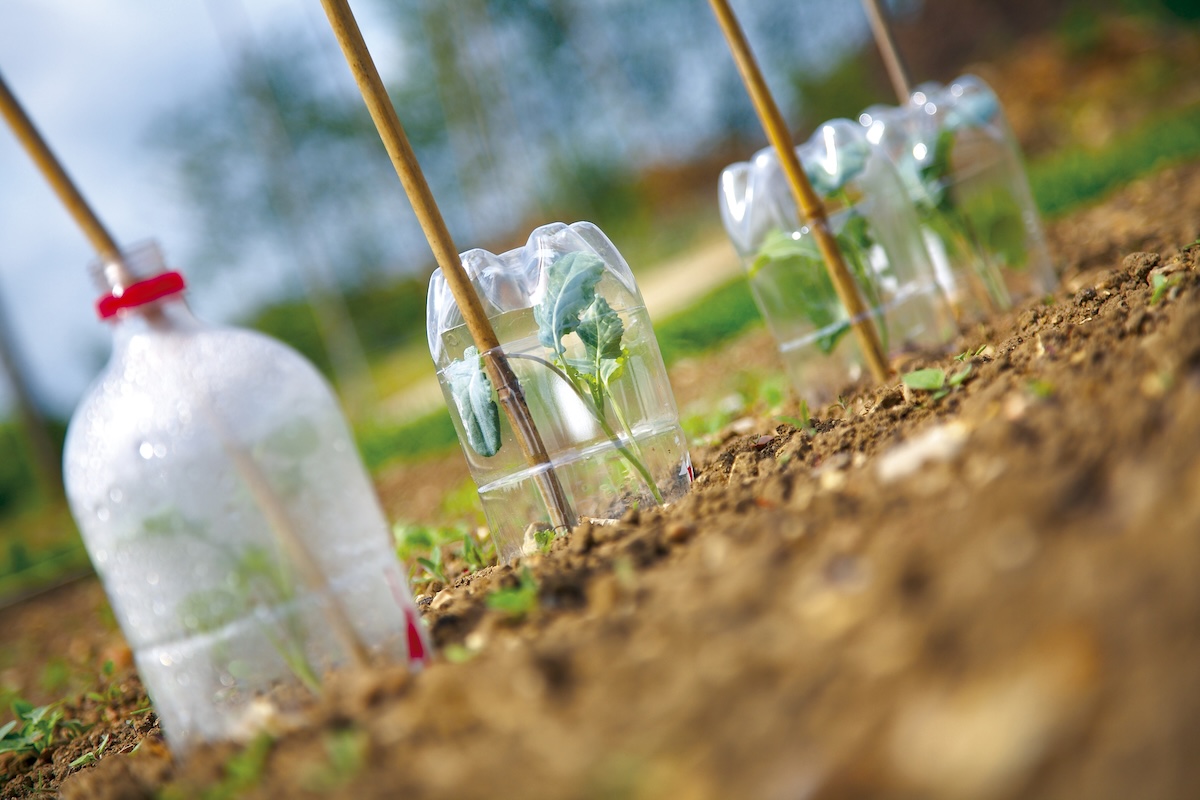
Photo: Ace Jones via Getty Images
If a late frost threatens to burn your tender new seedlings, protect young shoots with household items rather than buying supplies like cold frames or cloches. For instance, you can turn terra- cotta pots upside down to cover growth. The pots will insulate the plants, increasing their chances of living through frosts and high winds. Other options include clear plastic drinking cups, larger repurposed plastic containers, or old milk jugs—just cut out the bottom and place the jug over the plant. Be sure to uncover the seedlings as soon as possible after the danger of frost has passed so they can get air and sun.
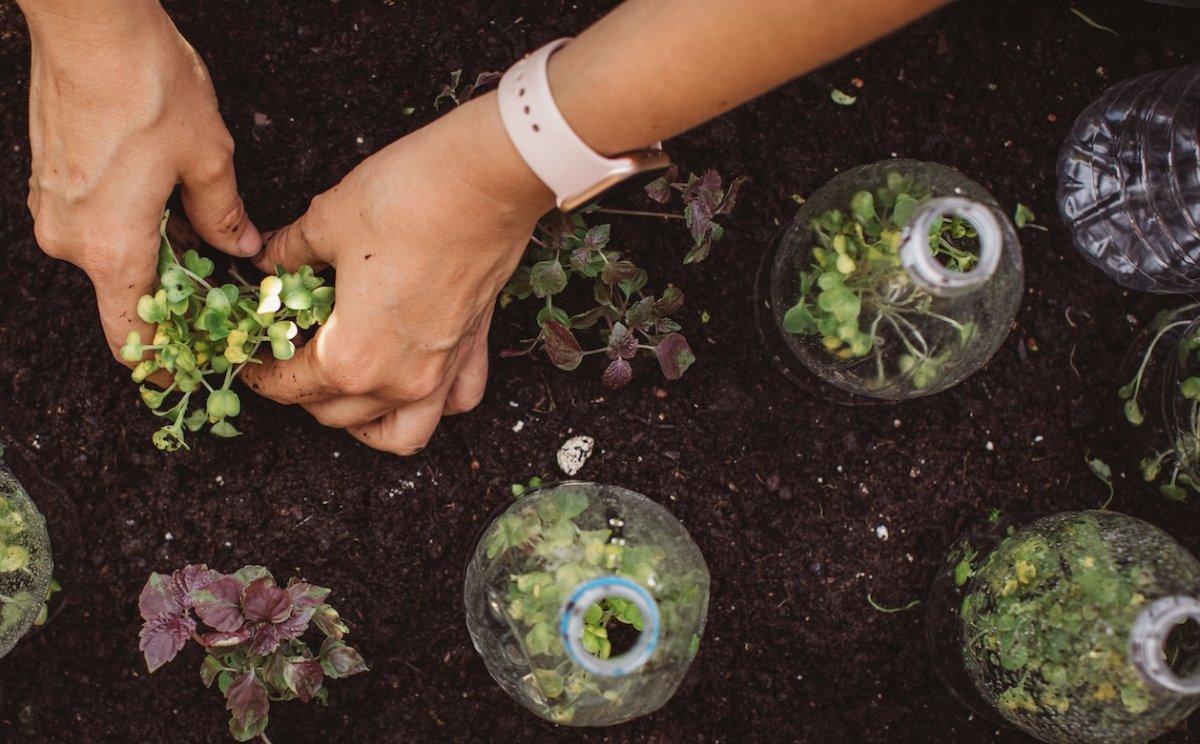
Start seeds in recycled containers.
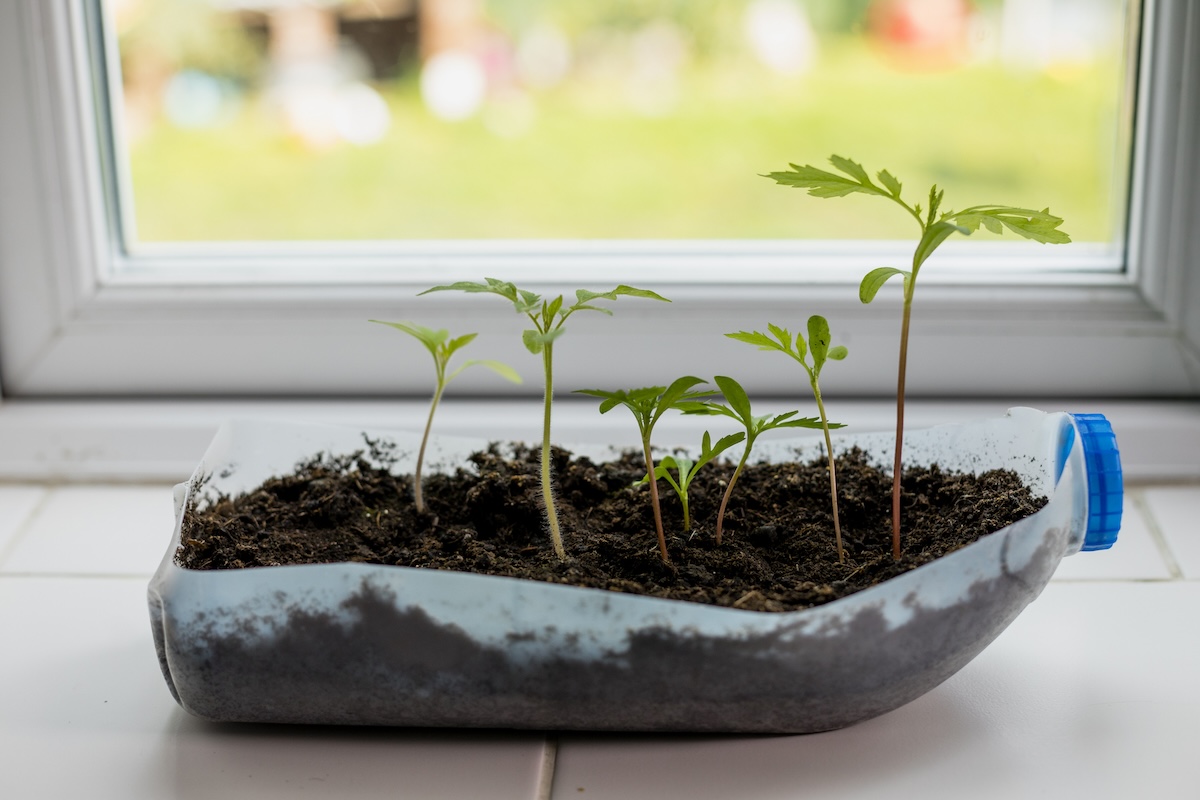
Photo: SOL STOCK LTD via Getty Images
The cheapest garden is one started from seeds, and you can keep things cheap by saving money on seed-starting supplies. One strategy is to turn empty soda bottles, milk jugs, and other containers into mini greenhouses by slicing the container in half, leaving a half inch uncut to serve as a hinge, if desired. Poke holes in the bottom and lower sides for drainage and ventilation, and then add a few inches of sterile seed starting mix. Plant your seeds and leave the jugs indoors or outdoors.
Knock out slugs and snails with beer.
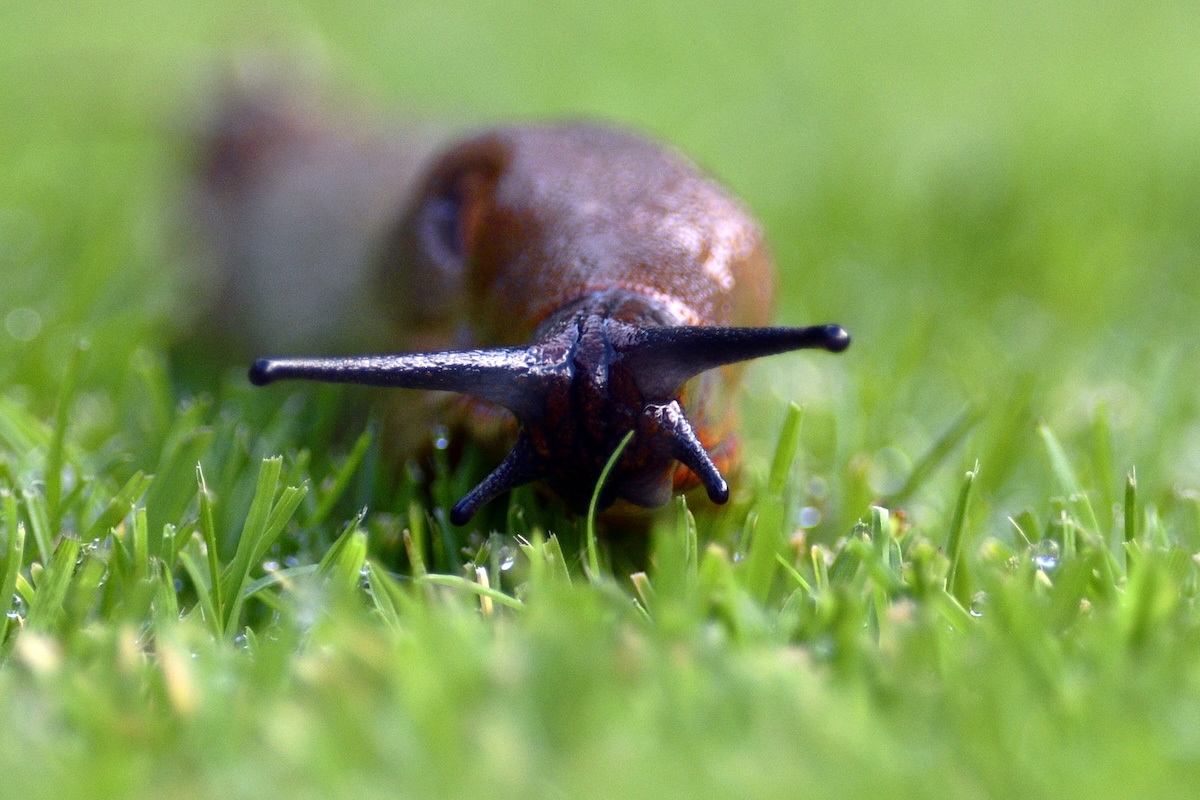
Photo: Despite Straight Lines via Getty Images
Once slimy pests settle into your garden, they’ll help themselves to your homegrown veggies, destroy seedlings, and mar the look of ornamental plants’ leaves. To get rid of slugs and snails, skip the toxic pellets and opt instead for a natural alternative like beer or a water and yeast mixture. Pour the beer or yeast mixture (1 teaspoon of yeast per 3 ounces of warm water) into a coffee can or similar repurposed container buried so the container’s top is level with the soil. Slugs love the odor, so check the trap a few times a week to clean and refill.
Use toilet paper tubes as seed-starting pots.
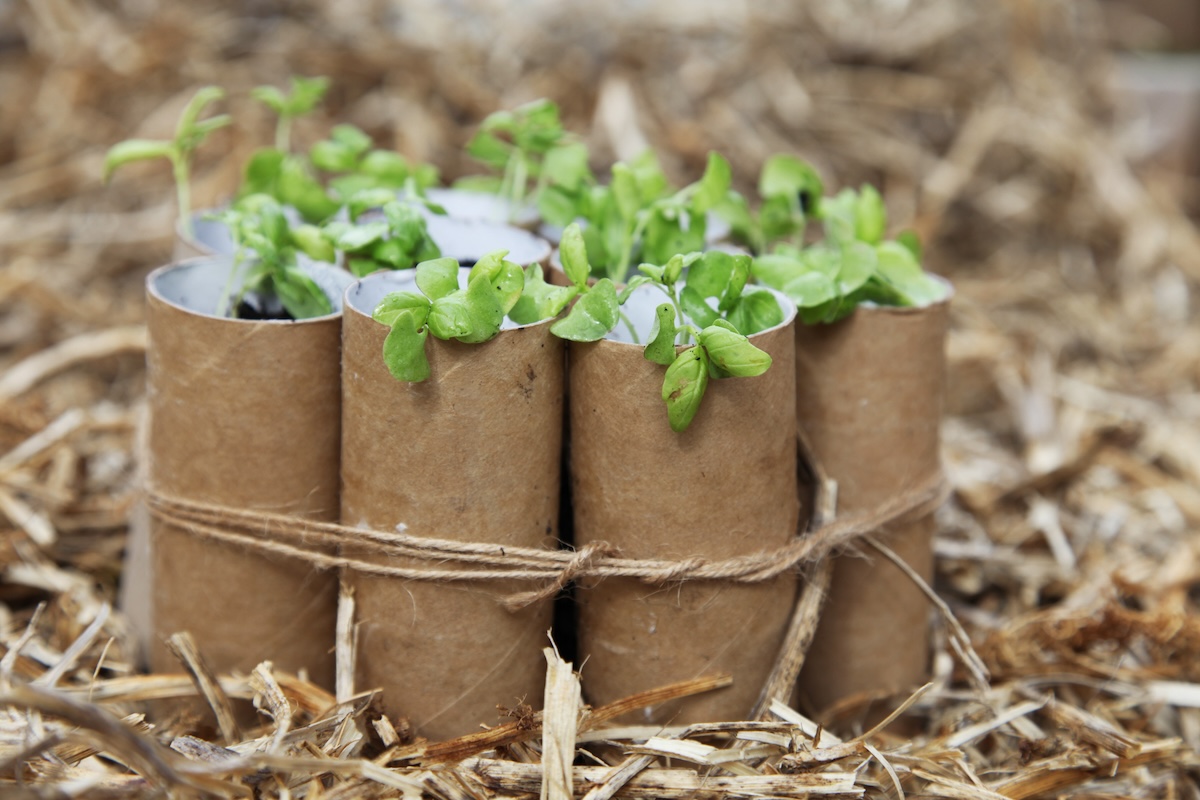
Photo: LisaInGlasses via Getty Images
Another way to forgo a fancy setup when starting seeds indoors is by using free and fully compostable seed pots. Cut slits in one end of a toilet paper roll and fold the ends together to form a closed base. Fill the tube with soil, seeds, and water as needed until the seeds sprout. Once the seedling is strong enough to pot up or go outside, open up the bottom flap so the roots can pass through, and plant the entire roll directly in the ground.