
We may earn revenue from the products available on this page and participate in affiliate programs. Learn More ›
A Little Prep Can Go a Long Way
You’ve probably heard the saying, “Measure twice, cut once.” But when it comes to home improvement, another useful bit of advice—”try to learn from others’ mistakes”—is just as pertinent. When planning a home improvement project, adequate preparation and research can save you loads of cash and stave off a serious case of remodeler’s remorse.
Read on to learn about some of the most common remodeling mistakes that homeowners make when DIYing their updates and repairs. With these lessons in mind, you’ll be able to work smarter when it’s your turn.
Roughing the “Rough-In”
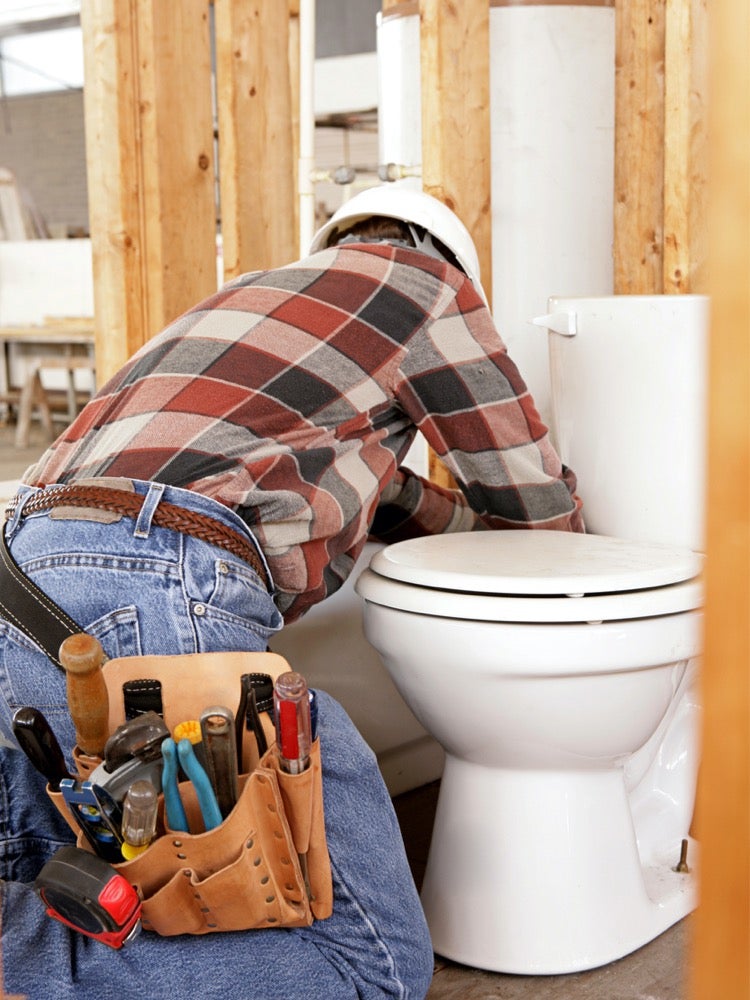
When replacing a toilet, make sure your new fixture fits the old space. One of the most common mistakes that rookie renovators make is forgetting to measure the “rough-in” size—that’s the distance between the toilet’s bolt caps on the floor and the finished wall.
The standard measurement is 12 inches, but in some older homes it could be 10 or even 14 inches. Always measure beforehand so you can be sure to purchase a toilet that will fit, and save yourself a whole lot of trouble in the process.
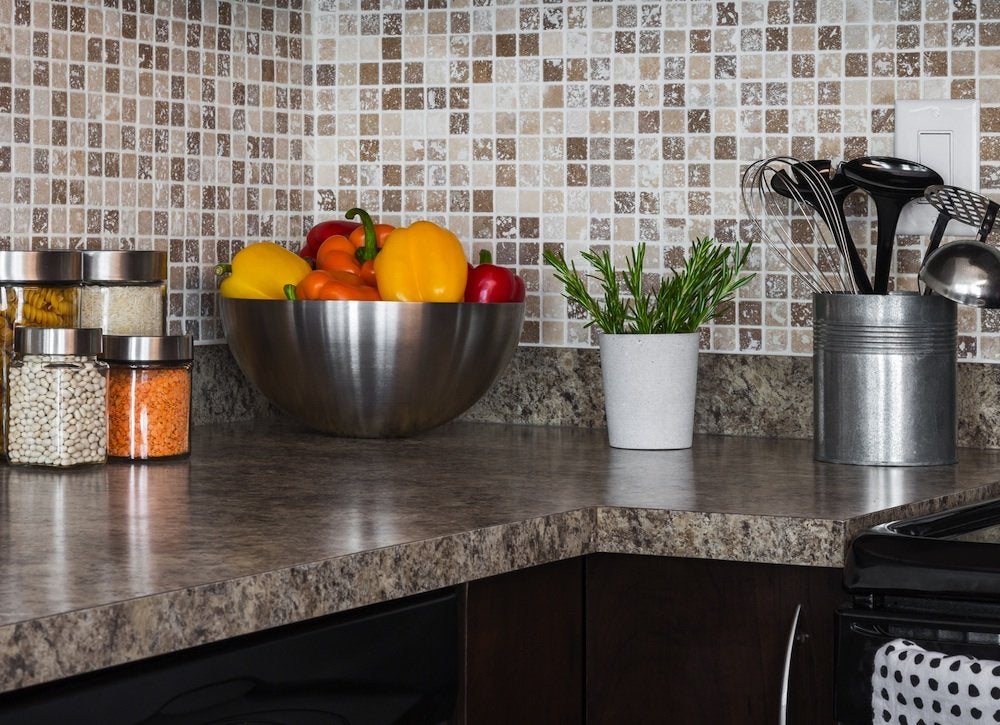
Neglecting the Work Triangle
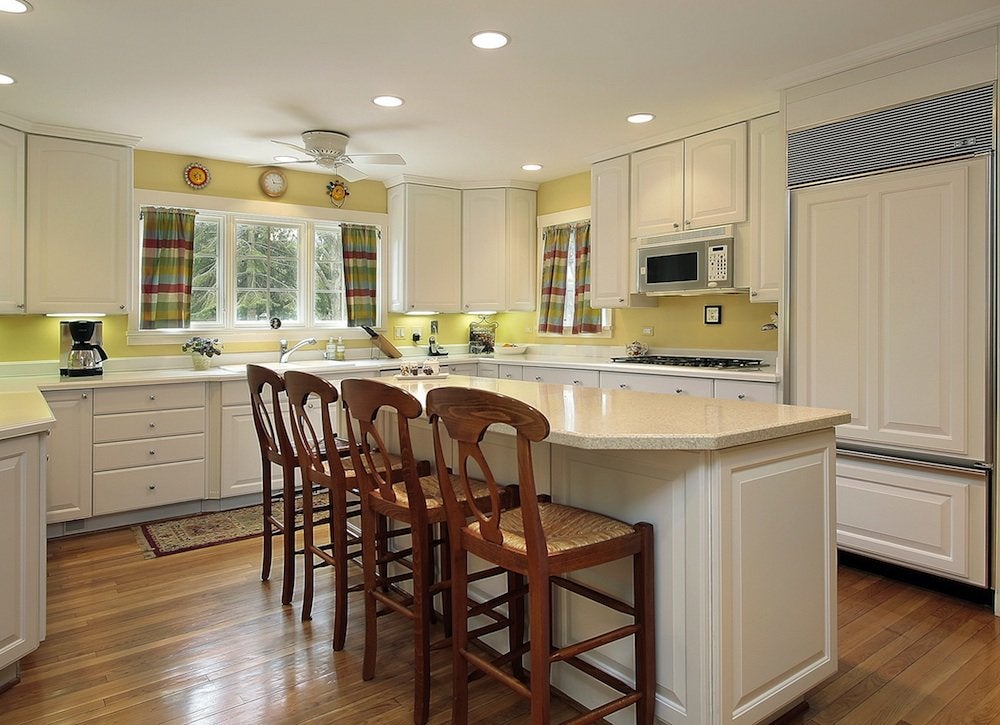
One of the most hoped-for items in any kitchen renovation plan is an expansive island. Many homeowners, however, learn the hard way that not all spaces can accommodate this feature. In a small kitchen, an island may prove an obstacle to prep and organization, not a boon.
There should be at least 42 inches of clearance from the island to the nearest countertop. Measure your space before planning your renovation. If there isn’t enough room for an island, or if it will interfere with the “work triangle” (the imaginary lines running from the sink to the stove to the refrigerator), consider making a new plan.
Not Being Hard on Hardwood
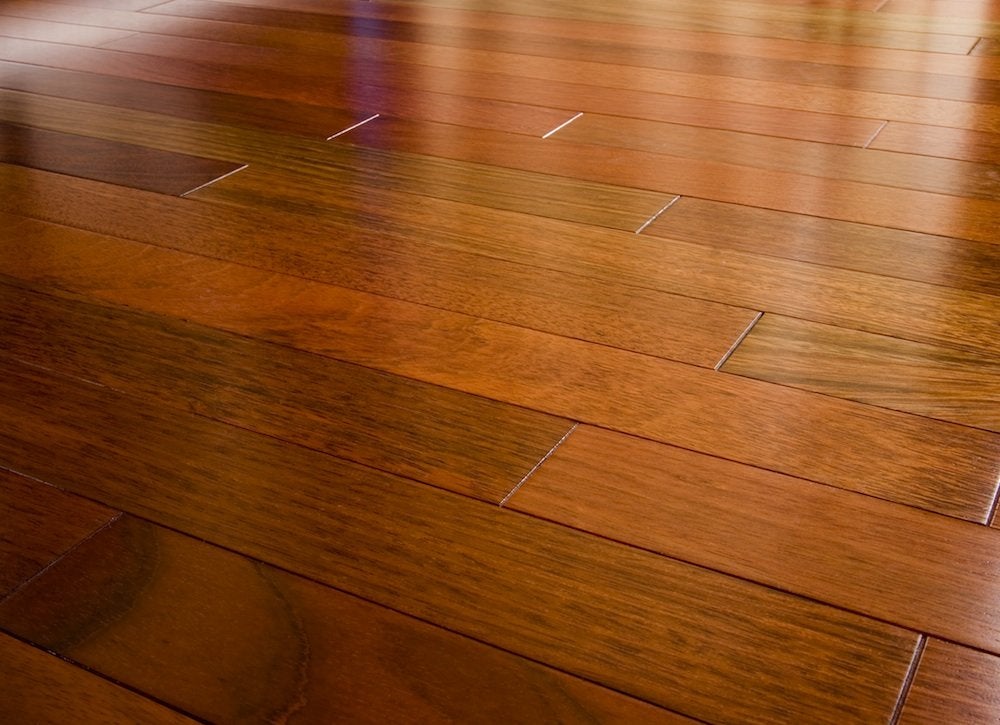
Experience counts when it comes to good hardwood floor refinishing. That said, most weekend warriors can do a decent job on it as long as they avoid a common mistake many DIYers make: Some homeowners skimp on the sanding part for fear of damaging the wood. The result is that when the wood is varnished, the refinished floors may appear uneven where the old finish remains. Instead, be sure to work conscientiously from coarse to medium to fine sandpaper for a thorough job that will yield floors with a pristine finish.
Thin Drywall
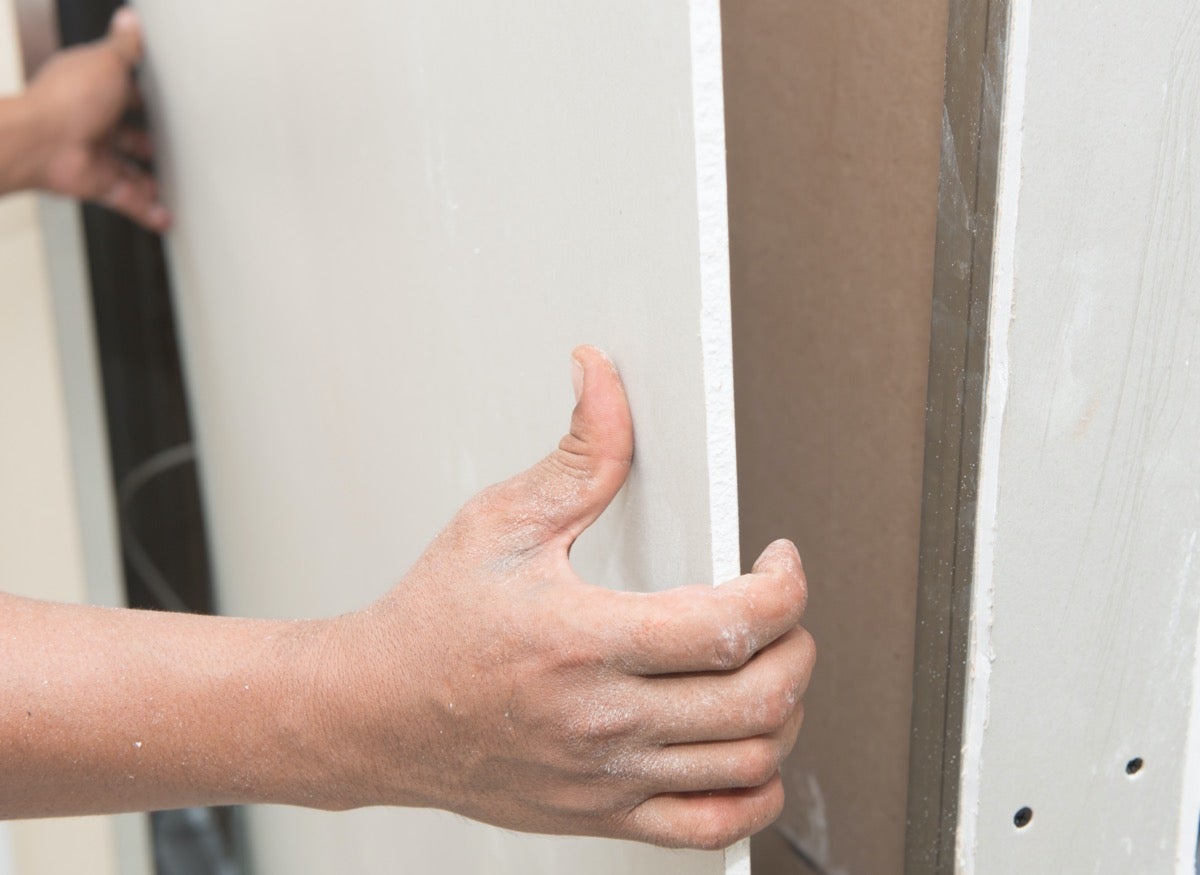
After a renovation, the last thing anyone wants is paper-thin walls that provide no barrier to sound at all. To ensure that this never happens to you, choose the correct thickness of drywall. Most inexperienced DIYers choose a 1/4-inch thickness, but 3/8-inch is a wiser choice that offers more soundproofing. The “thicker is better” principle also applies to subflooring: There, choose a 3/4-inch thickness for added strength.
Mismeasuring Cabinets and Appliances

If your kitchen remodeling involves new cabinets and new appliances, take heed. If you’re not careful, you may run into one problem that most homeowners never even consider.
After the cabinets have been installed, you may find that your new standard-depth refrigerator extends beyond the cabinet case, which can be a big inconvenience in an otherwise smartly designed kitchen. Be sure to take all of the proper measurements before ordering your appliances, and consider choosing a counter-depth refrigerator for a better fit.
Basement Flooring
Basements are naturally moist and poorly ventilated, and that means basement renovations require some special considerations. All too often, DIYers make poor flooring choices for the basement, opting for organic materials like wood, bamboo, and cork. In damp conditions, these flooring types are subject to mold, buckling, and damage. Instead, consider ceramic, tile, vinyl, and linoleum, which can better stand up to moisture.
Choosing Fiberglass Insulation
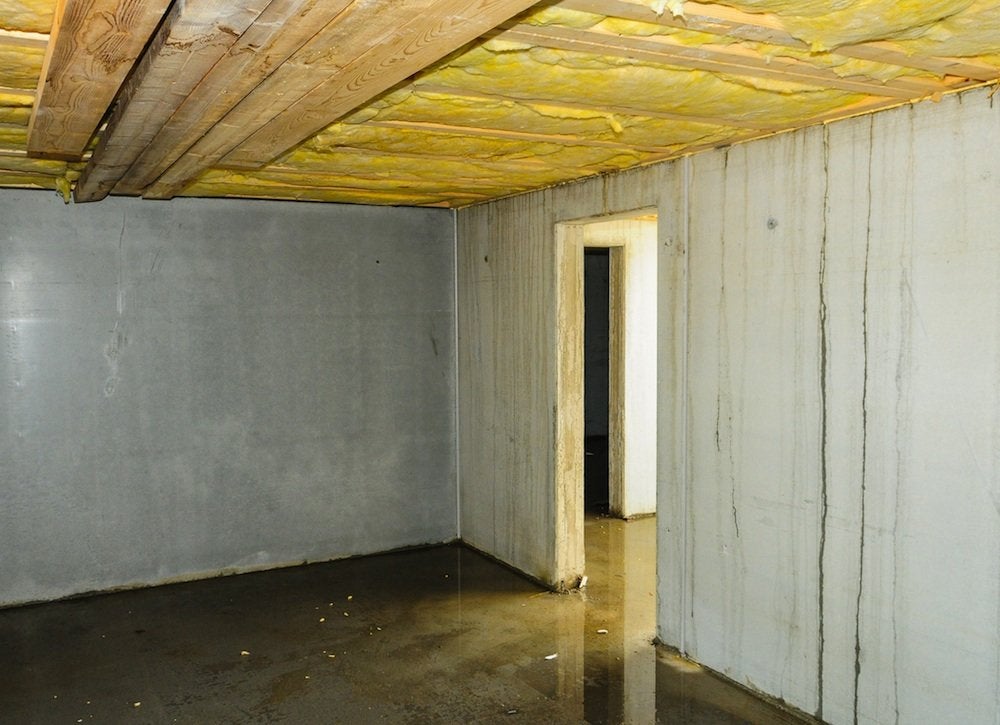
When insulating a basement ceiling, some homeowners make the mistake of installing fiberglass insulation, the same kind commonly used in upper-level floors. Because this material is not moisture resistant, it is a poor choice for most basements and could lead to mold behind the rim joists. If your next project includes insulating the basement, consider rockwool or spray foam instead.
Forgetting to Prep
Any professional knows that a quality paint job is 90 percent preparation. All too often, though, DIYers skip this important step because they are eager to see the new color on the walls.
To properly prepare for your next paint job, first clean and sand the walls, then patch any holes before applying primer. Primer hides imperfections and ensures you’ll need less paint, particularly when you’re covering up oil-based paint and darker colors. Before you start, double-check that the product you’re using is appropriate for the surface you’re covering.
Ignoring Original Style

One of the most costly remodeling mistakes that novice DIYers make is ignoring a home’s original design. If you bought a Craftsman-style bungalow, a mid-century modern remodel might look out of place. Many wouldn’t renovate the interior of a Victorian Painted Lady to look like a Spanish Colonial.
Before making renovation plans, consider researching the house’s style and selecting colors, products, and finishes that go with that style. If the original style isn’t for you, keep in mind that if you veer away from it, you may affect the chance of fetching a higher sales price when the day comes to sell. A buyer who’s in the market for a beautiful historic home usually wants the interior style to match the exterior.
Inviting Stains
Before replacing your current countertops, be sure the new material suits your lifestyle. Porous stones like marble, limestone, slate, and soapstone require regular sealing to prevent stains, making them impractical choices for busy families and high-use kitchens.
If you’re looking for a long-lasting natural surface, granite or engineered stone may be a better choice. Harder stone isn’t as likely to chip, stain, or scratch, which means your kitchen redo won’t likely lead to costly renovation regrets.
Not Fixing Underlying Problems First
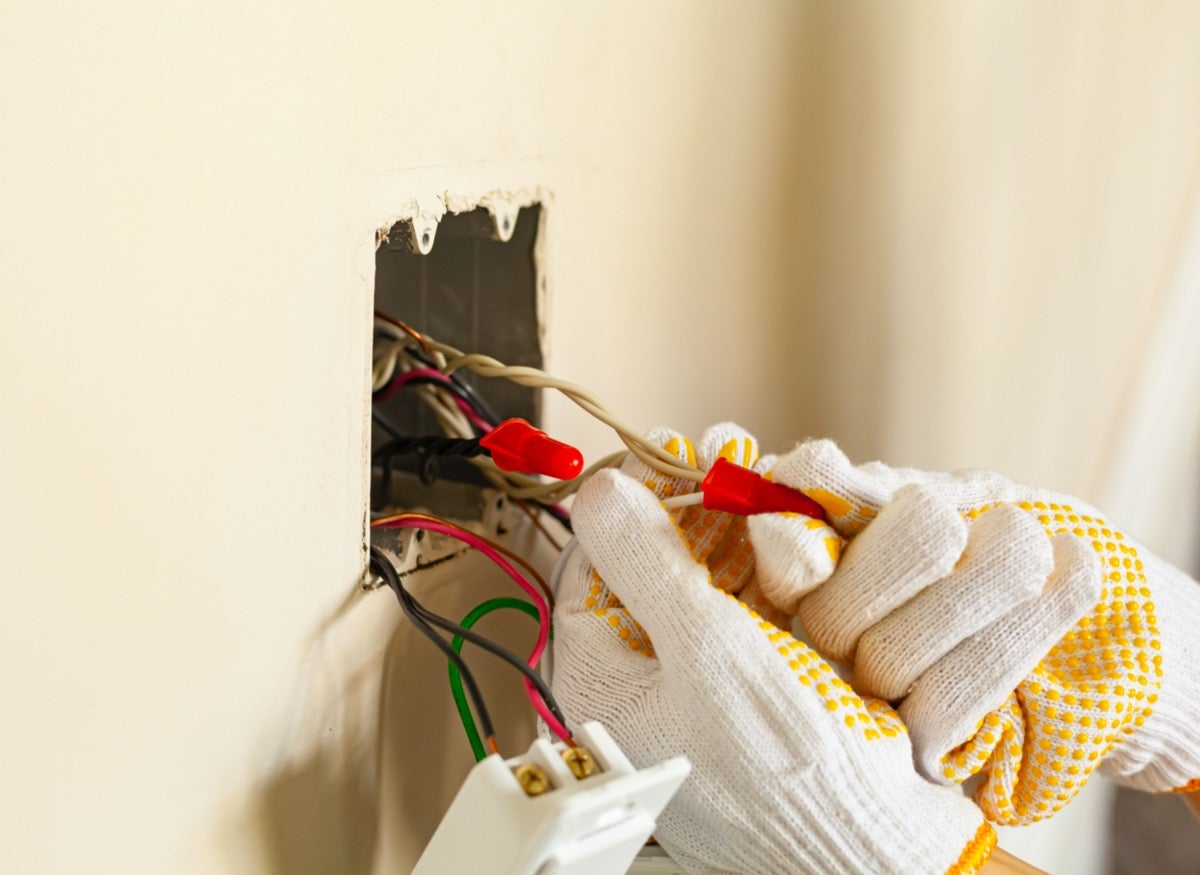
One of the worst things a homeowner can do to the house is to start a dream renovation before 25 Easy Home Repairs You Should Never Pay Someone Else to Do. More urgent issues, such as structural damage, electrical upgrades, and plumbing replacements should always be addressed first. At the end of the day, protecting the functional parts of a home comes before improving its appearance.
Overlooking the Ceiling

When you’re planning a remodel, don’t forget to look up. The ceiling is one of the most overlooked areas in any renovation, and ignoring it can be a costly mistake for DIYers.
Keep in mind that all electrical work for overhead lighting must be finished before installing any ceiling tiles. Likewise, check with your locality before you begin any project that may affect the height of your ceilings; many localities require that habitable ceiling heights meet a standard minimum.
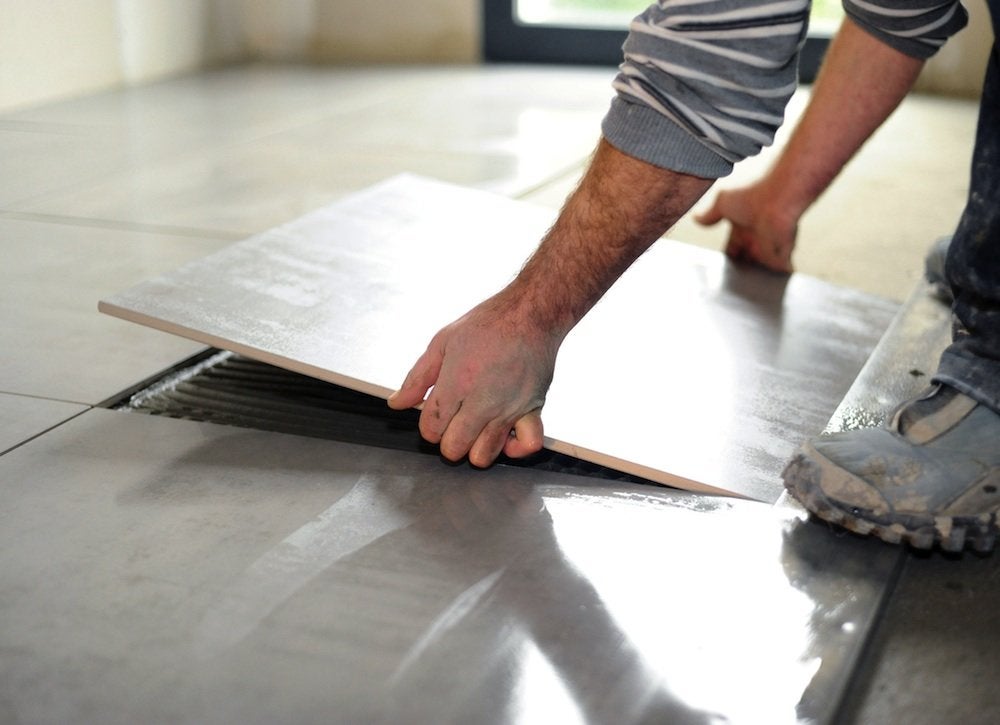
Backsplash Backlash
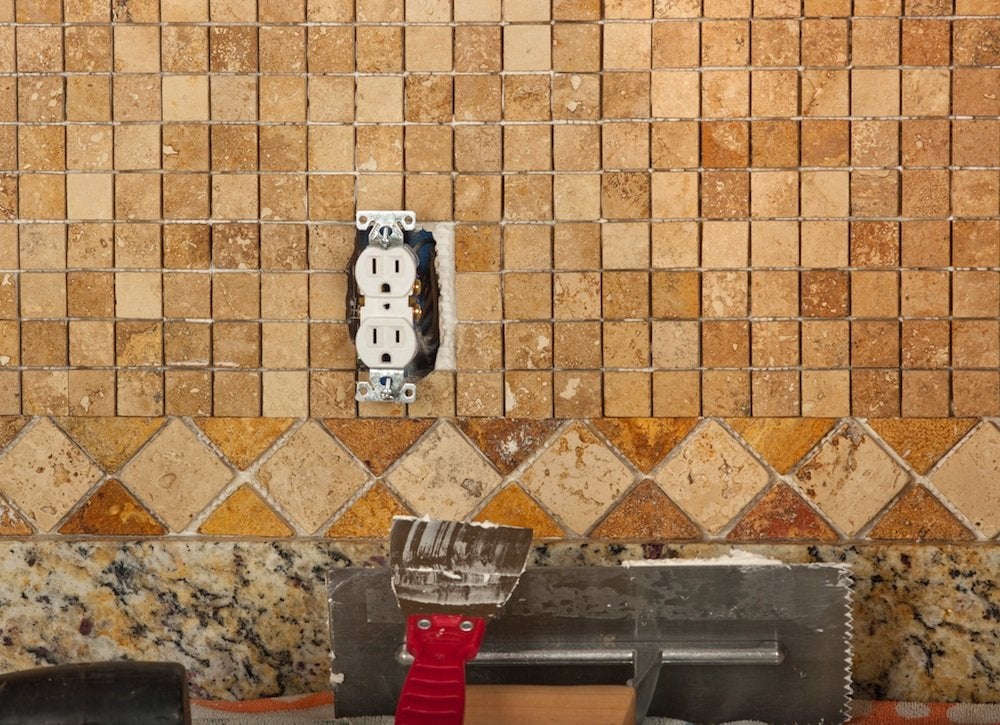
If you want to save money on your kitchen renovation, tiling your own backsplash is a great move unless it’s done improperly. Inexperienced DIYers often start tiling at one end of the wall and work toward the other side. When done this way by a novice worker, this can result in uneven or odd angles that look amateurish at best.
To ensure a straight line when laying your own tile, start from the center of the wall and work your way from each side. Using this method, you’ll find that your cuts will be the same on all sides of your project.
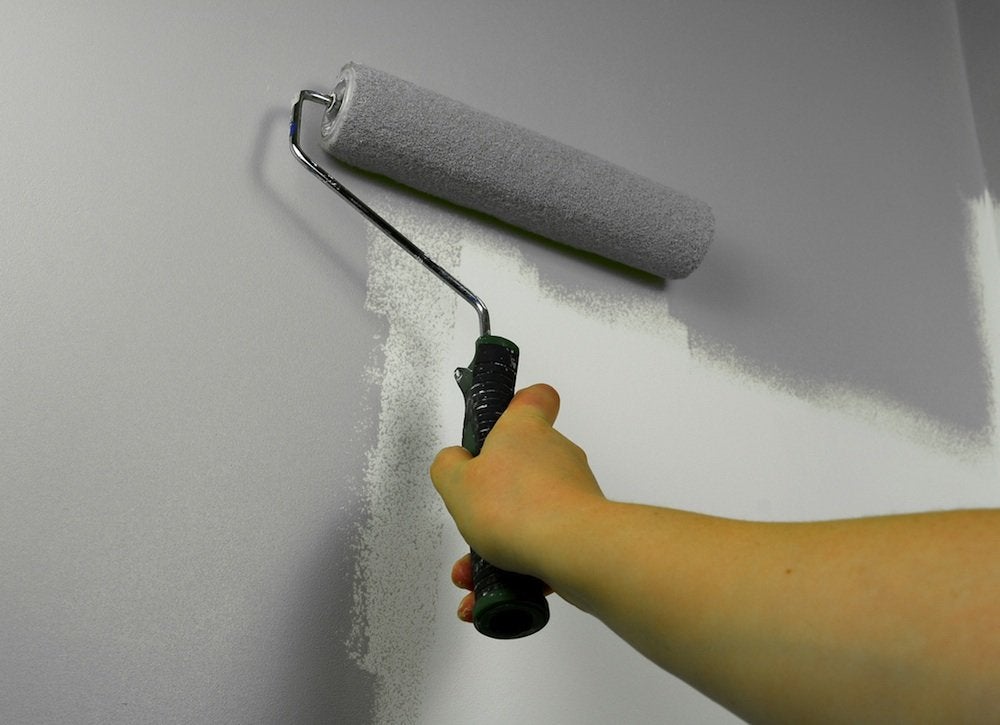
Using the Wrong Paint Roller
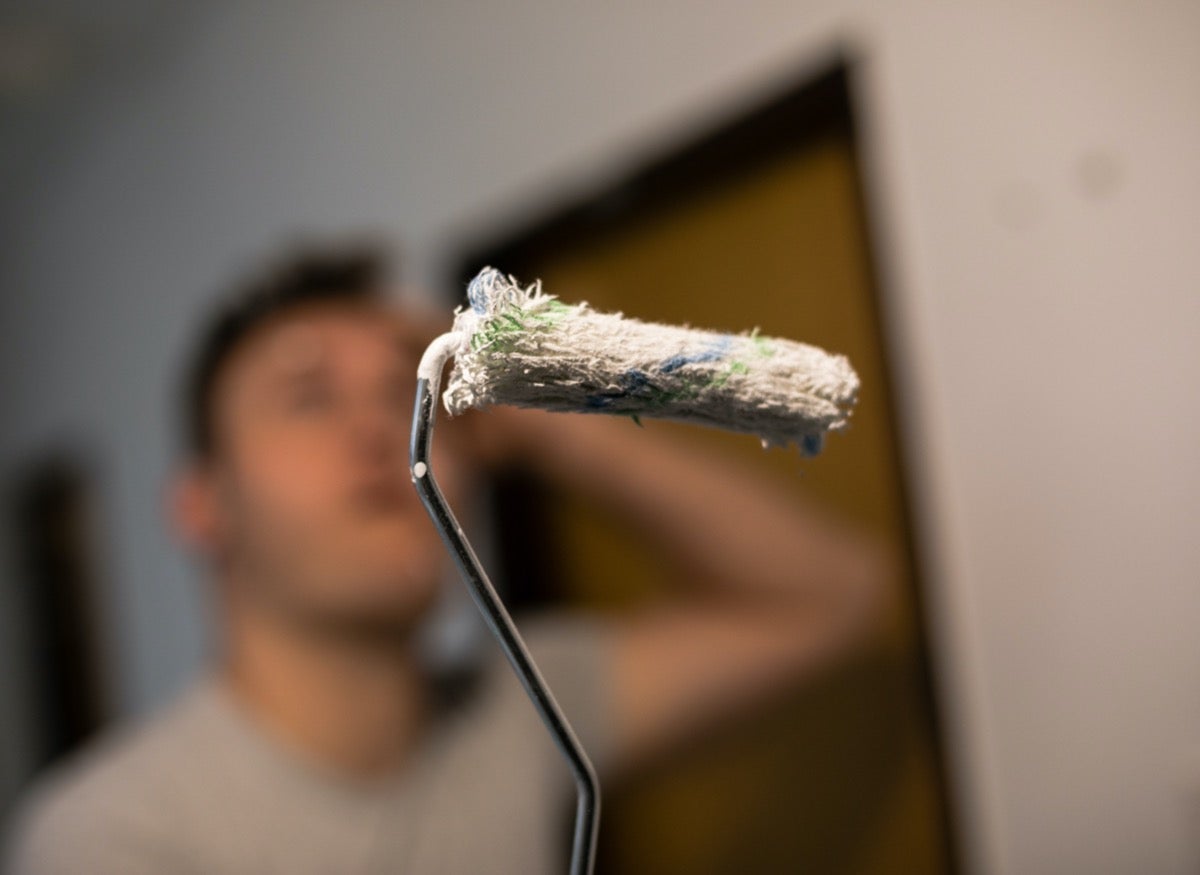
A paint roller is a paint roller, right? Not always. When painting rougher surfaces like stone or brick, it’s important to pick a roller that’s made for exterior painting. These rollers look a little fuzzier than those made for smooth surfaces like drywall. They have a ¼-inch or 3/16-inch nap that’s made for applying paint to the nooks and crannies of textured materials.
Not Testing for Lead Before Demolition
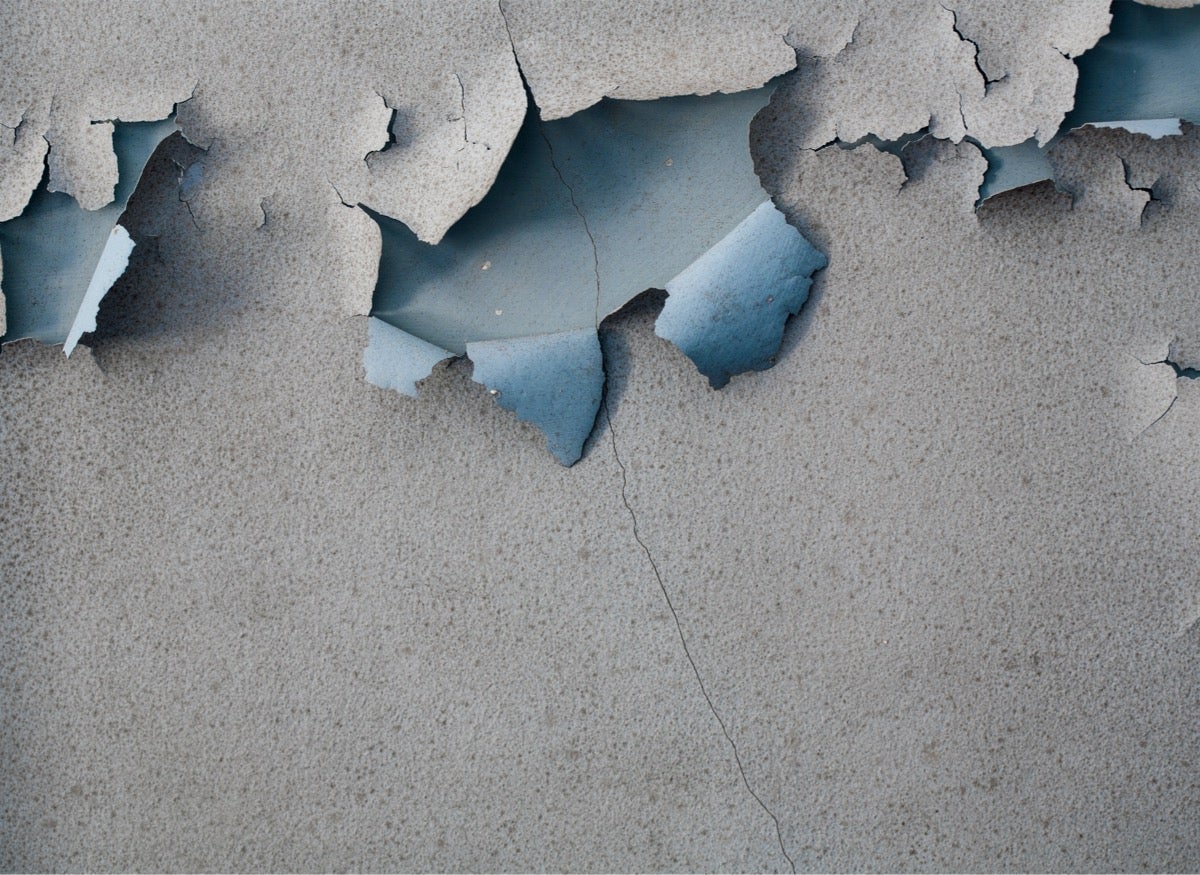
If you are renovating a home built before 1978, there may be layers of paint that contain lead. Before scraping or sanding away at the trim around windows or along stair railings, use a simple lead test to determine if the paint is lead free. If it does contain lead, it’s best for your safety that a professional trained in lead remediation tackles the job.
Using the Wrong Type of Caulk
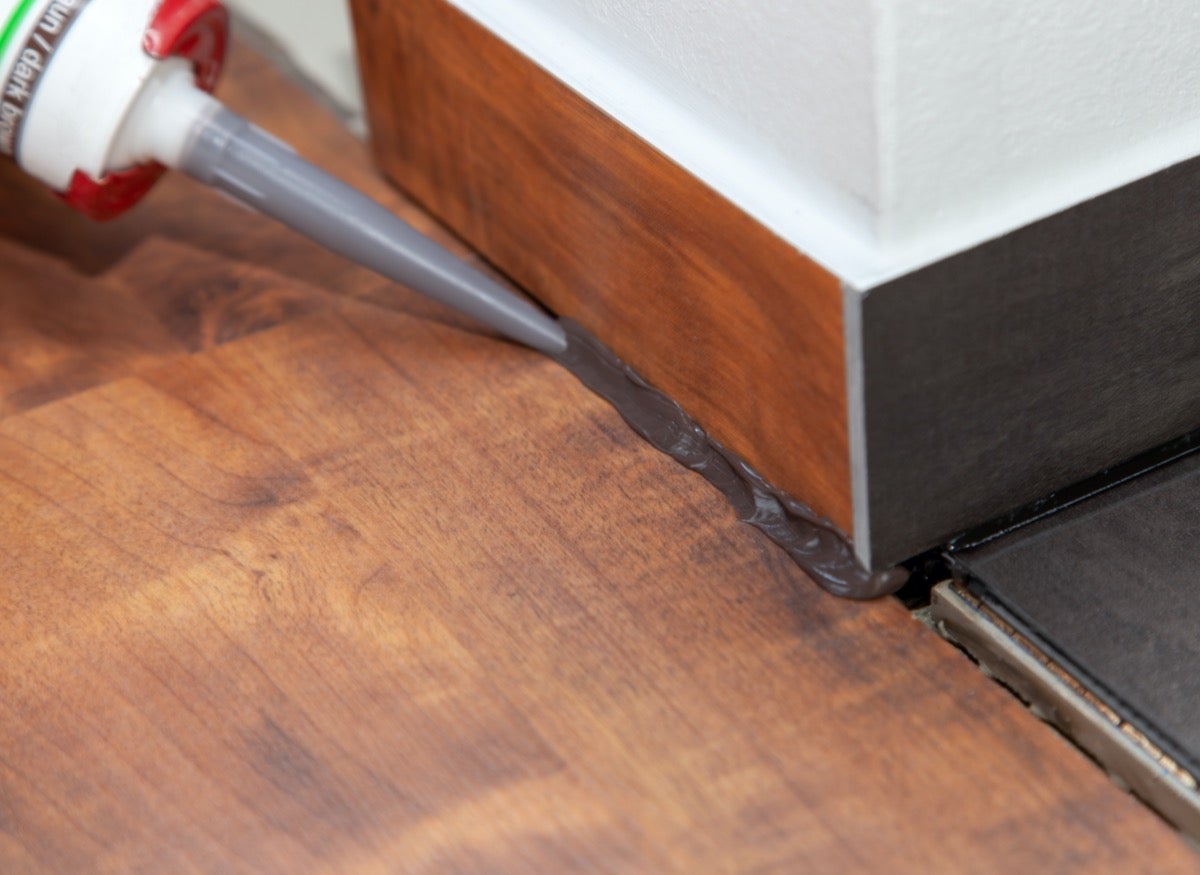
Caulking seems to be part of every room makeover, from bathroom renovations to updating paint in the hallway. While the right caulk can make baseboard and crown molding look crisp and keep moisture from seeping between the tub and wall, using the wrong caulk can be a headache later. Make sure to select the right color, and choose a paintable caulk if you plan to cut in later.
