
We may earn revenue from the products available on this page and participate in affiliate programs. Learn More ›
Setting Yourself Up for Success
Planning to paint an interior door? You’ll have to decide whether to detach the door from its hinges or leave it in place—and there are pros and cons to both. No matter which way you ultimately go, the tips here, shared by professional painters and interior designers, will help you breeze through every aspect of the project from color, product, and tool selection through important prep and painting techniques. So read on to master the moves and get smooth, beautiful results on any interior door in your home.
Determine the previous paint type.
Before applying a fresh coat, find out if you’ll need to prime first by determining what kind of paint is currently on the door. Dampen a rag with rubbing alcohol and rub it against the door. If paint transfers to the rag, it’s been painted with a latex-based product and priming won’t be necessary. If nothing comes off on the rag, you’re dealing with oil-based paint—and if you hope to use a newer, latex formula, you’ll need to prime first. The exception to this rule is the Benjamin Moore’s Advance line of interior paints, which goes smoothly over both oil- and latex-based paint.
Another reason for ascertaining the old paint type is the health concern about lead. Houses painted before 1979 often used lead-based paints, and lead can be absorbed by the body, leading to organ and brain damage. Purchase a lead testing kit to find out if paint contains this toxic metal. If it does, you must exercise additional caution and professional expertise when sanding and removing it. Visit the Department of Housing and Urban Development’s Lead Information Website to learn more about lead paint removal, or call the National Lead Information Hotline at 1-800-424-LEAD.
Purchase quality tools and materials.
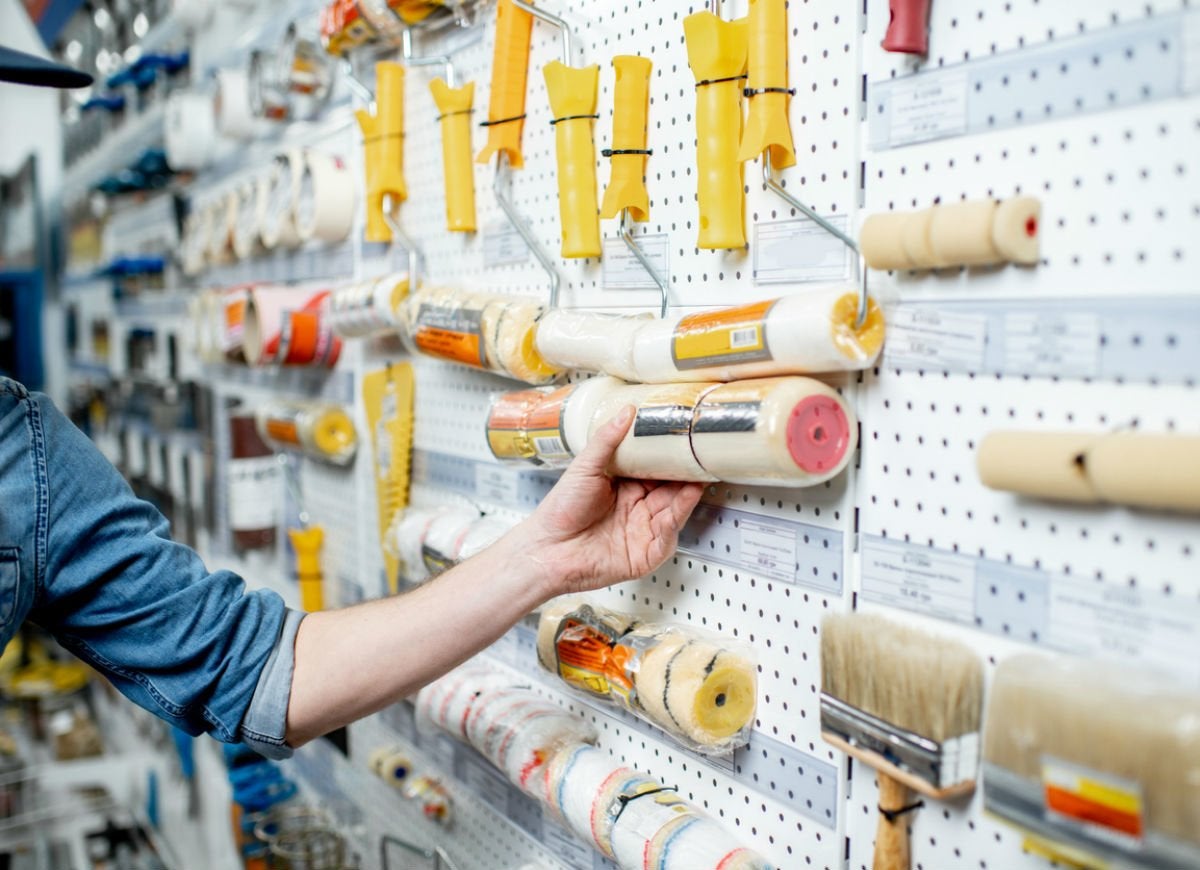
To get professional results you’ll need top-notch tools. Invest at least $10 on a quality 2- to 2½-inch sash brush to paint the door and trim. If you prefer to use a roller instead, consider those with microfiber roller sleeves, which hold more paint and provide a smoother finish than foam. Don’t skimp on drop cloths, paint tray, and sandpaper, either. To speed the process, pros also rely on handy helpers for no-mess painting, like Hyde Tools 45810 Super Guide Paint Shield & Smoothing Tool—this superior straightedge with an easy-grip handle will give you perfect edges on trim, without taping.
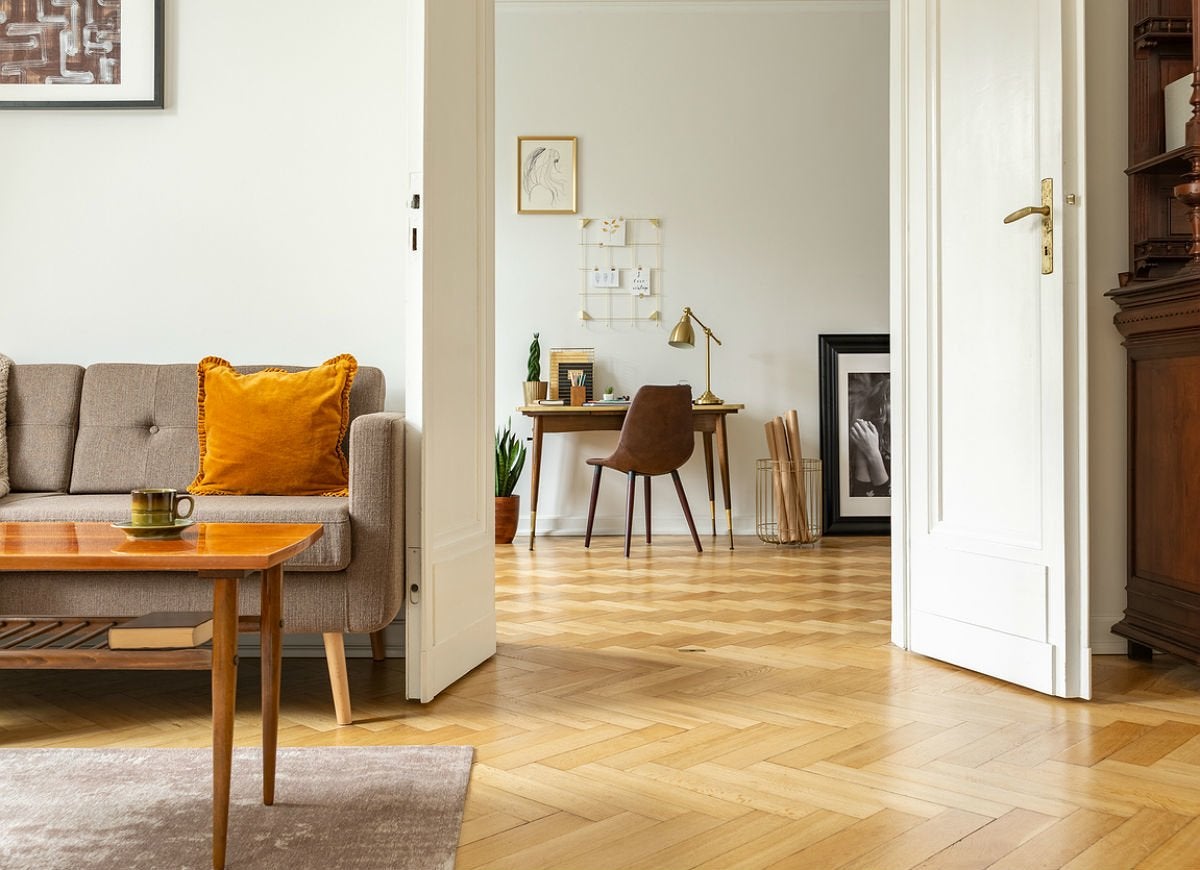
Consider surprising colors.
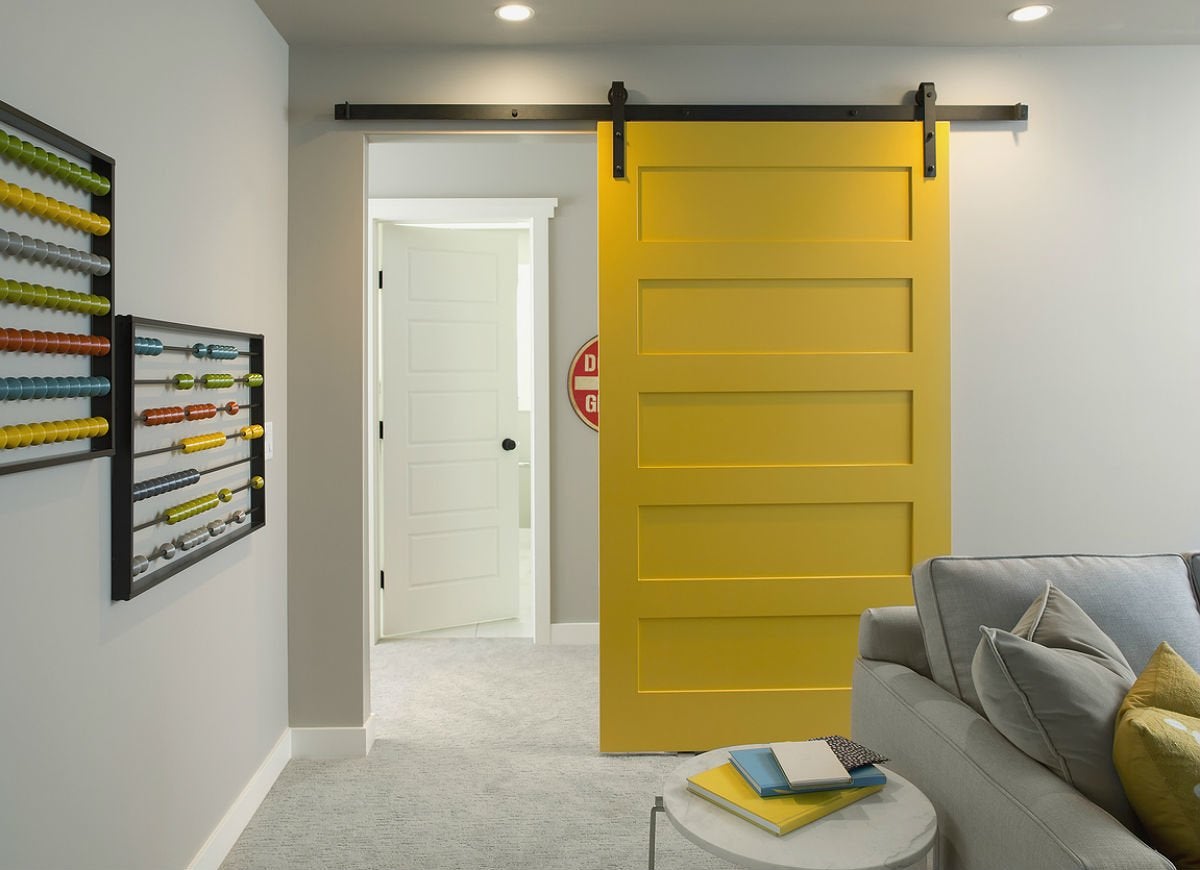
Traditionally, doors are done in the same shade as surrounding walls, but designers now are using interior doors to introduce unexpected accent colors that add impact to a room. This works especially well when the door itself has interesting paneling and molding, which can be updated with a pop of bright color or an industrial neutral like slate gray and even black.
Choose the best finish.

Fingerprints and grime are to be expected on interior doors in high-traffic areas. So pick paint with a gloss or semi-gloss finish, rather than flat or eggshell, for a surface that’s much easier to wipe clean. A glossier paint also makes doors and trim stand out beautifully against the flatter wall surface.
Pick the perfect shade for trim.
Here’s the rule of thumb designers use: If your door will be painted white or another light neutral, do the surrounding trim in the same color. If you choose a darker shade, pair with a complementary off-white or neutral tone trim. If painting the door in a darker color, paint trim first, allow it fully dry for at least 24 hours, protect it with painter’s tape, then paint the main portion of the door.
Detach correctly.
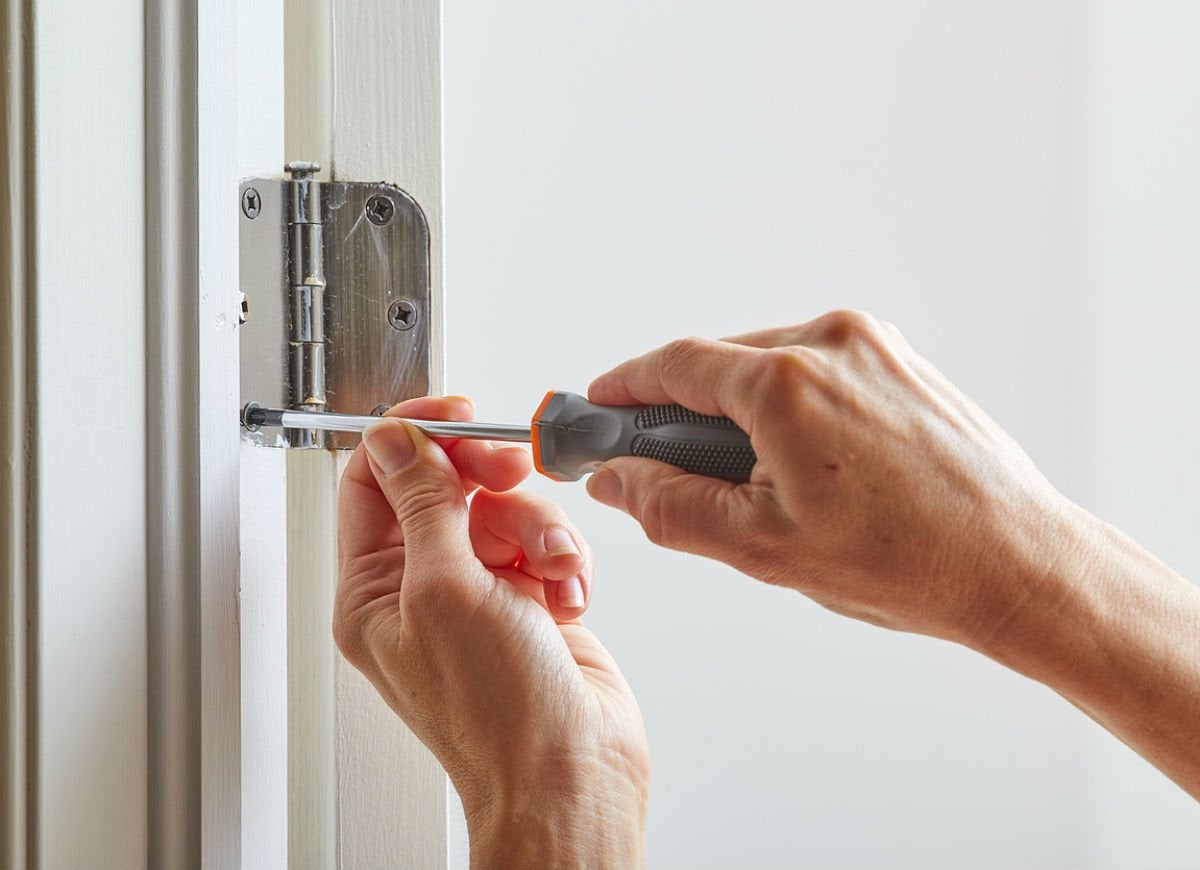
While you certainly can protect the floor beneath and around the door and paint it in place, pros know that for smooth results you’d best invest the time to remove it from the frame. It’s easier to fill and sand cracks and imperfections prior to painting with the door on a flat work surface. And in this horizontal position, there’s not much chance of gravity producing unsightly drips and globs.
To take the door off, tap the hinge pins loose with a hammer and nail; the door should then slide off its hinges. Place the pins in a safe place for remounting the door after it’s painted and fully dry.
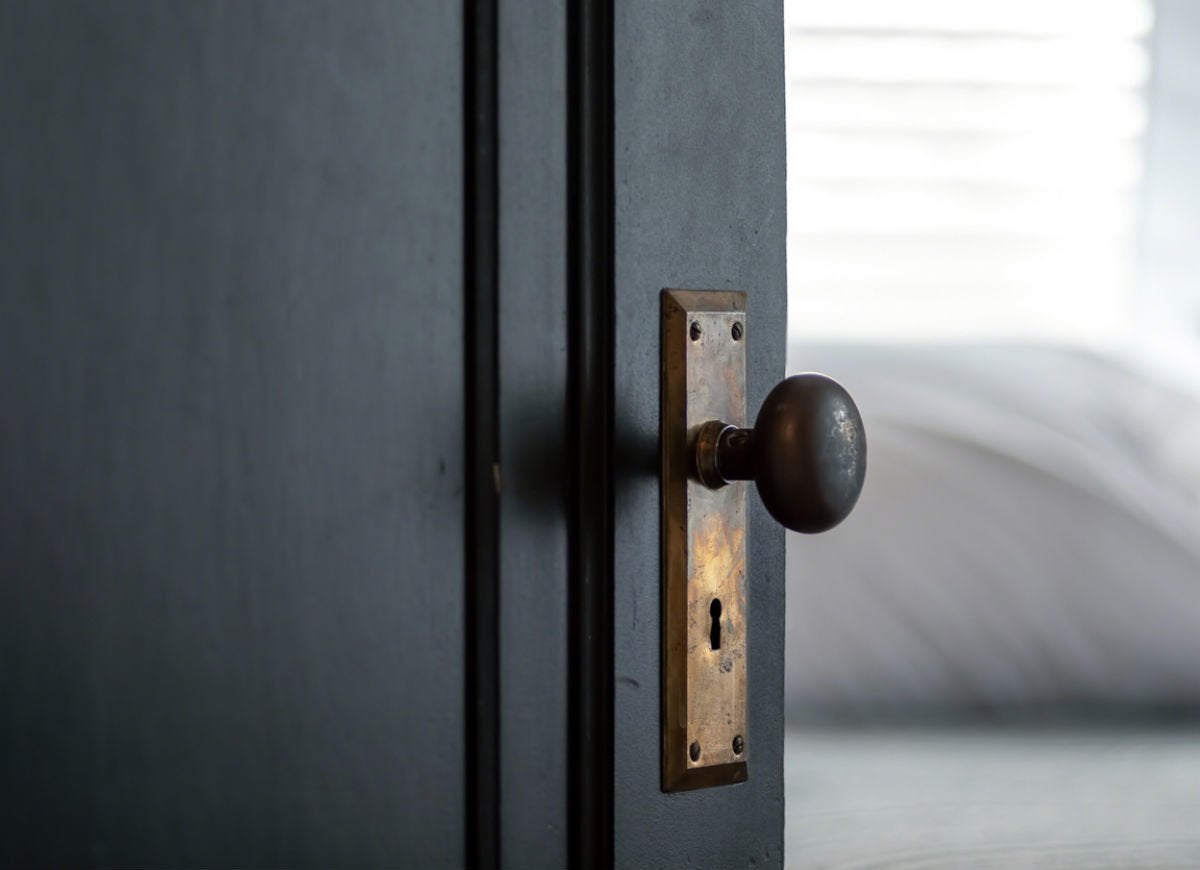
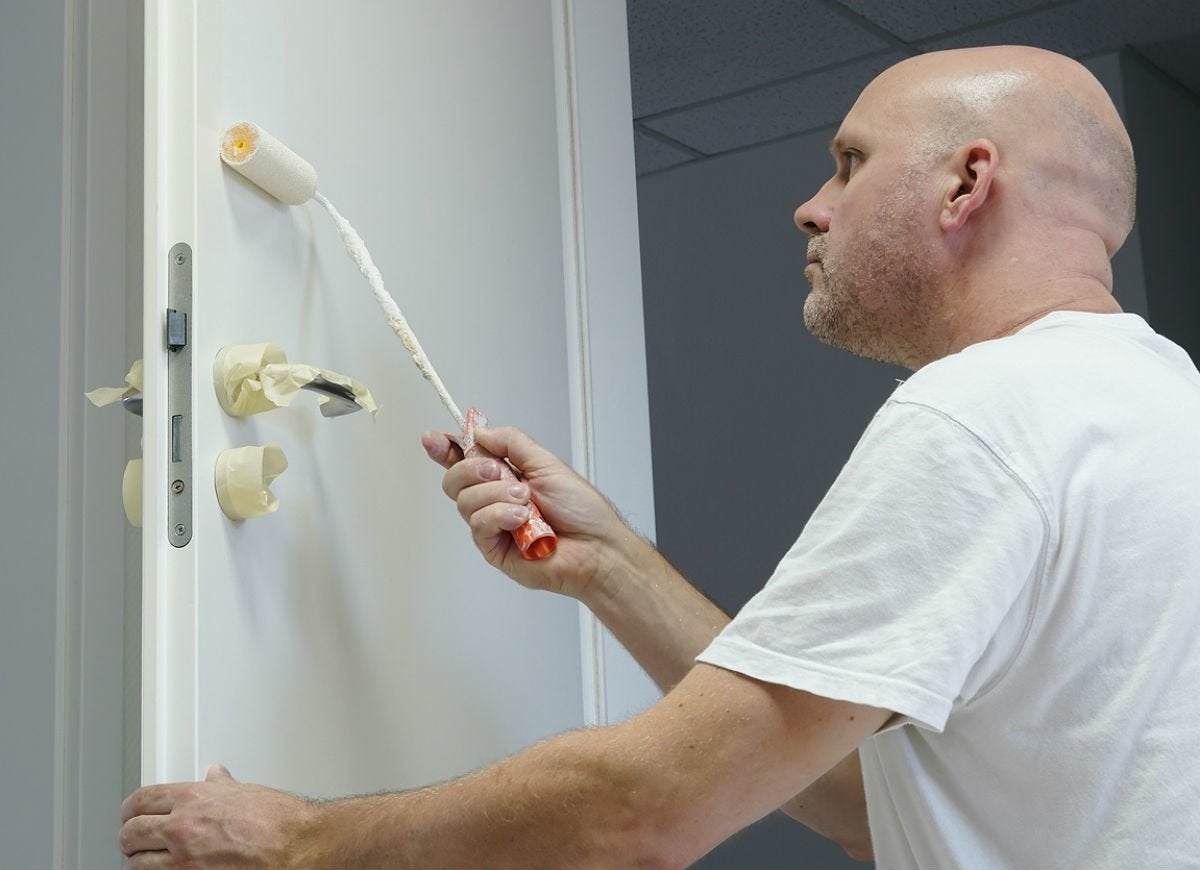
Remove the doorknob.
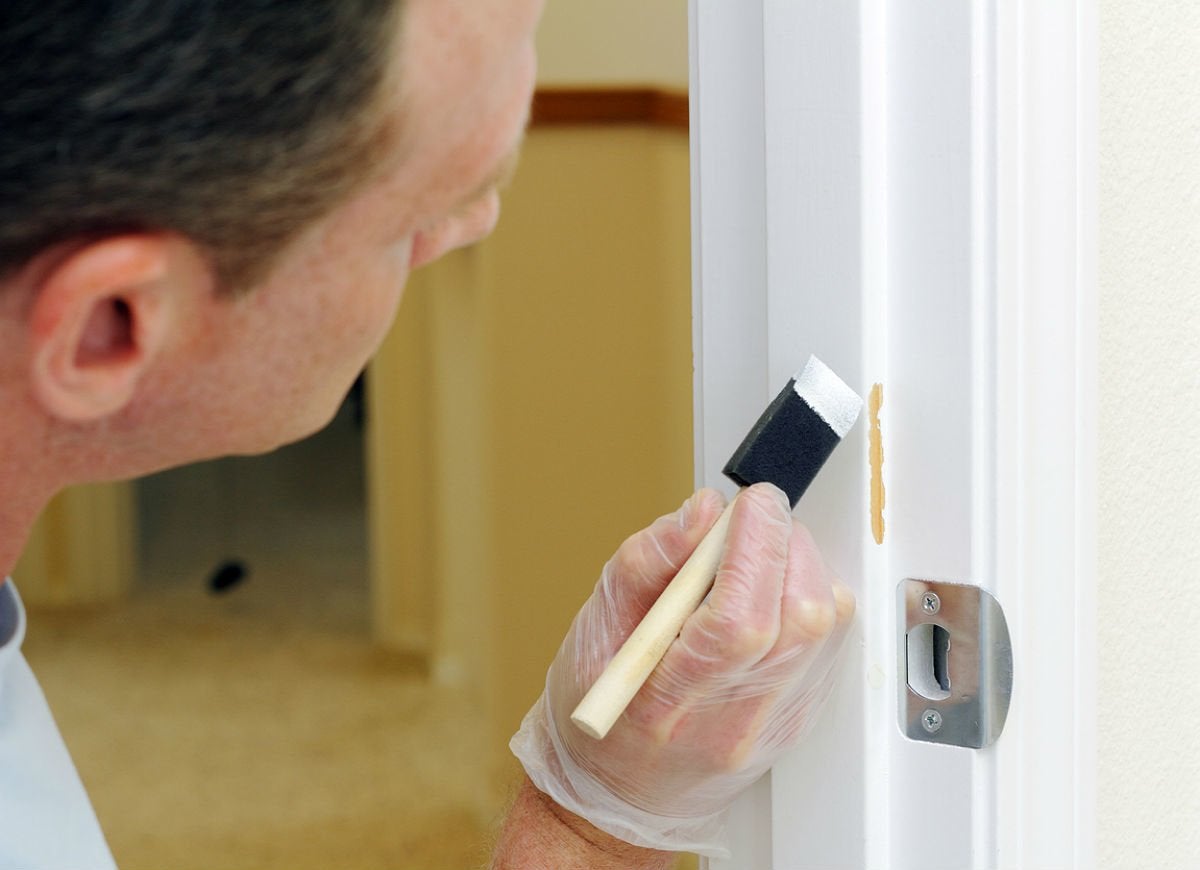
Paint splatters on a doorknob are the signs of a sloppy job. More importantly, the moisture in paint can adversely affect door hardware, potentially clogging the locking mechanism; sanding and cleaning agents can also damage hardware.
To avoid such problems, remove the knob rather than simply taping it off. Use a screwdriver to remove the screws. If you can’t see screws, look for a small metal-covered slot on the side of the handle. Then use a pin or paper clip to push in this metal piece, which should pop the doorknob loose. You can then unscrew the “rose” or plate that hold the knob in place.
Fill holes and cracks.
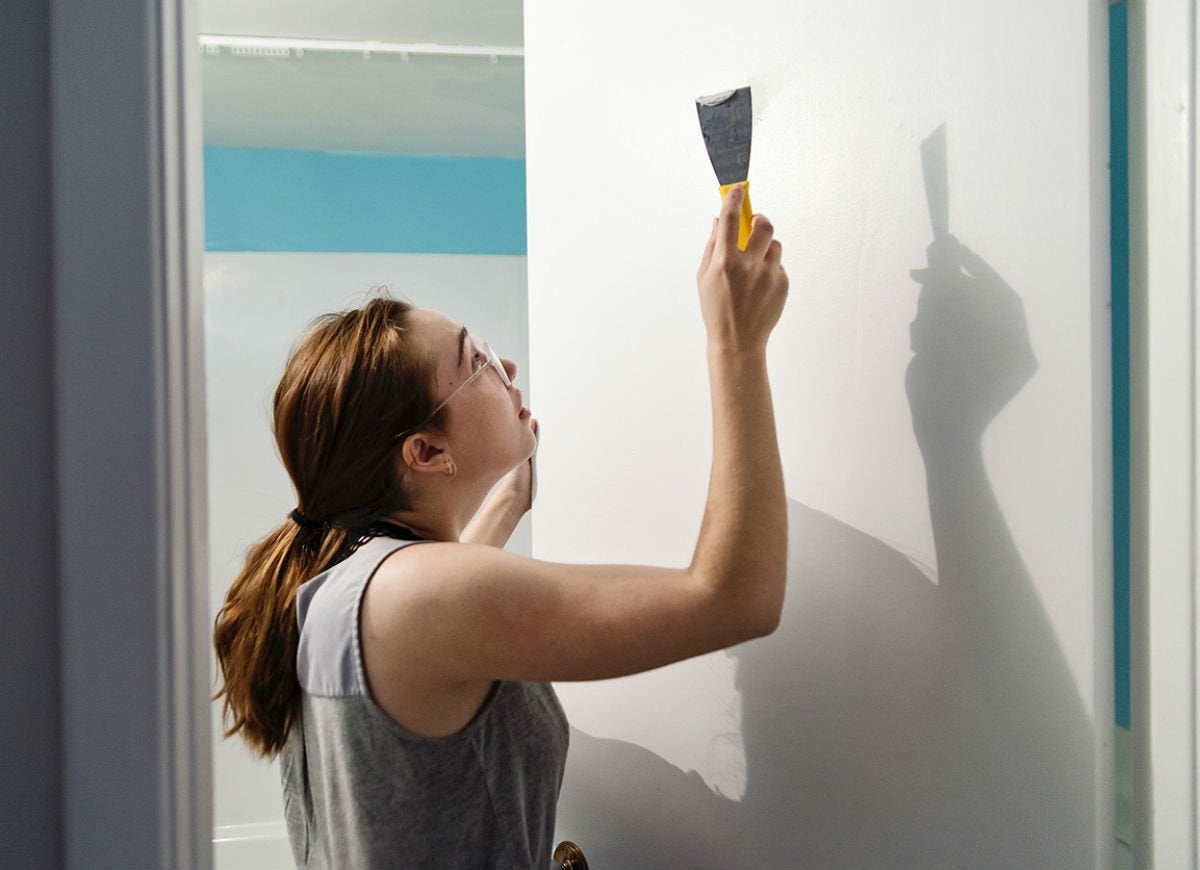
Painting a door—particularly an older wood one with trim and molding—generally requires some effort to prepare the surface. First, fill any small holes or cracks in the surface with a top-rated wood filler or spackle, a gypsum plaster and adhesive filling compound that shrinks very little after drying and can be painted without priming (and sometimes even without sanding). Place a small amount of spackle or wood filler on a putty knife, scrape it into the hole as evenly as possible, and let it dry for about two hours. Reassess if you need to add more spackle or filler and sand the filled-in spots smooth.
Sand and prime.
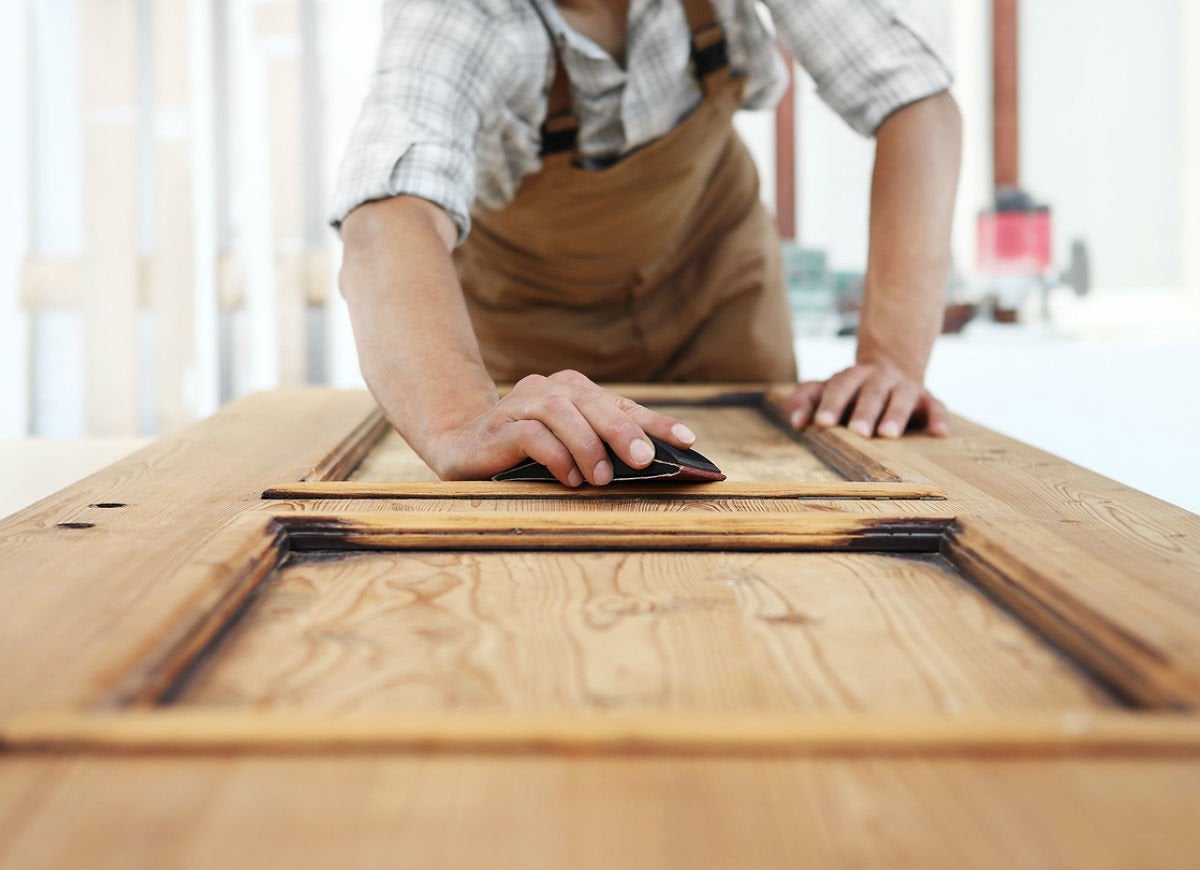
After any imperfections are filled, cured, and sanded, sand the entire door surface with 120-grit sandpaper, either manually or with a power sander. Wipe the door with a cloth dampened with mineral spirits and dry with another soft cloth to remove any surface dust. Apply primer if painting over oil-based paint so that you can switch to latex, if desired. When the primer coat is fully dry (preferably left overnight), gently sand the surface again, this time with a 220-grit sandpaper.
Prop it on points for painting.
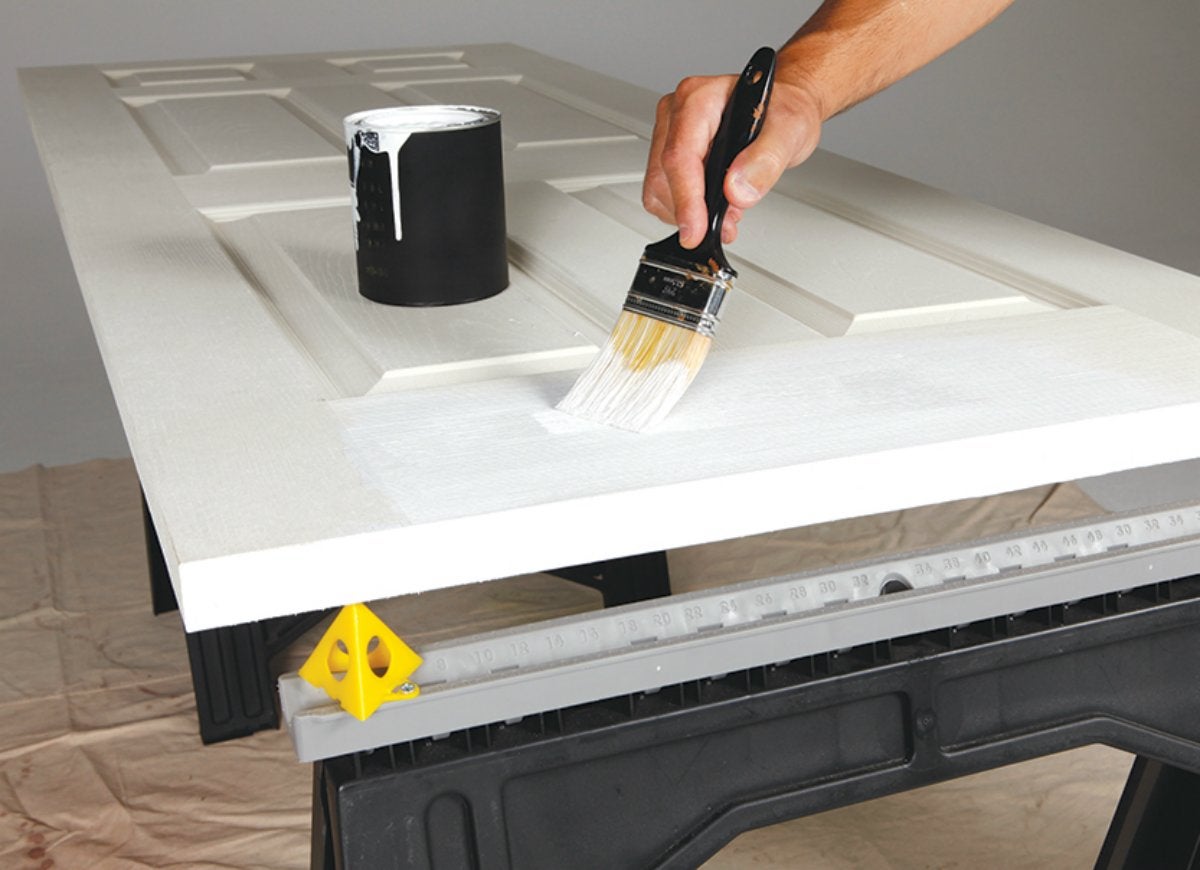
Once the surface is sanded smooth, it’s time to paint. Rather than place the door directly on the work surface, elevate it by a few inches. This will increase ventilation and decrease any chance that a slightly damp paint coat will stick when you flip it over to paint the other wide. This is where Painter’s Pyramids come in handy. The sturdy plastic pyramids, strapped to sawhorses via convenient holes, let you raise the door by two inches and, when you flip the door to paint the other side, decrease the surface area in contact with fresh paint to tiny points.
Paint without a break.
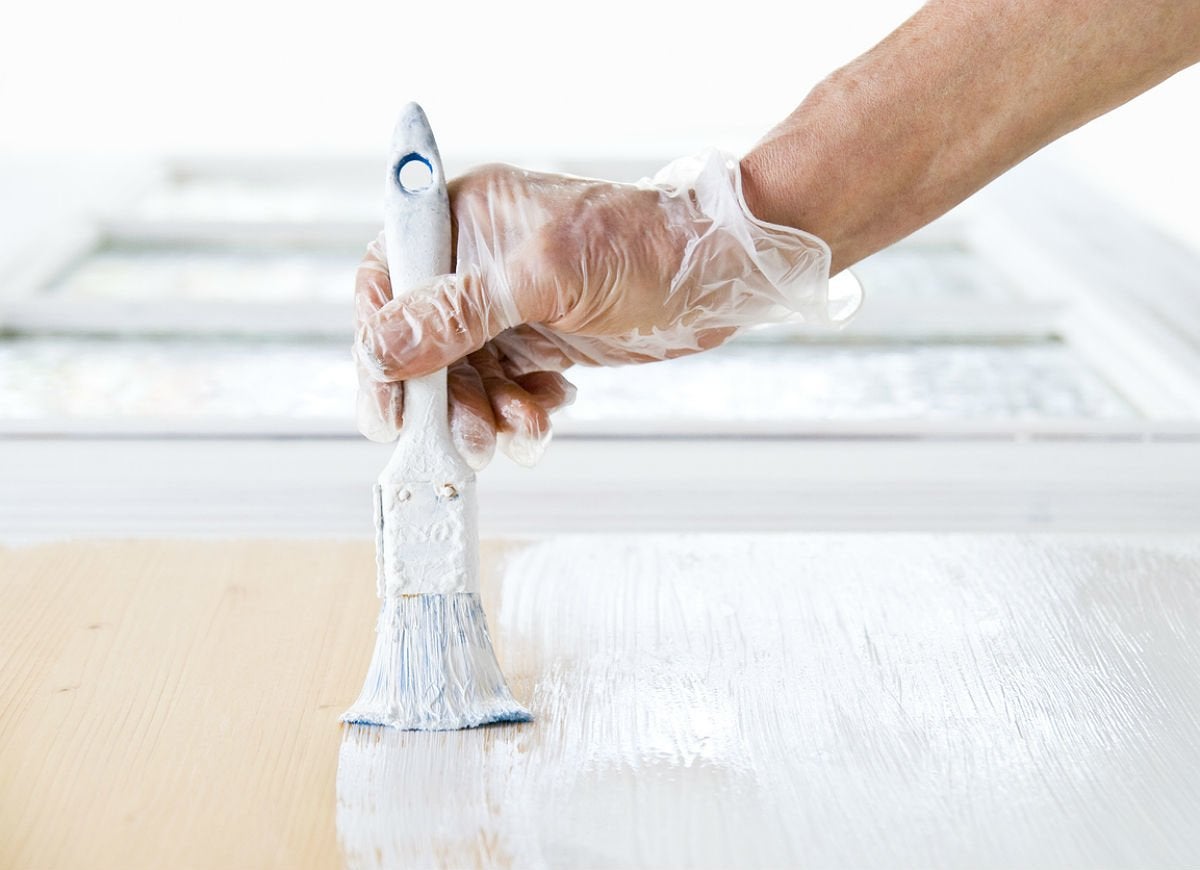
Now that you’re ready to begin the actual work of painting, do the door all at once, without taking a break. If you pause for even a few minutes within a coat, paint can dry unevenly and result in a patchy finish. Latex paints can be dry and ready for a second coat after about four hours. Oil-based paints need 24 hours before a second coat can be applied. After the first coat is dry, pros often recommend sanding again, using 320-grit sandpaper. Remove any residual paint dust with a clean cloth and apply a second coat.
Approach paneled doors properly.

The basic technique for painting a flat door is long, smooth brush strokes, or vertical roller strokes. But interior doors are often paneled, and should be painted in the following order:
1. First, paint the edges around the door, top, sides, and bottom.
2. Next, paint the interior panels. Typically, there are two square panels on top, two rectangular panels in the middle and bottom, for a total of six panels.
3. Move on to paint the vertical strips between the panels.
4. Then paint the horizontal strips at the top and bottom of the door.
5. Finally, paint the vertical strips on the sides of the door.
Save time with a sprayer.
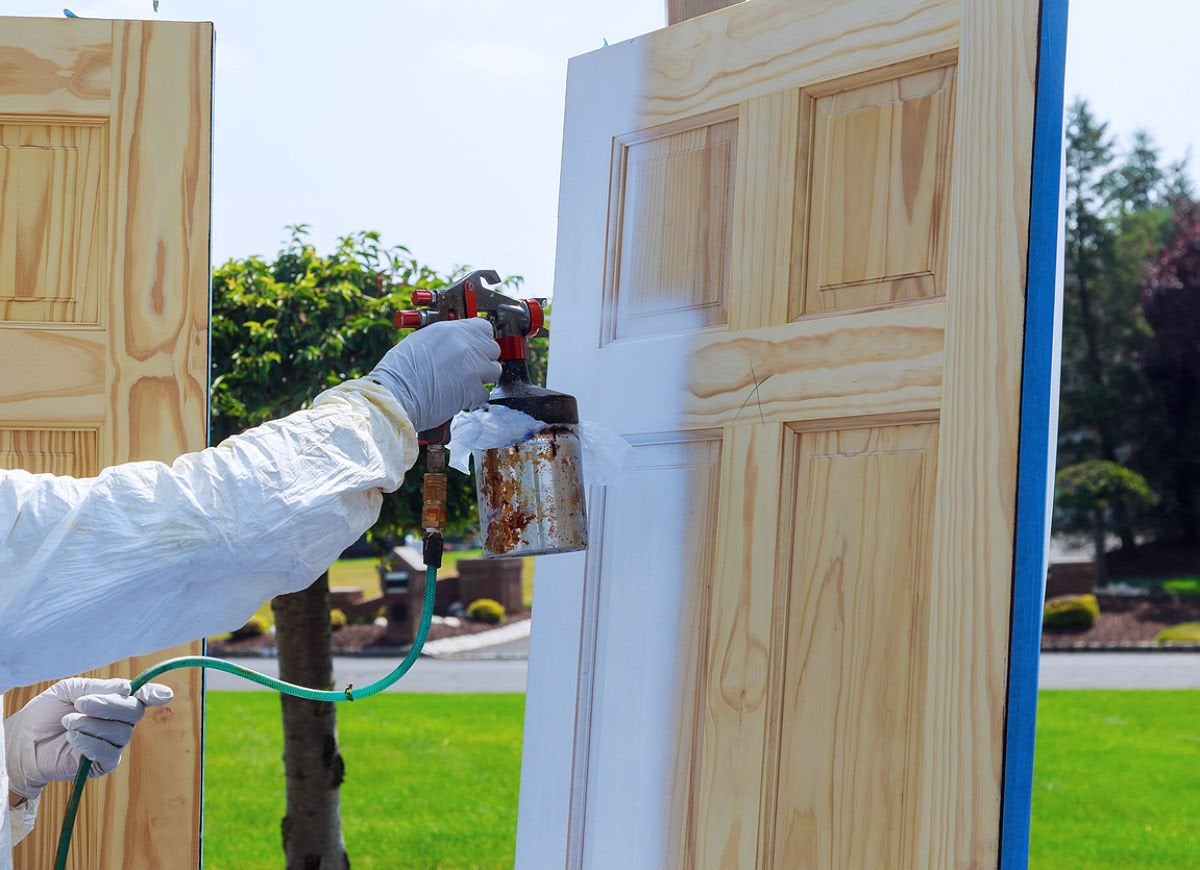
If you’re short on time, a paint sprayer can give your door a beautiful finish in half the time of traditional methods. You can rent one from your local Home Depot for about $37 a day (prices may vary depending on location). Be sure that the sprayer can work with latex-based paints, which produce less toxic fumes than oil-based paint, dry more quickly, and are easier to clean up after. Nonetheless, it’s best to use them on detached doors while working outside, as an edge against fumes and errant spray scatter. If indoors, do protect all nearby surfaces and furnishings with drop cloths.
Speed up dry time.
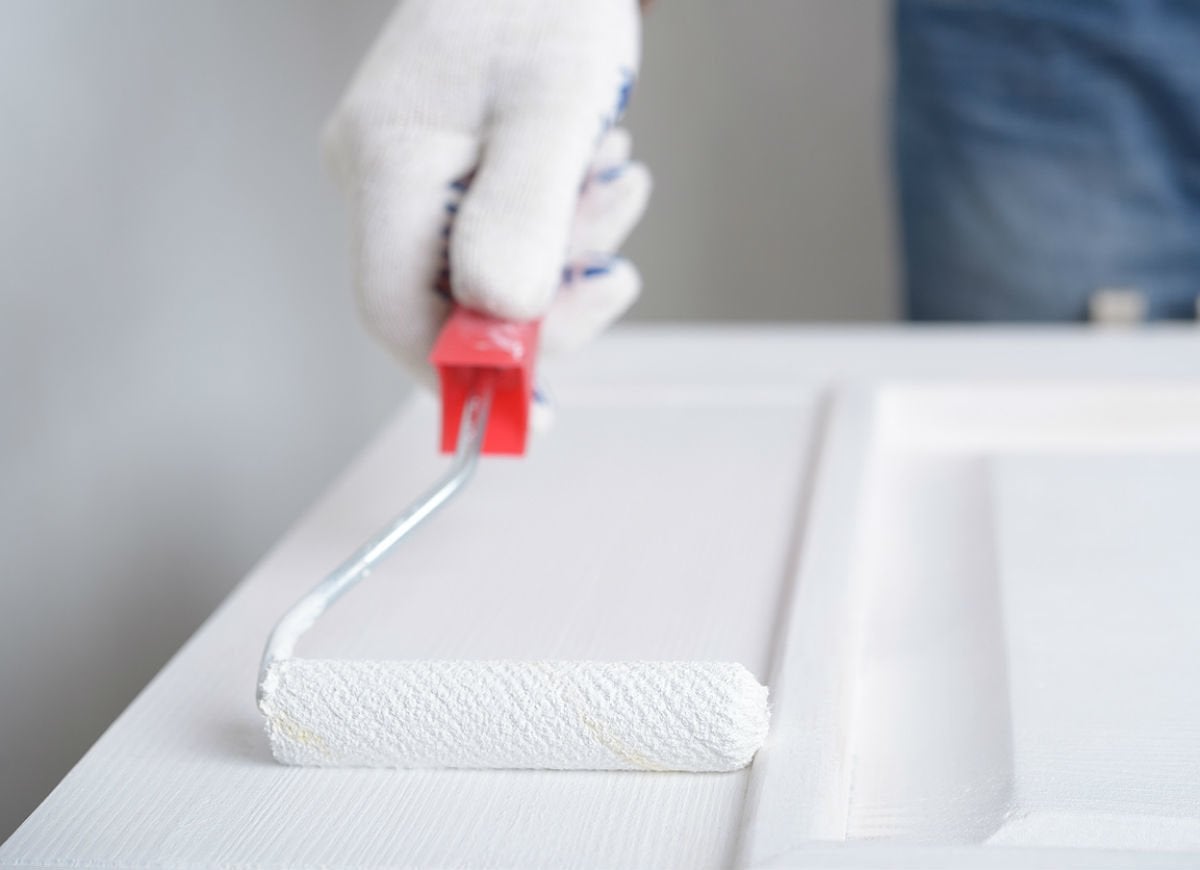
To minimize dry time, apply paint in light, even coats—thick coats take longer to dry and can end up looking uneven. If using a brush, dip the bristles halfway into the paint, then tap or scrape slightly against the edge of the container to remove excess. If using a roller, place it in the pan and use a back-and-forth motion to gradually coat it evenly and entirely without soaking it.
Tip: When using a new roller, let it rest about a minute after coating it to allow paint to fully absorb into the fibers. After painting, increase ventilation and air flow: Turn on the ceiling fan, plug in floor fans, and open the windows. In hot, humid climates, run a dehumidifier if possible.
Leave the door open.
If you paint a door while it’s still attached, warn family members and guests not to touch or close the door for at least two days to protect edges and trim. Remember, dry time depends on the type of paint you used. Oil-based paints typically take longer to dry than latex paints. If painting a detached door, wait 24 to 36 hours until the second coat is completely dry before rehanging.
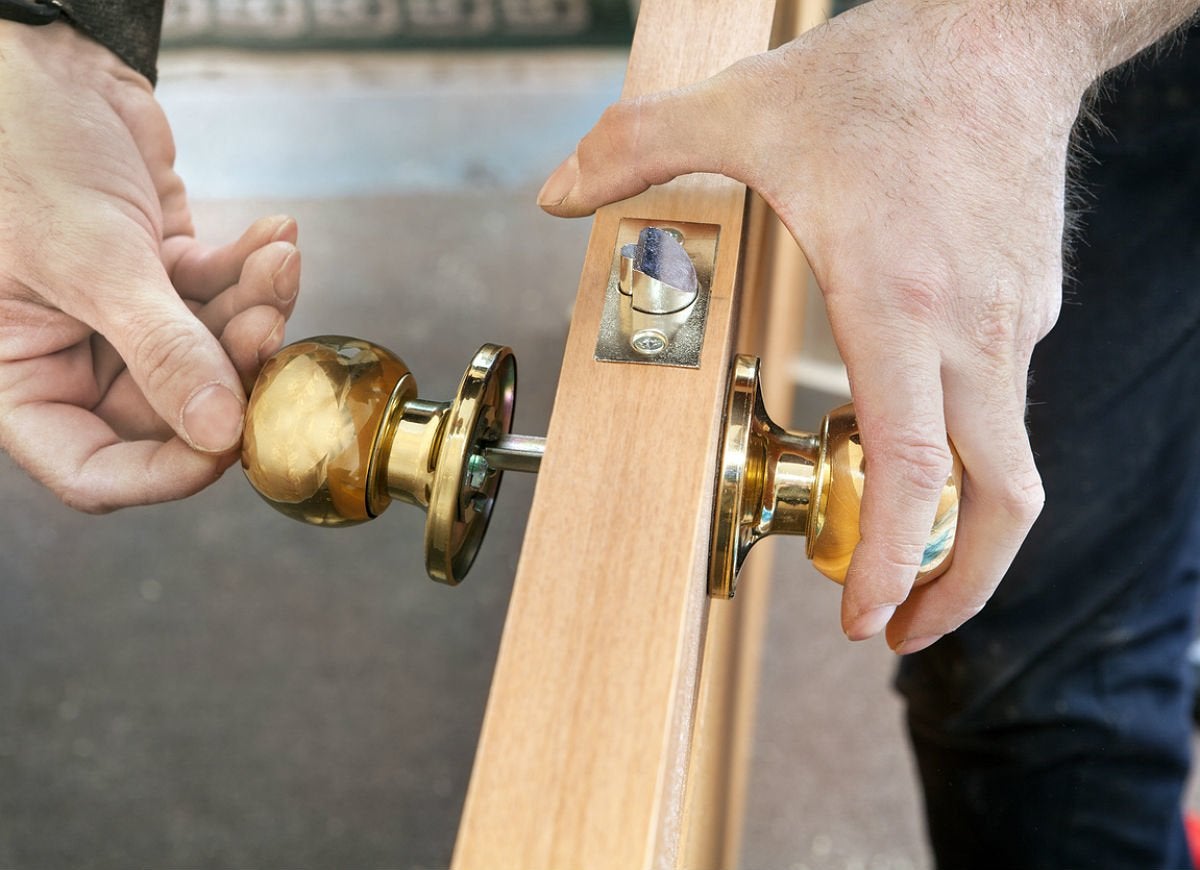
Install new knobs for a total transformation.
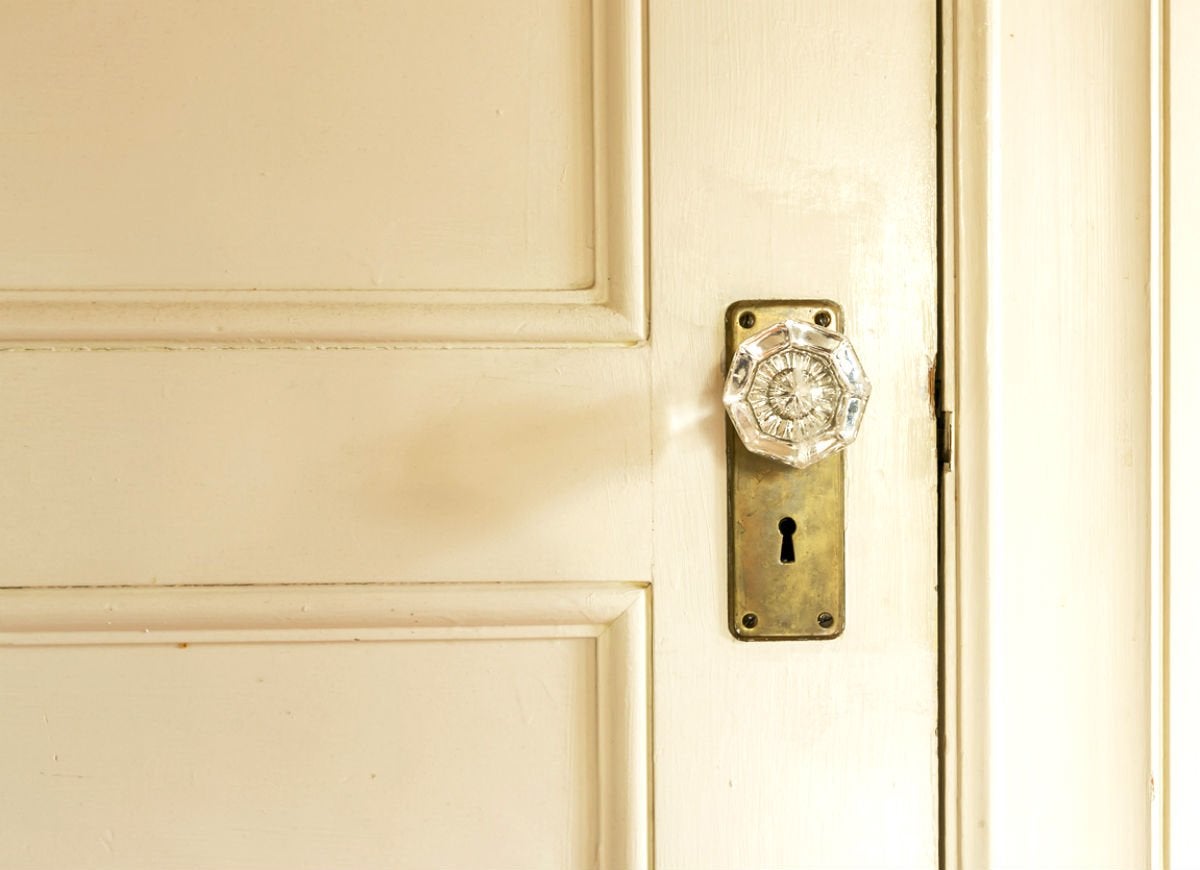
Adorning your doors with new hardware will make a huge difference. Functionality is key, of course, but fortunately, with most interior doors, a simple lock is adequate (unlike exterior doors, where security is paramount). Also decide whether a twist knob or a handle works better for your needs.
Next, consider style. A colored crystal doorknob can add a dash of sparkle. If you have a historic home, source antique and reproduction knobs to add that perfect finishing touch—and even increase your house value and. For a contemporary, minimalist look, find a sleek door lever in brushed nickel or bronze.
