We may earn revenue from the products available on this page and participate in affiliate programs. Learn More ›
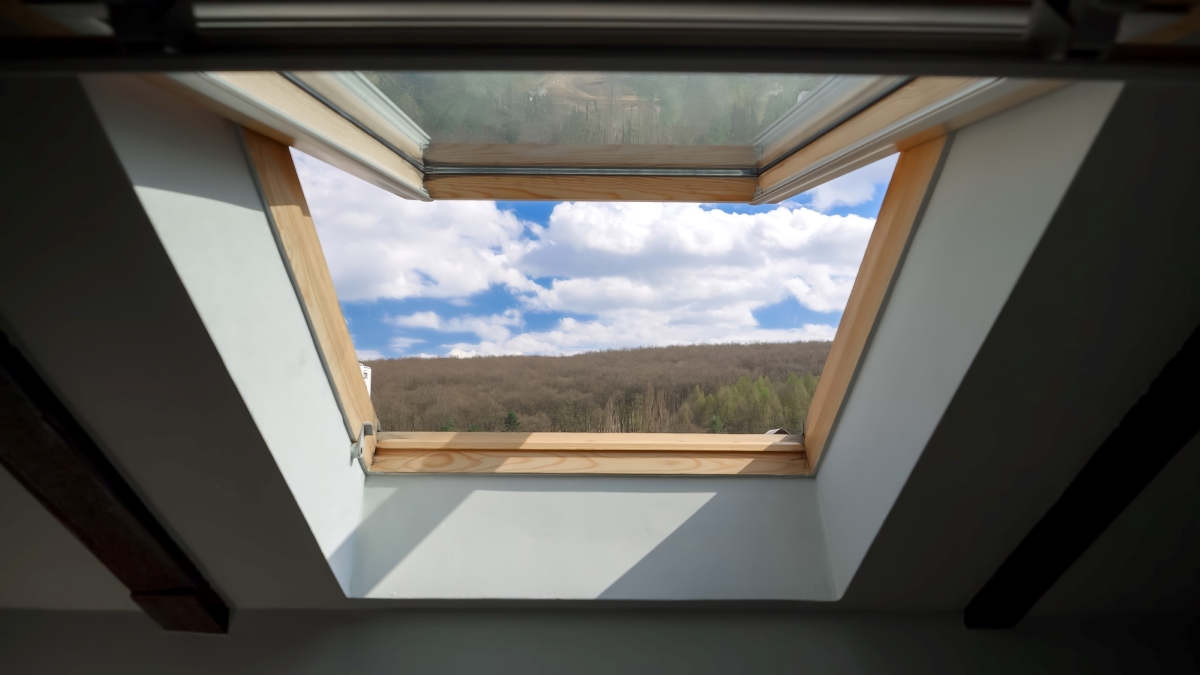
Even if a room doesn’t have an outside wall, it doesn’t need to be windowless and stuck without a source of natural light. While traditional windows add some natural light around the perimeter of the home, those interior spaces, stairwells, and halls that aren’t on the perimeter can benefit from light from above. (For those rooms that don’t have direct access to the roof, a tubular skylight is an option.) However, before you commit to it, it’s a good idea to learn how to install a skylight.
In addition to the benefits of natural light, a vented skylight installation can increase the airflow through the home, allowing fresh air to circulate back into the home as stale air escapes, without needing to give neighbors a peek directly inside the house. Use this guide to find out more about skylight installation, what to know about hiring a pro for the job, and how this home upgrade can improve the look and function of a home.
Benefits of Skylights in the Home
Since it’s a big project, it’s important to have a good understanding of the benefits of this upgrade before hiring a crew to install a skylight. The upsides of this home upgrade include:
- A skylight increases the amount of natural light in the home.
- Warm, stale air can be expelled while circulating fresh air into the home from outside.
- The natural light that a skylight provides can reduce how much electricity you use.
- It improves the aesthetic appeal of the home, introducing a connection to the outdoors while highlighting interior architectural details.
- The overall value of the house may increase by installing a roof skylight.
- It’s a way to access natural light throughout the home without sacrificing privacy or relying on tinted windows for privacy.
Can I Install a Skylight Myself?

Knowledgeable DIYers can learn how to put in a skylight, but it’s necessary to note that this is a dangerous project that can be both difficult and hazardous for inexperienced DIYers. To complete this type of work, installers use a measuring tape, carpenter’s square, plumb line, and hammer to measure and mark the installation location, then they rely on a hand saw or electric saw to cut a hole through the roof, before putting in the skylight framing. It’s also not a one-person job.
Given that the skylight must be installed through the roof, skylight installers need to rely on their training and experience with ladders and fall arrest equipment to remain safe on the job. Similarly, installers need to be able to create an installation plan, take detailed measurements, and accurately cut through the roof of the home. With this in mind, installing a skylight is a job that should be left to a professional contractor or highly experienced DIYers.
Skylight Installation Cost
Given that a skylight installation cost can range from $1,000 to $2,700 on average, homeowners who are interested in learning how to fit a skylight need to consider the potential skylight replacement cost before starting this type of project. On average, installing a new skylight will cost about $1,860, but the price range for this project can rise depending on the size, placement, and type of skylight.
Similarly, the cost of the installation can increase based on the type and pitch of the roof, accessibility, and the local labor rate. Before starting this project, get quotes from at least three reputable skylight installation companies in your area to ensure you are getting a fair price for the work.
What to Consider Before Installing a Skylight
Adding a skylight offers a lot of benefits, but there are some drawbacks and other factors to consider before installing a skylight, including energy efficiency, roof type, roof slope, roof condition, leaks, and potential for ice dam formation.
- Reduced heating and cooling efficiency can occur as a result of installing a poorly insulated skylight, but it’s a myth that reduced heating and cooling efficiency is an automatic effect of a skylight installation.
- Roof type can affect the cost, installation plan, and the best type of skylight for a home. Generally, stick-framed roofs work better for skylight installation, while it can be harder to install a skylight in a truss-framed roof.
- Roof slopes need to be inspected prior to a skylight installation. If the roof slope is steeper than average, it can increase the difficulty and the cost of the job. Work with the skylight contractor to determine the best course of action.
- Roof condition should also be considered when planning a skylight installation project. While putting in a skylight can be a great way to brighten a dark room, it typically requires reshingling parts of the roof, so it may be best to hold off on this job until the existing shingles need to be replaced.
- Leaks are not a guaranteed issue when installing a skylight. However, if the installation is not done properly, there is a risk of the roof or skylight leaking. Leaks can create water damage and require skylight repairs to fix the leaky roof.
- Ice dam formation frequency may increase as a result of faulty or improper skylight installation. During the planning phase, work with the installer to determine the best placement to avoid water build-up, leaks, and ice dam formation.
How to Install a Skylight
Installing a skylight can be a great way to improve natural light and airflow throughout a home, but this isn’t a project that most DIYers can handle, especially due to the potential for personal injury that comes with working on the roof. However, it’s still a good idea to have a basic understanding of the steps and processes involved with skylight installation before hiring a crew of professionals.
Step 1: Measure the pitch of your roof.
Before selecting a skylight style, the pitch of the roof will need to be measured to determine which type of skylight is suitable. Curb-mounted skylights are best for homes with somewhat flat roofs, where the pitch is less than 3/12. If the pitch exceeds 3/12, then the installer should put in a deck-mounted skylight for the best results.
To find the pitch, measure the horizontal distance from the peak of the roof to the exterior wall, which is otherwise known as the run, then measure the vertical rise from the base of the roof to the peak of the roof. Finally, divide the rise by the run to determine the pitch or slope of the roof.
Step 2: Plan skylight placement.

Skylights don’t just sit on top of the roof. The installer will need to figure out where the skylight can be placed inside the home, where it won’t interfere with any structural portions of the roof or framing system. Ideally, the skylight should be positioned in a room, hall, or stairwell that receives little to no natural light and has no obstructions, including pipes, drains, vents, or wiring.
Note: If any structural components do need to be removed, make sure to check the local building codes and determine the skylight framing requirements before proceeding.
Step 3: Cut a rough opening from inside.
After selecting the location for the skylight installation, the installer will need to locate the rafters using a stud finder. Mark the skylight installation position between the rafters, then cut the rough opening using a drywall saw. Remove the cut drywall and any insulation or other debris to get a clear view of the underside of the roof.
From inside, drive a deck screw up through the roof at each corner of the rough opening. This will make it easier to measure and cut the skylight hole in the roof of the home.
Step 4: Remove roof shingles.
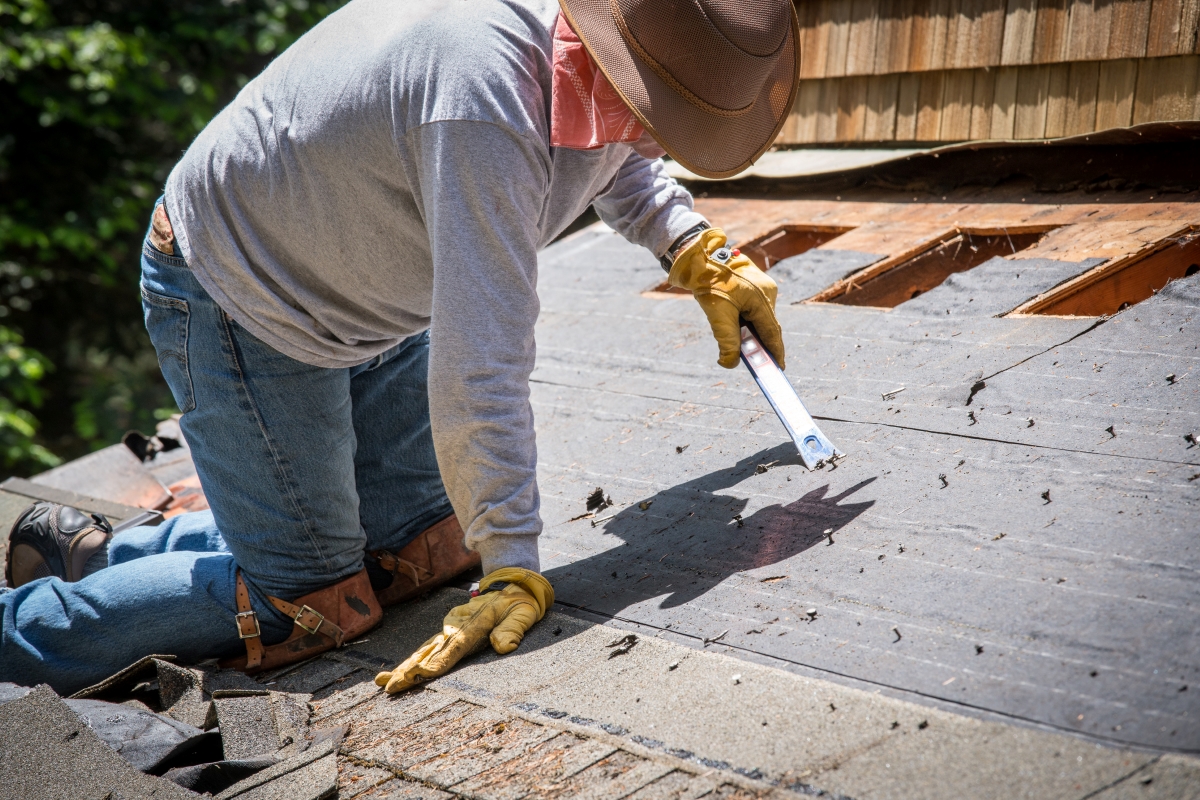
Locate the screws that were driven up through the roof, then use a chalk line to mark the intended position of the skylight. Strip the shingles inside the marked area and about 6 to 12 inches outside the marked area. If the shingles are in good shape and removal is done correctly, the shingles may be able to be reused.
After removing the shingles, redo the outline with the chalk line if needed. Then the installer or a helper can remove the screws that were acting as a guide.
Step 5: Cut into the roof.
Before cutting the roof, be careful to avoid stepping on the cutout as you work. It could collapse under weight. To cut the opening, follow the chalk line created in the previous step to cut out a hole in the roof for the skylight. Use a circular saw to cut along three sides of the target opening. A helper needs to be inside to help hold the roof cutout as you cut through the fourth side. This prevents the cutout from simply falling and hurting someone or damaging the floor or furniture.
Prepare the opening for skylight installation by nailing down sheathing around the perimeter of the opening, then attach a strip of self-adhesive membrane along the bottom edge of the opening. If you are installing a curb-mounted skylight, you will need to measure and cut several 2x6s to create a rectangular frame around the opening, then drive nails in at an angle to toenail this curb to the roof.
Step 6: Place the skylight.
Ask the helper to pass the skylight up through the opening from inside to get it onto the roof. Rest one edge of the skylight against the bottom edge of the sill, then gradually lower the rest of the skylight onto the roof.
When it’s in position, drive 2-inch roofing nails through the skylight brackets. For curb-mounted skylights, drive the nails into the curb, but for deck-mounted skylights, the nails should be driven into the nearby rafters for support.
Step 7: Seal the sides of the skylight.

Water can enter through the skylight if it is not sealed properly. Cover the bottom edge of the skylight with a strip of waterproof membrane, which should extend about 6 inches past the sides of the skylight.
Where it extends out from the skylight on either side, cut a 45-degree slit in the membrane, then secure the top part of the cut membrane to the skylight frame and the bottom part of the cut membrane to the roof. Repeat this process to seal the top and both sides of the skylight in the same way.
Step 8: Add the sill and step-flash the sides.

Nail the roofing shingles back into place around the bottom of the skylight. Slide the U-shaped metal sill over the bottom of the skylight, then nail it to the roof at the top outside corners of the sill. Cover the exposed sides of the sill with shingles, then begin installing the step-flashing.
With the first L-shaped piece of step flashing, overlap the top half of the shingles that are covering the sill flashing. Drive two nails through the top outside corner to hold it in place, then cover it with a shingle. Overlap the next step flashing piece on top of the shingle, before securing it again with a nail on the top outside corner. Place another shingle on top of that step flashing piece, then keep alternating step flashing pieces and shingles on both sides of the skylight.
Use counterflashing strips that snap onto the rim of the skylight to cover the vertical legs of the step flashing. Next, lift the shingles above the skylight, cut the underlayment sheeting, and slide the top edge of the saddle flashing through the slit in the underlayment. Position the flashing against the skylight, then lift the shingles and secure the flashing at the top corners with a few nails, before adding the final layer of shingles over the flashing.
To finish this upgrade project, return inside and replace any insulation that was removed during the installation process. Installers can use metal corner beads to create a perimeter around the skylight or they can choose to use drywall mud and tape to patch the drywall. If there is extensive damage, the existing drywall may need to be removed and replaced with new drywall sheets that are cut to the specific dimensions of the skylight. After patching the drywall, detail the trim, and then prime and paint the ceiling and any trim to finish the job.
How to Maintain Your Skylight
Skylights don’t require a lot of maintenance to keep them in good condition, but there are some steps homeowners should follow to ensure the skylight remains both functional and aesthetically attractive.
Stay on top of the following skylight maintenance tasks to extend the life of the skylight and keep it dust-free.
- Dust the skylight with a telescoping dust mop to get rid of mild dust buildup.
- Inspect the skylight about once every 2 weeks for any signs of a leak.
- Deep clean the skylight about once a year using a sponge to scrub the pane from inside, and a telescoping power washer to remove any debris from the outside. Alternately, climb onto the roof to clean the outside of the skylight with a dry rag for simple dust and debris, or use a cloth and mild cleaning solution for stuck-on grime.
- Professional inspections should be completed annually for hairline cracks, leaks, and any structural damages.
- Keep the roof clear of snow and ice with a roof rake or shovel to reduce the risk of ice dam formation.