We may earn revenue from the products available on this page and participate in affiliate programs. Learn More ›
A wood deck is certainly a thing of beauty, but only if it is well maintained from year to year. If your deck is showing signs of weather and wear, some simple maintenance and a fresh coat of stain or sealer could make it look new again. And the job is one that can easily be accomplished by a do-it-yourselfer in a weekend or two.
Tools & Materials
Bobvila.com may earn a commission from purchases made through these links.
Step 1: Clear the deck.
Before you begin staining, remove everything from the deck. You’ll want to sweep the entire surface to remove any leaves, twigs, needles or branches, plus debris lodged between boards.
Wash the deck thoroughly with a deck detergent (available at most home centers and hardware stores) and follow manufacturer instructions on best use. Make sure the cleaner you use is specified for your type of deck.
A stiff bristle broom will come in handy to remove mildew stains, stubborn dirt, and grime.
Step 2: Prep the wood.
Once the deck is clean and dry, examine the condition of the wood. Are there any boards that are splintered, loose, or raised? If so, they will need to be repaired.
Does the wood surface appear to be highly worn? A light sanding will help revive it and raise the wood grain for better stain absorption.
Step 3: Check the weather.
When staining, choose a weekend that does not have rain in the forecast. If possible, avoid applying the stain in direct sunlight. (Always test the stain on a small area and let it dry to make certain the color is the one you want.)
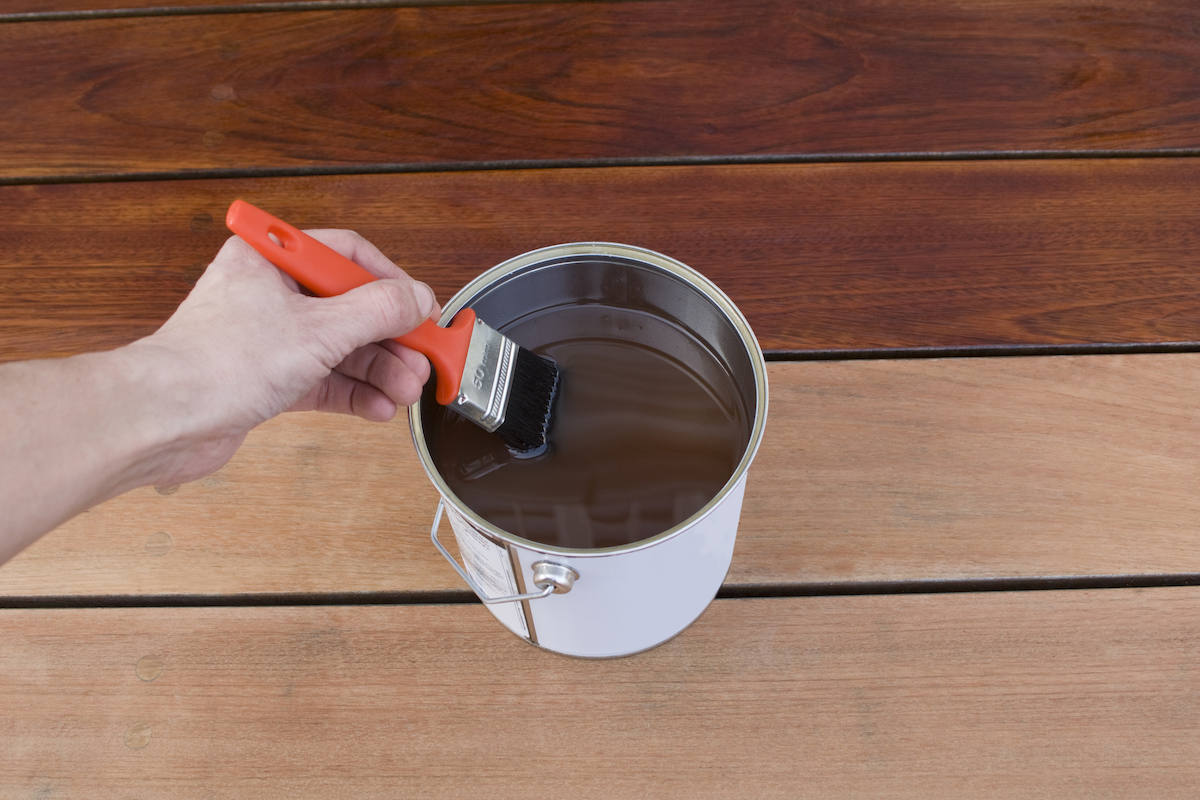
Step 4: Apply the stain.
Using a bristle brush to apply the stain, start by heavily coating the open-end grain of the boards. Then brush two to three boards from one end to the other in long, smooth strokes. To avoid lap marks, make sure that the leading edge remains wet and that wet stain is brushed into wet stain.
Step 5: Allow the stain to dry.
Apply one coat of wood stain and wait for it to dry. Remember that more deck stain is not necessarily better. If you apply too much, the stain may peel or crack when exposed to moisture, or it may not dry properly.
Let the stain dry for at least 3 days before placing furniture putting the deck into service.
Seasonal maintenance will continue to keep your exterior wood deck in peak condition. As a general rule of thumb, if your deck repels water, the existing stain or sealer is still performing.
