We may earn revenue from the products available on this page and participate in affiliate programs. Learn More ›
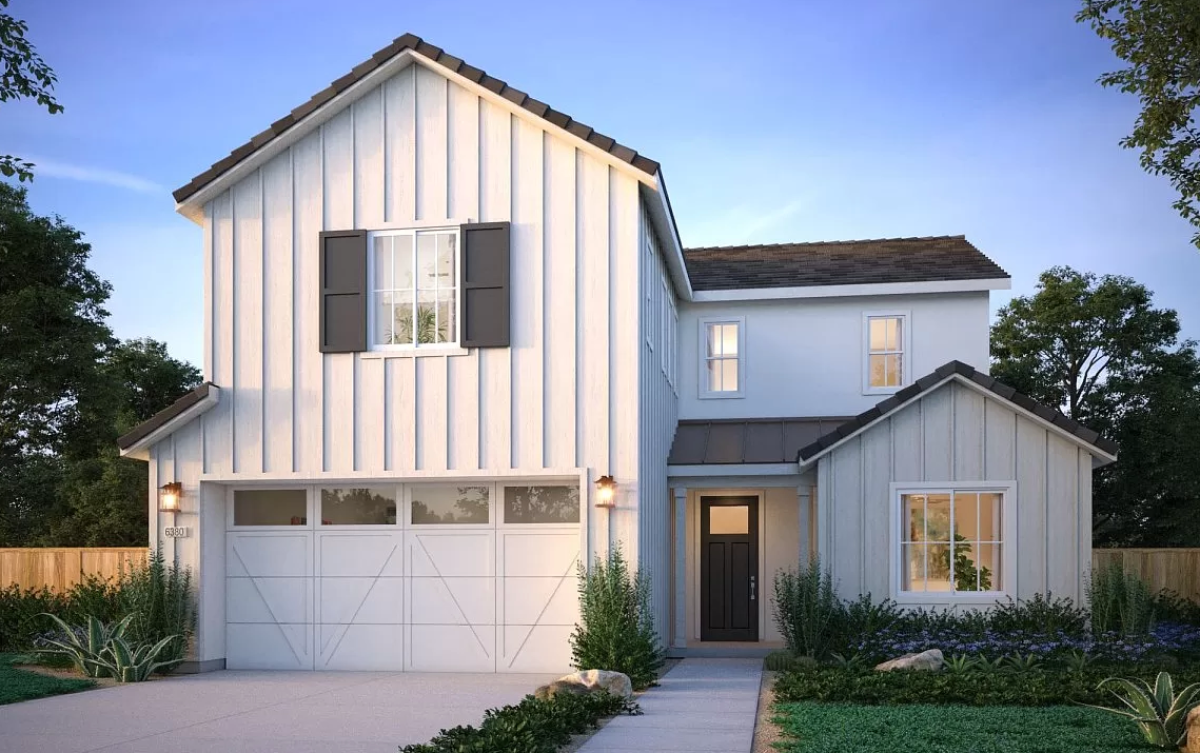
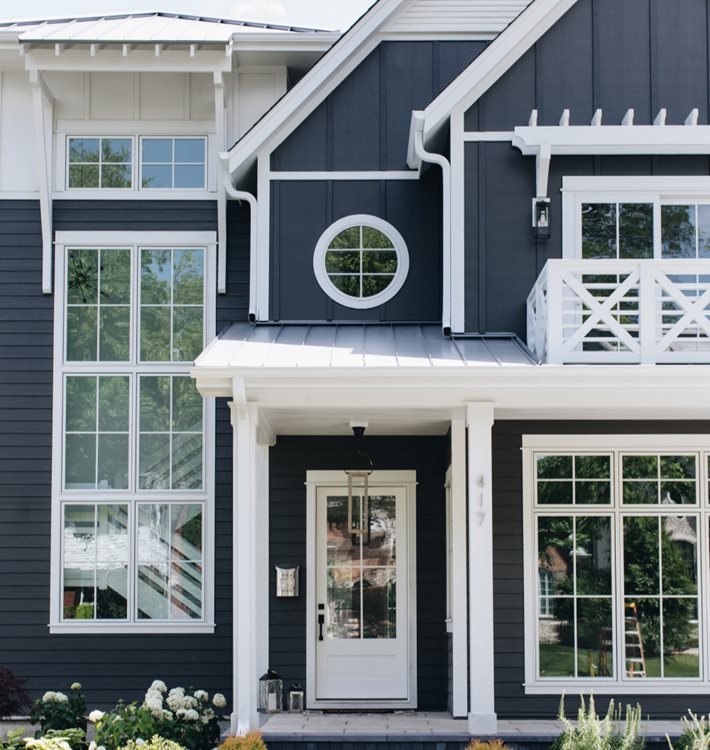
Wood siding that consists of narrow vertical strips or battens installed over a flat base or board is known, logically enough, as board and batten, or batten board. It has been popular for centuries on the exterior of houses, and has since become a trendy way to add visual interest to interior walls.
Batten Board Origins
With the arrival of sawmills to 18th-century America, home construction began moving away from whole logs (as in cabins) and masonry toward lumber. This typically meant first constructing a skeletal frame and attaching long, flat boards to it to form a weather-resistant barrier. Installing boards vertically encouraged rain to run down along the outside of the house rather than seep in. Adding battens to cover the seams between the larger boards provided extra weatherproofing protection.
The large, flat boards had a tendency to warp, however, and by the late 1800s, horizontal lapped siding (narrow horizontal boards installed from the bottom up, with each subsequent board lapping the one below) proved more efficient at shedding rain and so became the norm. Today, board and batten siding is kiln-dried to reduce warping, and it’s installed over framing, sheathing, and a vapor barrier to lend greater structural integrity.
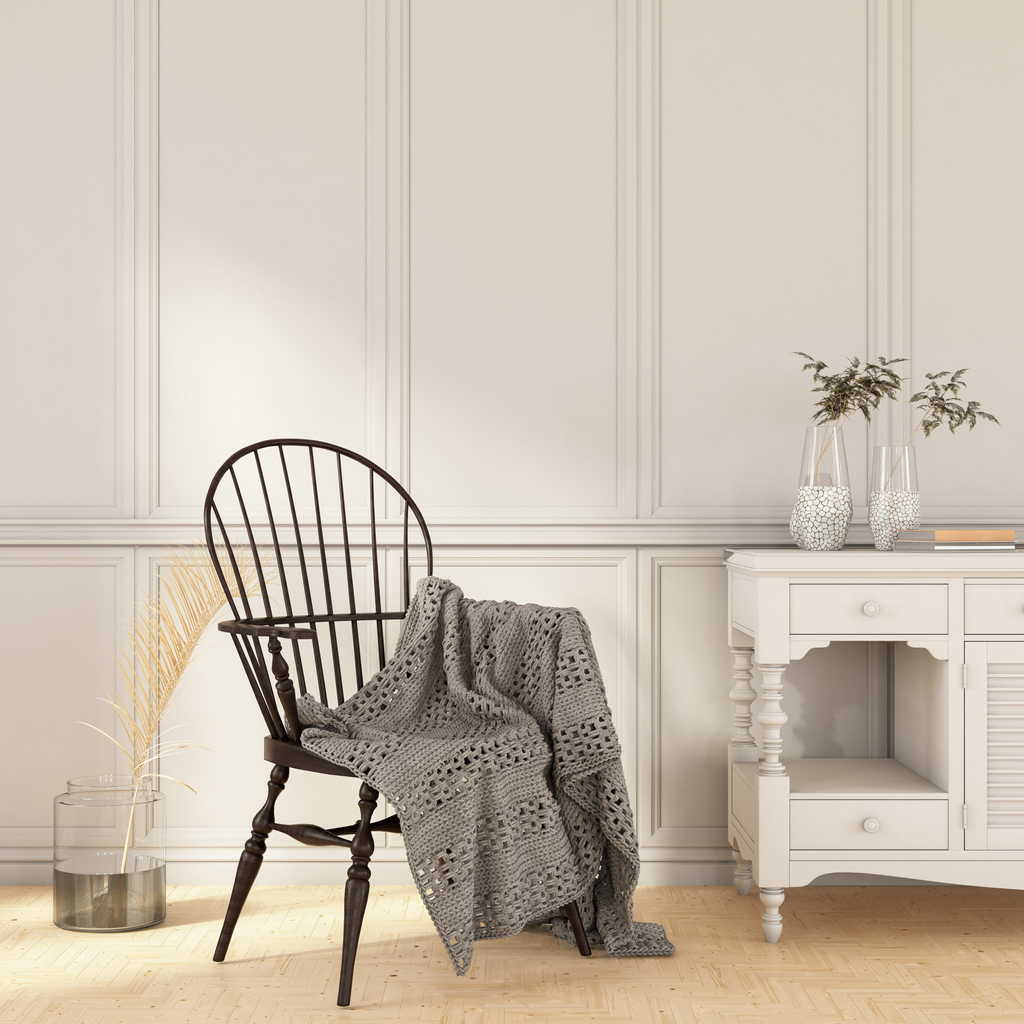
Board and batten moved inside in the late 1800s as a means to prevent chairs from denting the lower portion of plaster walls. Around the mid-1900s, the board and batten wall became a desirable “look,” particularly in bungalows, Arts and Crafts, and country-style homes.
While some homeowners choose to install a floor-to-ceiling board and batten accent wall, the most popular interior application is its original, practical one: Board and batten is usually installed about 32 inches up from the floor, at just the right height to protect walls from chairs’ dents and dings.
RELATED: 9 Ways to Dress Up a Room with Molding
Board and Batten Siding Cost
Siding is measured and estimated in “squares,” which is the equivalent of 100 square feet. Installing board and batten exterior siding is more expensive than installing vinyl siding but about the same price as engineered wood and fiber-cement siding.
Any type of wood used outdoors should ideally be resistant to moisture, rot, and insect damage. Cedar is a common choice for exterior board and batten siding, but other acceptable wood species include cypress, redwood, and fir, in addition to engineered materials like composite siding and fiber cement. Although it’s less water- and rot-resistant, pine is also commonly used in wood siding and suitable for a board and batten exterior—so long as it’s regularly repainted and checked for damage.
DIY board and batten siding material costs can vary somewhat widely, with most materials costing between $100 and $1,000 per square. Cypress siding is the most costly of these softwoods, running anywhere from $400 to $2,100 per square. Cedar board and batten is more affordable, averaging $280 to $300 per square, and offers a comparable level of durability and resistance to the elements. The same is generally true of redwood and fir, which run between $300 to $1,000 per square, while pine siding costs range from $100 to $500 per square, labor included. Add another $15 to $40 per square to seal, stain, or paint any type of wood siding after it’s installed, as well as a little extra for the screws, caulking, and furring strips required for installation.
Trimming interior walls with board and batten is far less expensive because no base planks are used. The battens are fastened onto drywall, which substitutes for the wider vertical boards used in exterior siding. Because interior accent walls needn’t stand up to the elements, DIY-ers can use cheaper wood, such as pine, rather than more pricey cypress or cedar.
Instead of squares, the cost of interior board and batten can be estimated by square footage. For professional board-and-batten wainscoting you can expect to pay somewhere between $7 to $20 per square foot. DIYers will spend much less, even when accounting for the necessary paint, nails, and glue.
Board and Batten Siding Installation
If you have basic carpentry skills, including the ability to measure and cut the boards precisely, and you’re comfortable using a circular saw, a caulking gun, and a nail gun or screw gun, you are well equipped to install either type of board and batten: the exterior siding or the interior trim. Less work is involved installing interior board and batten trim, however, so it’s better suited to the new do-it-yourselfer.
Installing Board and Batten Exterior Siding
Every home is different, of course, so step-by-step instructions for exterior siding installation will vary from property to property. (What is true for every home is that you should always use galvanized screws—they don’t rust or corrode, so you won’t end up with rust stains on your wood siding.) Here’s how the process of board and batten siding installation generally unfolds.
STEP 1: Install the furring strips.
In order to securely attach the vertical flat boards to the exterior of your house, you’ll need to install horizontal furring strips, which provide a structural frame on which to attach the boards. Furring strips can be made by attaching 1 × 4 boards horizontally to your home’s plywood sheathing, spacing them 24 inches apart, and nailing them to the studs beneath the sheathing.
STEP 2: Measure and cut the boards.
This is where precision comes in, and the old saying “measure twice, cut once” applies. Measure from the underside of the soffit to ¼ inch below the top of the foundation. Use a circular saw to cut the ends of the boards.
STEP 3: Leave gaps when installing the boards.
No matter what type of wood you choose, it’s likely to expand and contract slightly due to weather variations, and if the boards are pressed tightly against one another, the pressure could cause warping. To keep this from happening, rather than butt the top of the boards tightly against the soffit, leave a ¼-inch gap. This will put the bottom of the board ½ inch below the top of the foundation, which will help protect the wood sill plate, located on the top of the foundation, from the rain. Likewise, keep a ¼-inch gap between the vertical boards as you attach them to the furring strips.

STEP 4: Add a top trim board.
Once the vertical boards are in place, install a top trim board (using battens), positioned horizontally and butted tightly against the soffit. This will cover the ¼-inch gap and give you something to butt the top end of the battens into.
STEP 5: Attach the battens.
The battens should butt tightly against the top trim board and be flush at the bottom with the wider vertical boards. While the width of the battens is your choice, they should be wide enough to overlap the edges of the larger boards by at least ½ inch on both sides.
STEP 6: Caulk, then paint or seal the siding.
By running a bead of caulk in the seams on both sides of the battens, you’ll create a water-resistant seal that keeps water from seeping beneath the siding. Use a paintable latex exterior caulk if you plan to paint the siding, or choose a clear exterior latex caulk if you’re going to apply a clear-coat seal to the siding.
Installing Board and Batten Interior Trim

Outfitting a wall with board and batten wainscoting requires basic carpentry skills and tools, and a little advance planning. Don’t skip sketching out the layout on paper first—the best time to make adjustments to batten placement is before you have a hammer in your hand.
STEP 1: Create a layout on paper.
Doing a layout on paper will let you adjust the spacing of the battens for a uniform look. Measure your wall and create a to-scale layout so you’ll have a balanced pattern across the wall. This will prevent issues such as having a 12-inch space between battens at one corner and only a 3-inch space at the other corner.
STEP 2: Transfer the layout to the wall.
Using chalk lines to represent each batten, in addition to the horizontal base and top boards, transfer the layout to the wall. Though an extra step, it will act as a guide for installation and give you an idea of how the finished design will look. If you want to make layout changes, this is the time to do it.

STEP 3: Replace the baseboard.
Standard baseboards are usually thinner than the boards you’ll want to use as battens. For a uniform look, remove the baseboard and install a new base, using a board the same thickness as your battens. Use finish nails to attach the board to the wall studs.
STEP 4: Install the top trim before the battens.
Even though they may look perfectly square, walls and floors are often slightly out of level. Use a level to install the top trim board and attach it to the wall studs with finish nails. Then, measure and cut each batten separately. The measurements may vary slightly.
STEP 5: Glue first, and finish with nails.
Since drywall is made from compressed gypsum, which is crumbly and does not hold nails securely—you’ll need to use construction adhesive to attach the battens. Apply a zigzag bead of glue to the back of a batten, but not so much that it oozes out when you position the batten on the wall. With the batten in place, insert a couple of finish nails at angles to attach the bottom and the top of the batten to the trim boards. Halfway between the top and bottom, where the board may gap away from the wall, insert a couple of finish nails, angling them inward just to help hold the board tightly in place as the glue dries.
STEP 6: Fill holes, and then paint.
Smooth spackle in the holes left by the finish nails and then paint both the boards and the wall beneath to create a finished look. Because the board and batten look is considered “trim work,” it’s best to use an enamel that matches the other trim in the room, rather than standard wall paint to paint the trim.
FAQs
Before you dive headlong into making your board and batten wall ideas a reality, you may still have some unanswered questions about this style of trim and siding that weren’t fully addressed above. Here are some more factors to consider about board and batten, such as which design style suits it best and what sets it apart from wainscoting.
Q: What is the difference between wainscoting and board and batten?
Wainscoting broadly refers to wall paneling that protects an interior wall’s lower portion, while board and batten is simply a style of paneling and siding. Posing a question about wainscoting vs. board and batten is kind of comparing apples to oranges. You can, however, have wainscoting in a board and batten style.
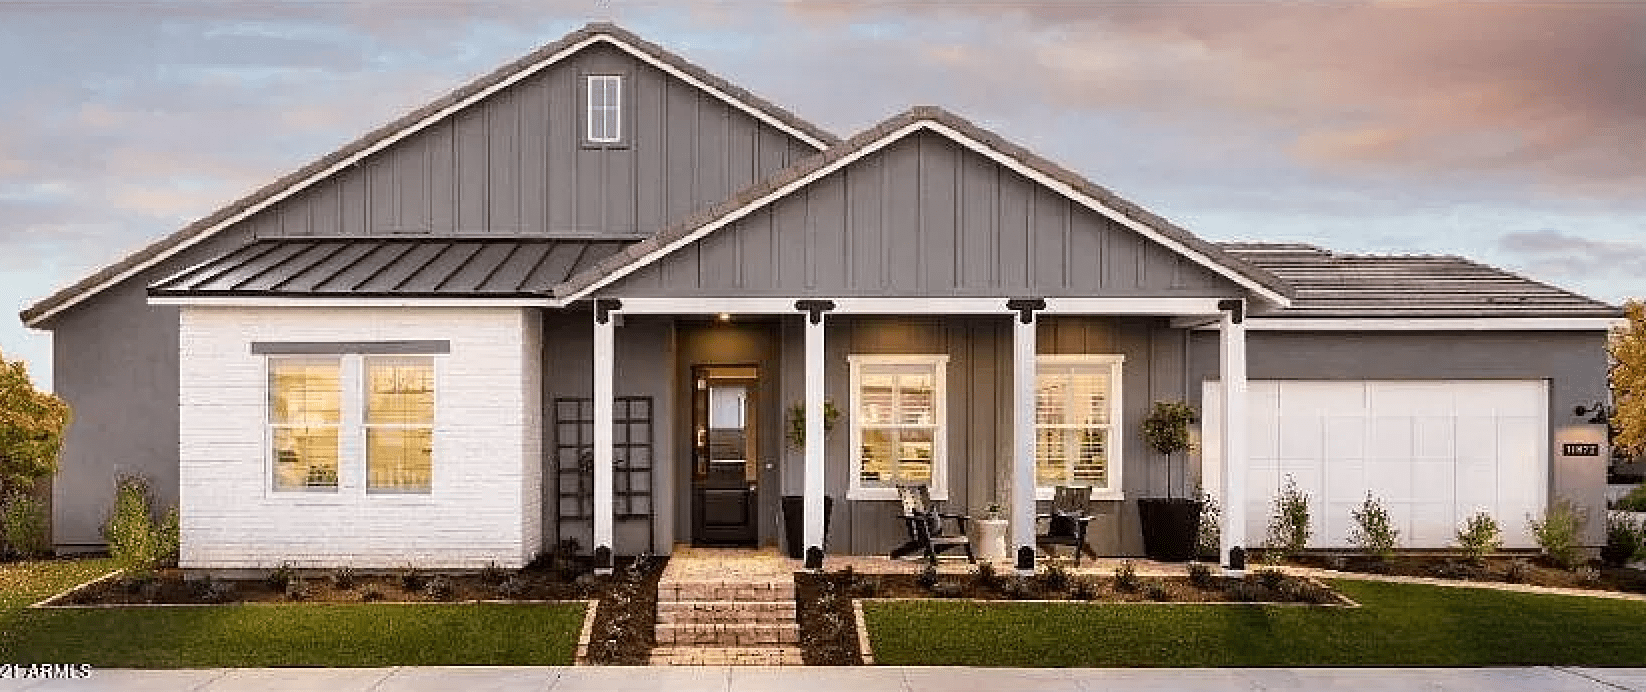
Q: Is board and batten “farmhouse” style?
When looking for home design ideas that holler “farmhouse,” board and batten siding or wainscoting definitely fits the bill. Modern board and batten mimics the look of traditional homes and barns, making it very compatible with farmhouse style.
Q: Is board and batten outdated?
Board and batten may be old, but it’s still very popular. Being directly tied to farmhouse style, board and batten remains fashionable because that trend has yet to fade.
Q: Can board and batten look modern?
Part of board and batten’s appeal is that it’s a modern farmhouse style essential. Modern board and batten can use popular paint colors and newer materials like vinyl or composite siding for an updated look.