We may earn revenue from the products available on this page and participate in affiliate programs. Learn More ›
Built-in alcoves, or recessed openings along a wall, are great for tucking away clutter or putting collectibles on display. This weekend project will require creating an inset to house a cabinet inside the wall between wall studs. DIYers can tackle the job in no time with some basic tools and a little elbow grease. Prefabricated shelves available today will make it even simpler for more novice renovators.
The first step to installing a niche is finding the perfect spot for it, which can be challenging in some rooms—like a bathroom, where there are walls full of pipes and wires to avoid. With a little planning, you can get started with these ideas for the bathroom and beyond.
RELATED: Dos and Don’ts of Arranging a Bookshelf
1. Build inset bathroom storage.
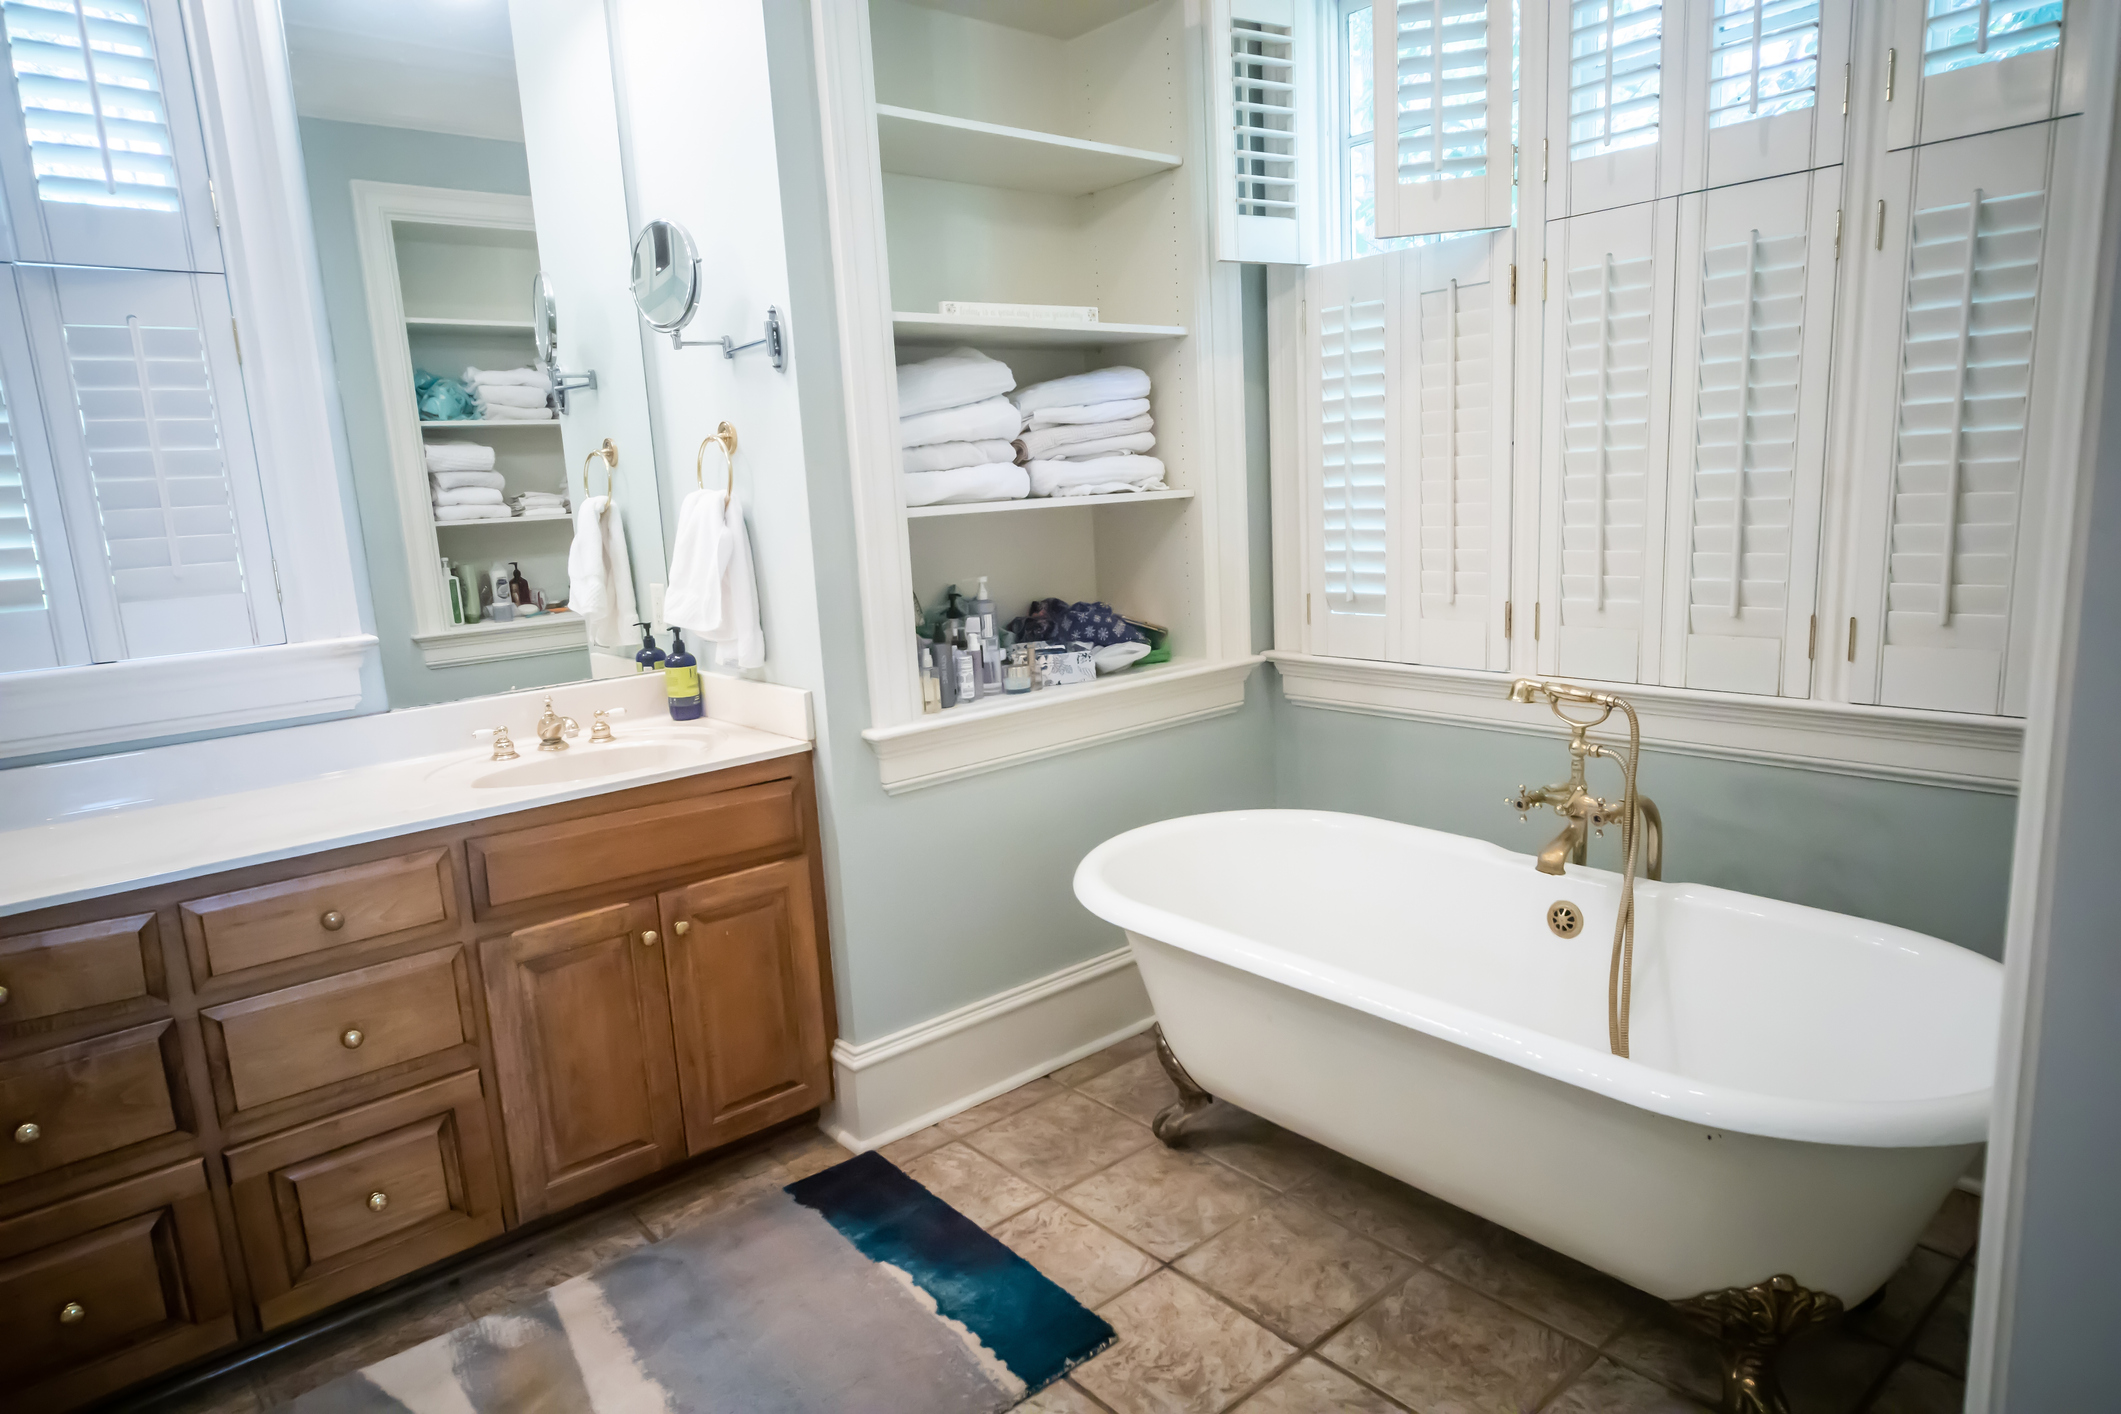
Declutter the bathroom by putting lotions and bathroom accessories on display in a recessed alcove. While it would be nice to have storage over the toilet, there’s commonly a vent pipe located there, and exterior walls have insulation, so they are best avoided. After locating the studs, starting with an inspection hole is wise to ensure proper placement. To do this, hold a drywall saw at a 45-degree angle to cut out a 3-inch square. Use a flashlight and a small mirror to get a look inside the wall. Once it’s been established as a safe spot, the next step is to use the saw to make a cutout in the drywall the size of the intended shelf.
Next, assemble the cabinet. Cut sheet board into the dimensions of the box, including the back, sides that are 3.5 to 4 inches deep, and a 1 to 2-inch lip along the outside of the shelf (to cover the drywall cut). Start by building the sides: Position the cut boards to form a square. Use clamps to hold them together, making a spot in each corner for two screws. Use a brad nailer first and then reinforce the corners with screws for added security. Attach the shelf back with wood glue, and then once it’s dry, further secure it with one screw in the middle of each side at least ⅜ inch from the edge.
For the shelf lip, use the wood glue to make the frame, and then once it’s dry, secure it to the box with glue and finishing nails on each side. If building the niche feels overwhelming, choose one of these prefabricated niches with beadboard backing at Amazon. Those who prefer to keep storage concealed may prefer a cabinet like this concealed medicine cabinet with a frame as a door. Just make sure to cut the drywall in according to the product’s dimensions.
After the box is installed, use a flat putty knife to apply wood putty to the seams of the shelf and any holes made by the finishing nails. Once the putty has dried, stain or paint the insert in the desired finish. Insert the completed box into the drywall hole and attach it to the wall studs by drilling pilot holes to add two screws on each side.
RELATED: The 12 Best Storage Products and Organizers to Declutter Your Bathroom
2. Carve out a shower niche.

Those taking on a bathroom reno can consider installing a niche in the shower for holding bathing products. Adding it later requires removing tiles from the area, so it’s best to tackle this project before finishing the walls. Creating a niche in a wet space differs from other alcoves because it must be waterproof. One of the simplest ways to add this feature is using a premade liner like this Schluter Kerdi Board shower niche at Amazon. Follow the manufacturer’s directions for installation. Once the insert is installed, add additional protection with a waterproofing membrane like this Schluter Kerdi-Band waterproofing strip at Home Depot, and simply tile over it while finishing the walls.
3. Try a small accent shelf.
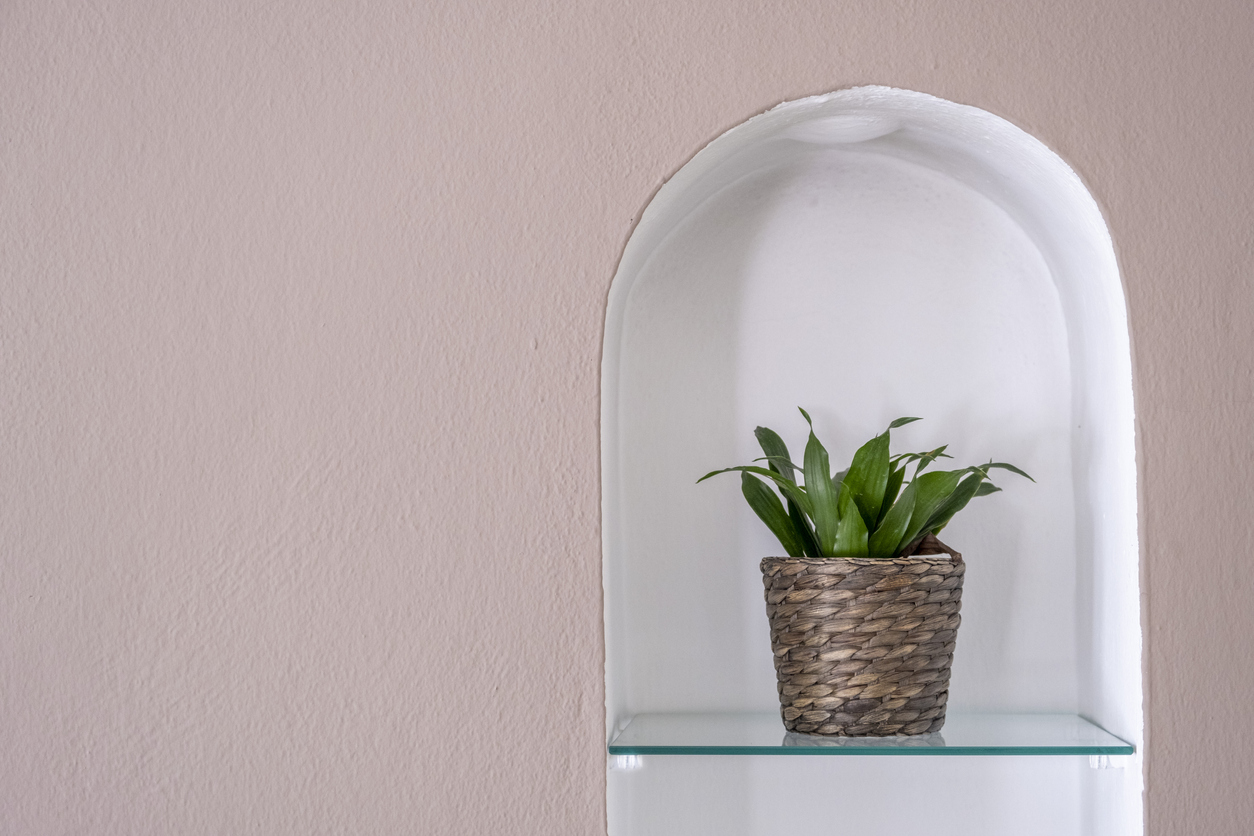
A small niche is ideal for displaying a vase of flowers or another accent piece in a hallway or entryway. Many premade versions, such as this Ekena Millwork wall niche from Home Depot, are available to suit your style. After selecting a shape and size for the niche, choose a non-load-bearing wall for installation. Get started by tracing the back of the insert onto cardboard. Next, cut out the shape and tape it to the wall, measuring to ensure the outline is parallel to the floor and spaced evenly on the wall.
Trace the cutout onto the wall and then use a utility knife to cut into the drywall and pull it toward you to remove the cutout. Secure blocking on the top and bottom with a drill and screws to hold the wall between the studs. Use adhesive caulk around the lip and on the niche where it will rest against the wall opening. Install shims if necessary and run caulk around the seam where it meets the wall.
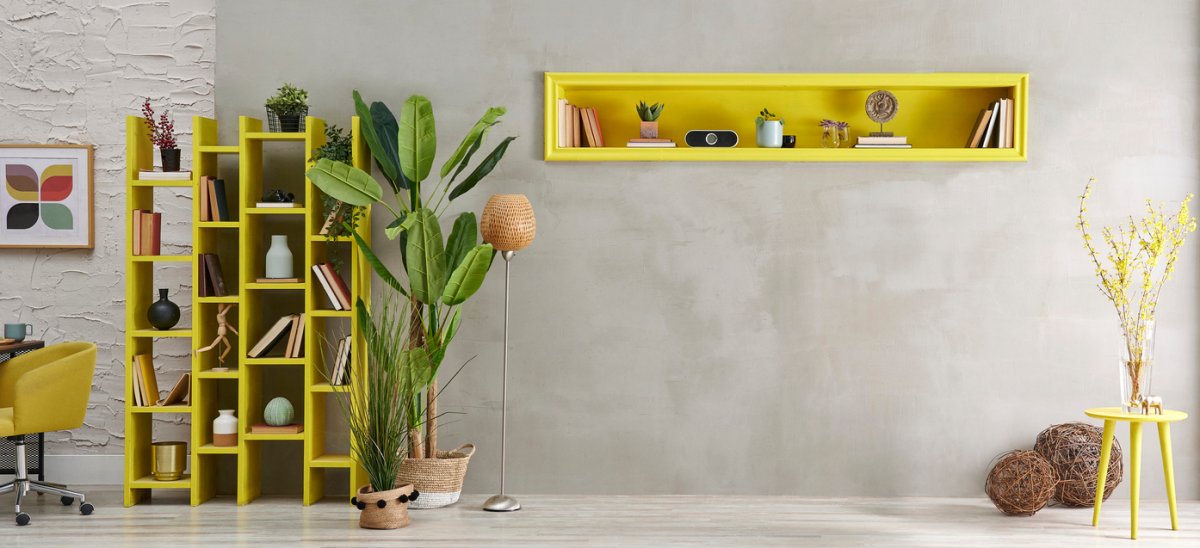
4. Add style and storage to living spaces.
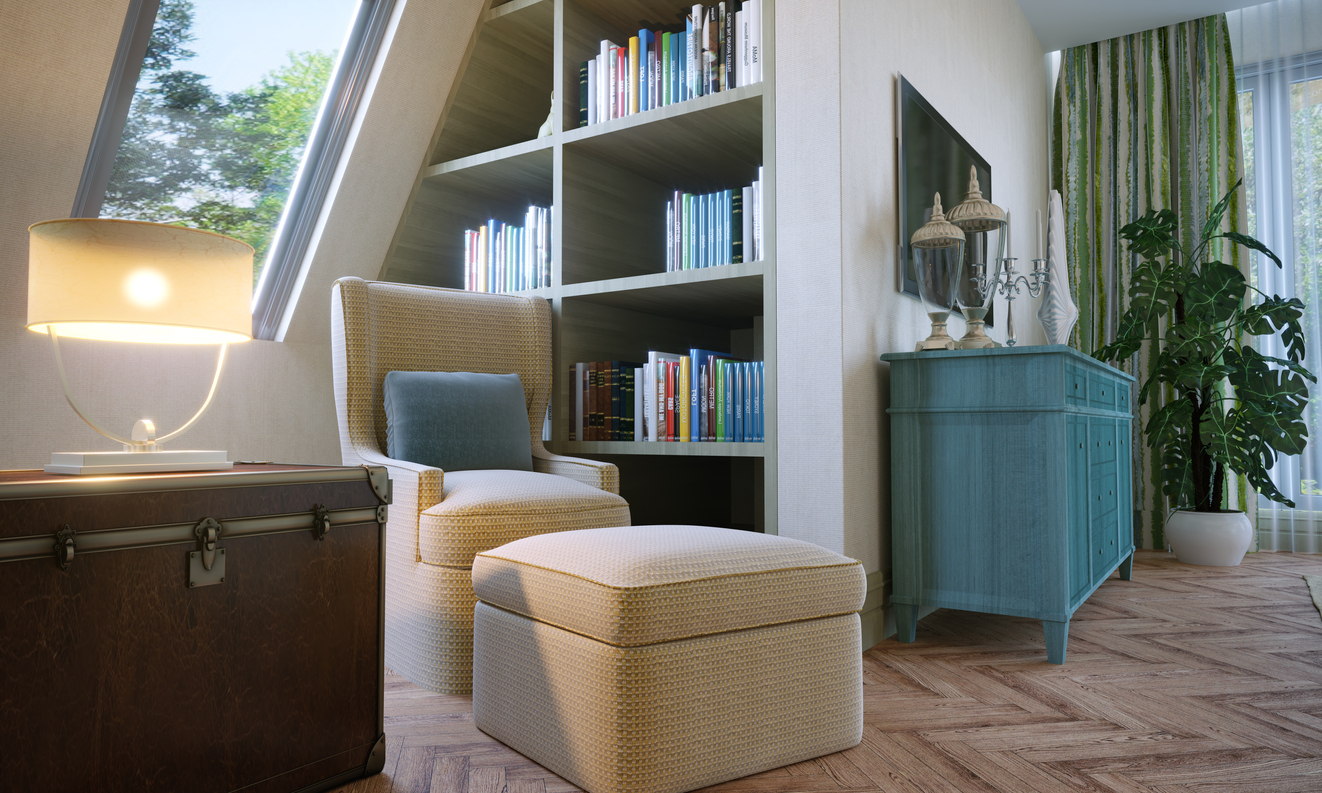
Building shelves into the wall can add space-saving style and storage for collectibles. Consider finishing these niches with wood trim around the opening or overlay the back and shelf surface for added dimension. Choose multiple boxes to act as shelves inset into the wall or a tall, narrow set that might serve well as a bookshelf. Build your own, or choose a premade product like this Fox Hollow Furnishings recessed wall niche at Amazon. The installation here would be very similar to the bathroom installation directions detailed above.
RELATED: 15 Old House Features We Were Wrong to Abandon