We may earn revenue from the products available on this page and participate in affiliate programs. Learn More ›
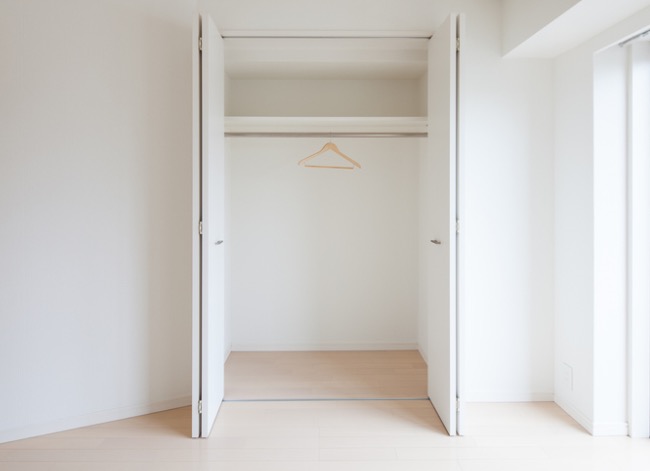
Few of us ever seem to have enough storage. Freestanding wardrobes are often expensive, never seem to be arranged how we would like, and seldom match the decor.
Another solution is a reach-in wall closet, built to precise custom requirements. It can make the best possible use of the available space, and you can save a bundle if you do the job yourself. This article gives simple, start-to-finish instructions while providing the flexibility of custom adjustments necessary to suit any home.
The instructions can be modified to suit a closet built into a nook or alcove or to span across part or the whole length of a wall. While the plan below assumes stud walls, it will still work perfectly well with brick or block walls, and different fasteners will need to be used at the ends.
The closet we are building uses stud-partition techniques that are strong and offer proven success in a variety of different situations. Instructions can be adapted to almost any size room, so while we list materials, actual quantities will need to be worked out for each specific variation on this project. The math is straightforward, and all supplies are readily available from hardware or home improvement stores.
Tools & Materials
Bobvila.com may earn a commission from purchases made through these links.
- Cordless drill driver
- Drill bit set
- Miter saw
- Handsaw (may be needed)
- Tape measure
- Level
- Framing square
- Utility knife
- Stud finder (optional but recommended)
- Painter’s tape
- 2×4 lumber
- ½-inch drywall
- 2½-inch drywall screws
- 2½-inch wood screws
- ¼-inch by 4-inch drywall hollow wall anchors (toggles)
- Drywall corner bead (may be required)
- Closet doors (optional)
- Internal storage system (optional)
BEFORE YOU BEGIN
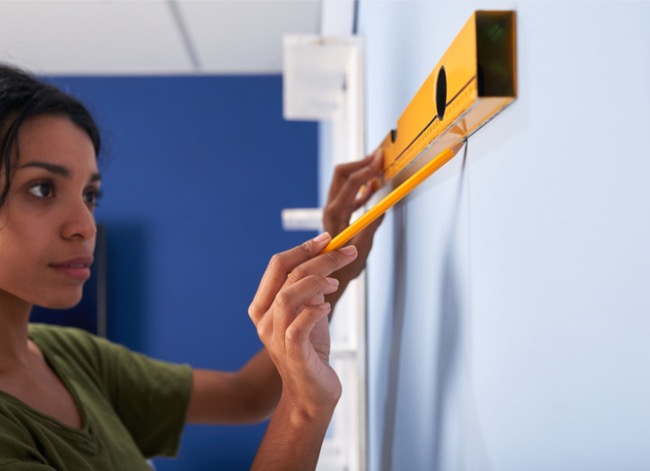
Careful planning is key. There’s an old carpenter’s adage that you should measure twice and cut once. That is equally true when thinking about how to build a closet. Measure and check everything.
Remember to take into account the thickness of lumber and drywall. Use painter’s tape temporarily stuck to walls, floor, and ceiling to help visualize and lay out the closet depth, width, door positions, etc.
It’s easier to choose the closet doors in advance so you can build the frame to suit. Where practical, it’s also a good idea to choose the internal storage system beforehand.
STEP 1: Mark out the closet, and fit the wall plates.
Remove existing tile, flooring, or carpet from the closet area. Mark out the position of the bottom, then the sides, and then the top. Take great care. Any errors here tend to become magnified as construction progresses. Double check every layout line and measurement.
Using a miter saw or handsaw, cut 2x4s to length for the top and bottom wall plates (the horizontal load-bearing framing). If the closet is being built into a small nook, a full-length floor plate (a board that lies flat on the foor and supports the framing) may not be required. On longer closets, doors usually mean that sections of the bottom plate need to be removed. This is best done after the main structure is assembled and rigid.
Screw the bottom plate to the floor. Mark where the doors go, and put screws on either side, but not through the part of the plate that will need to be removed for the door opening. If possible, screw the top plate to ceiling joists (use a stud finder to locate them). If this is not possible, hollow wall anchors will need to be used. Screws into drywall alone do not provide a strong enough connection. Hollow drywall anchors (toggles) open up behind the drywall, spreading the load across the surface and providing the necessary holding power.
STEP 2: Frame the walls and headers.
Cut full-height studs for the end walls, and either screw to joists or use drywall anchors. For corner pieces or central dividers, screw together two 2x4s with scrap blocks between them to provide a wider stud. Toe-screw (meaning to drive a nail at a roughly 45-degree angle) from both sides near the ends into the floor and top plates. Fit additional studs as needed either to support doorframes or drywall. Studs should be no more than 16 inches apart.
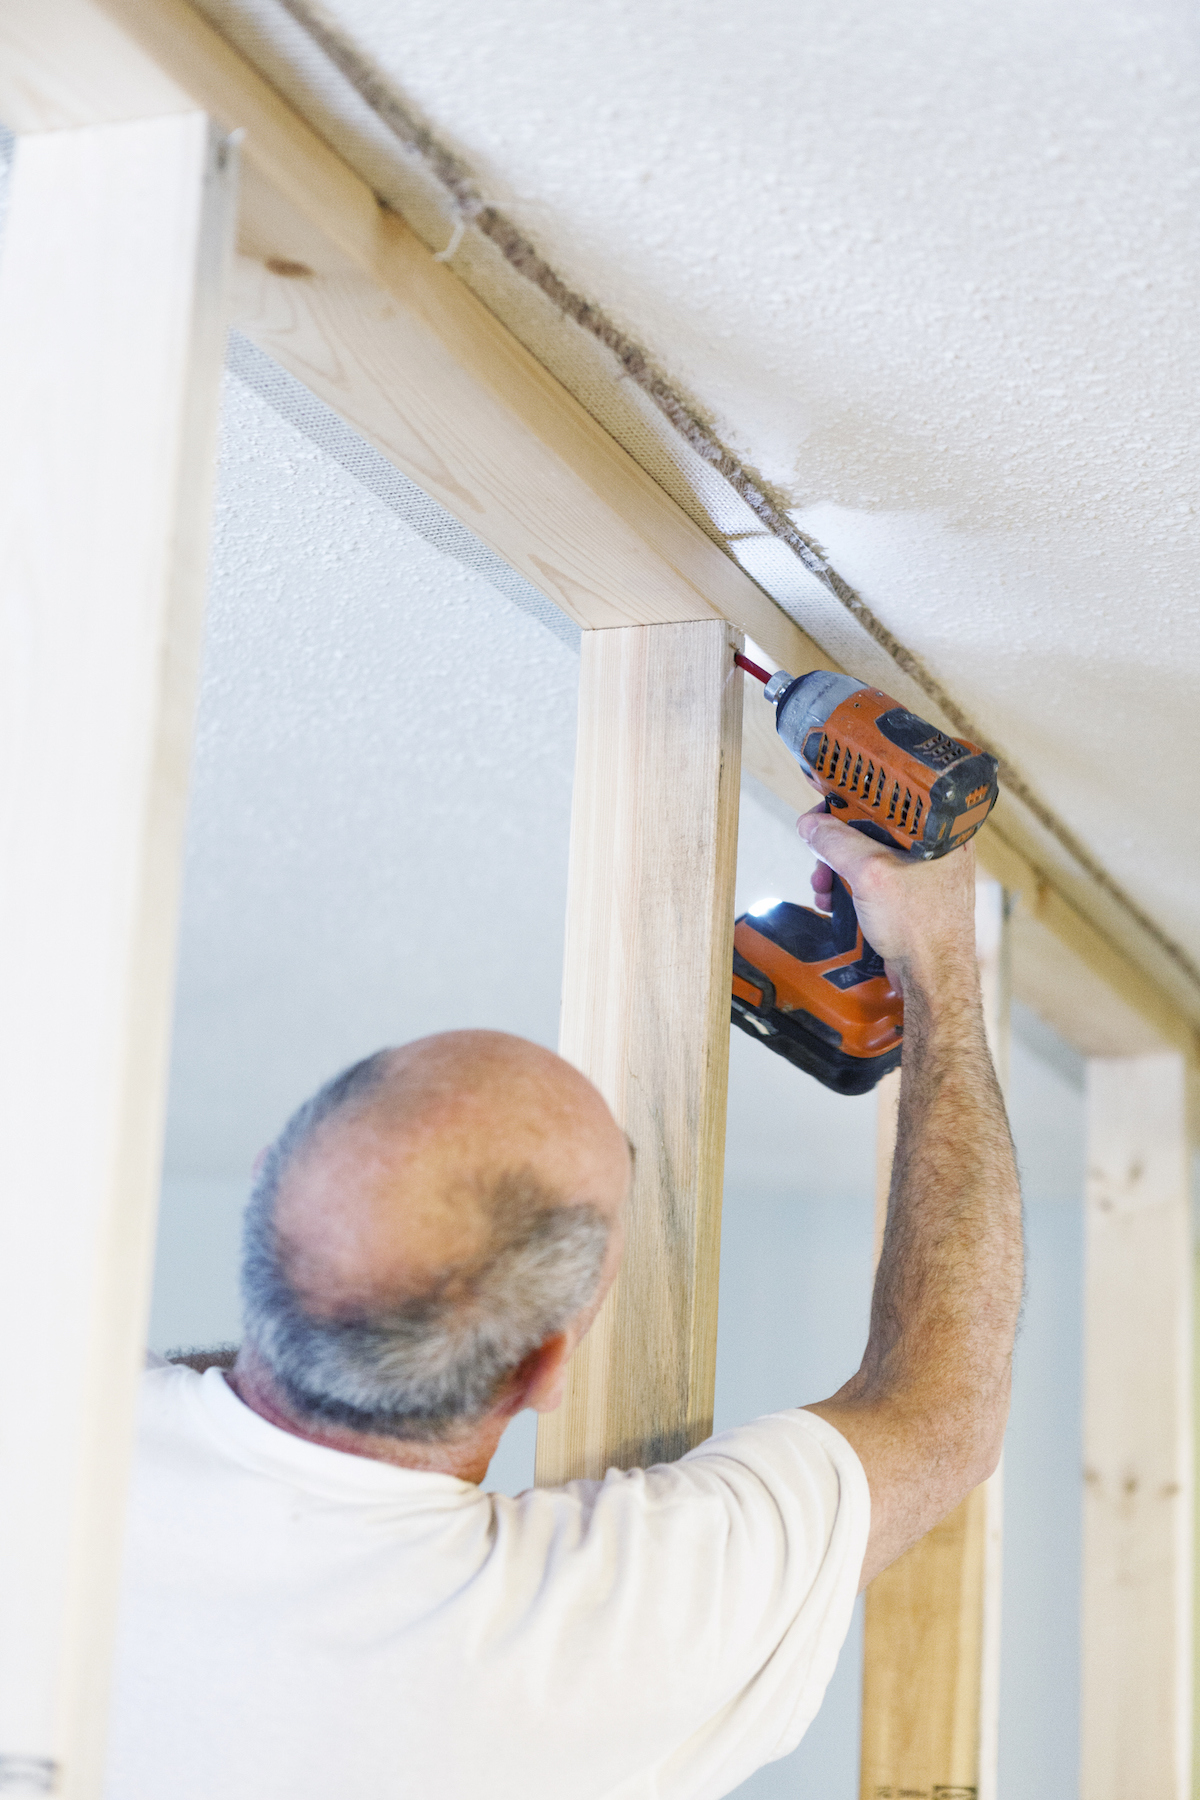
Measure the height required for the doors and cut trimmers to fit the upright studs. These will support the ends of the headers, which are the horizontal lengths of lumber above the doors. Cut the door headers to sit, and screw in place. Support pieces called “cripples” or “cripple studs” can now be cut to fit between the top plate and door header. Space them 16 inches apart and toe-screw into place.
Once the structure is secure, use a handsaw to cut through the bottom plates where the doors will fit, and remove this material.
Related: 25 Closet Organization Ideas for Saving Space and Sanity
STEP 3: Install drywall, corner bead if necessary, and then tape and fill.
Once the frame is in place, it’s time to add the drywall. Some people use a handsaw to cut drywall, and if cutouts are needed it’s a good method. However, for straight lines there is a quicker and more accurate method used by pros: Score a line through the back side with a utility knife, deep enough to cut partway into the core. Snap the board, then cut through the paper on the front. Change the utility knife’s blades frequently in order to keep achieving a clean cut.
Screw drywall to the studs, placing screws about 12 inches apart and sinking them just below the surface. Start with the closet divider if fitted, then do the outside. If the closet doesn’t fill the wall entirely, you will have an outside corner that needs to be reinforced with a corner bead, which will need to be taped and finished.
Related: 20 Beautiful Walk-In Closet Ideas for Organization
STEP 4: Fit the doors and trim.

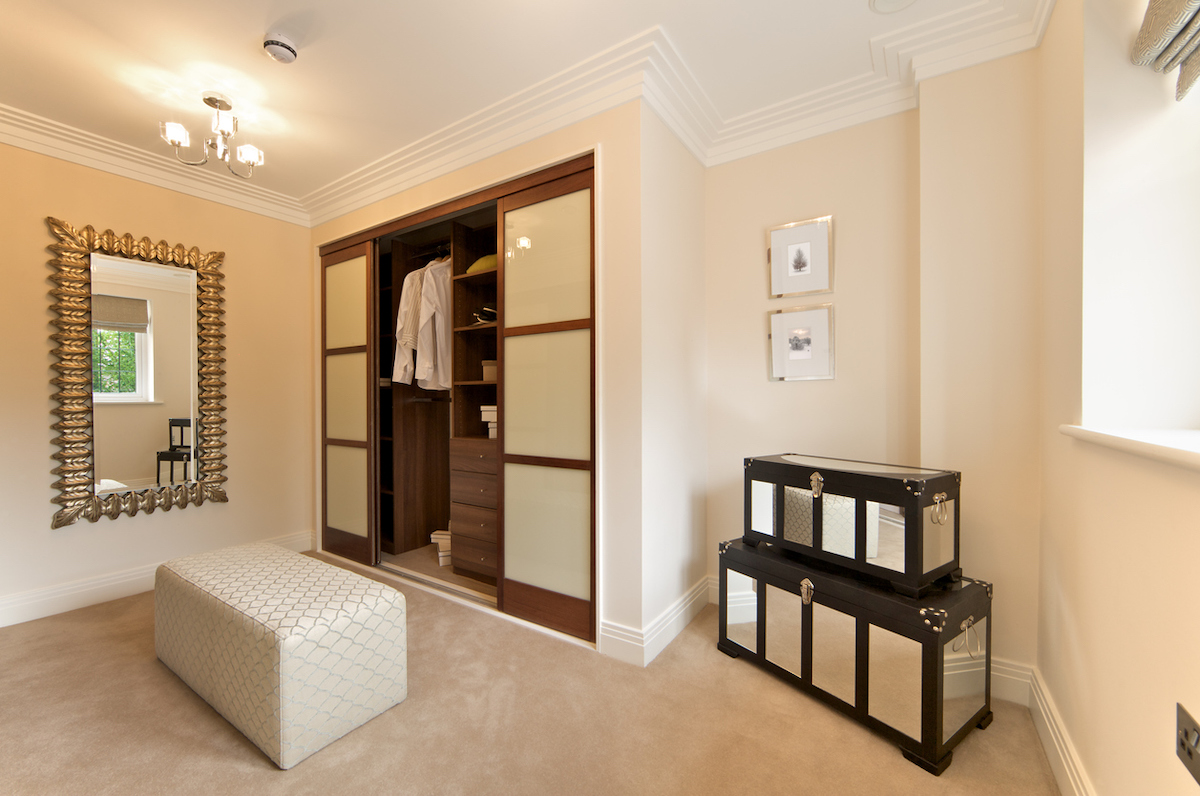
There are three distinct types of closet door: standard, bifold, and sliding. Each needs different considerations when fitting, which is why we recommend choosing the ones you prefer in the planning stage.
Sliding doors are the easiest to fit. Many only require runners at the top that the doors hang from. However, when open they still take up considerable space, so they don’t work well on narrow closets. Bifold doors are a popular alternative and often work on a similar principle. Most come with comprehensive instructions.
Standard single or door pairs can be challenging, particularly fitting hinges. Suitable sizes can be difficult to find, so prehung doors are easier. The hinges are already fitted so the doorframe just needs to be fixed to the opening. Adjustments are made using thin shims, which are then concealed by trim fitted around the doorframe.
STEP 5: Finish with rods, shelves, and storage accessories.
Those with the appropriate DIY skills may wish to create their own closet organizers to fit within the closet interior, though a range of storage accessories like this highly rated Rubbermaid Kit available at Amazon are affordable and versatile.
When mounting closet rods or shelving systems, the same principles apply as when fitting studs. If you know where existing studs are behind the drywall, you can screw into them. If you don’t, hollow drywall anchors should be used. By the time coats, shoes, and other items have been added, the storage system can be carrying considerable weight. If it isn’t securely anchored to the wall, the whole thing might pull away.
Why not build a closet yourself?
The steps above provide a tried and tested method for adding a closet to a variety of spaces. The principles remain the same for a variety of closet sizes; each custom closet is just a question of scale.
Time spent planning is the best investment you can make for the success of this project. Although the size of the closet might seem intimidating at first, it really is just simple steps with basic tools.
We can all be guilty of setting unrealistic deadlines, and mistakes happen when we rush to get a job finished. So give yourself plenty of time to accomplish the project. Not only will the result satisfy your storage needs, but it will also give you a great sense of achievement.
Related: 12 Ways You May Be Wasting Closet Space