We may earn revenue from the products available on this page and participate in affiliate programs. Learn More ›
Use a Cereal Container as a Trash Can
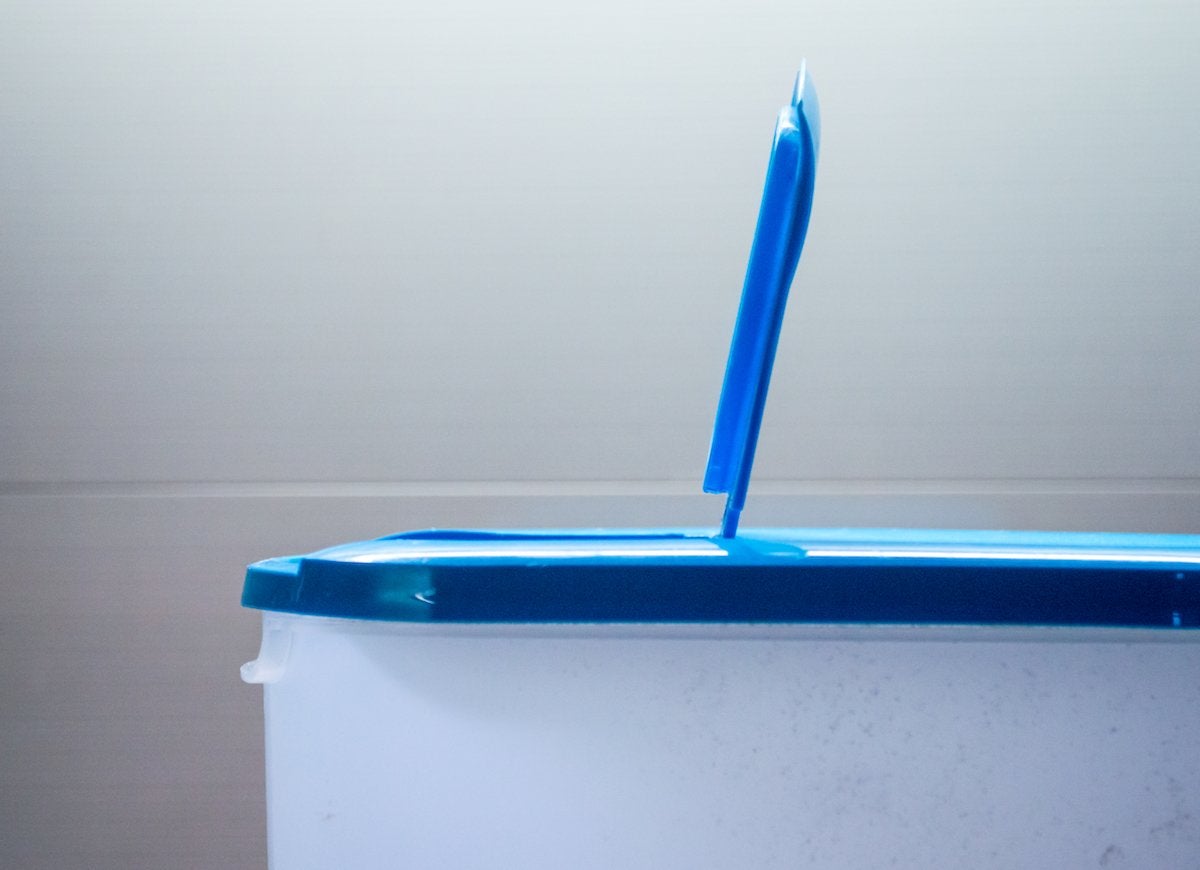
A plastic cereal container is just small enough to make the perfect trash can for your car. The flip-top opening ensures that whatever you throw away doesn’t end up all over the floor after you make a sharp turn. Just line the container with a plastic grocery bag, and you’re ready to go—and throw—whenever you like.
Gauge Your Garage Parking with a Tennis Ball
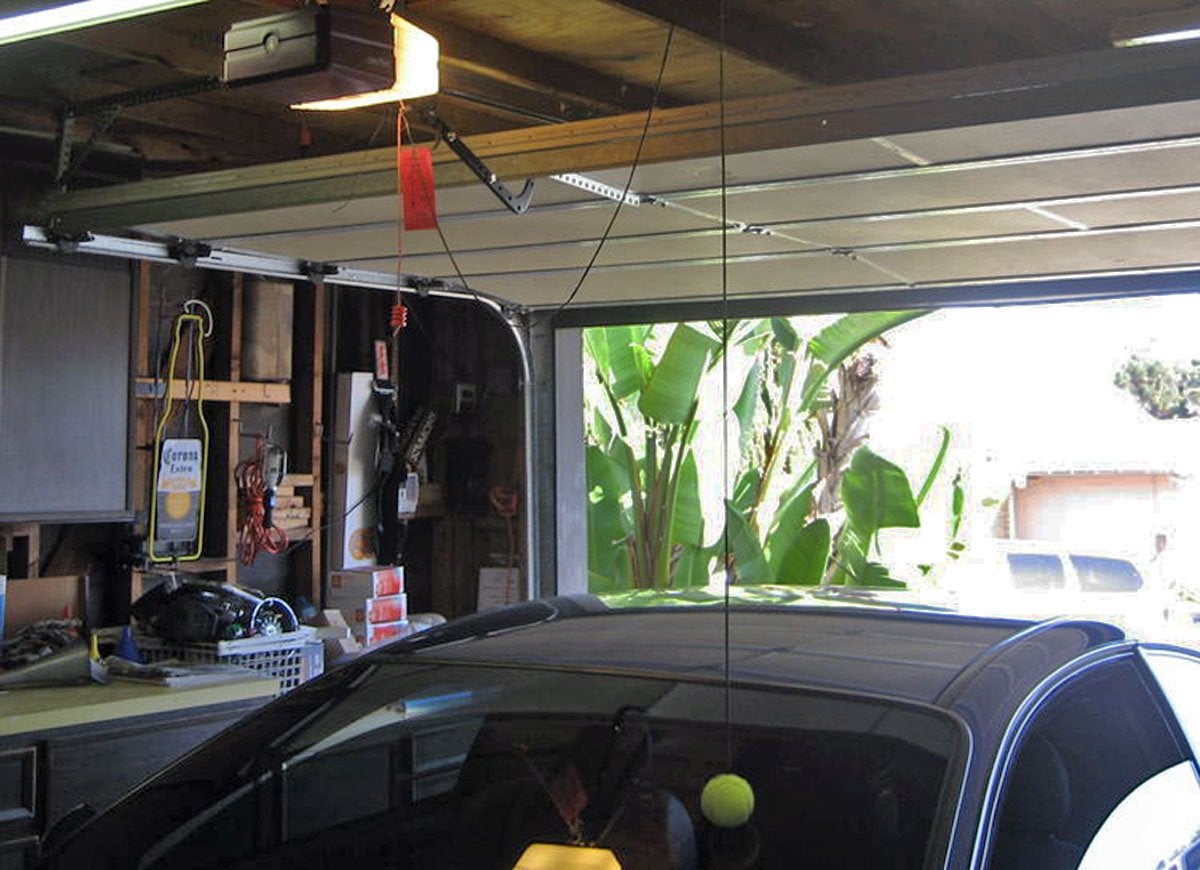
If you have trouble gauging how far you’ve pulled into your garage, use a string to hang a tennis ball on the ceiling so that it rests on your windshield when you’ve driven in far enough. You’ll never have to guess again.
Download a Parking App to Find Your Car

Now where did you park that car? Oh boy, here we go again! Forgetful parkers rejoice: There are apps to help you instantly locate your ride so you don’t have to waste time strolling through the parking lot with your key fob in hand. There are several apps to choose from, all of which will keep track of where you’ve parked your car and lead you back to it without fail. Just like breadcrumbs, but better.
Keep Cup Holders Clean with Cupcake Liners

Dust, crumbs, and all sorts of stickiness can accumulate in a car cup holder, which is perhaps the most notoriously difficult to clean corner of any car. Luckily, there’s a trick that can keep your cup holder clean without the hassle. Simply drop a paper cupcake liner into the bottom of the cup holder. When it gets dirty, just replace it with a fresh one.
De-Ice a Frozen Lock with Hand Sanitizer
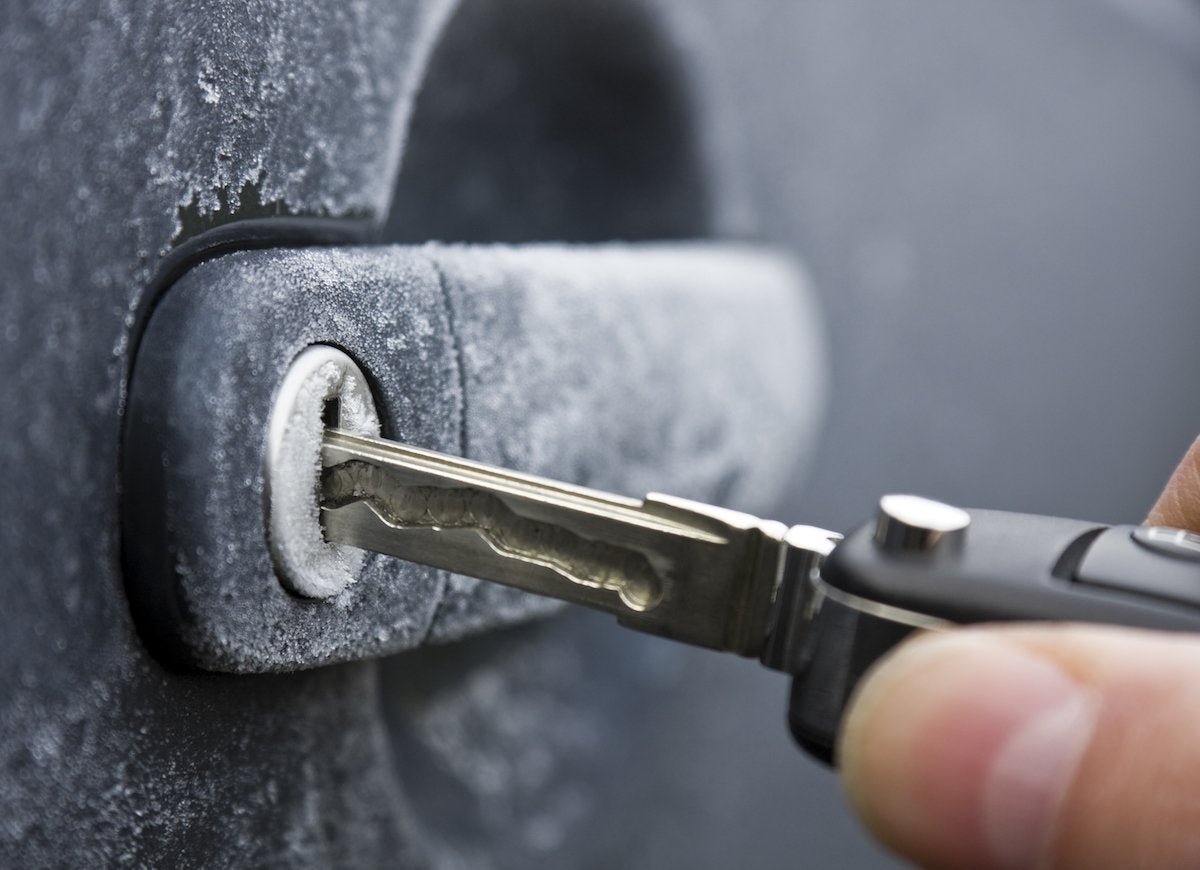
Perhaps you already keep hand sanitizer in the car for those times when you need a quick cleanup on the go. Well, here’s a new use for that handy cleaner: If your lock has frozen shut, squeeze a little hand sanitizer onto your key before sliding it into the lock. The alcohol in the cleaner will melt the ice, letting the key turn easily.
Warm Up Your Windshield Wipers
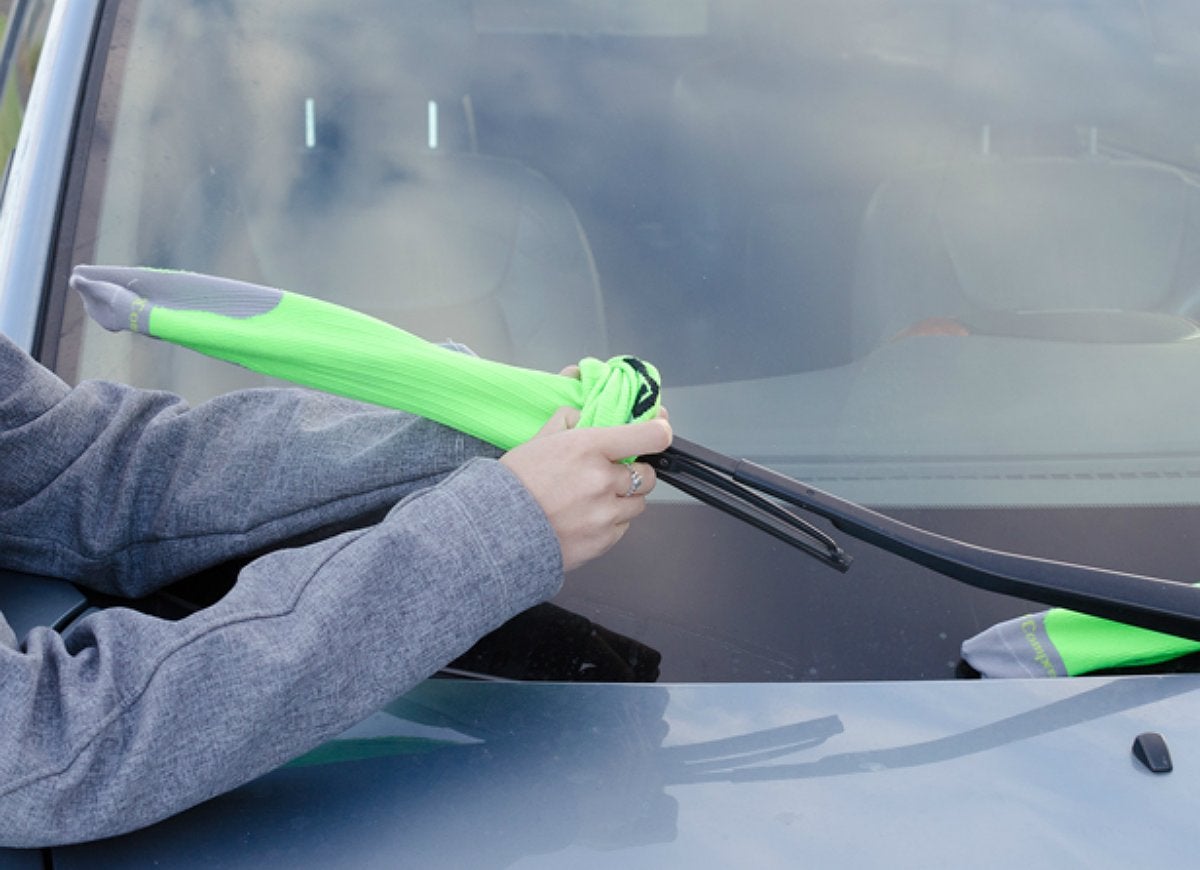
Never again waste precious time (and risk arriving late to work) trying to pry icy wipers from the windshield. Go on the defensive with a pair of socks. Keep a pair in your car during the winter, and when it looks like foul weather’s coming, put them over your windshield wipers at night to keep them from freezing and sticking.
Hang Hooks to Keep the Floor Clear
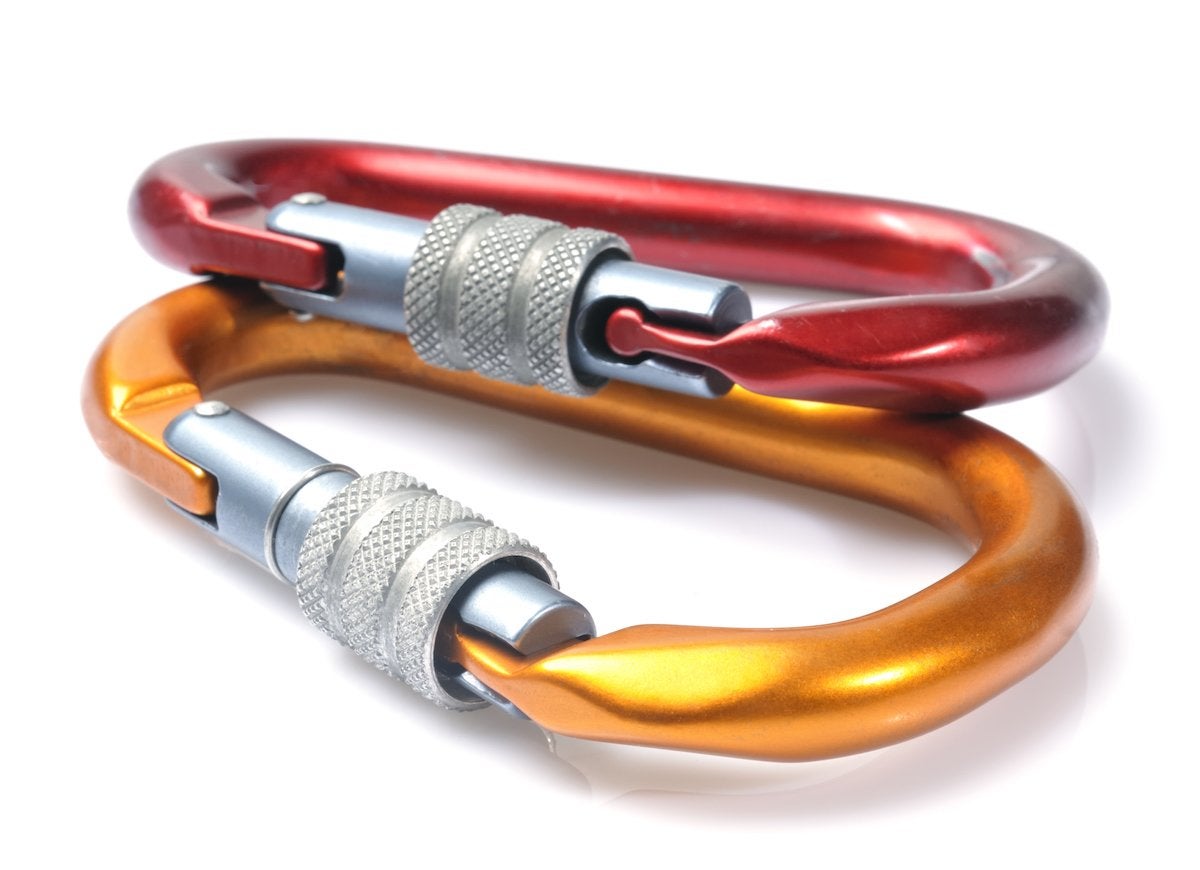
We could all use a little extra storage space in the car. Here’s a low-budget trick: Put a carabiner on the headrest supports of the front seats so you can hang your bags, umbrellas, and other whatnots. Now, all your essentials will be out of the way yet within easy reach.
Use Tinted Window Clings as Movable Shades
Every driver knows there’s that weird time of day when the sun shines in through the windshield at just the right angle so that car visors can’t swing or tilt far enough to block the blinding rays. Stop squinting and place a piece of tinted window cling in just the right spot to shield your eyes from the sun. This trick really works—after all, it’s what airline pilots do.
De-Fog Your Headlights with Toothpaste

As headlights get older, the plastic covers oxidize, which causes them to become yellow and foggy. Restore them to their former glory by rubbing some toothpaste (one with baking soda works especially well) onto the headlights, then give them a good scrub with an old toothbrush. After the toothpaste has dried, spritz with some water and buff the paste off with paper towels.
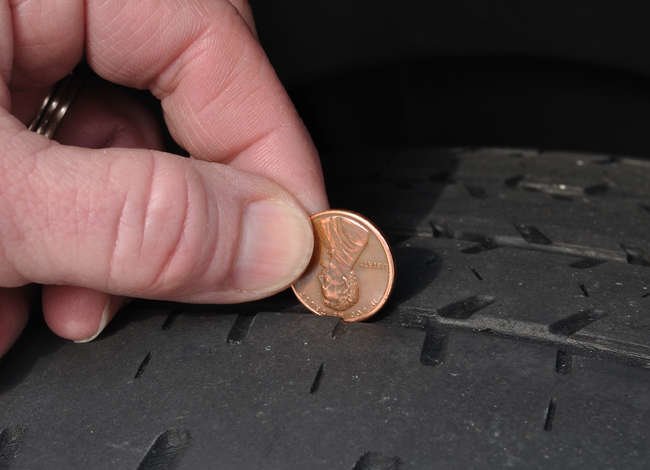
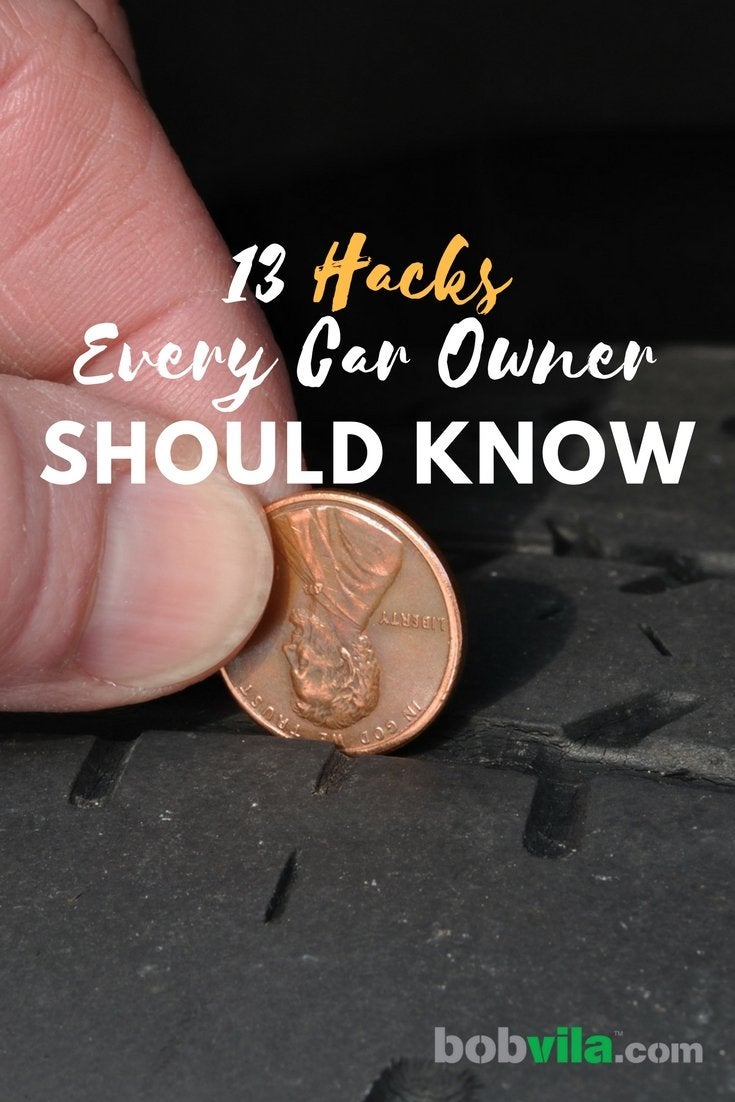
Give Your Tires the Penny Test

Do you think it may be time to replace your tires? To find out, take a penny, and place it headfirst into the tread groove. If you can see the entirety of Lincoln’s head, your tires are too worn and need to be replaced. If part of his head is covered, you have more than 2/32 of an inch of tread depth left and can wait on new tires.
Remove Sticker Residue with Newspaper

Whether you’re dealing with a parking permit or a bumper sticker, when it’s time to peel it off, the sticker leaves behind a gummy mess. The next time you’re facing down a sticky spot, place a piece of wet newspaper on top of the residue and let it sit for about 15 minutes. When you come back, the glue will have softened up and will be much easier to wipe away.
Protect the Doors with Pool Noodles
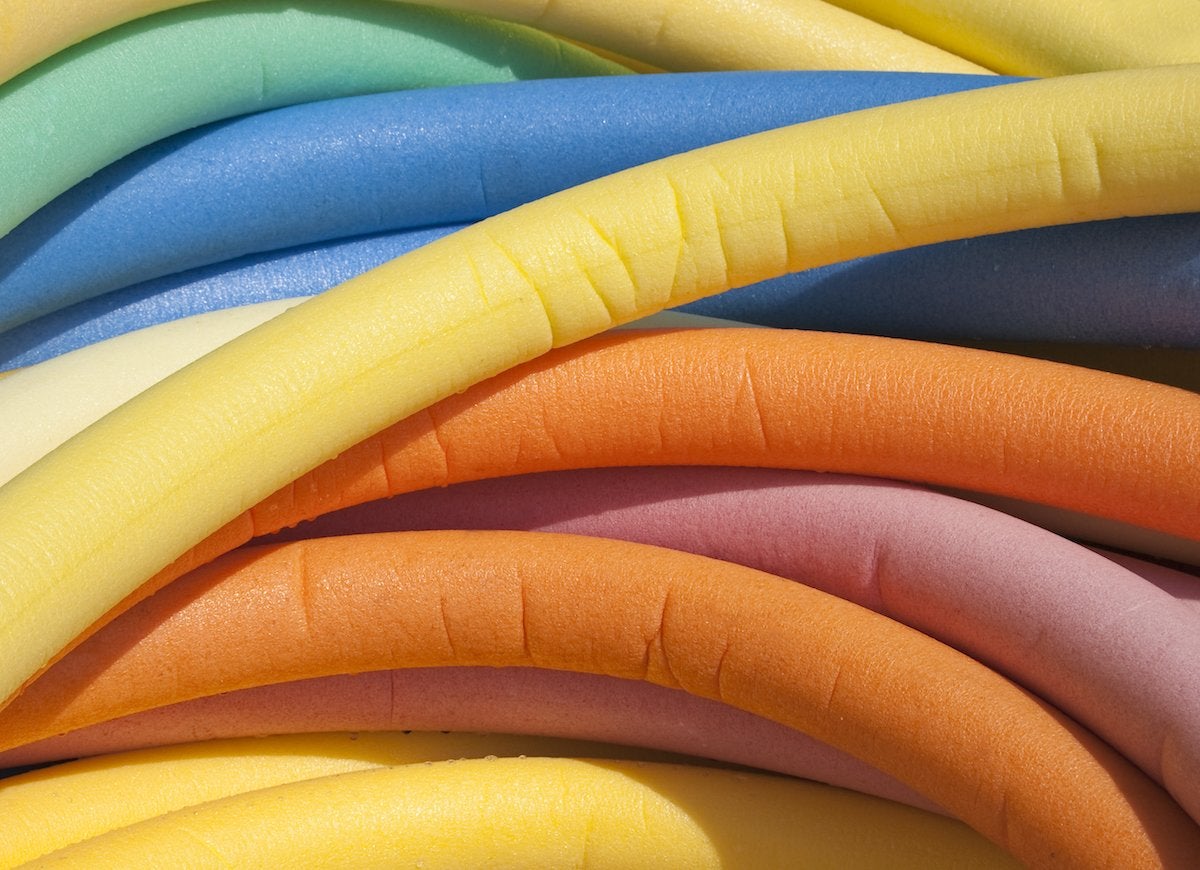
In a tiny garage, trying to park the car without causing damage can seem like an exercise in futility. Even if you do manage to pull in without bumping your fender, you have to worry about scratching your car doors when you open them to exit the vehicle. You can park without a care, though, if you cut a pool noodle in half and screw it to the wall. The soft bumper will protect your doors from dings—provided you can squeeze the car into the garage in the first place.
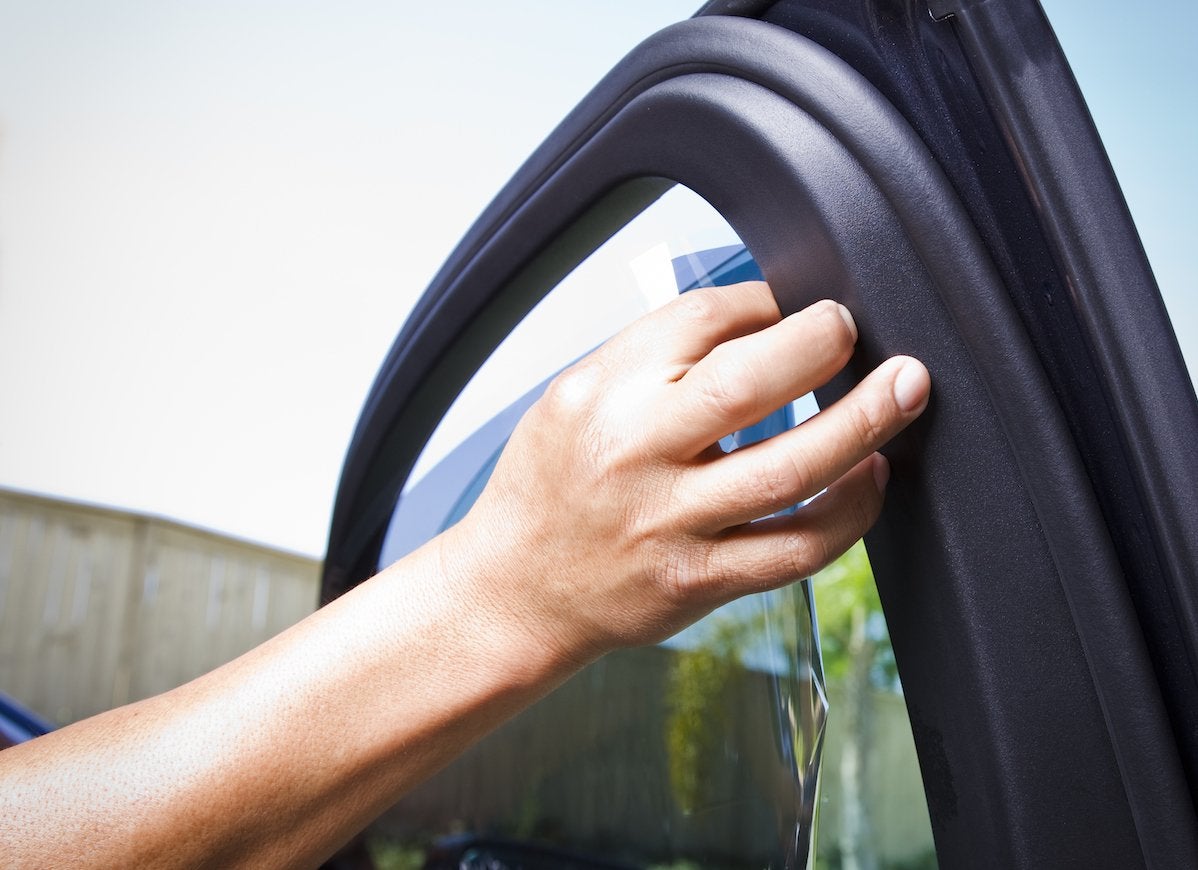
Keep Rubber Resilient
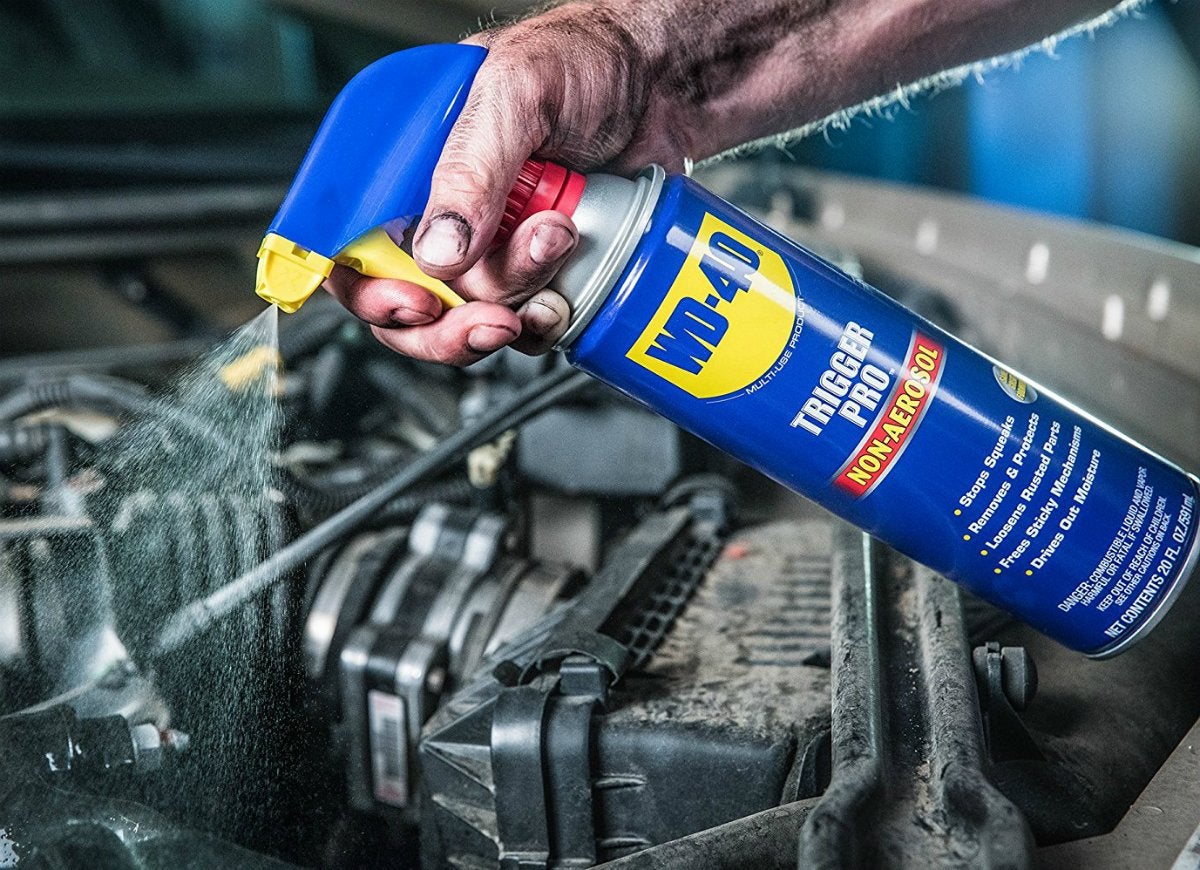
When the weatherstripping around your car doors starts to fail, so does its protection against the elements. Fortunately, you can put off replacing seals by lubricating with WD-40 once a month to counteract the drying and cracking that happens in extreme temperatures. Plus, the new nozzle on the Trigger Pro® bottle applies the time-tested formula directly where you need it without the typical aerosol overspray, making this one auto job that won’t create a mess.
Cruise Control
You don’t have to be a car mechanic to keep your automobile in top-shape. These hacks will help you maintain your car and let you know when it is time to take it in for a tune-up.