We may earn revenue from the products available on this page and participate in affiliate programs. Learn More ›
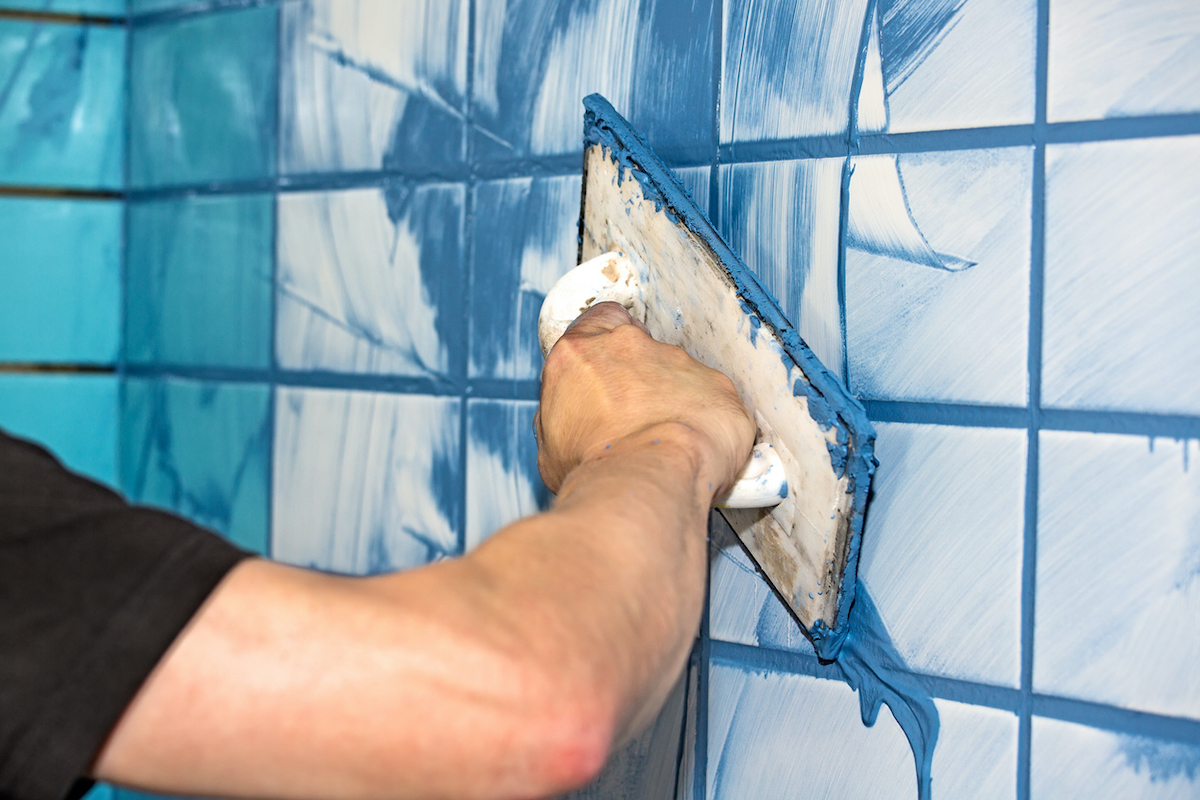
Grout, or the filler that holds tiles in place, tends to be an afterthought. But there’s good reason for homeowners to give more thought to this material: When grout is not clean, smooth, and uniform, it detracts from the overall look of your finished tile project. The key to good grout lines lies in mixing grout correctly so that it spreads easily and produces even lines between tiles. If you can achieve this, you’ll get something close to a professional-looking finish.
Grout comes in several varieties; we will focus on mixing sanded and unsanded grout. If the joints between the tiles are less than ⅛-inch thick, unsanded grout will be easier to use and adhere better in those narrow spaces. For wider joints of ⅛-inch to ½-inch, go with sanded grout for best bonding and less shrinkage.
Also, bear in mind that many tiling pros prefer to work with grout with a latex additive, claiming it helps grout dry to a harder final product and resist staining. For bathrooms, consider grout that includes a fungicide to help resist mold growth.
Once you have chosen the right grout for your project, you’re ready to mix.
Table of Contents
- 7 Steps to Mixing Grout Correctly
- Step 1: Select the right grout for the job.
- Step 2: Select a grout additive , if you need one.
- Step 3: Add water to the grouting powder per the manufacturer’s instructions.
- Step 4: Tilt the mixing bucket and stir with a grout-mixing knife.
- Step 5: Adjust the grout’s consistency by adding powder or water.
- Step 6: Let the grout slake for up to 10 minutes.
- Step 7: Use a grout knife to mix the grout thoroughly again.
- Final Thoughts
- FAQs
Tools & Materials
Bobvila.com may earn a commission from purchases made through these links.
7 Steps to Mixing Grout Correctly
Step 1: Select the right grout for the job.

Sanded Grout
In its dry state, sanded grout is a mixture of cement, filler particles, pigment, and sand. Sanded grout is recommended for joints larger than ⅛ inch because the sand makes it better able to remain in the joints, and it is less likely to crack as it cures.
Because this type of grout contains sand, it offers a coarser, grainy texture and appearance. Sanded grout may scratch delicate surfaces, such as marble, and may not be desirable for use with polished or honed tile. Regardless of what you’re tiling, you’ll want to clean grout off the surfaces of tiles before it has time to harden. Once cured, which is usually about 72 hours after installation, sanded grout should be sealed to prevent staining and discoloration.
Unsanded Grout
The composition of unsanded grout is similar to that of sanded grout, minus the sand, of course. While this type of grout has less strength and binding power than sanded grout, it yields a smoother texture and, without the bulk of sand, works better for smaller joints, those less than ⅛-inch thick. It’s also best for use with scratch-prone tile material, such as marble tile and most mosaics, according to Austin, Texas-based tile setter Sean Chavoustie.
Unsanded grout is stickier and while it may require a little more effort to push into the joints between tiles, you’ll want to ensure every gap is thoroughly filled to prevent the grout from collapsing.
Also available in a wide range of colors, unsanded grout cures in about 72 hours, like sanded grout, and after that period should be sealed for protection against splatters and stains, says Chavoustie. It costs about the same as sanded grout, he adds.
Step 2: Select a grout additive, if you need one.
Sealant Additives
Sealant is a pre-mixed, ready-to-use liquid that is combined with grout powder in lieu of water. Sealant is designed to make grout joints less susceptible to moisture penetration, protecting the grout against stains, mold, and mildew and taking the place of secondary sealants typically applied post-installation.
Grout sealants also improve the consistency of the grout’s color while also preserving the color. Some sealant additives also say they strengthen the grout.
Note that there are sealants specifically designed for use with sanded and unsanded grouts, and you’ll want to check compatibility between the sealant you’re considering and the grout you’re using. Some products don’t work well together, according to Chavoustie
Sealant additives are typically stable in freezing/thawing conditions.
Colorant Additives
If none of the readily available grout colors are to your liking, you can select white grout and customize it with any of a number of grout colorants on the market.
These powdered pigments simply mix in with your grout and water. You can adjust the amount of pigment you add to get the desired color, keeping in mind that the grout will dry a bit lighter than what you see when the grout is wet, according to Chavoustie. Or follow the manufacturer’s guidelines for ratios of pigment to grout powder to get a more exact match.
To boost the glam factor of the space you’re redecorating, consider adding glitter—in any of a variety of shiny shades—to your grout mixture, or perhaps pigments that glow in the dark.
Latex Additives
Latex additives are mixed into grout to improve workability, flexibility, adhesion, impact strength and freeze-thaw resistance. These additives can also increase bond strength and make the grout cure harder, says Chavoustie. Another benefit is making the tile joints less susceptible to water penetration.

Tried-and-True Advice
“If you’ve never tiled anything, it’s useful to do a test run with a group of about six small tiles on a scrap backer. Go through all of the steps. You’ll be thankful for the practice when you start the real tile job, as there is some time pressure when setting tile and mixing grout.
Another tip: Don’t forget to have a small bucket of water on hand to clean the knife while spreading the grout.”
—Theresa Clement, Contributing Writer and Editor
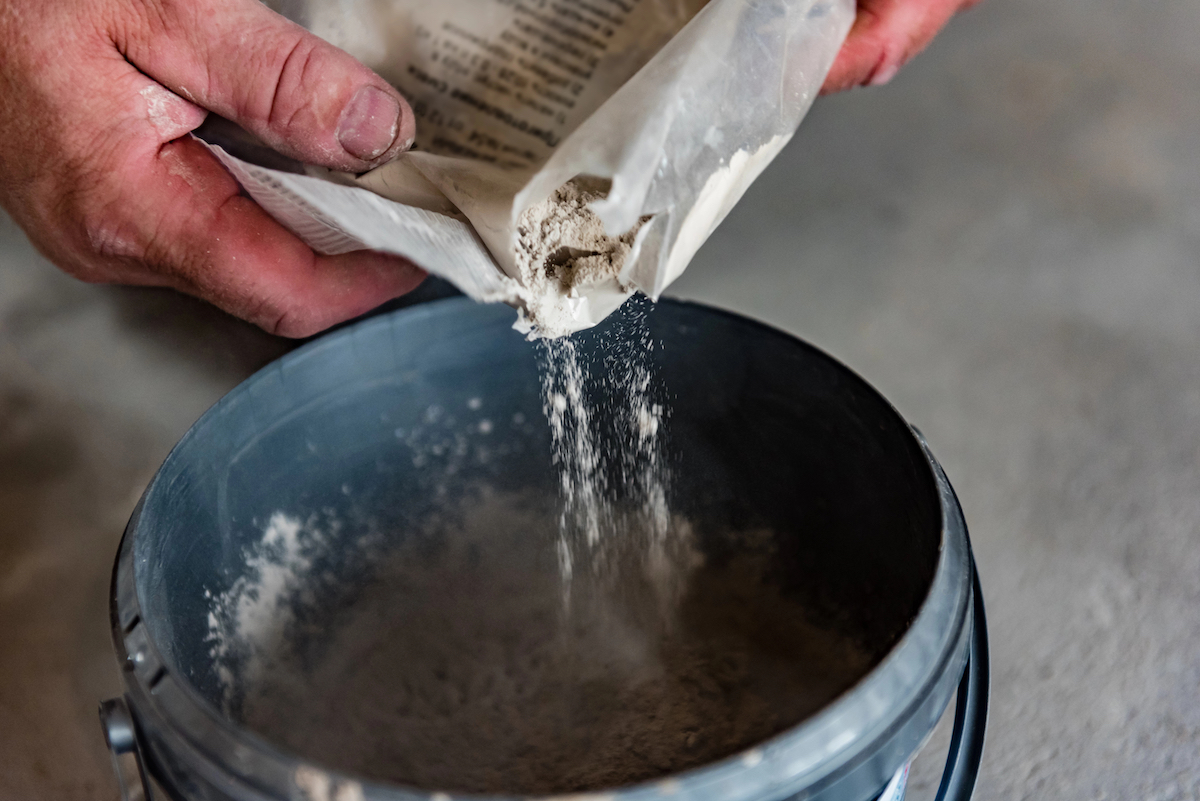
Step 3: Add water to the grouting powder per the manufacturer’s instructions.
Chavoustie recommends putting the proper amount water in the mixing bucket before adding the grouting powder. “It’s easier to mix if you put the water in first,” he says, adding that you can add more water if needed to get the right consistency. Pour about a quarter or half of the grouting powder into the bucket—you’ll want extra available in case you get the water-to-powder ratio wrong in the mixing phase. Refer to the manufacturer’s mixing directions for how much water to use, and start with fraction less water than recommended; you can always add more later
Tip: Avoid mixing grout with well water or hard water, minerals from which can cause efflorescence, an unattractive white residue, as moisture seeps into the grout. If you have a well or hard water in your area, use distilled water.
Step 4: Tilt the mixing bucket and stir with a grout-mixing knife.
Tip the bucket to about a 45-degree angle so it’s easier to see the contents and mix thoroughly with the grout-mixing knife or small trowel. Continue mixing until all the powder is blended, making sure to remove all lumps.
Tip: Resist the temptation to use a corded drill with a paddle attachment to mix grout. Automated mixing can introduce too many air bubbles, weakening the grout and potentially causing discoloration.
Step 5: Adjust the grout’s consistency by adding powder or water.
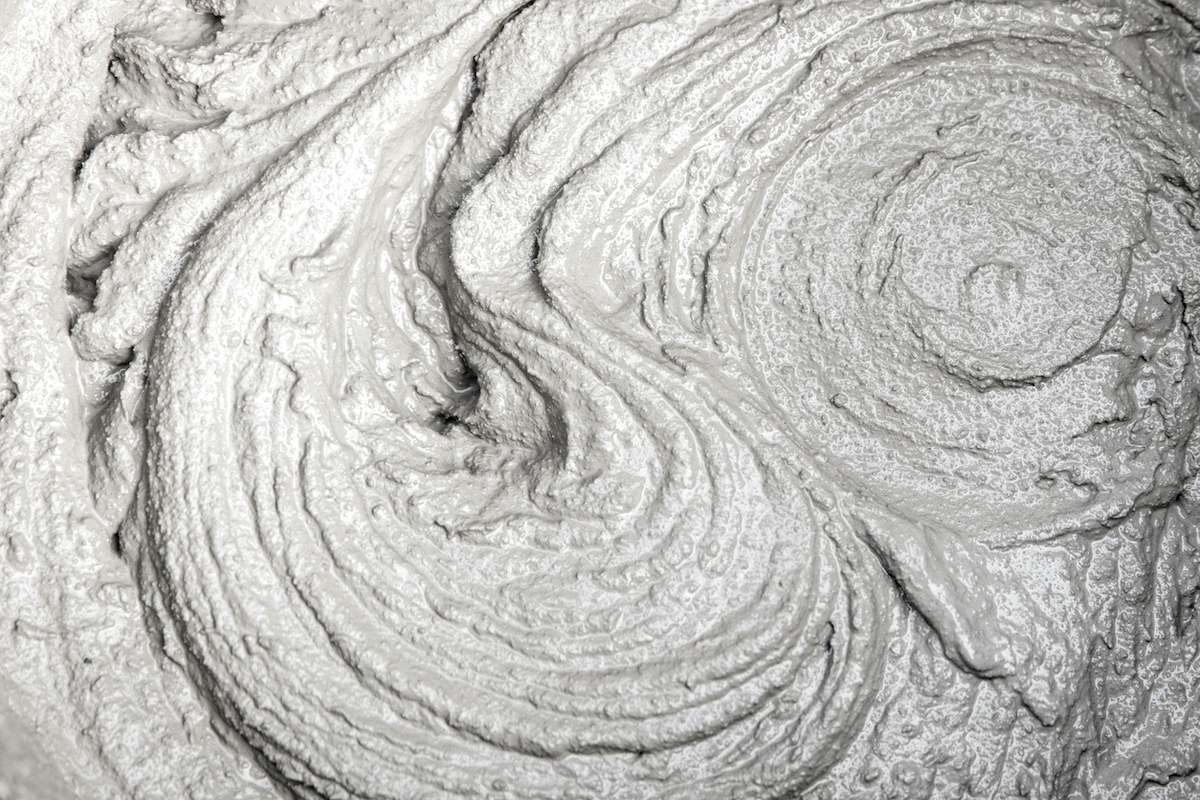
Check the grout’s consistency. Chavoustie says grout mixed for floors should be “smooth peanut-butter consistency” while grout for walls should be a bit thicker. Other tiling pros describe the perfect consistency as being akin to soft bread dough, where you can grab a handful and it maintains its shape, and, if squeezed slightly, doesn’t leak water.
If grout is too slack or liquid-y, add more powder and mix well. Left too thin, it’ll shrink and crack. Good grout will need a little elbow grease to push into the tiles.
If the grout is too dry and clumpy, moisten the sponge with water and squeeze just a dribble of water into the grout mix. Do this in gradual additions until achieving the right peanut butter texture.
Step 6: Let the grout slake for up to 10 minutes.
Allow the grout to “slake,” the term for letting it rest for 5 to 10 minutes so that the chemicals can bond. During slaking, moisture fully permeates all the powder. Without proper slaking, grout will be weaker and more prone to cracking and chipping. Don’t worry—and don’t add water—if the grout seems a bit thicker after 10 minutes.
Step 7: Use a grout knife to mix the grout thoroughly again.
Mix your batch of grout thoroughly one more time, and get busy grouting the tile to complete your DIY tile job.
Final Thoughts
Mixing grout isn’t terribly difficult but may take a bit of experience to get it down perfectly. Consider using an additive if it makes sense for your project. With the right tools and a bit of patience, you’ll be a top-notch tile DIYer in no time.
FAQs
Q. What is the ratio for mixing grout?
The ratio will vary slightly from product to product, but typically you’ll add two quarts of water to 25 pounds of powdered grout.
Q. What is the correct way to mix grout?
Follow the manufacturer’s instructions to get the correct ratio of powder to water. Add the powder to the water, tilt your work bucket at a 45-degree angle and use a grout-mixing knife or trowel to mix the two together. Let the grout rest for five or 10 minutes, and mix again.
Q. How long to leave grout before wiping?
Wait 15 to 20 minutes before wiping off excess grout. It’s a delicate balance, says Chavoustie. If you wipe it too soon, you will pull too much out of the joints. If you wait too long, it becomes difficult to remove.
Q. What happens if tile grout is too wet?
If you’ve made your grout mixture too wet, simply add more powder to thicken it. If you try to apply too-wet grout, it won’t adhere correctly and may drip or smear, leaking out of the joints and making a big mess. Wet grout, when it finally dries, may shrink and crack.
