We may earn revenue from the products available on this page and participate in affiliate programs. Learn More ›
Carpeting inevitably undergoes wear and tear, whether from foot traffic or the accidents of everyday life. If those fraying, discoloring factors have concentrated in one particular section of your carpet, you can patch the installation rather than replace the entire thing. Properly planned and executed, a new carpet patch blends seamlessly into the original floor covering while enabling you to side-step the considerable cost of starting from scratch. To learn how to patch carpet, read on.
Tools & Materials
Bobvila.com may earn a commission from purchases made through these links.
Step 1
Gather your supplies. If it’s your first time patching a carpet, consider opting for a carpet patch kit. Available at hardware stores and home centers, these kits contain all you need to complete the project, including an adhesive and some cookie cutter-like tools that facilitate removing the stained or damaged area.
Of course, carpet patch kits are not a must. You really only need a utility knife and an adhesive (the glue that’s going to hold the patch in place).
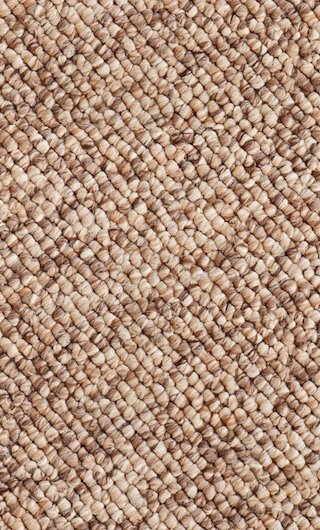
Above and beyond tools and materials, the critical prerequisite here is an extra section of carpet that matches what’s already on the floor. If you don’t have any remnants left over from the original installation (and the style has been discontinued), you can, in a pinch, remove a section from an unnoticeable area, be it the closet or beneath a bed.
Step 2
Look closely at both the existing carpet and the patch. Is the pile biased in a certain direction? If so, you take care to orient the patch so that its pile direction correctly corresponds to the surrounding carpet. As a helpful reminder to yourself, draw an arrow on a piece of tape and stick it to the patch.
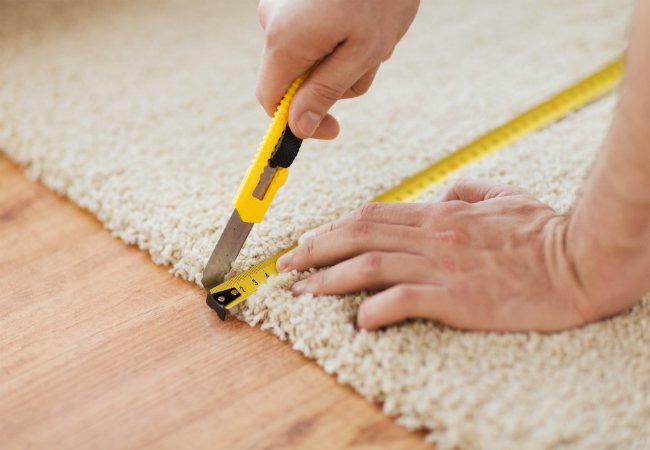
Step 3
Measure the carpet area in need of replacement. If using a carpet patch kit, the included tools make it easy to cut a precise size and shape out of both the existing carpet and the remnant piece. Skipping the patch kit? Simply tape off a square or rectangular section of the stained or damaged carpet.
Step 4
Using the kit tools or a utility knife, carefully carve out the carpet section you wish to patch, then immediately proceed to prepare the replacement. After measuring and double-checking your measurements, cut the carpet remnant to fit precisely within the now-empty area. For easier and more precise cutting, be sure to lay the patch face down and to cut along its underside.
Step 5
It’s time to get gluing. Apply the carpet patch adhesive directly to the empty space, followed by the patch itself. (Again, remember to align the carpet fibers so that they lie in the same direction.) Work swiftly, if possible, as the adhesive is likely only to take approximately 15 minutes to dry completely.
Step 6
With the patch in place, finish with a couple tweaks to make it look as though there’s been no repair. First, use a pair of scissors to trim any long, shaggy carpet fibers that might draw attention. Then, as a last step, go over the area with a carpet seam roller to blend the fibers and hide any visible seams.
