We may earn revenue from the products available on this page and participate in affiliate programs. Learn More ›
Open kitchen shelving provides a unique opportunity to showcase your dishware—and your personality. Even though the storage and organization options it offers seem as wide open as the shelves themselves, the wrong move could turn your rosy design dream into an unattractive, cluttered mess.
We tapped the expertise of interior designer Sarah Barnard of California-based Sarah Barnard Design for more about the pros and cons of these innovative shelves. “Open shelving can be tremendously helpful in making kitchen items visible and easily accessible,” Barnard says. So whether your kitchen already features open shelving or you’re considering a cabinet makeover, follow these best practices to make optimal use of your shelves.

DON’T start with fully stocked shelves.
Just as you wouldn’t start a meal on a full stomach, don’t start out by just rearranging shelved items or styling kitchen shelves that are already fully stocked. Clear off your workspace by first removing all items from the shelves. Once you have a clean slate, you’ll be able to implement a fresh, well-devised organizational scheme and refine the aesthetics of the kitchen shelf arrangement.
RELATED: I Swapped My Upper Kitchen Cabinets for Open Shelves—Here’s How I Feel About It Now
DO secure heavy ceramics.
If you intend to load up your open shelves with your entire ceramic dish collection, secure the shelves with wall anchors to create the sturdiest foundation possible. Then, assemble your pieces into bottom-heavy arrangements, keeping the biggest ceramics on the lowest shelves and limiting stacks to eight or fewer pieces.
PRO TIP
“It’s always important to have open shelving securely attached to the studs behind the drywall. Resist the urge to hang shelving with drywall anchors and screws, and instead opt for recessed L-brackets or heavy-duty metal cleats that can safely support the weight of books and dishes.”
—Sarah Barnard, LEED-accredited interior designer and principal of Sarah Barnard Design
DON’T set yourself up with unreachable arrangements.
Now that you’ve removed the barriers that your cabinet doors imposed, all your kitchenware will seem more accessible. Don’t, however, let this apparent convenience tempt you to stash necessities like frequently used dishes, everyday CorningWare, and your spice collection on higher shelves.
Instead, continue to place frequently used essentials within arm’s reach, and reserve the higher shelves for decorative pieces and seldom-used dishes. “Consider your comfortable reach when planning for an ideal shelf height,” Barnard says. “Shelves that require a step ladder to reach often become less-used dust collectors.”
RELATED: 29 Best Paint Colors for a Kitchen You’ll Never Want to Leave
DO install a range hood.
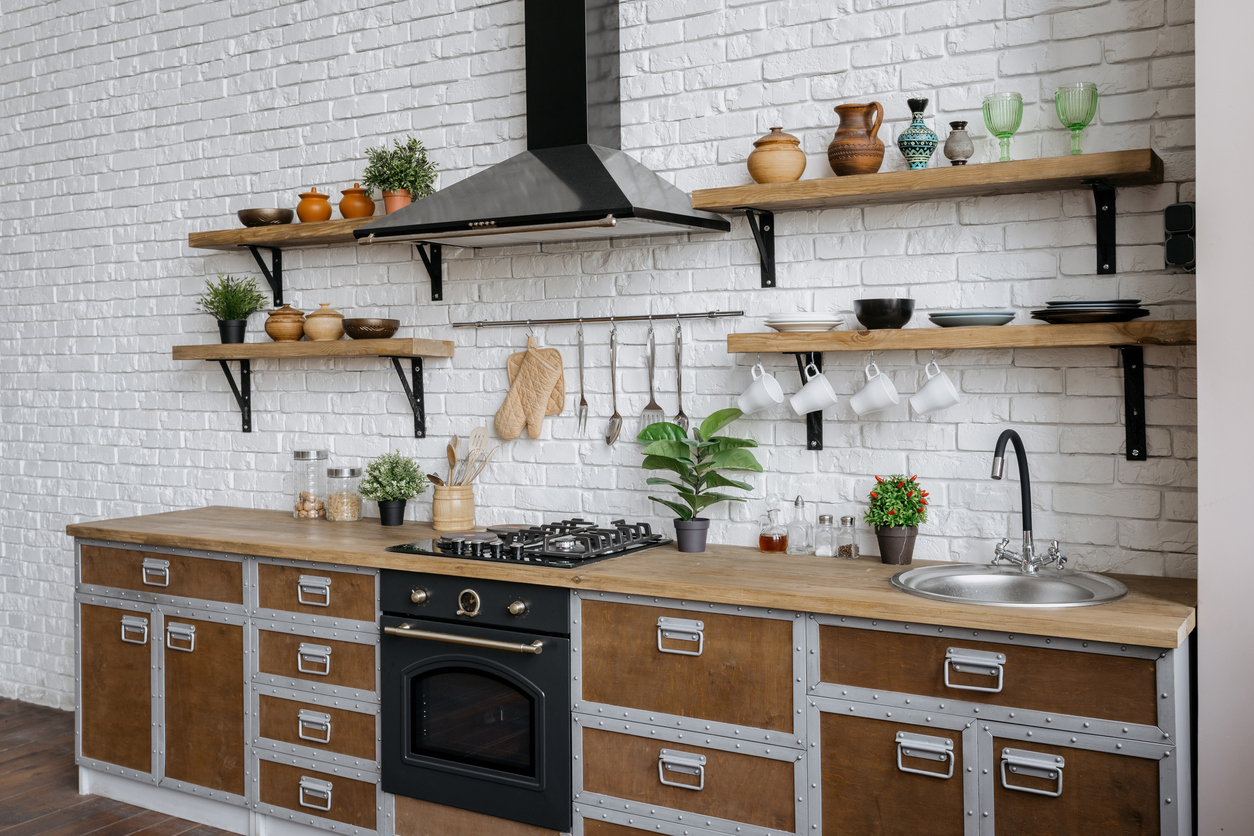
Think about the last time you opened a cabinet and the door or knob felt sticky to the touch. Grease, cooking fumes, and condensation from the stove are often deposited on kitchen surfaces. Without the protection of a wooden or glass door, your kitchen gear is vulnerable to stubborn and grimy buildup. Installing a range hood helps siphon off unwanted heat, smoke, odors, and airborne grease before these particles end up on your open shelves.
DON’T shelve your glass.
If you live in an earthquake-prone area, refrain from storing glassware on floating shelves, particularly higher shelves where delicate pieces are apt to come to an earth-shattering end. Instead, consider stowing glasses in closed cabinet spaces, or aboard a wheeled bar cart. “Sturdy cups and glasses can be stored upside-down to limit dust collection, while more delicate glasses should be stored upright to protect the rim from abrasion,” Barnard says.
To further disaster-proof your open shelving, look for shelving that has a lip at the edge, which will keep objects in motion from sliding—and falling—out.
RELATED: How to Install Floating Shelves

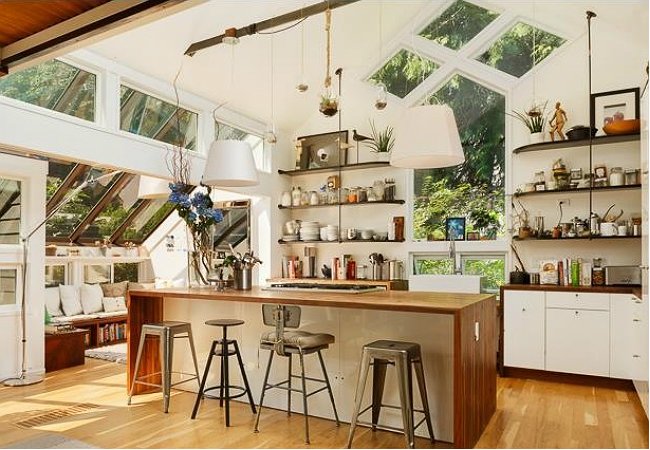
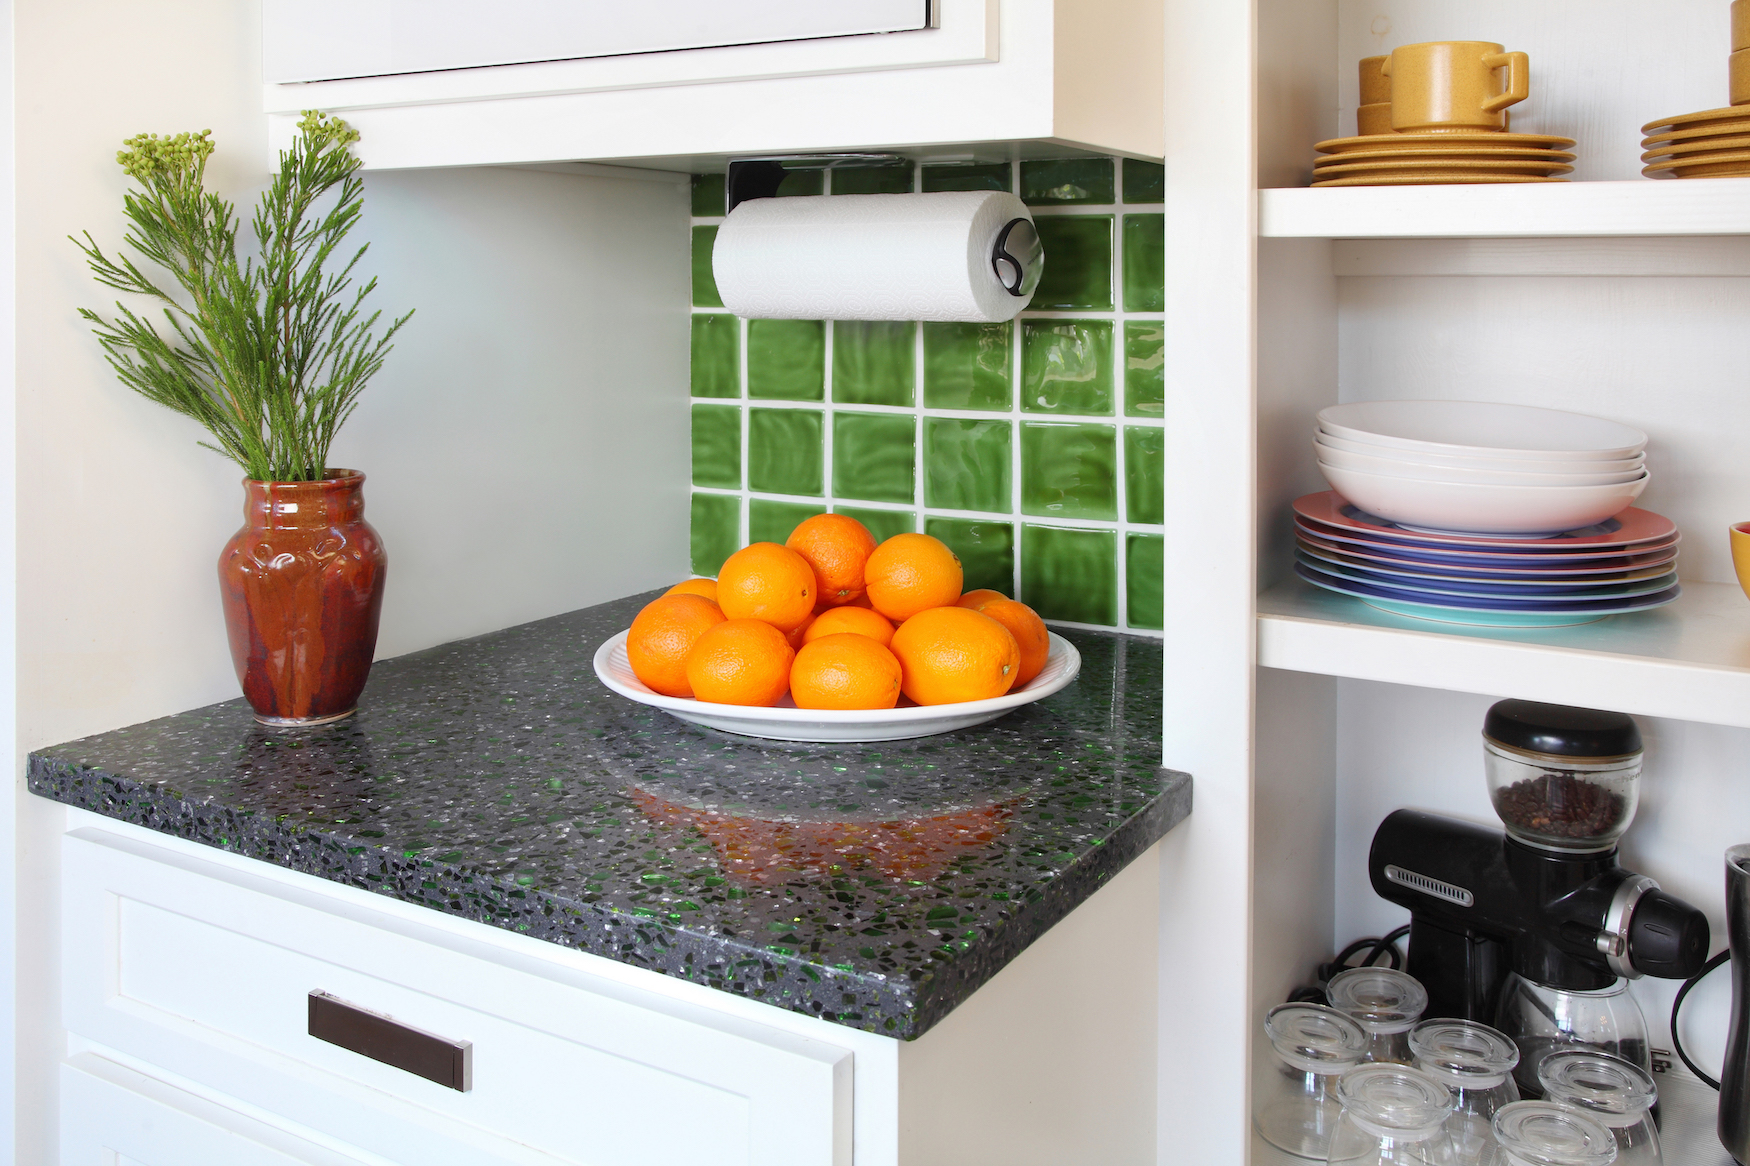
DO vary the contents of open shelving.
In your closed kitchen cabinets, you probably group together similar cookware, glasses, and spices. When you switch to open
shelving, though, spice up the display instead of grouping sets together. “Planning for open shelving between two closed cabinets or a cabinet and a wall helps make a clean transition where the shelving ends,” Barnard explains.
Given that open shelves contribute as much to the look of your kitchen as its function, you want to create visual distinction on the shelves by mixing and matching different sizes and shapes of dishware, and throwing in the occasional splash of color or decorative item. “I like…a combination of open and closed storage, with the open shelving being home to cookbooks and more regularly used items,” Barnard says.
DON’T forget to bust dust early and often.
Critics of open kitchen shelving often cite these surfaces’ tendency to accumulate dust as their major downside. But if you regularly cycle through your most-used dishware, you can ensure that your cookware will never sit long enough for the dust to settle. “If dishes and cookbooks are in regular use, dust collection is often less of an issue,” Barnard states. Wipe down the shelves’ surfaces frequently to ensure that unwelcome dirt bites the dust.
RELATED: 27 Small Kitchen Ideas to Inspire Your Next Reno
DO test-drive open shelving before removing your cabinets.
Before ripping out all of your cabinets and hanging open shelving, give the “open” vibe a test run by removing your kitchen cabinet doors and spending a few weeks without them. This is a free, easy way to get a feel for how your new shelves might look. If you don’t like how it looks, or if you discover that you just can’t keep your shelves tidy enough to go “open,” you can just put the cabinet doors back on their hinges and go on as you have been.
