
We may earn revenue from the products available on this page and participate in affiliate programs. Learn More ›
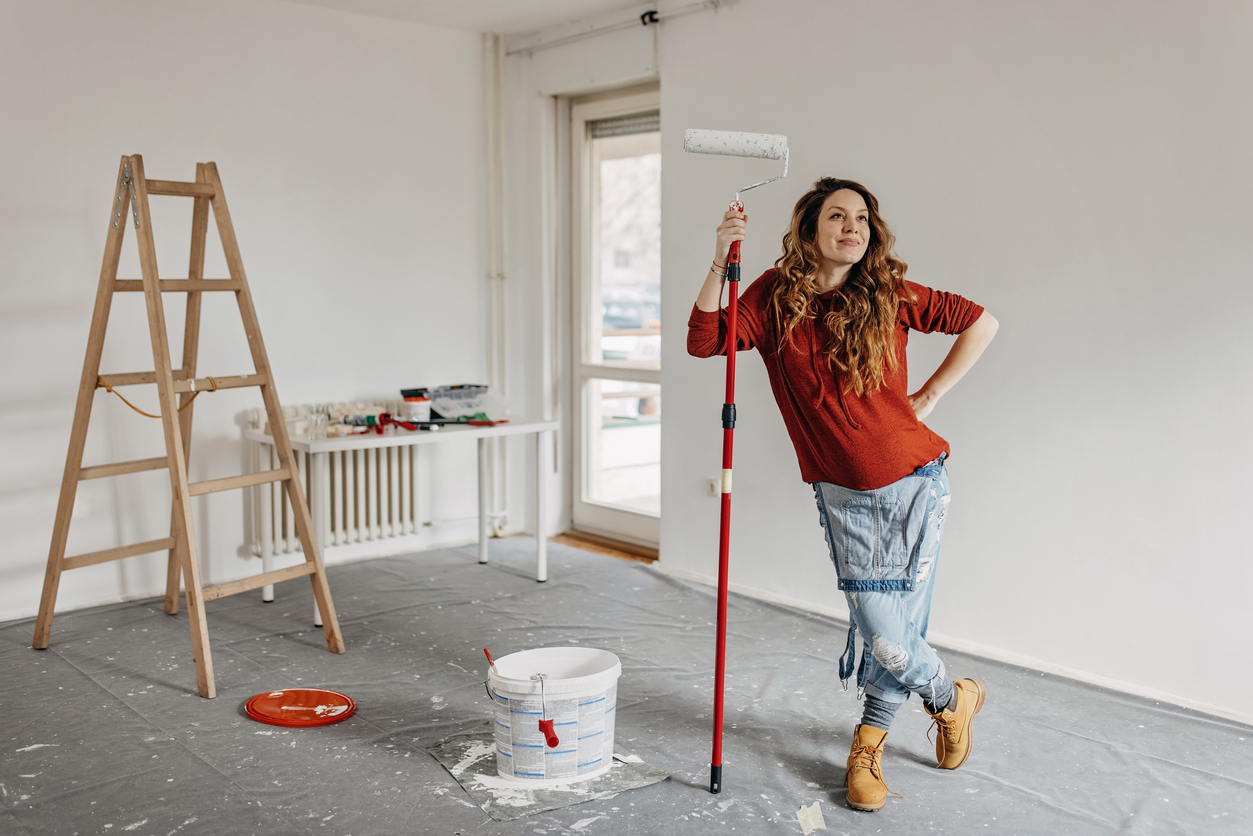
Professional painters may make their work look easy, but there’s more to their craft than meets the eye. Over the years, Matt Stanley of Astley Painting & Fine Finishes has gathered an arsenal of tips, tricks, and insights into the science and art of painting. These trade secrets can transform a good paint job into a great one.
In this article, we’re revealing the top 10 painting secrets Stanley wishes every homeowner knew. These insights span the entire painting process—from the initial color choice to wall prep, the secret to a smooth finish, and the cleanup tricks that can save your trim and your sanity. These tips promise to shed light on what it takes to achieve a professional-quality paint job.
1. Test colors in your space first.
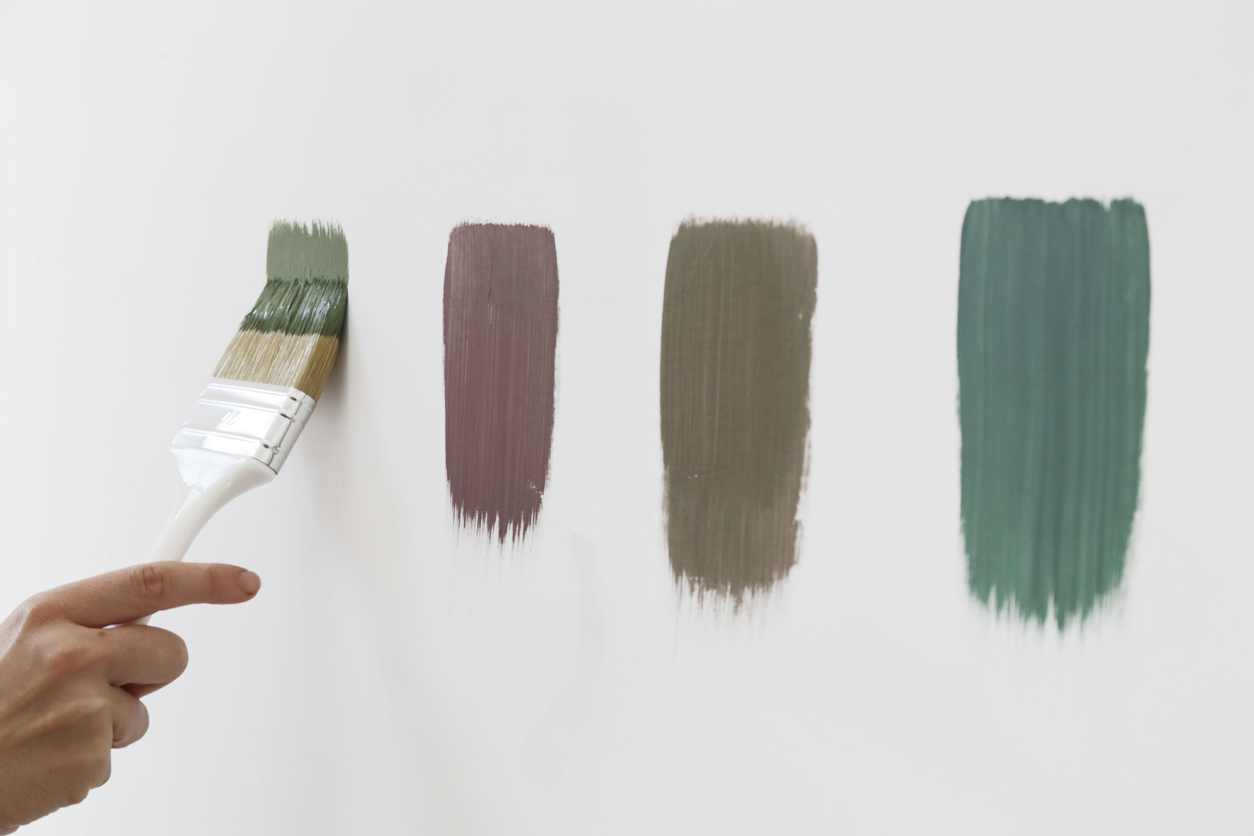
Color selection is often the most exciting part of a painting project. But, it can also be one of the trickiest. While a color might look perfect on a small swatch in the store, it can look completely different when applied to an entire room. “Place the color in the room you’re planning to paint. You want to make sure that it complements the flooring, cabinets, and other surfaces before making the investment,” Stanley advises.
Take time to observe the color in the space you’re planning to paint, noting how it changes in different lighting conditions. This step could save you from investing in gallons of a color that doesn’t fit your space as well as you thought it would.
RELATED: The Most Popular Paint Colors in America
2. The finish matters.
When it comes to paint finishes, homeowners face a variety of options, and making the right pick isn’t necessarily intuitive. Stanley suggests that most homeowners should opt for eggshell or satin finishes. These choices strike a balance between aesthetic appeal and practicality. They lend a low-sheen finish to the walls that is pleasing to the eye, while also providing a surface that is easier to clean than matte finishes. However, a semi-gloss option is best when choosing paint for baseboards and trim because it stands out and is even easier to clean than lower-sheen finishes.
RELATED: Types of Paint and Paint Finishes: A Complete Guide
3. High-quality paint makes a difference.

An often underappreciated secret is that the quality of a paint significantly influences the results. High-quality paint provides better coverage, improved durability, and a more vibrant finish than do cheaper alternatives. While it might seem cost-effective initially, lower-quality paint often requires additional coats and doesn’t last as long, leading to increased expense in the long run.
RELATED: The 5 Best Places to Buy Paint
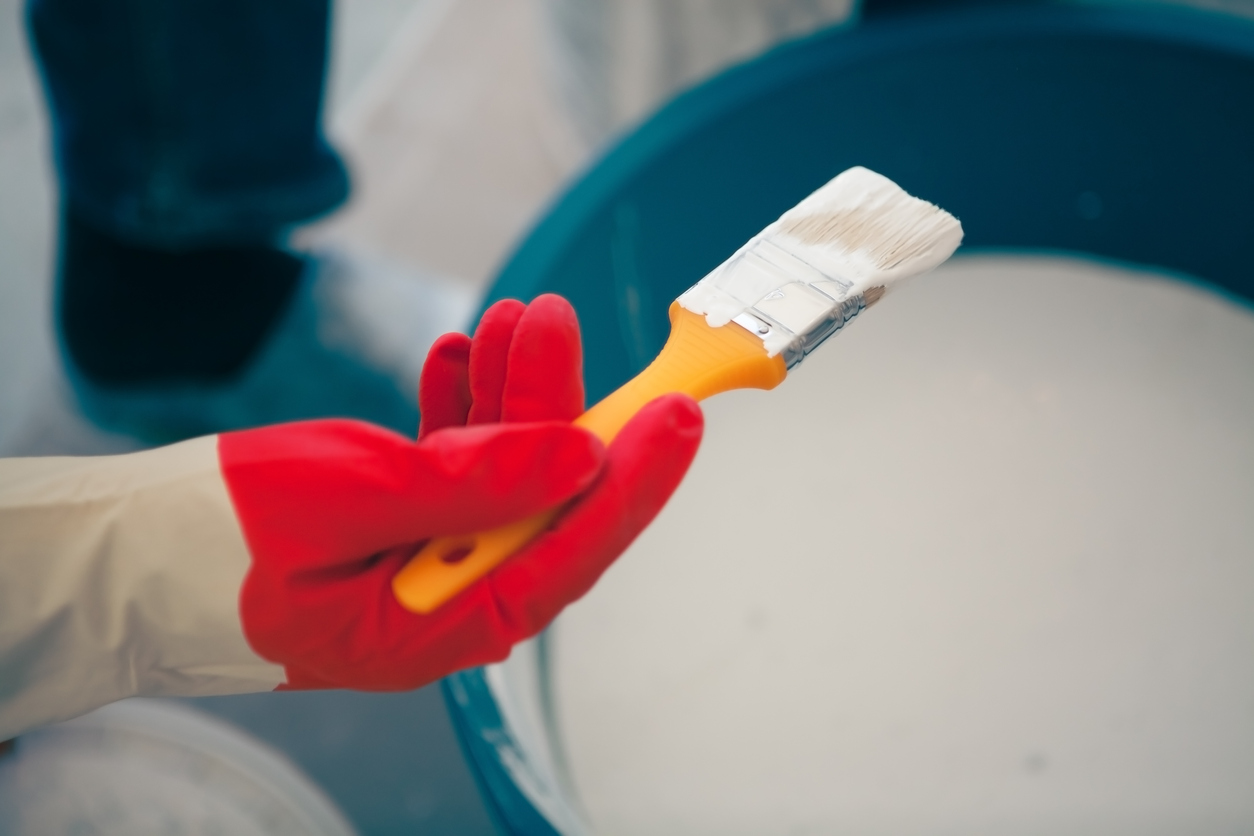
4. Choosing the right tools is crucial.
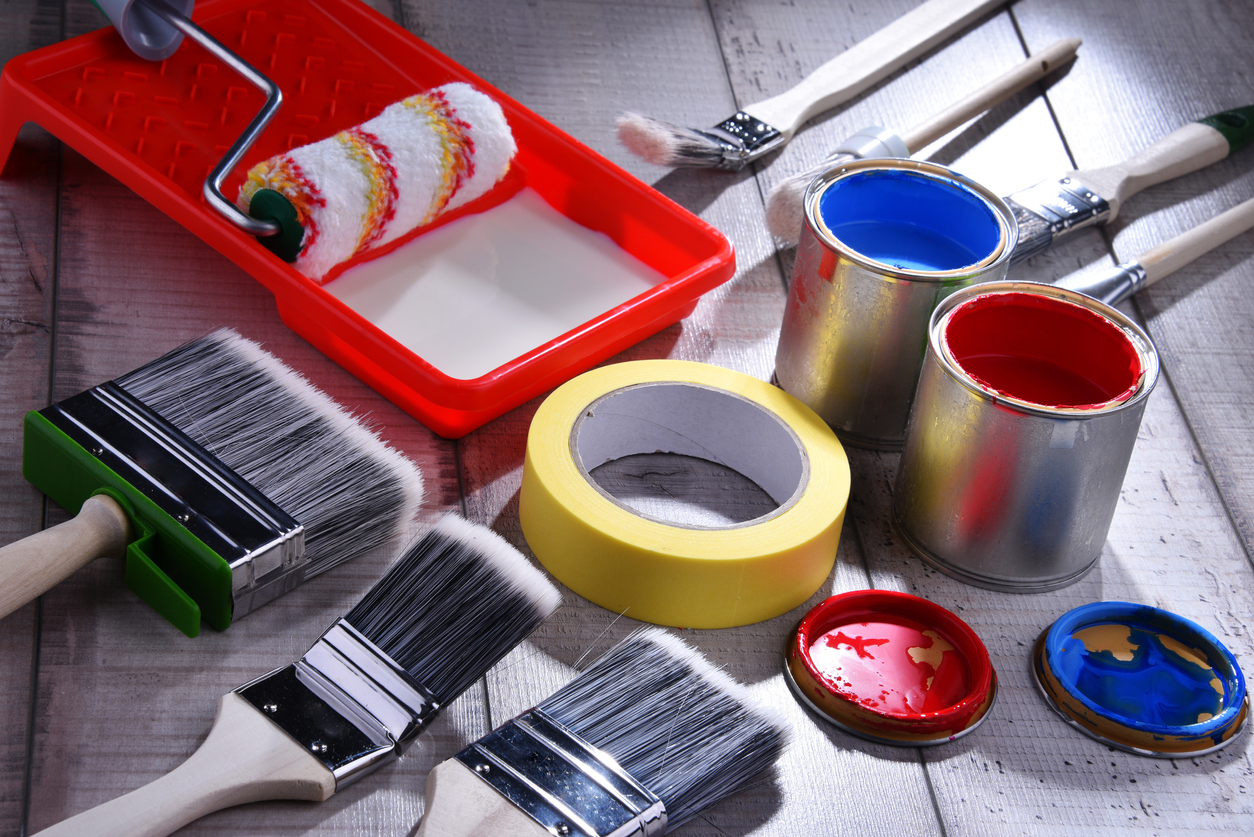
The tools chosen to complete a painting project can significantly affect the application process and the final result. Brushes also come in various shapes and sizes, which are designed for different tasks. A narrow, angled brush is perfect for cutting in around trim and corners, while a larger, flat brush will cover wide, open areas more efficiently. Also, remember to have good-quality painter’s tape on hand. It is invaluable for protecting those areas adjacent to the surfaces being painted.
RELATED: The Best Paint Brushes, Tested and Reviewed
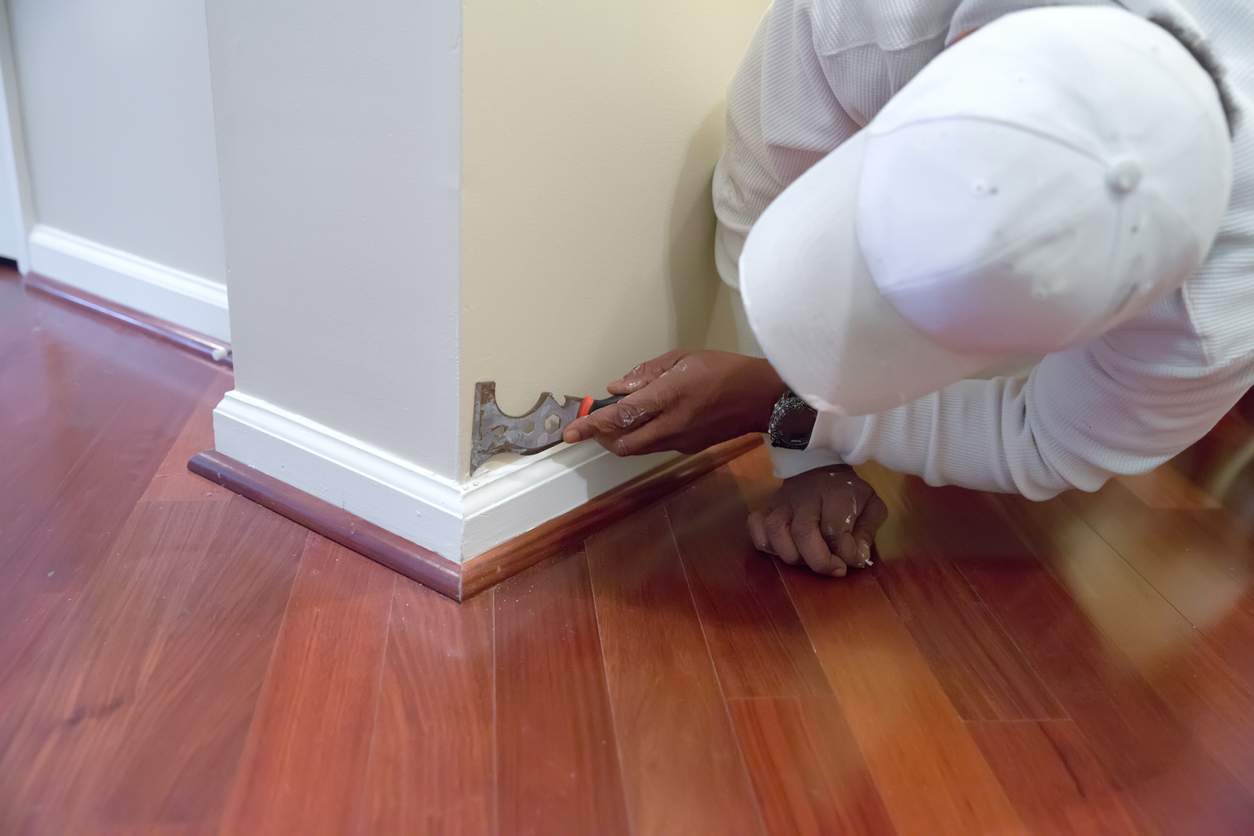
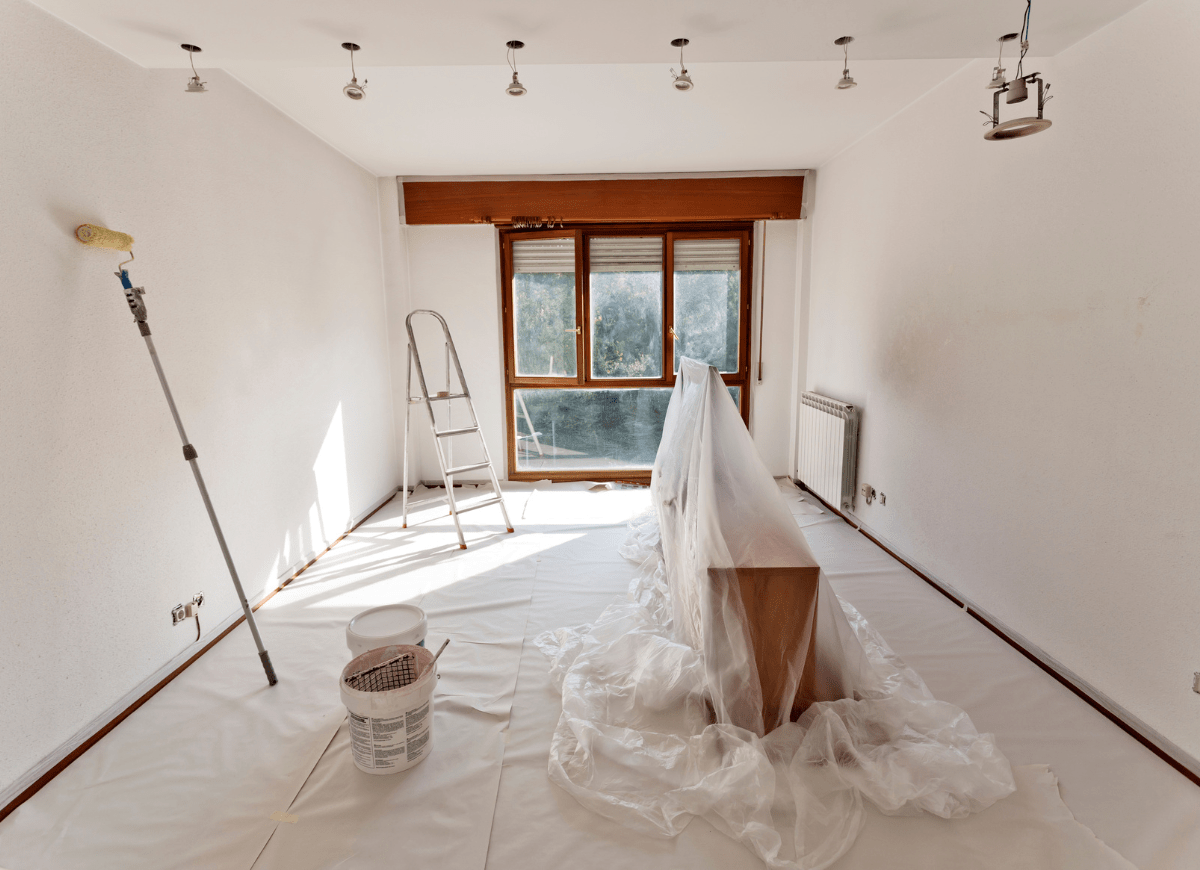
5. Don’t skip wall prep.
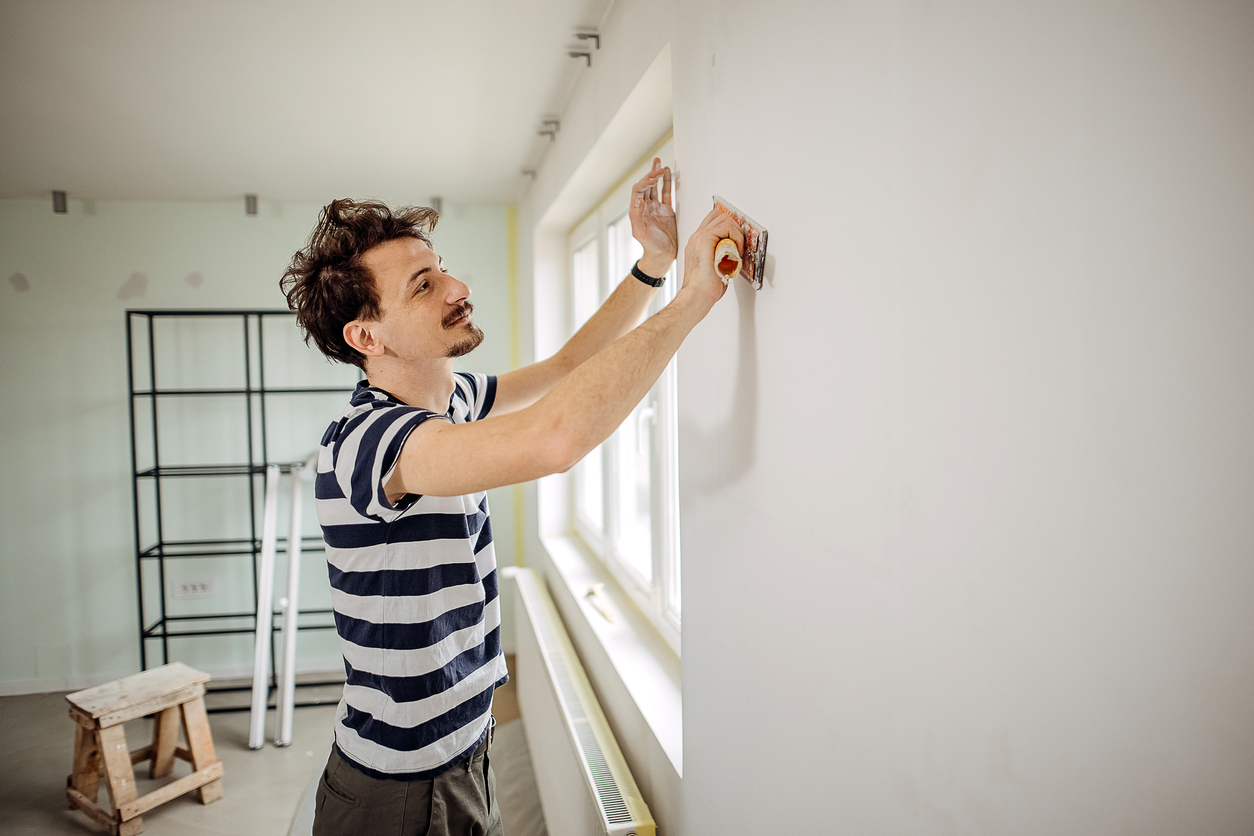
Wall preparation is a vital step that professionals never skip, but renters and homeowners often do. “It’s very important to repair even minor imperfections in the wall before painting or they’ll show through,” Stanley says. Address every flaw, whether it’s tiny nail holes from picture frames or larger repairs requiring joint compound. After major patching, remember to apply primer over the repair to ensure an even and seamless finish when the paint is applied.
RELATED: Solved! How Long Does Primer Take to Dry?
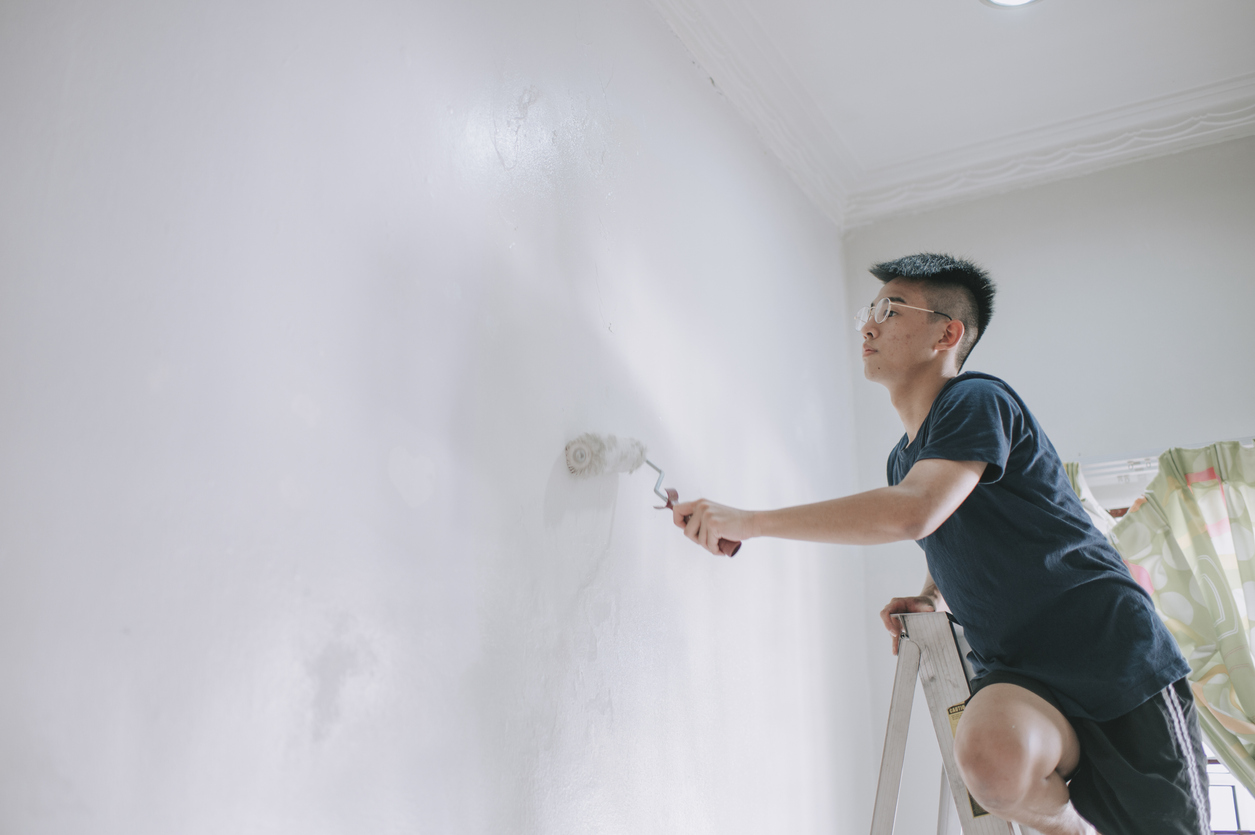
6. Brush before rolling.
Application technique is another key component of achieving a smooth, professional finish. Stanley recommends brushing before rolling. This process ensures that the brushed-on paint along the edges of the walls integrates seamlessly with the rolled-on paint. He also suggests taping the vertical edges along windows and doors as well as the top edge of the base trim. This practice helps you paint a straight line and protects against paint splatter from the roller.
RELATED: The 13 Painting Mistakes Almost Everyone Makes
7. Check between coats.
Wall prep doesn’t end after the first coat of paint. In fact, the period between the first and second coats is a crucial time to check for additional flaws. Stanley suggests, “After the first coat dries, check for imperfections like heavy lines or brush hairs and sand them down before applying the next coat.” This attention to detail will result in a final result that truly looks professional.
RELATED: Solved! How Long Does It Take for Paint to Dry?
8. Cleanup is part of the process.
A clean workspace is important for a successful painting project. But inevitably, drips and spills occur. According to Stanley, “No matter how good of a tape job, there will always be touch-ups.” If you notice paint on your trim, don’t panic. Just grab a putty knife and a damp cloth. This simple tool combination can clean up most minor mistakes efficiently. The key is to act quickly, since removing mistakes before the paint has fully cured is much easier.
RELATED: Pro Painting Tip: This $10 Tool Will Save You Hours—Seriously!
9. The Magic Eraser is your friend.
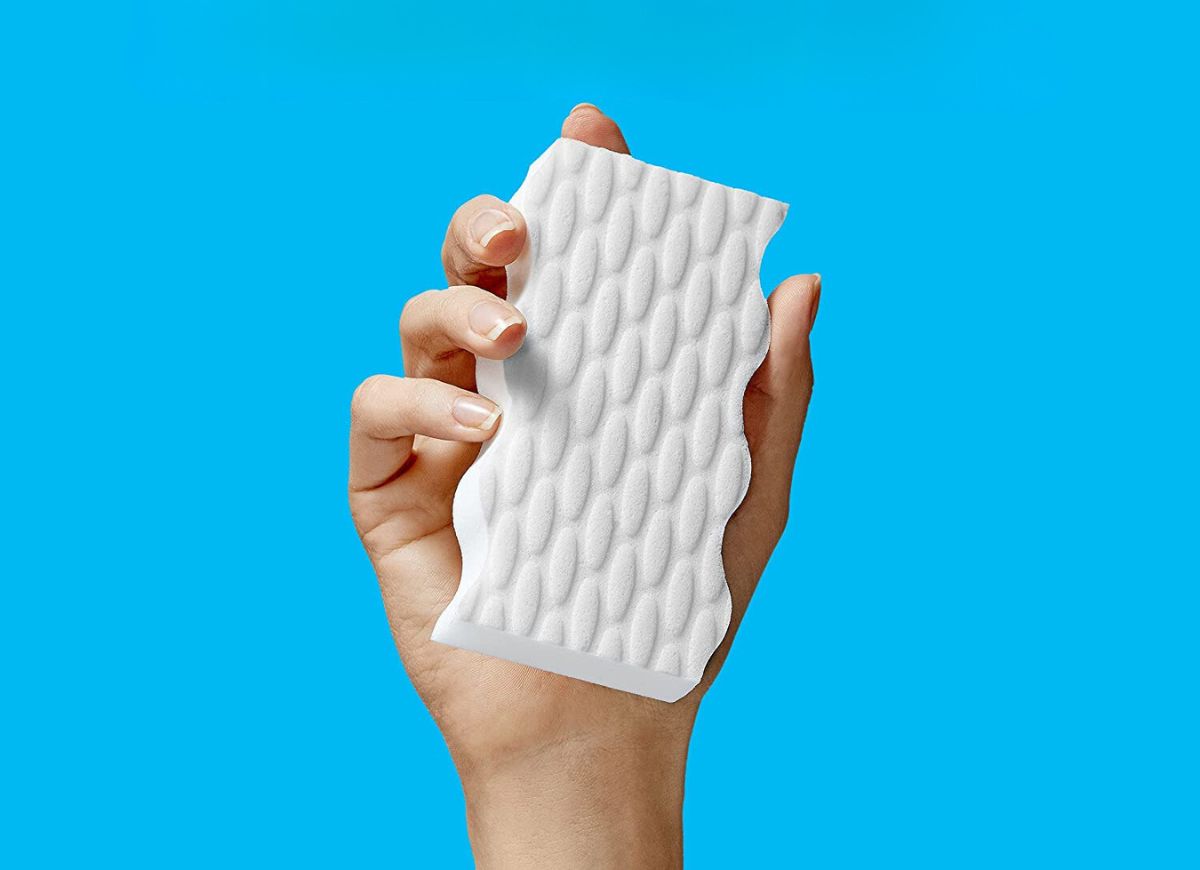
On a final walkthrough, scanning for smudges or other minor mishaps that might have occurred during the painting process is essential. Stanley shares that he likes to carry a Magic Eraser for this very purpose. It’s an excellent tool for removing smudges quickly and effectively. After using the Magic Eraser, follow up with a damp cloth to ensure a clean finish.
RELATED: How to Remove Paint From Everything
10. Patience is key.
Last but not least, remember that patience is key to achieving a professional-quality paint job. It’s not a task that DIYers can rush. Each step, from meticulous preparation of the walls to careful application of the paint, requires time and attention to detail. Between coats, allow several hours for the paint to become dry to the touch. During this time, inspect the painted surfaces and make any necessary corrections. By exercising patience at every step, you can ensure the best possible result.
