We may earn revenue from the products available on this page and participate in affiliate programs. Learn More ›
Adding a unique wall texture to a room, or even to a single accent wall, can create a distinct personality in your home that a color choice simply cannot. Texturing can even help hide surface imperfections, saving you costly repairs by allowing an uneven wall or ceiling to simply fade into an attractive textured pattern. While some may consider textured surfaces as an old trend, textures still are being used in homes across the country.
“We don’t think they are gaining in popularity, but they are continuing to be popular because of their noise-reduction-appeal, and ease of hiding small imperfections,” says Ted Speers, Brand President of The Patch Boys, a drywall repair company with locations in more than 30 states.
If you’re thinking that texturing is too difficult to do yourself, it is possible to DIY many types of textures. The techniques used to make the following wall finishes are not as hard as you might think. Speers says: “The key steps for someone who is attempting to match or apply a texture that is not a professional are to test on a separate piece of drywall before attempting to match textures in the home.” Below are 11 popular wall texture types and the steps involved to achieve each one.
Types of Wall Textures
You might be familiar with popcorn or orange peel, but there are many more kinds of surface texturing techniques used inside homes. While achieving some types of wall textures requires use of special tools, often you can rely solely on joint compound and methodical execution. Here are some of the more popular types of textured walls.
1. Comb
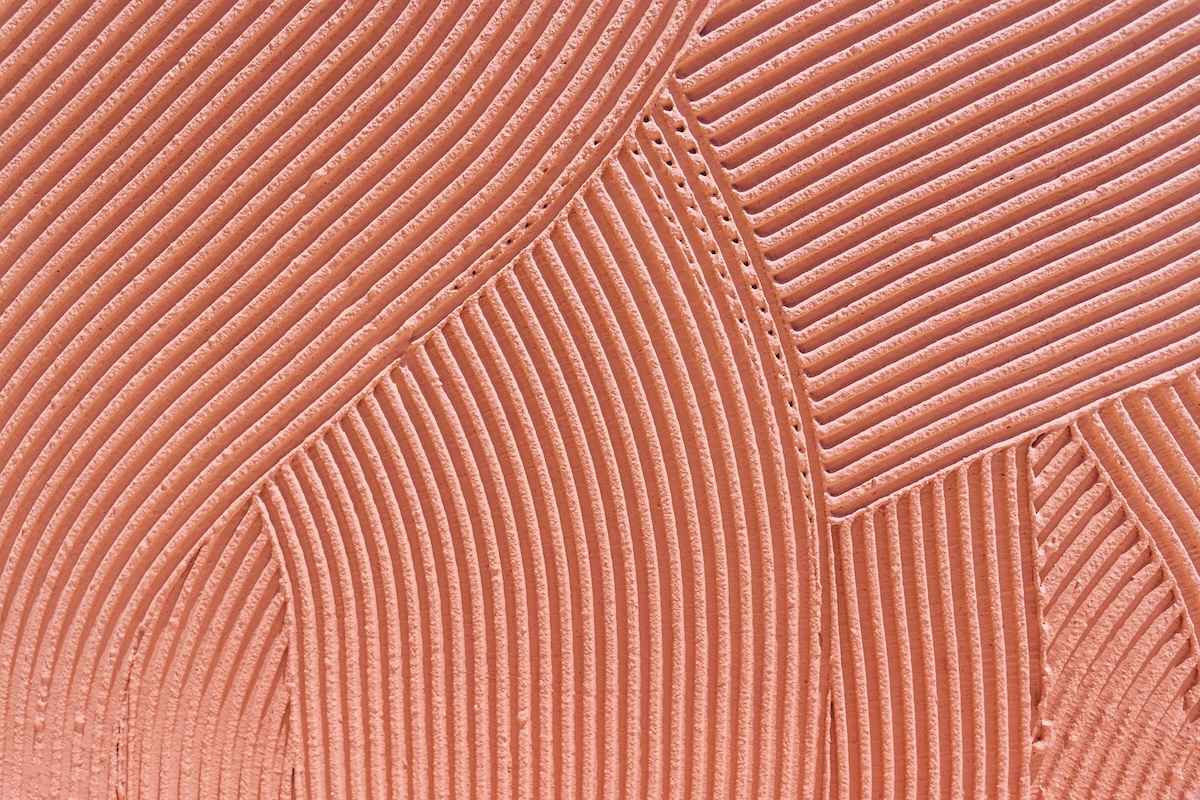
The comb texture is produced using techniques that create lines of various widths and shapes in drywall compound. This texture is “created by dragging a toothed trowel or comb through wet joint compound, resulting in parallel lines or grooves, often in semicircular or fan patterns,” says Speers.
This technique can produce a repeated series of rainbow patterns on the drywall and is one of the more simplistic texturing techniques. It requires drywall compound, a roller, and a drywall trowel that has evenly spaced teeth (or uneven teeth if you are going for a less organized pattern).
- Apply the drywall compound to the wall using a roller.
- Use the teeth of the trowel to gently apply lines in the wet compound.
- Let the texture dry for 24 hours before priming and painting.
Pro tip: If you are aiming for perfect concentric circles, practice your artistic skills on a spare piece of drywall before attempting them on your wall.
2. Popcorn
Also known as acoustic or cottage cheese texture, popcorn ceilings were a classic look in the 1970s and still appear in countless homes today. Speers says: “It’s a spray-applied texture with small, irregular lumps, often used on ceilings for sound absorption and to hide imperfections.” And that’s the reason for this type of wall texture’s popularity: it’s great at hiding imperfections and it can even help absorb sound between floors and walls.
The best part about this style of texturing is that it’s easy and affordable to do it yourself. All you need is the popcorn texture, an air compressor, and a hopper gun.
- Prime the wall or ceiling since white is the standard color of popcorn texture—a dry mix of drywall mud and polystyrene.
- Mix the popcorn texture with water, following the instructions on the package.
- Make sure to securely cover all surfaces and items that you don’t want sprayed.
- Once the rest of the room is properly covered, spray away.
- Paint the textured surface any color you want after it has dried.
3. Orange Peel
An orange peel texture looks exactly as it sounds—it resembles the peel of an orange, or “a very fine, subtly bumpy texture that resembles the dimpled surface of an orange peel,” says Speers. “It’s spray-applied and offers a slightly less smooth finish than a flat wall, good for hiding minor imperfections without being too noticeable.”
- Prime the walls ahead of time so that the texture has a smooth, dirt-free surface to stick to.
- Gather a hopper gun with an air-adjustable valve, an air compressor, and drywall compound.
- Mix the drywall compound with water until it becomes the consistency of thick paint or a soupy pancake batter, then pour it into your hopper.
- Spray a small amount from the hopper onto a test piece and adjust the air valve to suit the spray pattern that you want.
- Shoot small splatters of compound onto the wall to create the desired texture but don’t fully cover the primed drywall underneath.
- Try both heavy splatters and light splatters, and when you are confident in the spray pattern, begin to apply it to the walls.
- After drying, prime and paint the textured walls.
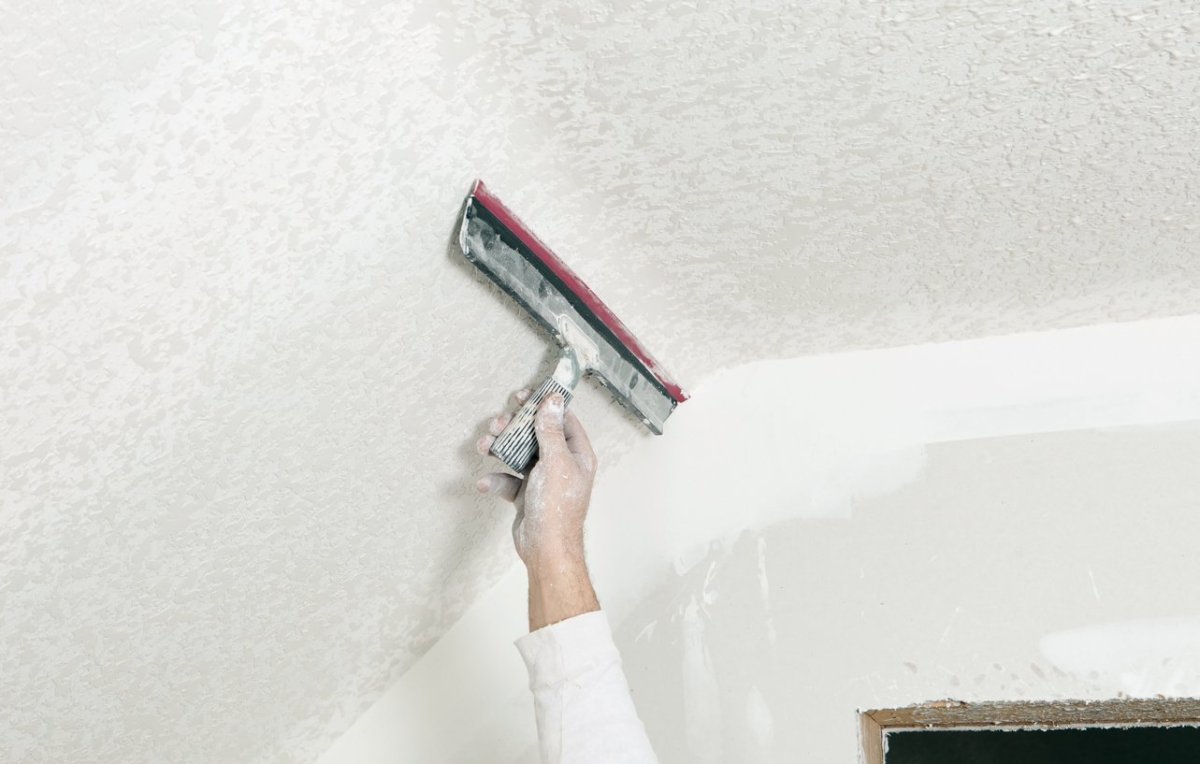
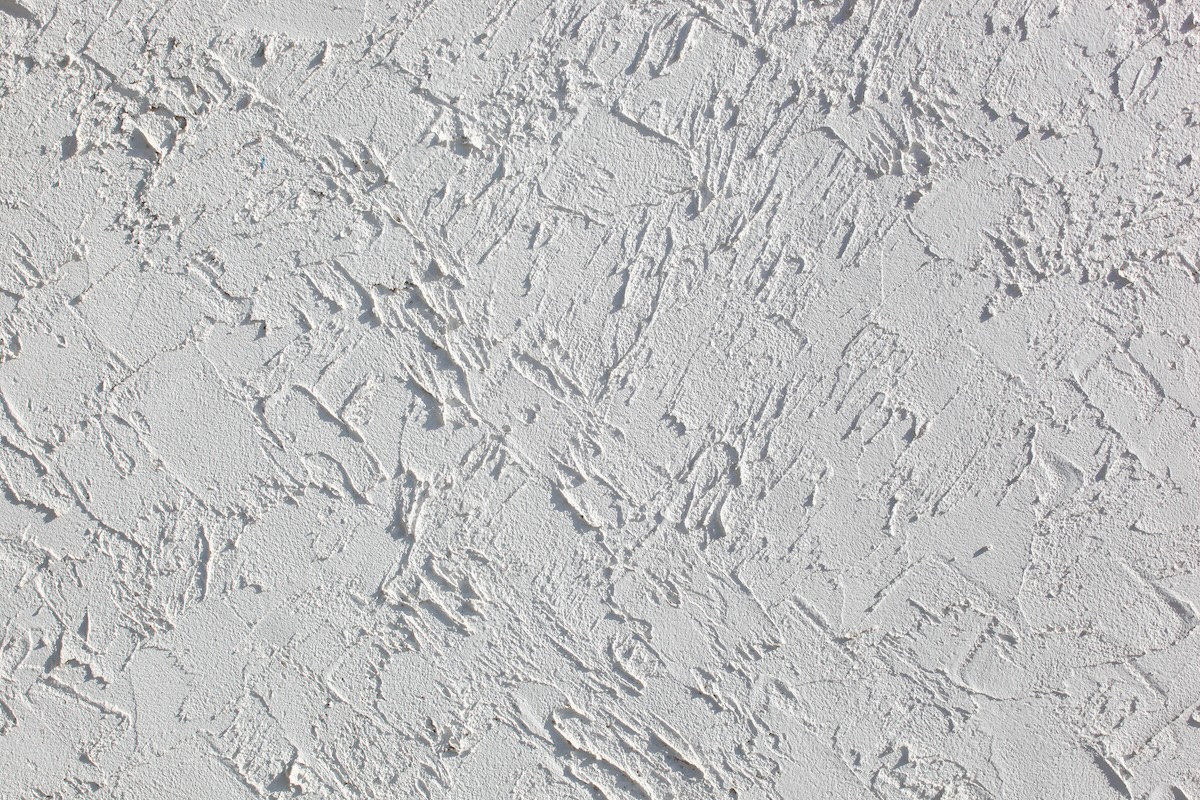
4. Knockdown
The knockdown technique creates a unique, rustic pattern, similar to stucco. Knockdown is a 2-step technique you can achieve by adding a step to the orange peel or popcorn technique. The goal is to create a flattened lump effect.
- Apply a lumpy orange peel or popcorn texture to the walls.
- Let the surface set for 10 to 15 minutes after spraying. If you begin flattening the drywall compound too soon, the knockdown knife will leave lines from its edges.
- After the surface is set, flatten the peaks and bumps that form in the drywall compound using an 18-inch or wider knockdown knife or trowel. Just be sure to begin flattening in the same area where you began spraying.
- After flattening all the peaks in the orange peel texture, leave the wall to dry overnight before priming and painting.
Pro tip: If you see knife lines, stop and wait another 5 to 10 minutes, then begin again.
5. Sand Swirl
Sand swirl adds a feel of individuality to a room without stealing the show. Speers says that it’s “a decorative texture achieved by adding fine sand to paint or joint compound and then applying it with a brush or roller in swirling patterns. The sand provides a subtle grit, and the swirls create visual interest.”

This style of texturing is easy to do using a compound known as perlite (primer with sand mixed into it) and a 7-inch-wide paint brush.
- Dip the brush a few inches into the perlite, giving it a wipe on either side of the bucket to remove loose drips.
- Hold the paint brush by the base, as this will give you more control than holding the handle.
- Practice making a swirl pattern on a spare piece of drywall before moving to your wall.
- Using the brush, start at the very top of the wall, making a big loop with an open bottom. Each row of this swirl pattern will cover up the bottom of the previous row.
- Apply swirls to a 5-foot section, dipping the brush into the paint after every swirl.
- Return to your starting point and drop down one row.
- Continue working your way around the room until you are complete, then let it dry.
- After a 24-hour drying period, you can prime and paint the walls.
6. Slap Brush
The slap brush texture creates a random raised pattern of thin brush mark lines on your walls that add an eccentric flair to any room. This type of wall texture is a great choice if you aren’t confident with a spray gun. All you need to create this technique is a roller, a double crow’s foot drywall texture brush (also known as a slap brush), and drywall compound.
- Mix the joint compound with water until it reaches a thick paint consistency, then apply it evenly to the wall using your roller.
- Complete two 5-foot-wide sections before picking up the slap brush.
- Apply drywall compound to each side of the slap brush in a thin coating, and then begin slapping the first section of the wall with the brush.
- There shouldn’t be any specific pattern to the texture, so have fun with it and mix it up by twisting the angle of the slap brush in the air between slaps.
- Once the first section is complete, roll the next 5-foot area of the wall, then apply the slap brushing to that section.
- Repeat this process until you have completed the room.
- After 24 hours of drying, you can prime and paint the room.
7. Slap Brush Knockdown

A slap brush knockdown texture combines the slap brush technique with the flattening step of the knockdown texture to create a random pattern of flatter, wider lines, instead of peaked, thin lines. To apply this texture, you will need a roller, slap brush, knockdown knife, and drywall compound.
- Using the slap brush technique, work your way around the room until each wall is evenly covered in a slap brush texture.
- For smaller rooms, wait 10 to 15 minutes before beginning to knock down the peaks using the knockdown knife. For larger rooms, you can begin knocking down the peaks in the slap brush texture immediately.
- Once the peaks on every wall have been flattened, the walls can be left to dry for 24 hours before painting.
Pro tip: If you begin to knock down the peaks too early, a line caused by the edge of the knife can appear in the wall texture. Stop if this happens, and wait another 5 to 10 minutes before proceeding.
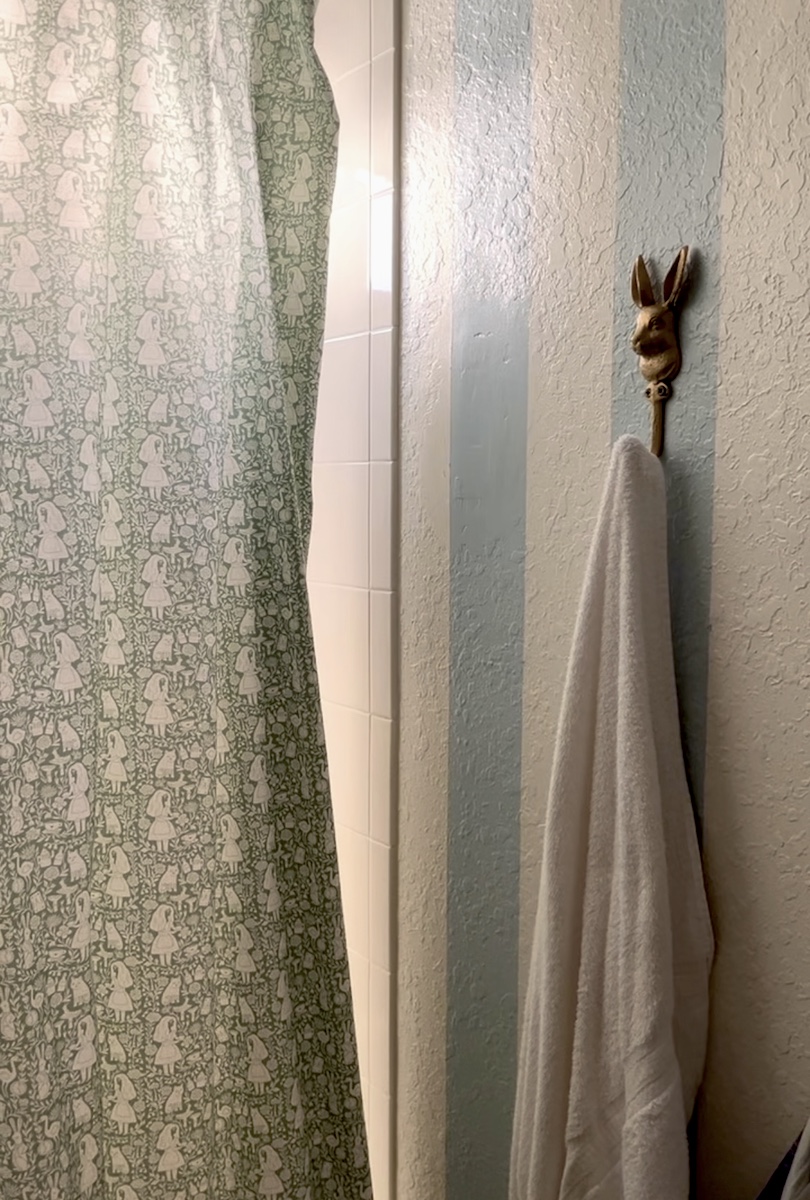
8. Skip Trowel
If you like the look of stucco, then a skip trowel texture might be the wall finish for you. It’s a raised finish that’s random across a wall surface. Speers says it’s “a subtle, irregular, and often rustic look with slightly raised, smooth patches.”
- Apply a thin coat of joint compound on finished drywall.
- Pull a trowel across the surface using a skipping movement. The skipping creates the undulating surface texture.
Pro tip: Add some sand to the joint compound to create a look that’s more like stucco.
Need help with wall texture?
Consult with a professional and get free estimates from specialty painters near you.
9. Lace
Another knockdown technique achieves a lace-like texture on walls. “This is usually a variation of knockdown or orange peel where the second layer creates the ‘lace’ effect,” says Speers.
Sometimes called Spanish or French lace, the lace texture is created by knocking down texture in a repeated swirl motion. The size of the swirls needs to be consistent to create a successful effect so it can be a difficult wall texture to execute. Its intricate and delicate surface can also be challenging to repair and tough to keep clean.
- Use a roller to apply a coat of joint compound to finished drywall.
- Wait about 15 minutes to let the compound set.
- Use a specialty lace or textured roller to create the lace effect.
- Keep repeating the swirl motion across the wall until done.
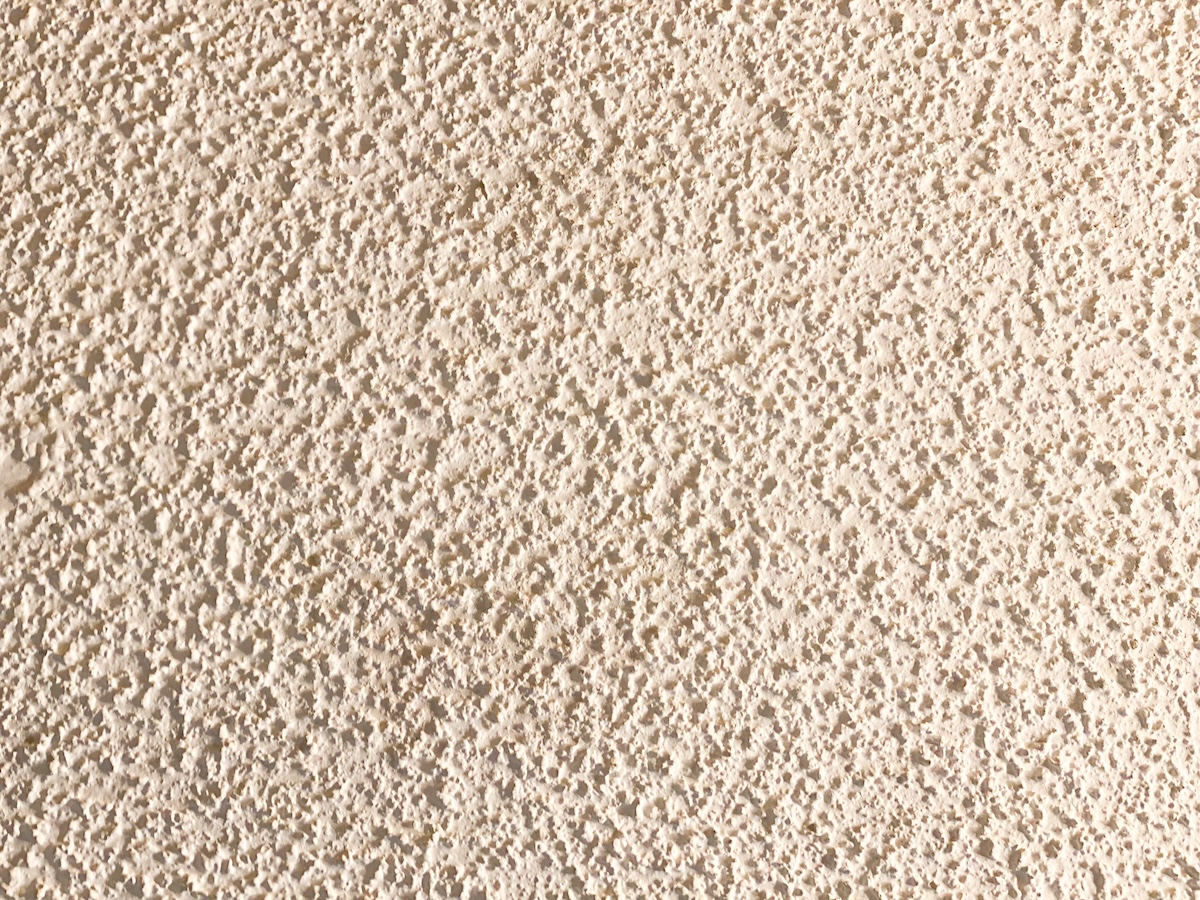
10. Spray Sand
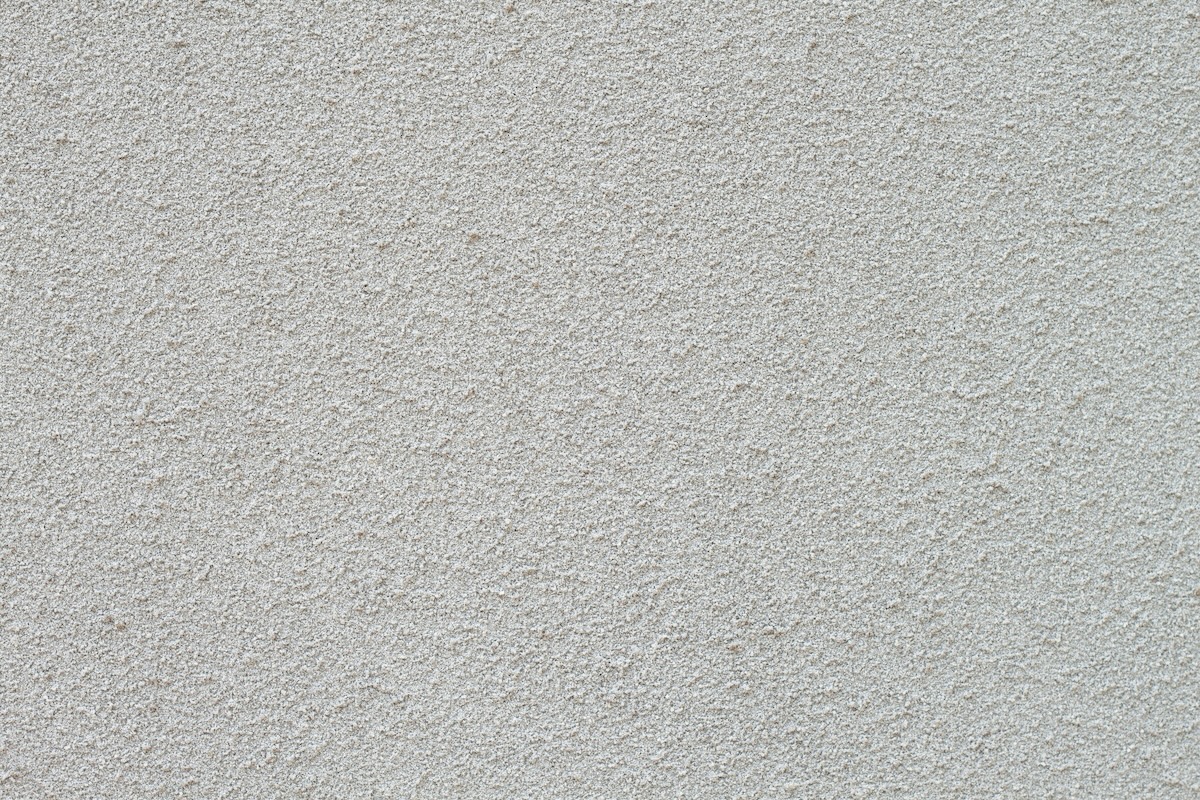
Achieving a sandy wall texture involves spraying a mixture of sand and paint or joint compound on the walls. “It provides a consistent, gritty finish, similar to orange peel,” says Speers, “but with a more pronounced sandy feel.” However, it’s more expensive than orange peel and its gritty surface can make it tough to clean.
- Stir premixed sand joint compound and let sit for a few minutes to release air.
- Pour the compound into a high-volume, low-pressure (HVLP) sprayer.
- Before using on the walls, test on a scrap to achieve the desired consistency.
- Apply to walls.
11. Stomp
The stomp texture is achieved with a stomp brush and results in “distinctive, often spiky or starburst-like patterns,” says Speers. Its sister version called crow’s feet is applied using two brushes instead of just one to create a pair of starbursts. These textures have often been used to hide imperfections on surfaces.
“Heavy versions of stomp texture were more popular back in the 1960s and 1970s, when we were transitioning from plaster to finishing drywall. These are characterized by large sharp peaks and mostly applied to the ceiling,” says Speers.
- Apply joint compound in a thick layer on the wall surface using a stomp brush.
- Then press the stomp brush into the wet compound.
- Lift the brush or tool off the surface. This lifting motion creates the starburst.
FAQ
Q. What is the most popular wall texture?
Among different styles of wall texture, orange peel is the most popular wall texture.
Q. What is the easiest wall texture to apply?
Q. Which texture is best for interior walls?
“It depends on the taste of the customer,” says Speers. “Knockdown texture would probably be my go-to, or orange peel.” However, not every interior space is well suited for textured surfaces. “We don’t really recommend textures in bathrooms or kitchens because of the added moisture in the air,” says Speers.
Q. What is a modern drywall texture?
“The two main textures you will find in homes built today would be versions of orange peel or knockdown textures,” says Speers.
Q. Can a DIYer patch a textured wall successfully?
While it’s possible to patch some textured walls, especially if the pattern is random, it’s not an easy repair for new DIYers. Different types of wall texture require varying levels of skill, tools, and patience.
Speers says that attempting to match textures requires a fair amount of skill and knowledge. “That being said, I would recommend all texture matching to be done by pros.” Pros like his team at The Patch Boys are experienced so they can quickly and efficiently patch and apply new textures with little to no mess.
