We may earn revenue from the products available on this page and participate in affiliate programs. Learn More ›
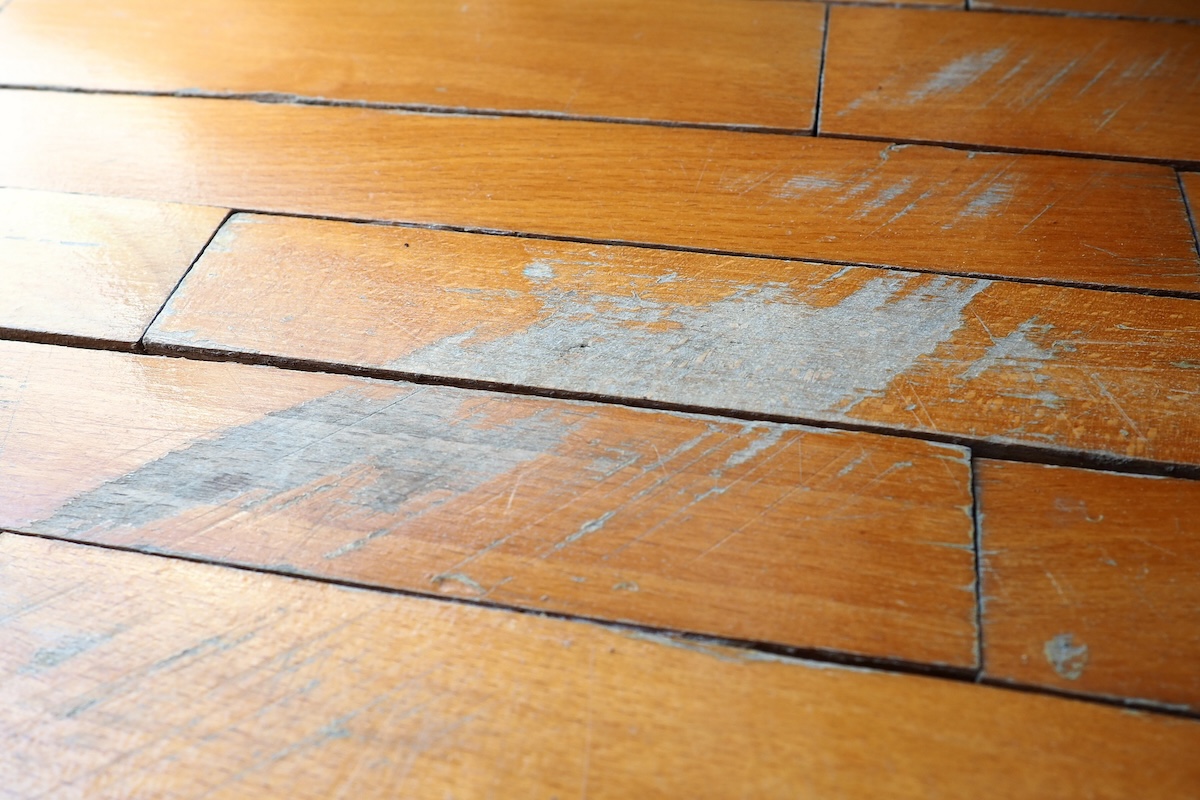
While wood might be one of the longer-lasting flooring options for your home, hardwood floors certainly aren’t indestructible. Dog claws, dirt, hard-soled shoes, and heavy furniture can leave everything from minor scratches to deep gouges in your beautiful hardwood floors.
While you can counter these threats with furniture pads, a “no-shoes” rule, and regular trips to the dog groomer, chances are you’ll still have to deal with scratches from time to time. Fortunately, you don’t have to live with these unsightly imperfections. How do you fix scratched wood floors? Ahead, using a variety of wood floor repair options, including everything from superficial scratches to deep gouges.
What Causes Scratches on Wood Floors?
A number of things can wreak havoc on wood floors:
- Furniture: Moving heavy furniture is perhaps the most common culprit when it comes to damaged hardwood floors. “Dragging furniture across the floor is a big one, and the one action that will typically cause the most damage,” says Rick Berres, owner of Lakeville, Minnesota-based remodeling business Honey-Doers.
- Grit and dirt: “Unkept dirt and dust can be incredibly abrasive for your floor, and as these particles accumulate, you raise the risk of tiny dings and scratches on your floor and finish,” says Zack Clavin, a flooring expert for floor care company Bona. As that dirt accumulates the wood surface, it gets ground in with foot traffic, causing scratches.
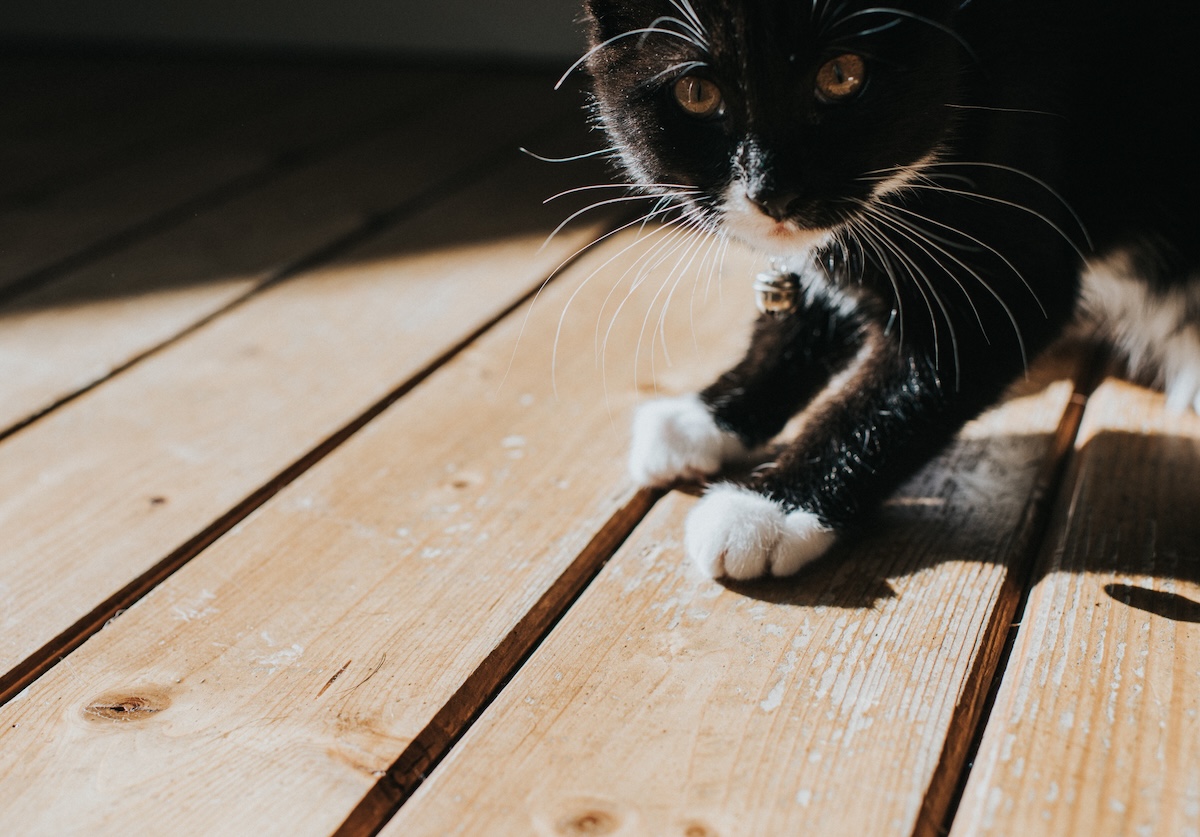
- Pet nails: Pet nails can lay waste to hardwood floors, especially softer wood species like cherry or walnut. “Untrimmed pet claws can easily leave marks on hardwood floors, especially if your pet is energetic and easily excitable or older and struggles for traction,” Clavin says.
- Improper cleaning: Hardwood floors have a protective finish that helps prevent them from being scratched. However, if you use the wrong cleaning products, you can inadvertently remove that finish, leaving your floors vulnerable to scratches.
- Wearing shoes indoors: While any type of shoe can cause scratches on a hardwood floor, high heels are particularly rough on them. “These shoes do not evenly distribute your weight, leading to dents, scratches and pockmarks,” says Clavin. “Even soft-bottom shoes can track in dirt and grit, which gets ground into the surface of the floor like sandpaper over time.”
Why Proper Floor Cleaning is Important

Cleaning the floors regularly is key to keeping them in good condition. Use a lightweight cordless vacuum cleaner or a broom to remove any loose dirt.
“Your choice of cleaning tools also matters: Stiff-bristled brooms and vacuums with beater bars and wheels can scratch and ding your hardwood floors, even when used with the proper cleaning techniques,” Clavin says.
After vacuuming or sweeping, mop the floors using a mop for hardwood floors with a hardwood floor cleaner, such as Bona Hardwood Floor Cleaner Spray. Making sure that the cleaner you choose is rated for your type of hardwood floor will also help keep them free of grit.
Wood Floor Scratch Repair
Superficial Scratches
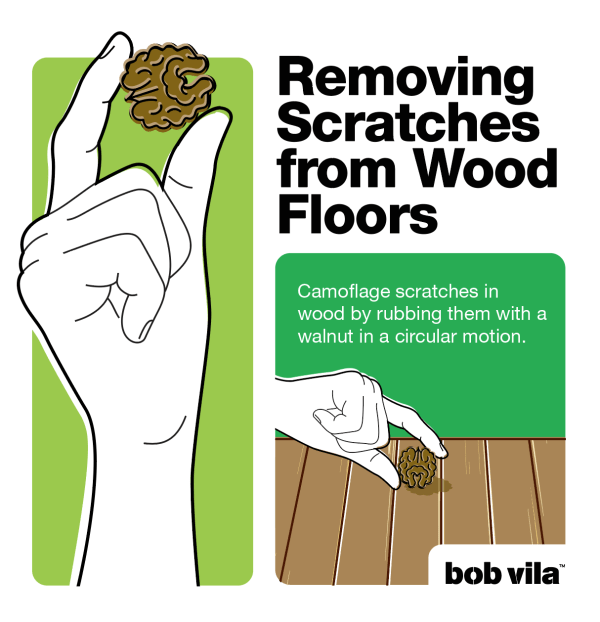
- Rub walnuts: Grab a walnut from the pantry and begin by rubbing it in your hand to loosen up the oils in the nut. Next, rub it vigorously over the scratches. As you rub, oils and natural brown dyes in the walnut will release into the scratch. Allow the oils to soak in for a minute or two, then buff with a soft cloth.
- Make a DIY floor refresher: If you’re fresh out of walnuts, you can also use a paste made from ingredients you probably already have in your pantry: olive oil and baking soda. Combine equal parts of the two to create a paste, then rub it into the scratch using a soft cloth. The mildly abrasive baking soda buffs out the scratch while the olive oil fills it in. Allow the paste to sit for a few minutes, then buff with a damp cloth, using a circular motion.
Minor Scratches
- Harness the power of steel wool and vinegar: Clean the floor using a vinegar solution or hardwood floor cleaner. Start by mixing equal parts water and vinegar then apply a small amount of the solution to the scratch. Give it a few hours to soak in, then rub with fine-grade steel wool, working in the same direction as the grain until the scratch disappears.
- Try these products: “Try a wood floor cleaner and a microfiber cleaning pad to wipe away the scratch or reduce its visibility,” Clavin says. Wood floor cleaner reduces the appearance of scratch marks caused by dirt, shoes, pets, and furniture scrapes. You can also use a wood floor scratch cover, which uses pigments and dyes that match the wood tone to hide scratches, though Clavin warns that these products only “hide the damage and cannot repair or restore the floor’s finish.”
Deep Scratches
- Patch and mend: For deeper gouges in your wood, Berres recommends wood putty. “Use some wood putty that’s as close to the color of the wood as possible,” he says. “After applying the putty, you sand the area very, very well until it’s all smooth, then stain it to match the color of the wood.”
- Use a pre-colored latex wood filler. Wood fillers come in a variety of colors and may need to be blended to match your floor exactly. This option is best for small, deep holes that can then be filled, sanded, stained, and finished, leaving your floor flawless once more.
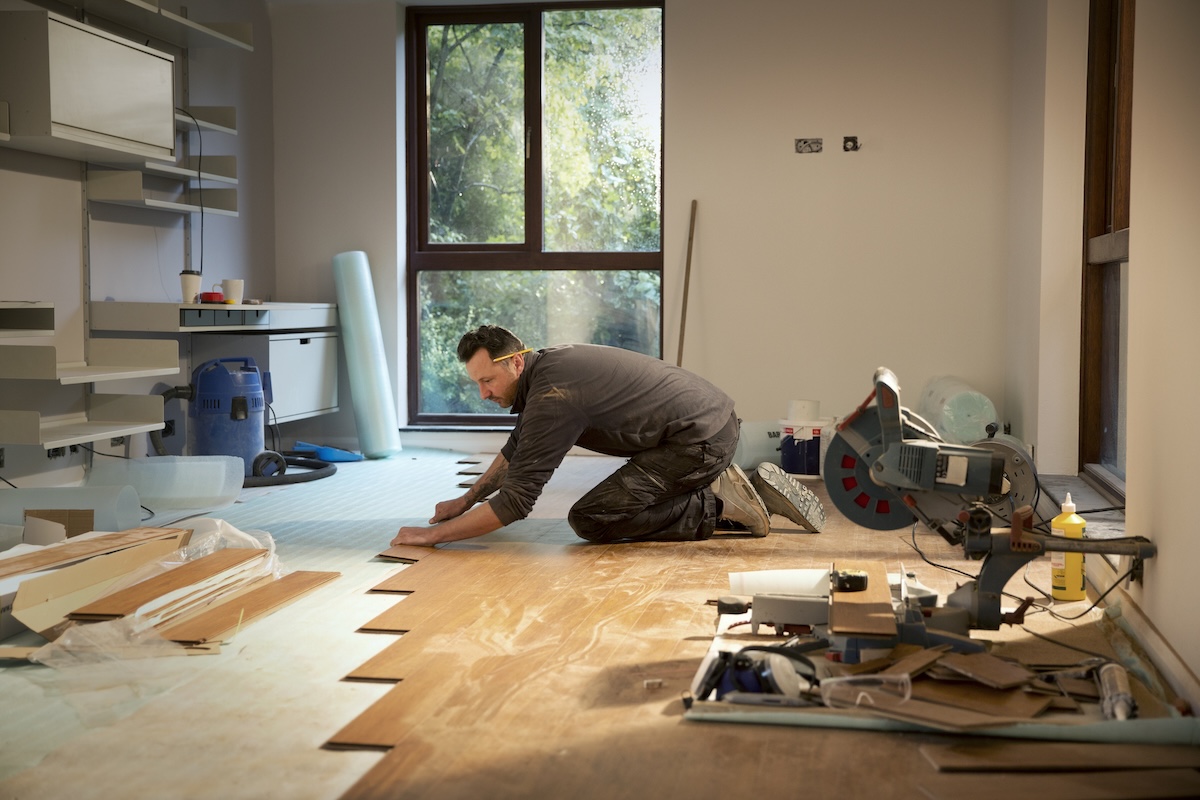
- Sand and refinish: If you’re dealing with deep scratches or water damage over a widespread area of the floor, the best option may be to hire a hardwood floor professional to sand and refinish the floor. Resanding removes a layer of wood, gouges, and any other imperfections, such as paint and water damage. “Depending on the floor’s thickness and the expertise of the professional, hardwood can typically be sanded and refinished between four to six times over its lifespan,” Clavin says.
When Should You Replace Wood Floors?
While scratches in most types of hardwood flooring can often be repaired, in some cases the best option may be to rip up the floor and start anew. If the gouges are too deep to fix using the above methods, or if you’re dealing with widespread damage, then replacing the hardwood floor may be the only option. If they’re severely damaged structurally, or you have water damage, that’s often not fixable.
“Wood floors are more resilient than you think, and can often be brought back to life with a sanding and a stain,” Berres says. “However, if they’re severely damaged structurally, or you’ve got water damage, that’s often not fixable.”
If you choose to replace wood floors, floor installation costs an average of $3,067 for about 500 square feet.
Consult a pro
Discuss your flooring needs with an expert near you and get free, no-commitment project estimates.
How to Prevent Scratches on Wood Floors

While the methods above will help you repair scratches to wood floors, the steps below will help to prevent them from happening in the first place:
- Put pads under heavy furniture, stools, and chairs to prevent them from scratching the hardwood.
- Put down rugs and runners in high traffic areas to serve as a shield for your wood floors.
- Clean your floors regularly using a small vacuum with no beater bar or a soft-bristled broom to prevent dirt from building up on the surface.
- Adopt a no-shoes policy in your home.
- Keep pets’ nails properly trimmed.
- Periodically apply wood polish, which serves as a protective barrier from scratches.
