We may earn revenue from the products available on this page and participate in affiliate programs. Learn More ›
Some DIY projects are more labor intensive than others, like the large cedar fence my husband and I built around our backyard vegetable garden. Setting posts was the hardest part. Digging holes deeper than the frost line and hauling 60-pound bags of concrete mix was physically challenging, to say the least, but the resulting sturdy fence made our efforts worth it.
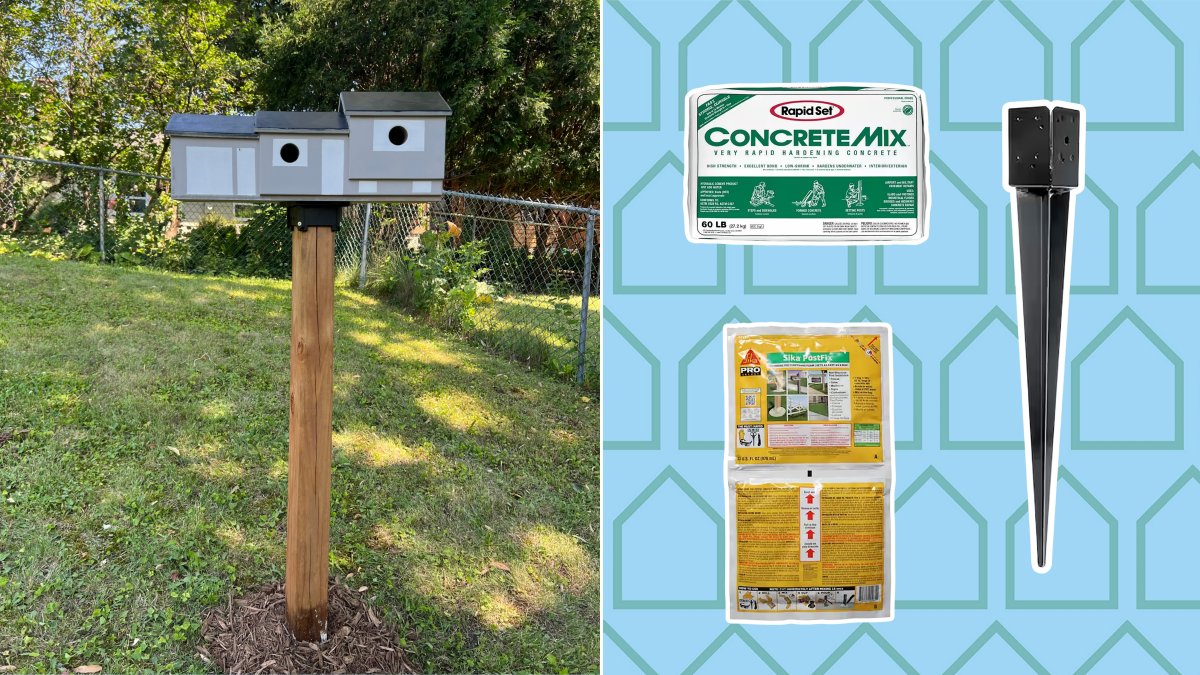
That first grueling experience spurred my search for alternative post-setting methods as we planned our next backyard projects. For a temporary gate to access an additional garden plot, we used large steel spikes; and for mounting a heavy birdhouse that my brother made for us, we used expanding foam. Each method has its pros and cons, so keep reading to learn which one might be best for your needs.
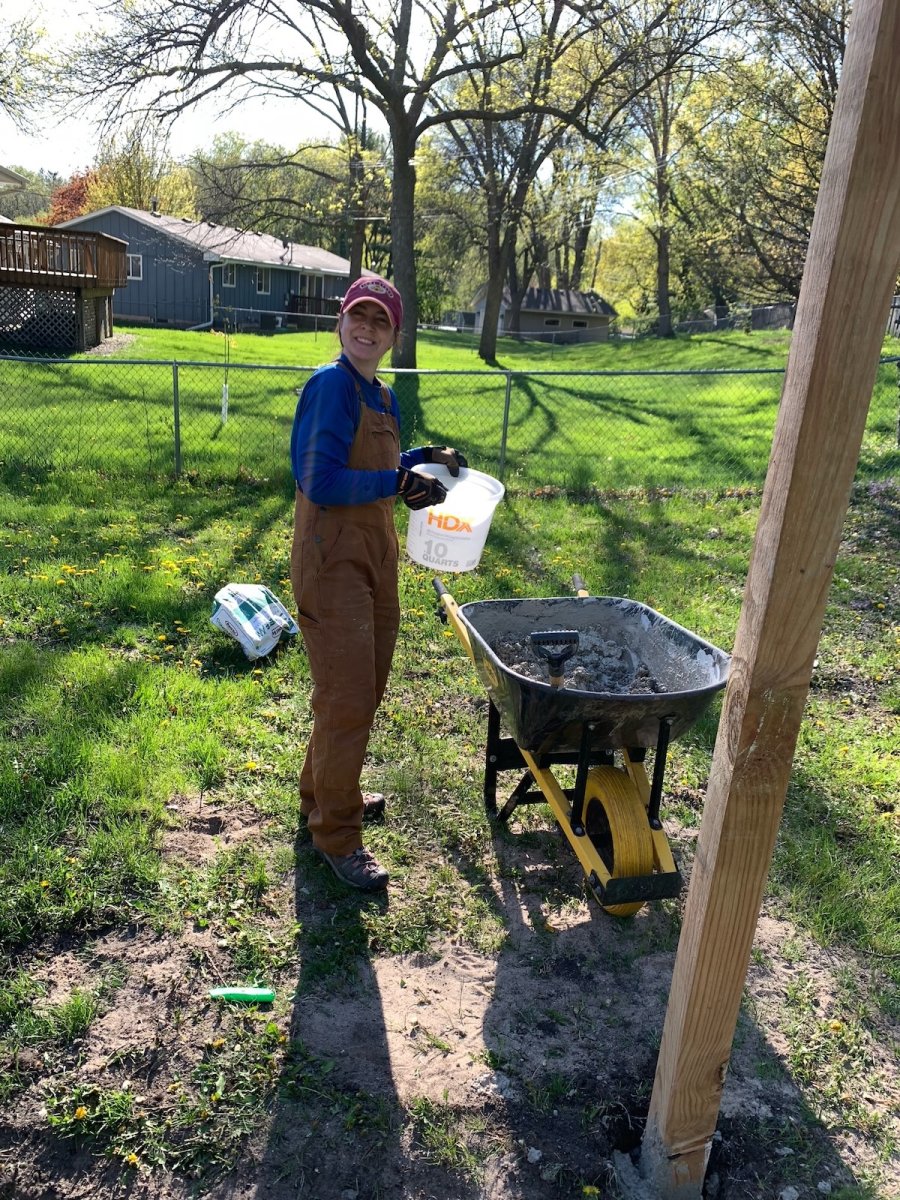
Setting a Fence Post with Concrete
Concrete is the traditional way to set a 4×4 wood fence post in the Upper Midwest, where we have extreme freeze-thaw cycles every year. The process is basic, but it can be backbreaking.
Tried-and-True Method
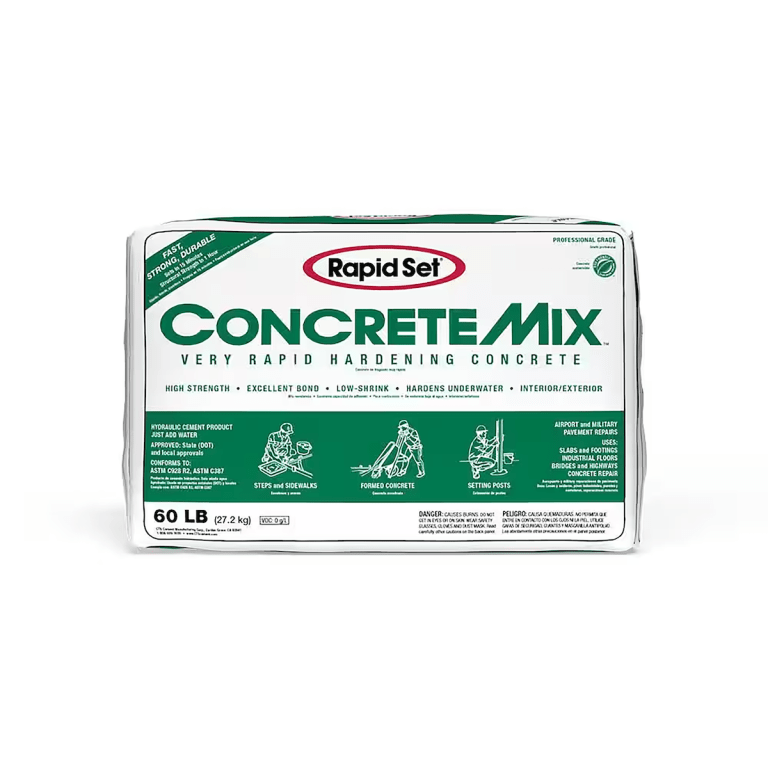
Rapid Set Concrete Mix
This fast-setting concrete mix is the best option for installing permanent, structural posts in your yard.
Buy Now- Dig a hole three times the width of the post and about 6 inches deeper than the frost line. We rented a power auger for this task, but it still required considerable strength to lift the tool and dirt out of the hole.
- Add a few inches of gravel to the base of the hole for drainage.
- Using a wheelbarrow, an old shovel, and a hose, mix enough Rapid Set concrete to fill the hole around the post.
- Hold or brace the post so it stands plumb as the concrete hardens. For fast-setting concrete mixes like the one we used, this takes about 15 to 20 minutes.
Though tiring, this by-the-book method is the most reliable for installing permanent posts that will weather the weather for years to come.
| Pros | Cons |
|---|---|
| + Sturdy + Long-lasting + Familiar | – Laborious – Time-consuming – Messy |
Setting Gate Posts with Spikes
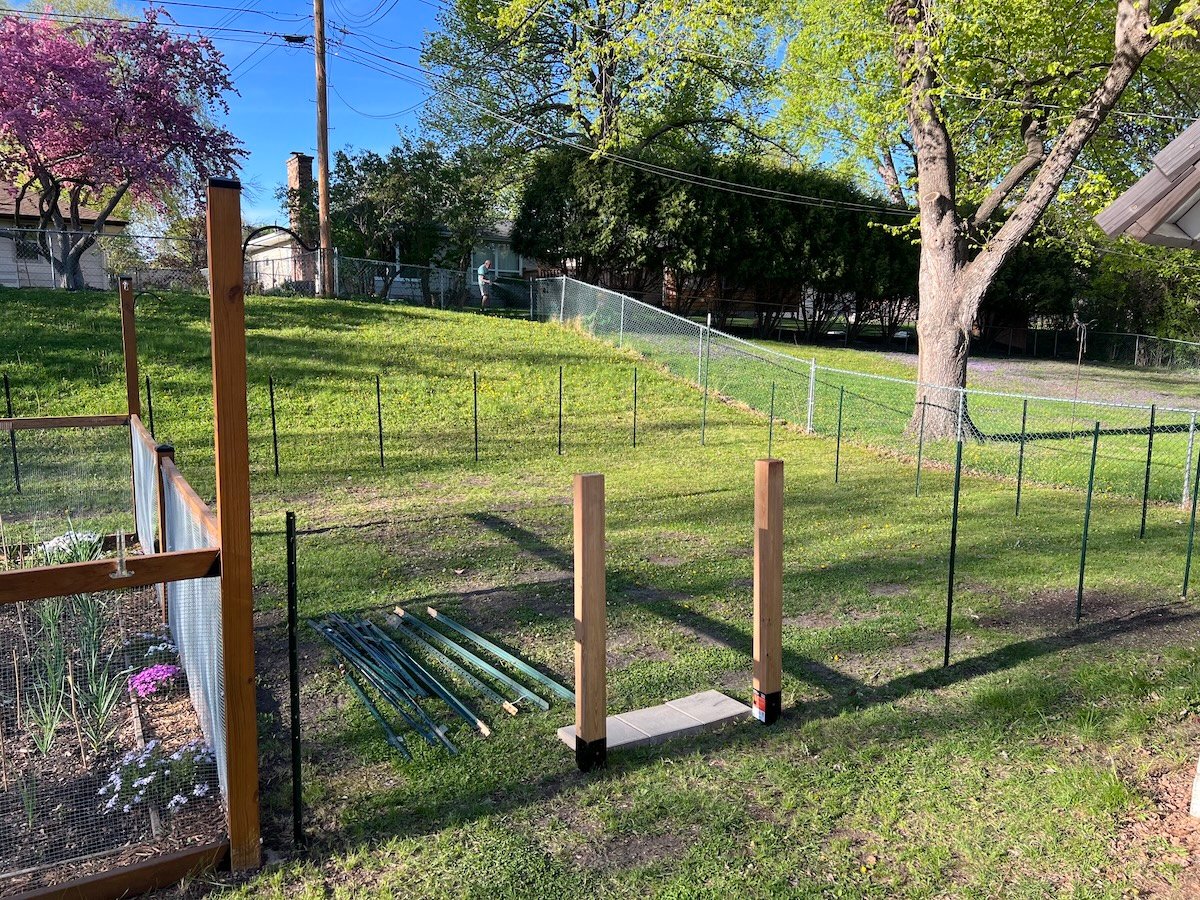
Perhaps scarred by how strenuous it was to set fence posts in concrete, we decided to try a different approach when installing a temporary gate in our backyard. We purchased two Simpson Strong-Tie E-Z Spikes that are specifically designed to accept 4×4 posts and to eliminate digging holes altogether. This method takes less time, but it is vulnerable to frost heave.
No-Dig Method
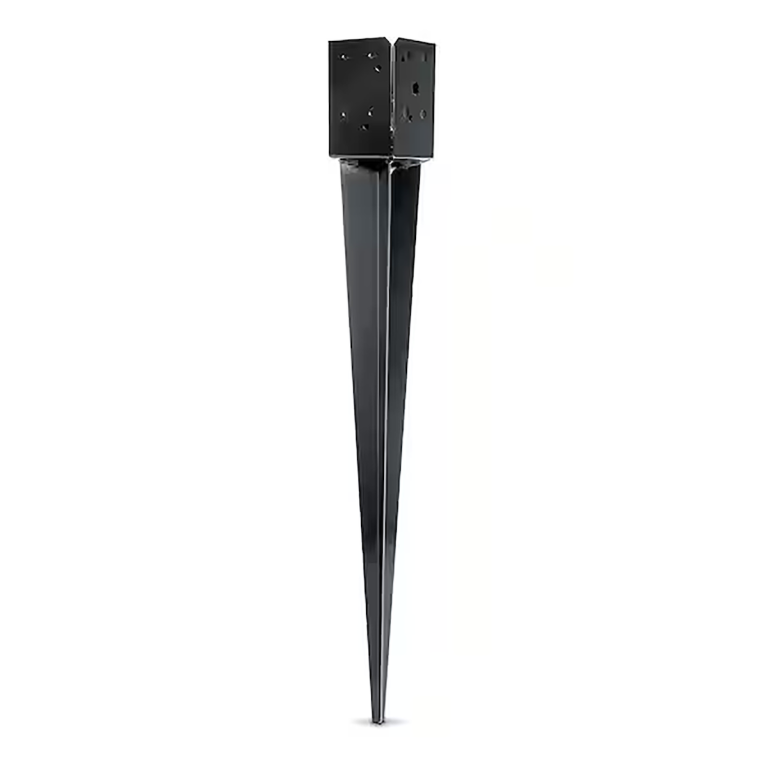
Simpson Strong-Tie E-Z Spike
This long steel spike works well for installing a 4×4 wood post in your yard that you might want to move later on.
Buy Now- Use a hose to wet the ground where the spike will go.
- Place a temporary wood block into the post slot on the spike.
- Use a rubber mallet to drive the spike into the soil until just the post slot remains above ground.
- Remove the temporary block and insert the 4×4 wood post. Check that it is plumb and make minor adjustments by pushing and pulling on the post slightly. Use 1½ inch connector screws to secure the post to the spike.
While taking concrete out of the equation certainly sped up the process, pounding the spikes into the ground proved to be just as physically taxing as digging! The true benefit of this method, in my opinion, is that the posts can be moved later on.
| Pros | Cons |
|---|---|
| + Temporary + No digging + Less mess | – Expensive – Susceptible to frost heave |

This Expanding Foam Can Replace Concrete
Setting a Post for a Birdhouse with Expanding Foam
When my brother gifted us a large birdhouse, we needed to install yet another post in our backyard. It was the perfect opportunity to try Sika PostFix expanding foam. This method is ideal for setting nonstructural posts, and one 2-pound bag is equivalent to two 50-pound bags of concrete mix—minus the dust!
Fastest to Set Method
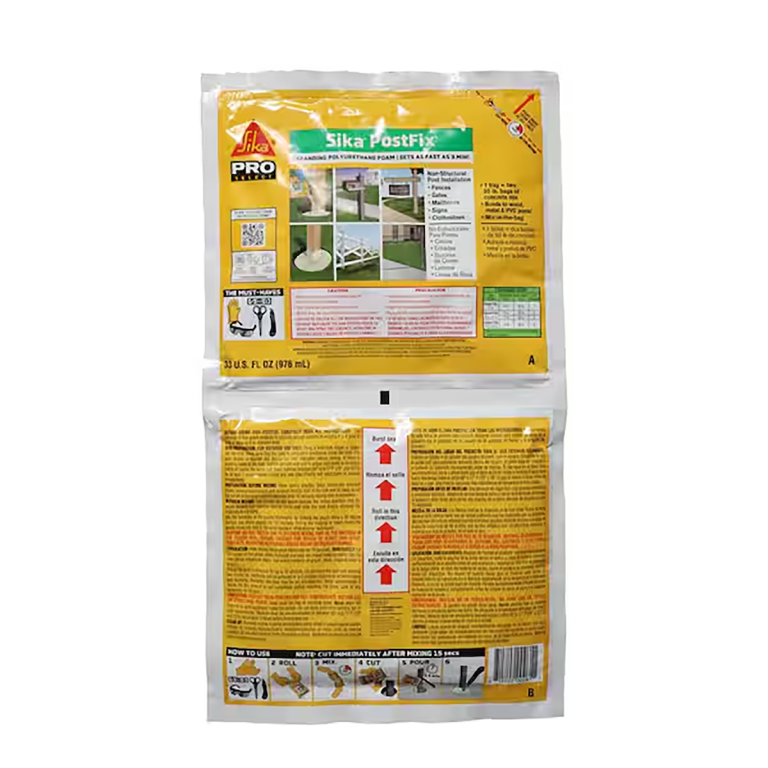
Sika PostFix
This expanding foam product works well for installing a permanent, nonstructural post in the yard quickly.
Buy Now- Dig a hole about 6 inches deeper than your region’s frost line depth.
- Roll the package until the internal seal breaks, then mix the two liquid components together inside the package for 15 seconds.
- Cut open the package and pour the liquid into the hole.
- Use a level to hold the post plumb as the expanding foam fills the hole, about 3 minutes.
- Once hardened, use a handsaw to trim off any excess foam so it’s flush with the ground. We added mulch around the base of the post.
Though we still had to dig a deep hole, the expanding foam was easy to use and set quickly. It creates a sturdy post that can withstand freeze-thaw cycles, but it’s not recommended for structural applications like decks, full fences, or swing sets. For mounting a mailbox or a for-sale sign or a handcrafted birdhouse like ours, I would recommend giving it a try.
| Pros | Cons |
|---|---|
| + Lightweight + Fast + Less mess | – Unfamiliar product – Nonstructural posts only |