We may earn revenue from the products available on this page and participate in affiliate programs. Learn More ›
It’s hard to patiently work on a home improvement project when you see major renovations take place on TV in less than 60 minutes. If these types of shows inspire you, just think how good you’ll feel after following through on a few of these home refresh or maintenance ideas. Most of these projects are simple enough for beginners, and after just 60 minutes of effort, you’ll have the satisfaction of having made your home look and function better.
Freshen up an old room with paint.

Photo: Klaus Vedfelt/DigitalVision via Getty Images
Paint is a quick and effective way to add color or update the look of a room. You don’t even need to paint an entire room to make a big impact: You can just accent a single wall with a paint color you love or that’s outside your comfort zone. While you might regret going too bright or bold for an entire room, a dramatic color is perfect for an accent wall. Even better, covering only one wall will cost less and won’t take as much time.
Switch out a faucet.
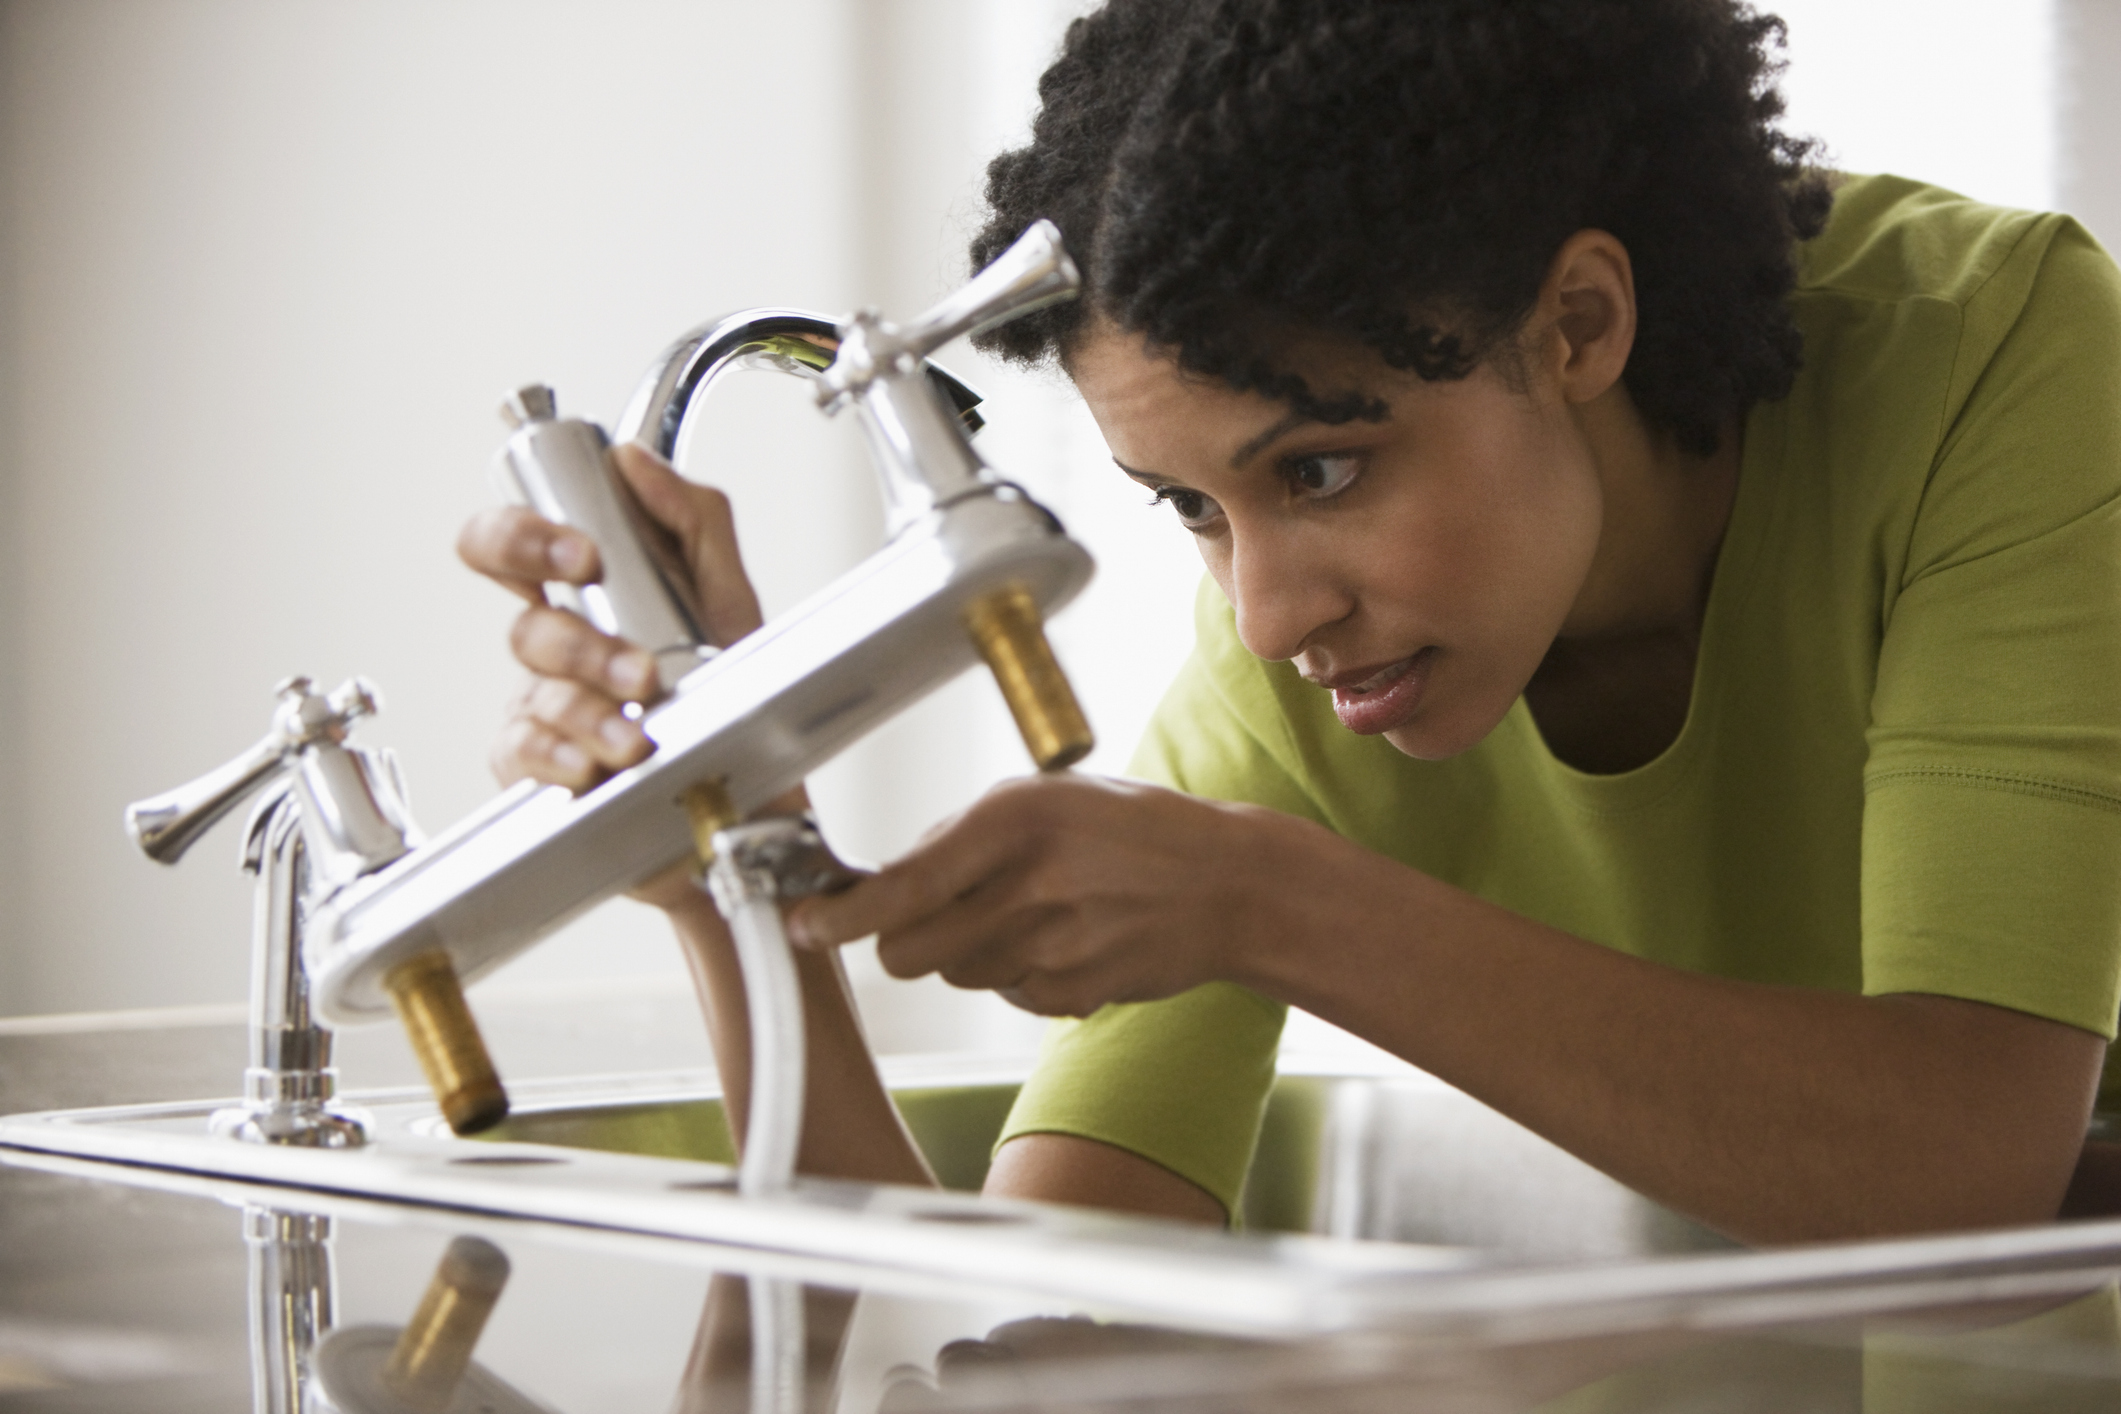
Photo: Jose Luis Pelaez/DigitalVision Inc via Getty Images
Sick of your drab, leaky faucet? If you can wield a wrench, you can install a new faucet. Before you start the job, turn off the water supply. Opt for one of the top faucet brands to ensure a long-lasting replacement. Then just unscrew the connections from your old faucet and screw in your new faucet. Add an aerator to an often-used kitchen, bathroom, or mudroom faucet, and you can lower your water bill at the same time.
Clean the dryer duct.
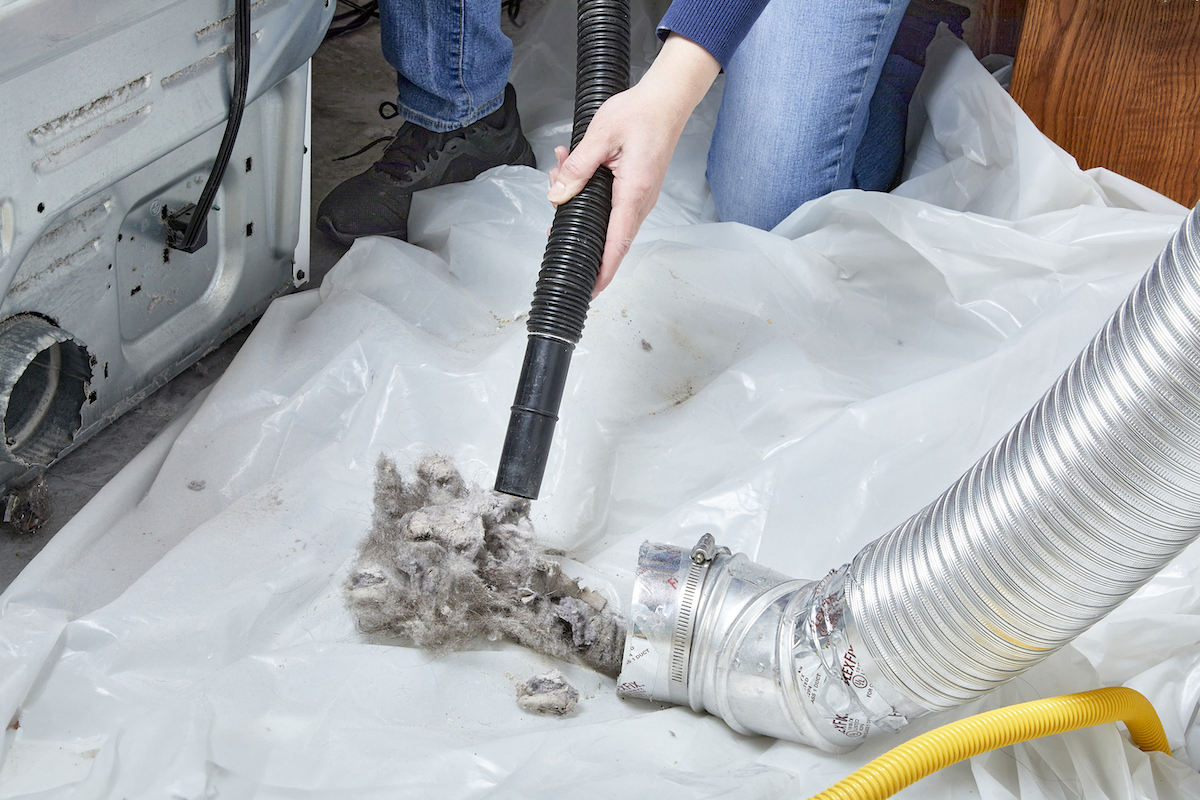
Photo: Tom Fenenga for Bob Vila
If your dryer doesn’t dry clothes as quickly as it used to, lint could be the culprit. Lint buildup not only affects efficiency but also increases the risk of fire in your home. All you need to clean the dryer vent is a vacuum, or even a dryer vent brush, and someone to help you move your dryer away from the wall. Then, unplug the dryer, disconnect the duct, and vacuum it out.
Check electrical cords and connections.

Photo: D-Keine/E+ via Getty Images
To increase household safety, conduct an audit of your electrical outlets and the items they power. For childproofing purposes, insert outlet covers into unused wall and power strip outlets, and secure loose wires with cable ties or similar items. Take note of overloaded circuits or circuits that frequently trip, and contact an electrician if necessary. Reroute cords to avoid overloading or plugging the wrong items into power strips. Finally, replace items that have frayed cords and call in a pro if any light switch is hot to the touch.
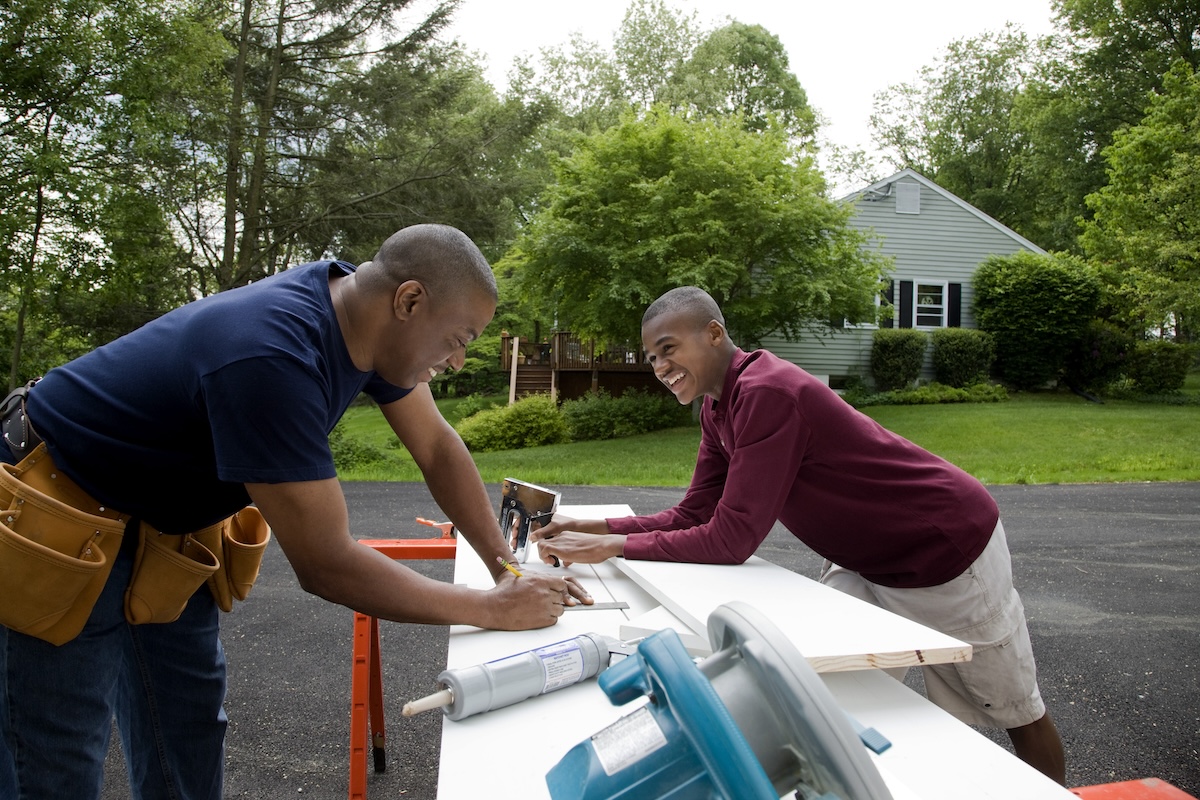
Build a raised garden bed.

Photo: Vesnaandjic/E+ via Getty Images
Adding a raised bed is one of many easy backyard landscaping ideas that enhance your property’s appearance. You can build an 8-foot-square garden bed in less than an hour, using just eight 8-foot-long sections of pressure-treated lumber, screws, construction adhesive, and landscape adhesive. Cut pieces to size with a saw, and use a drill and screws to secure them together. Add water-permeable landscape fabric to the base to prevent the growth of weeds (and hardware cloth, if you want to keep critters from digging under your bed).
Scrub driveways or pathways.
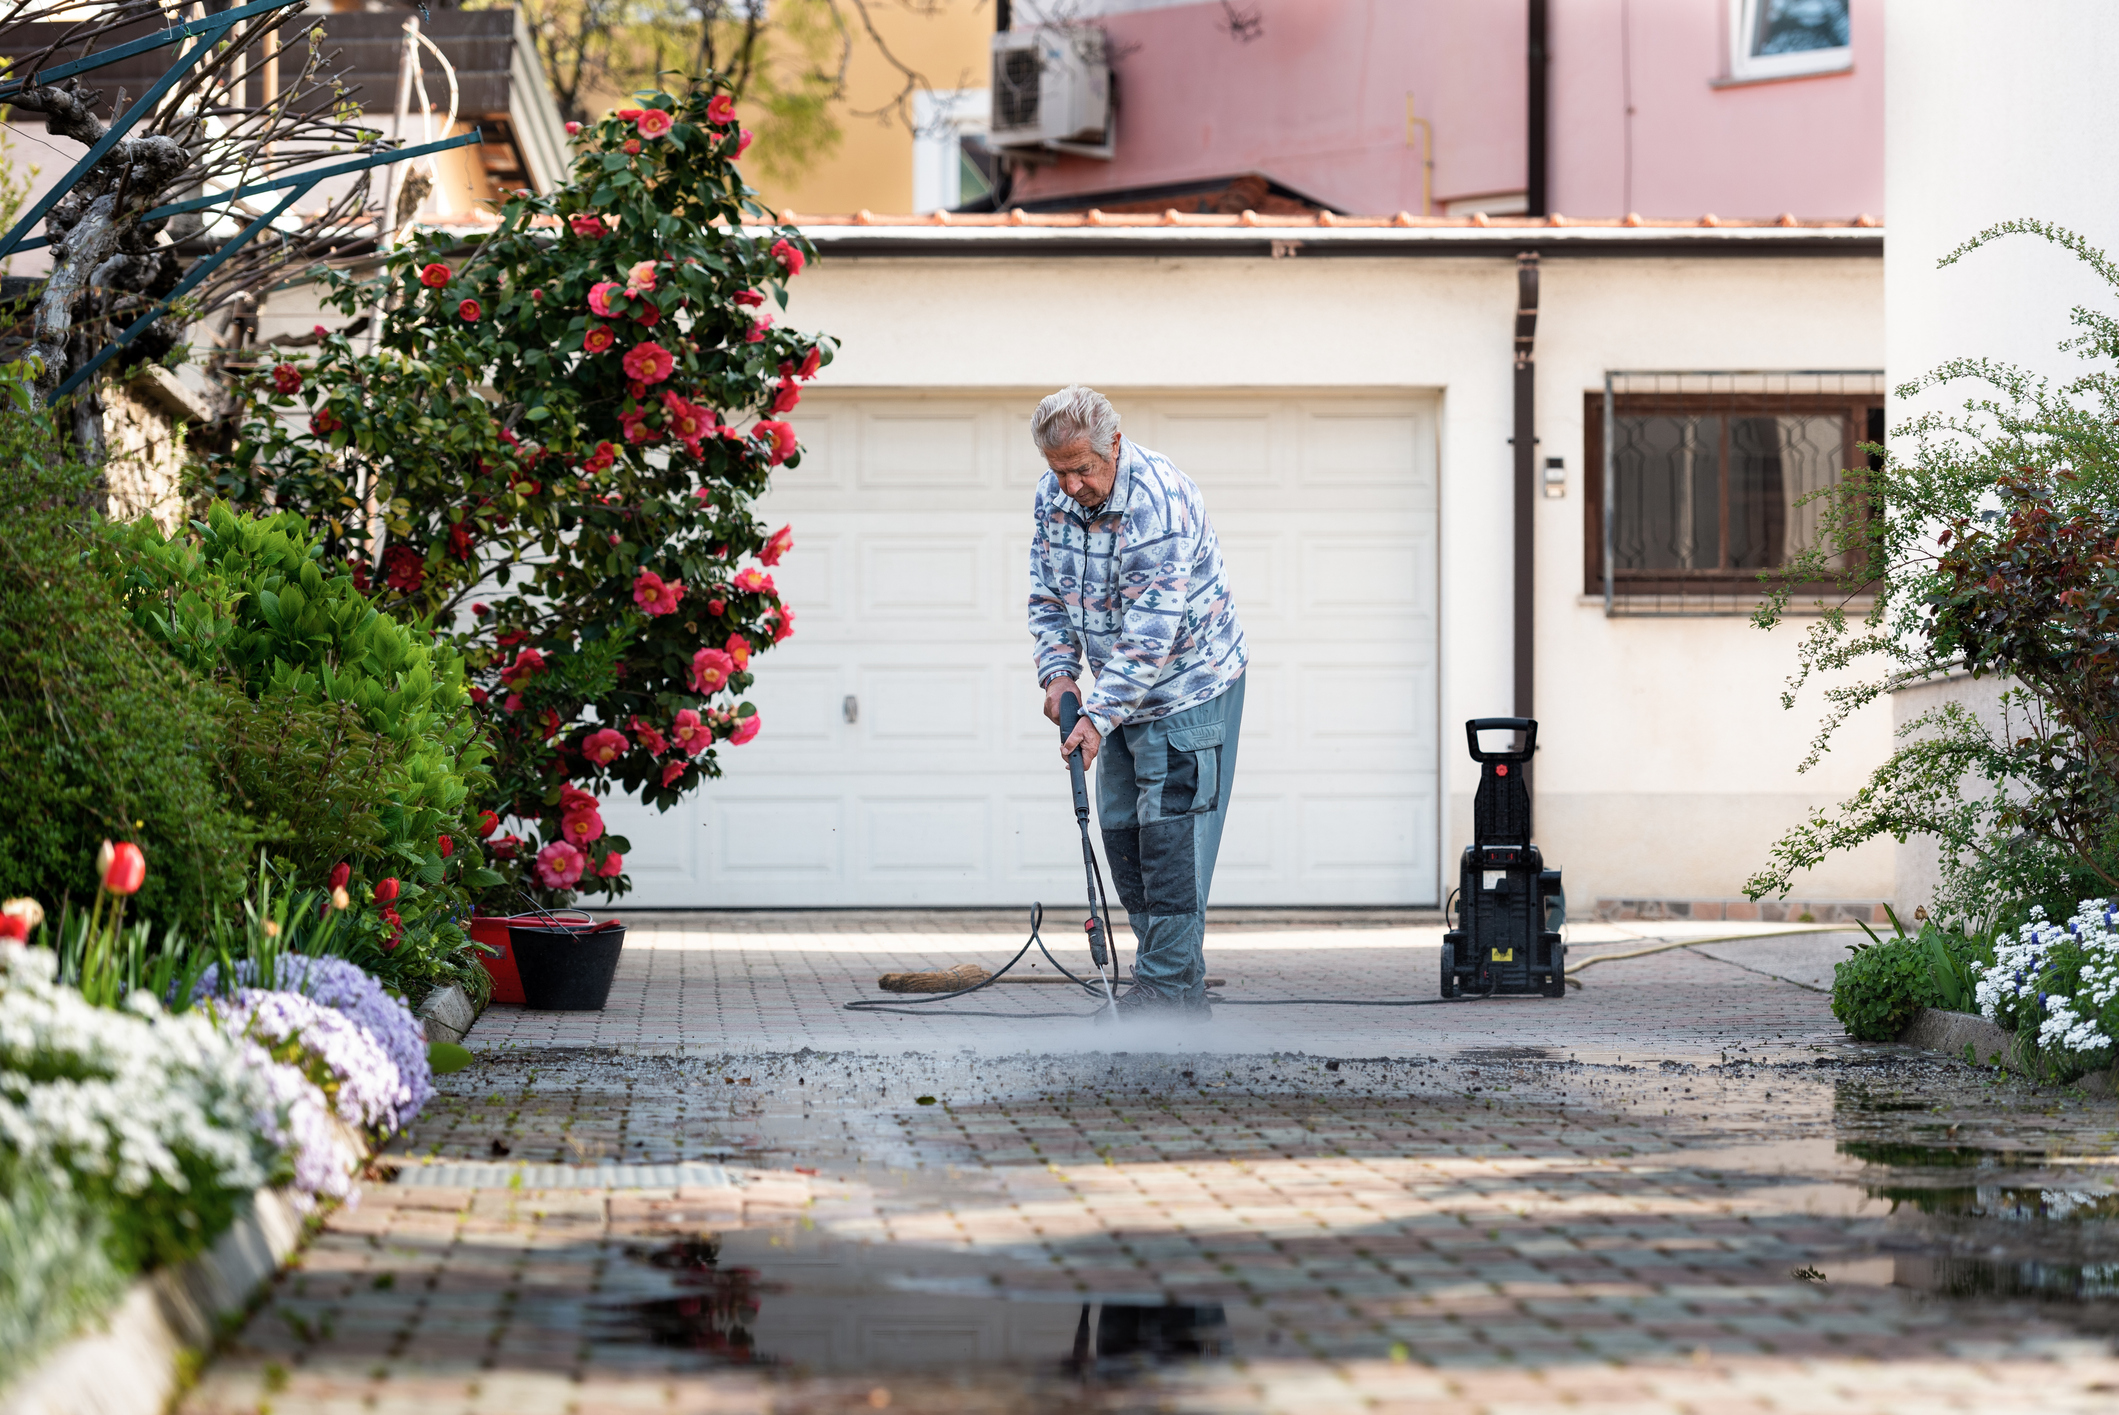
Photo: Hmeljak Vladimir/E+ via Getty Images
Sidewalks, walkways, and driveways can become stained by wet leaves, mildew, and automotive leaks. Get rid of these eyesores with a thorough power-washing, which takes far less time than scrubbing by hand. Add a pressure nozzle or wand to your garden hose, or, for tougher jobs, turn to a pressure washer. Use pressure washer soap for an even deeper clean.
Update your cabinet hardware.
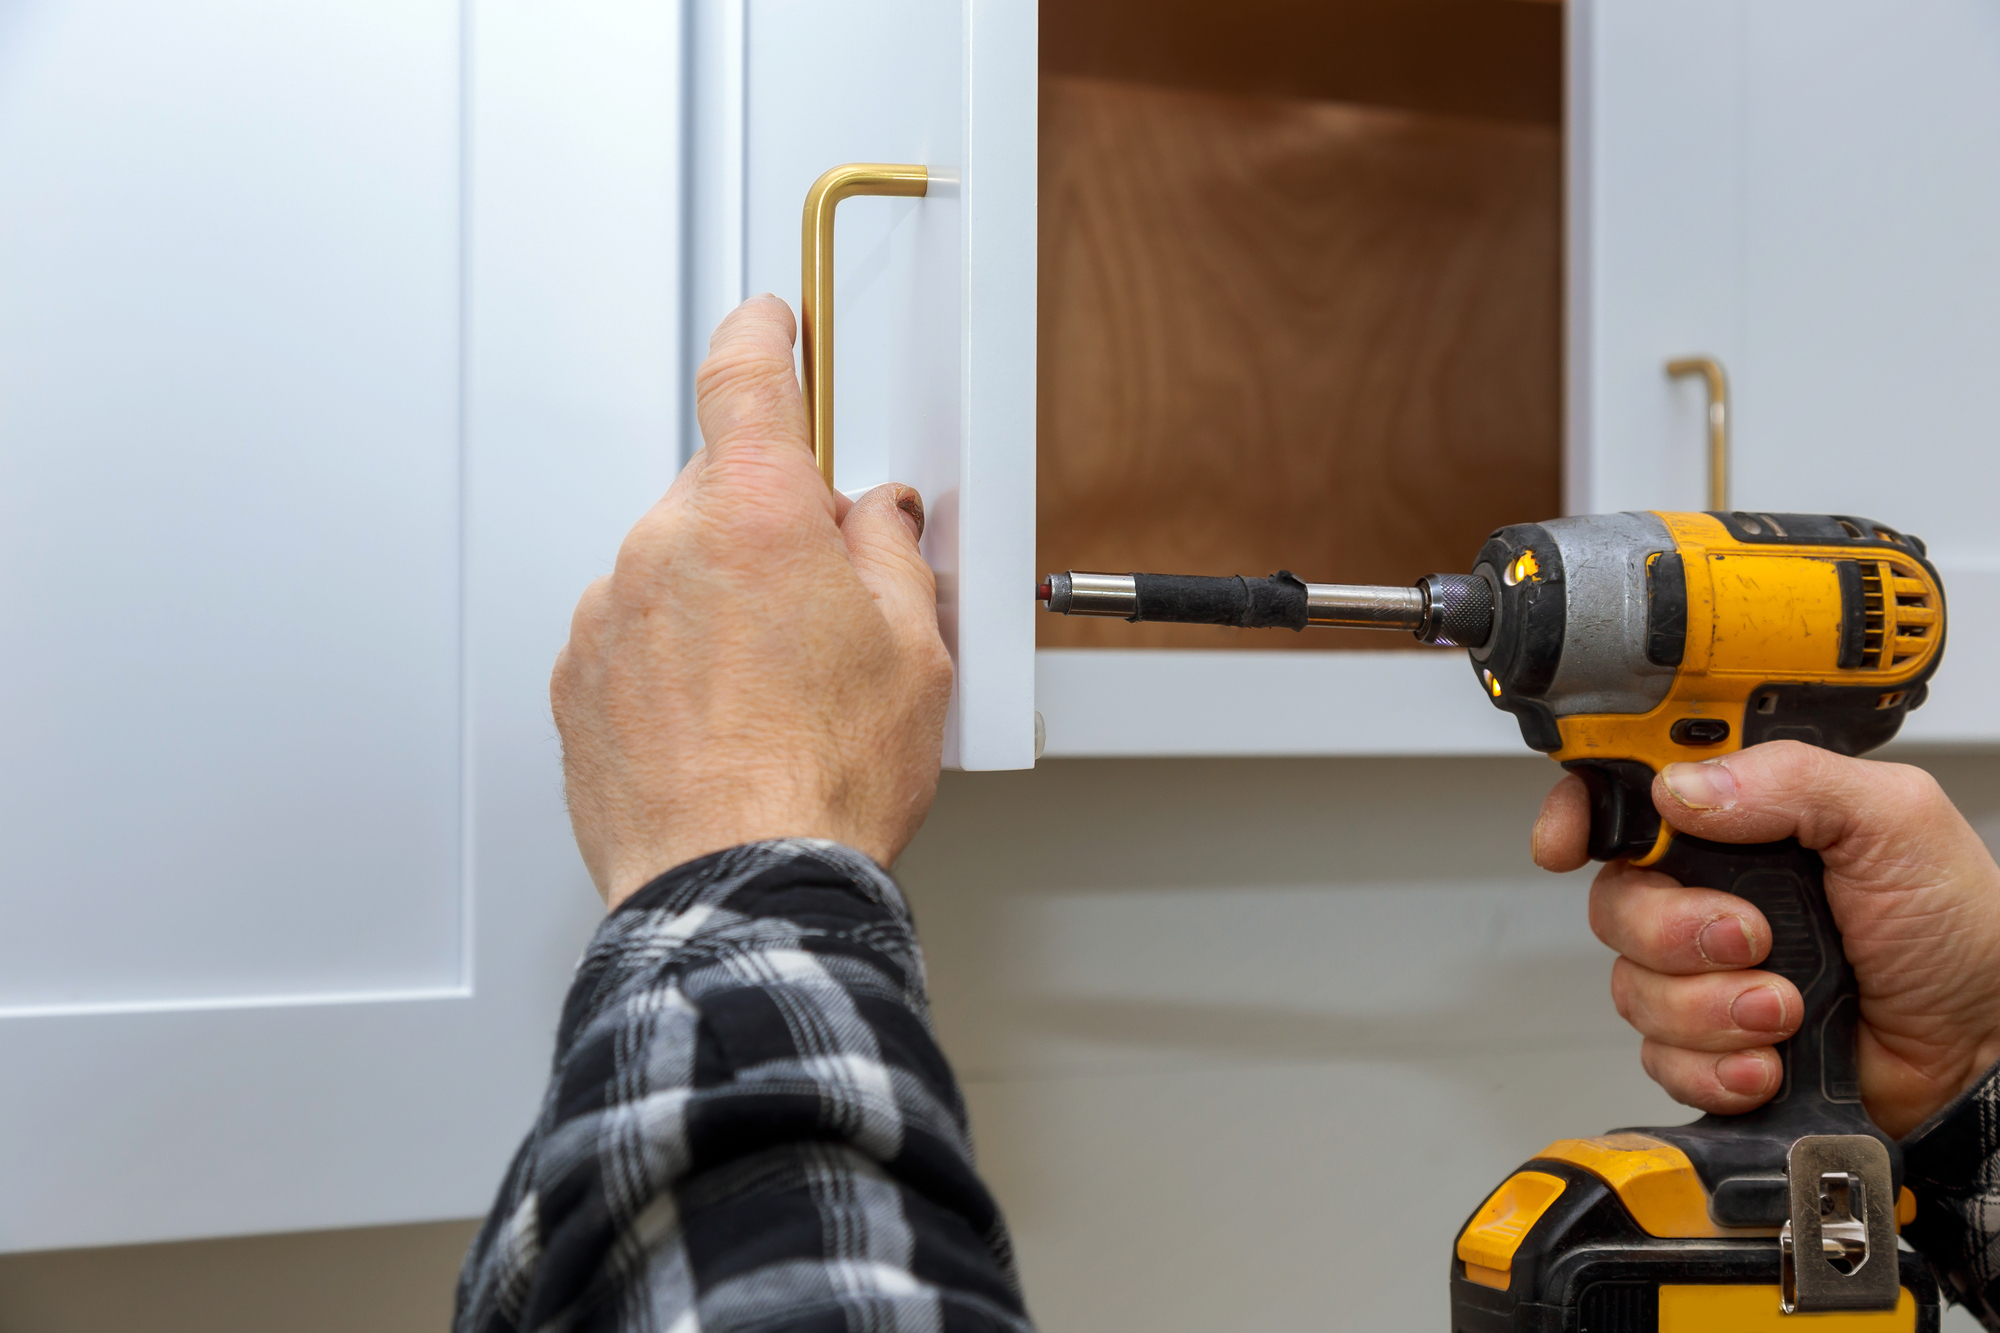
Photo: photovs/Depositphotos
Replacing grimy or outdated cabinet pulls and knobs can update the look of your kitchen, bathroom, or any other room, and improve the appearance and functionality of your cabinetry. When selecting new cabinet hardware, make sure any new pulls have the same center-to-center measurement as the old ones. Installation usually requires nothing more than a screwdriver. To mount pulls on doors that never had them before, create a template to ensure that you drill your holes in the same spot each time.
De-grime the exterior of your house.

Photo: Tom Fenenga for Bob Vila
It’s easy to clean vinyl siding with a hose and a scrub brush, but a pressure washer makes siding cleaning even easier (particularly because it means not having to climb a ladder while you’re scrubbing). A pressure washer can also clean your gutters without your having to crawl on the roof—just aim and spray. It can even be used to clean second-floor windows, but be sure they’re closed securely before you begin. To protect surfaces, start at a low setting, remove window screens, and never aim upward, which can force water under the siding. If you don’t want to purchase a pressure washer, you may be able to rent one from your local home center.
Install weatherstripping.

Photo: Steve Jacobs/E+ via Getty Images
Knowing how to weatherstrip around doors and windows is a DIY skill worth cultivating. Installing weatherstripping will make your home more comfortable and ensure your furnace won’t have to work so hard to warm your house. Use permanent weatherstripping, either adhesive or nail-on, around doors and windows that are opened throughout the season. For windows that will stay shut until spring, consider temporary weather seals or sealants that peel off when they’re no longer needed.
Replace the furnace filter.
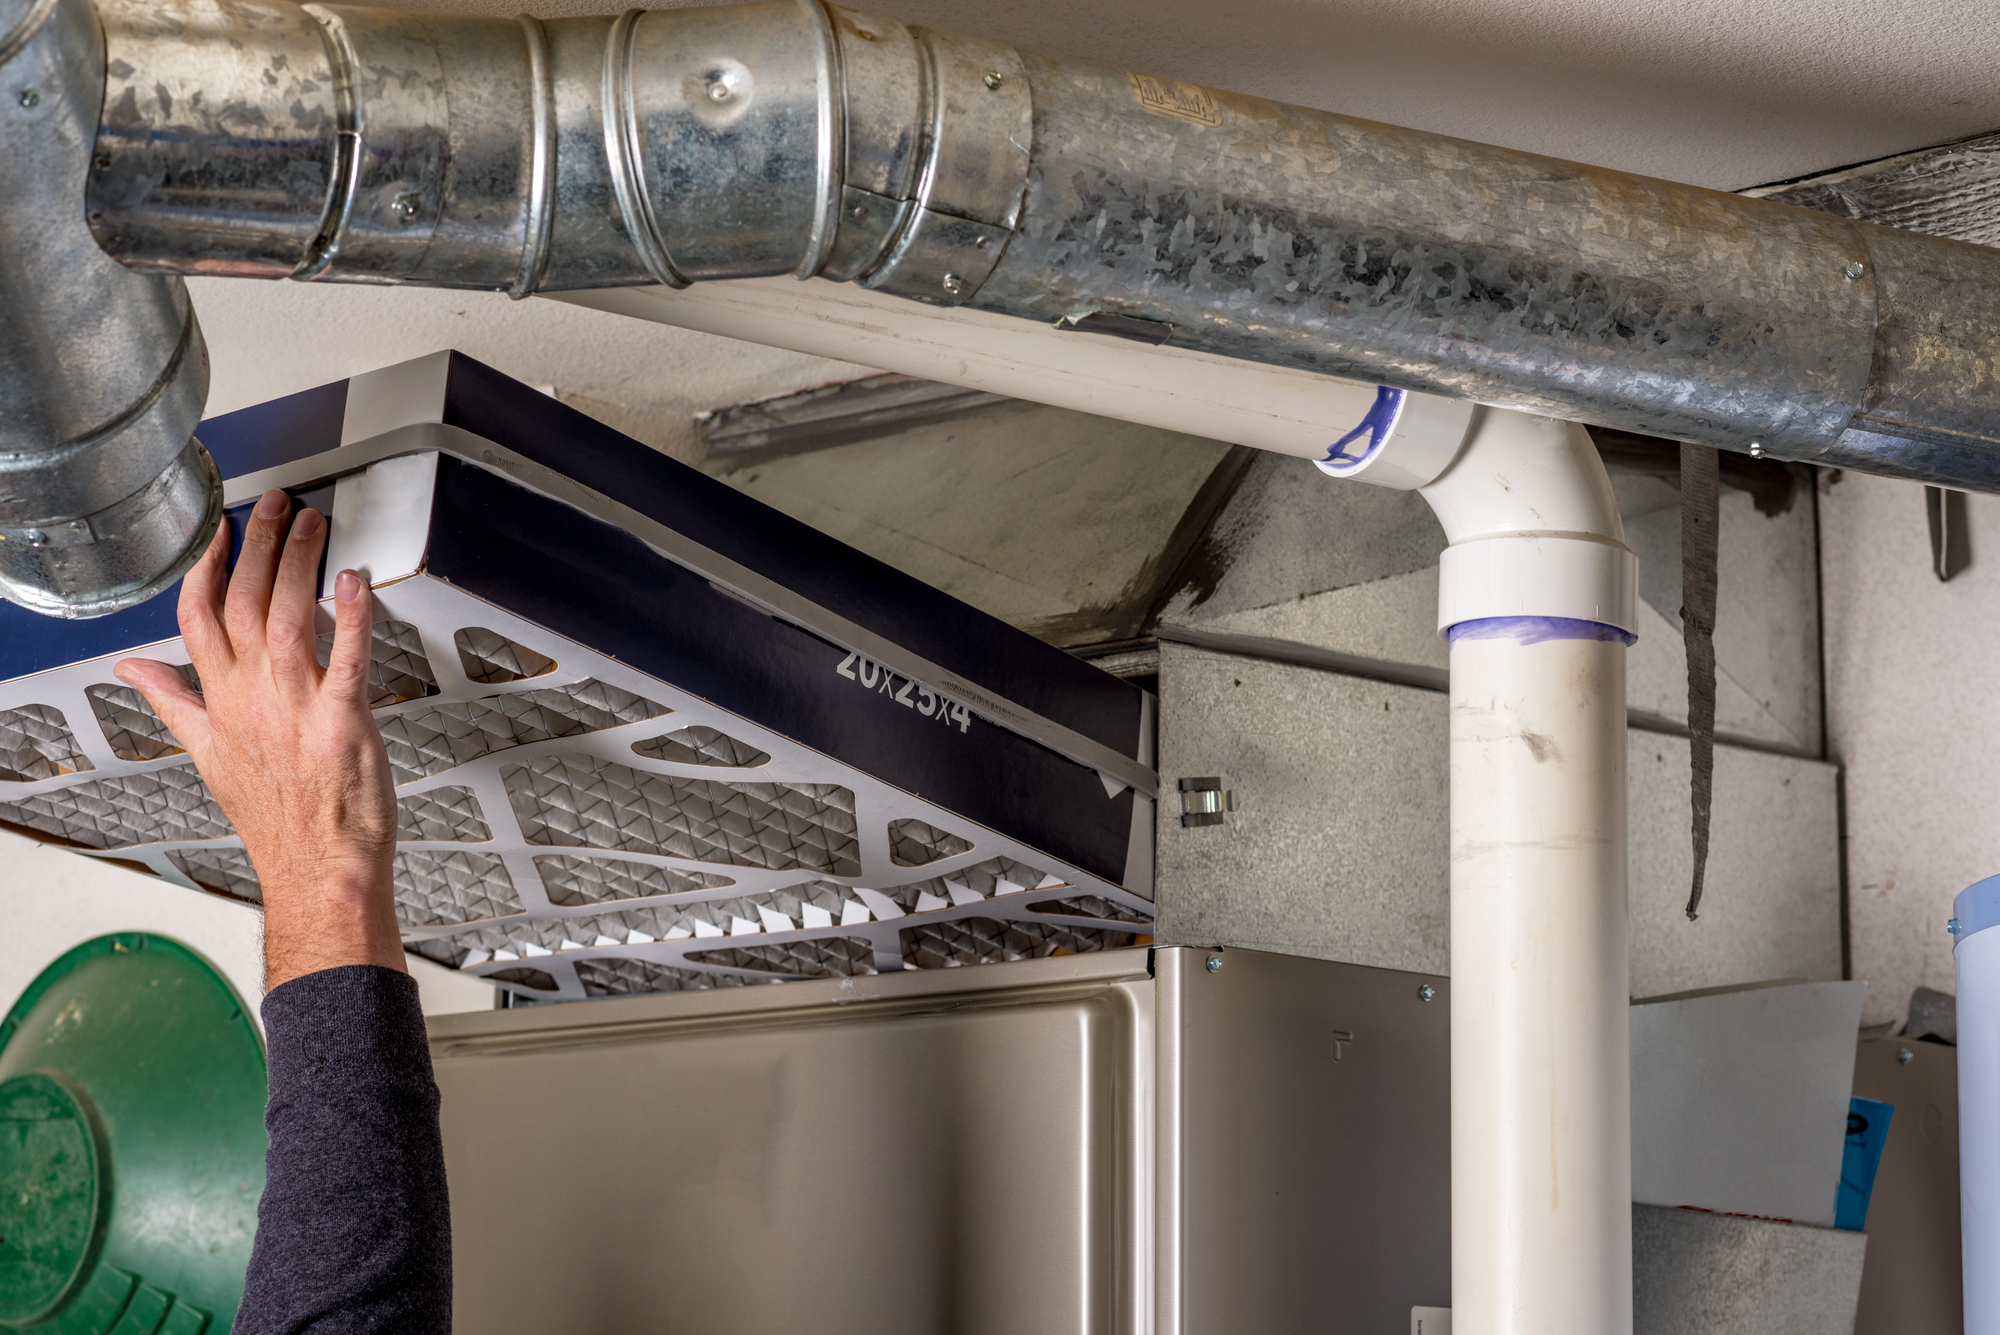
Photo: Knowles Gallery/Depositphotos
To improve air quality as well as furnace efficiency, check your furnace filters for dirt monthly and change them at least every 3 months. Replacing filters will help maintain the furnace and substantially reduce the number of airborne dust particles. If you have allergies, you might want to invest in a premium filter. Replacement is a cinch: Just follow the furnace manufacturer’s instructions for swapping out the old filter for a new one and you’re done.
Drain the water heater.
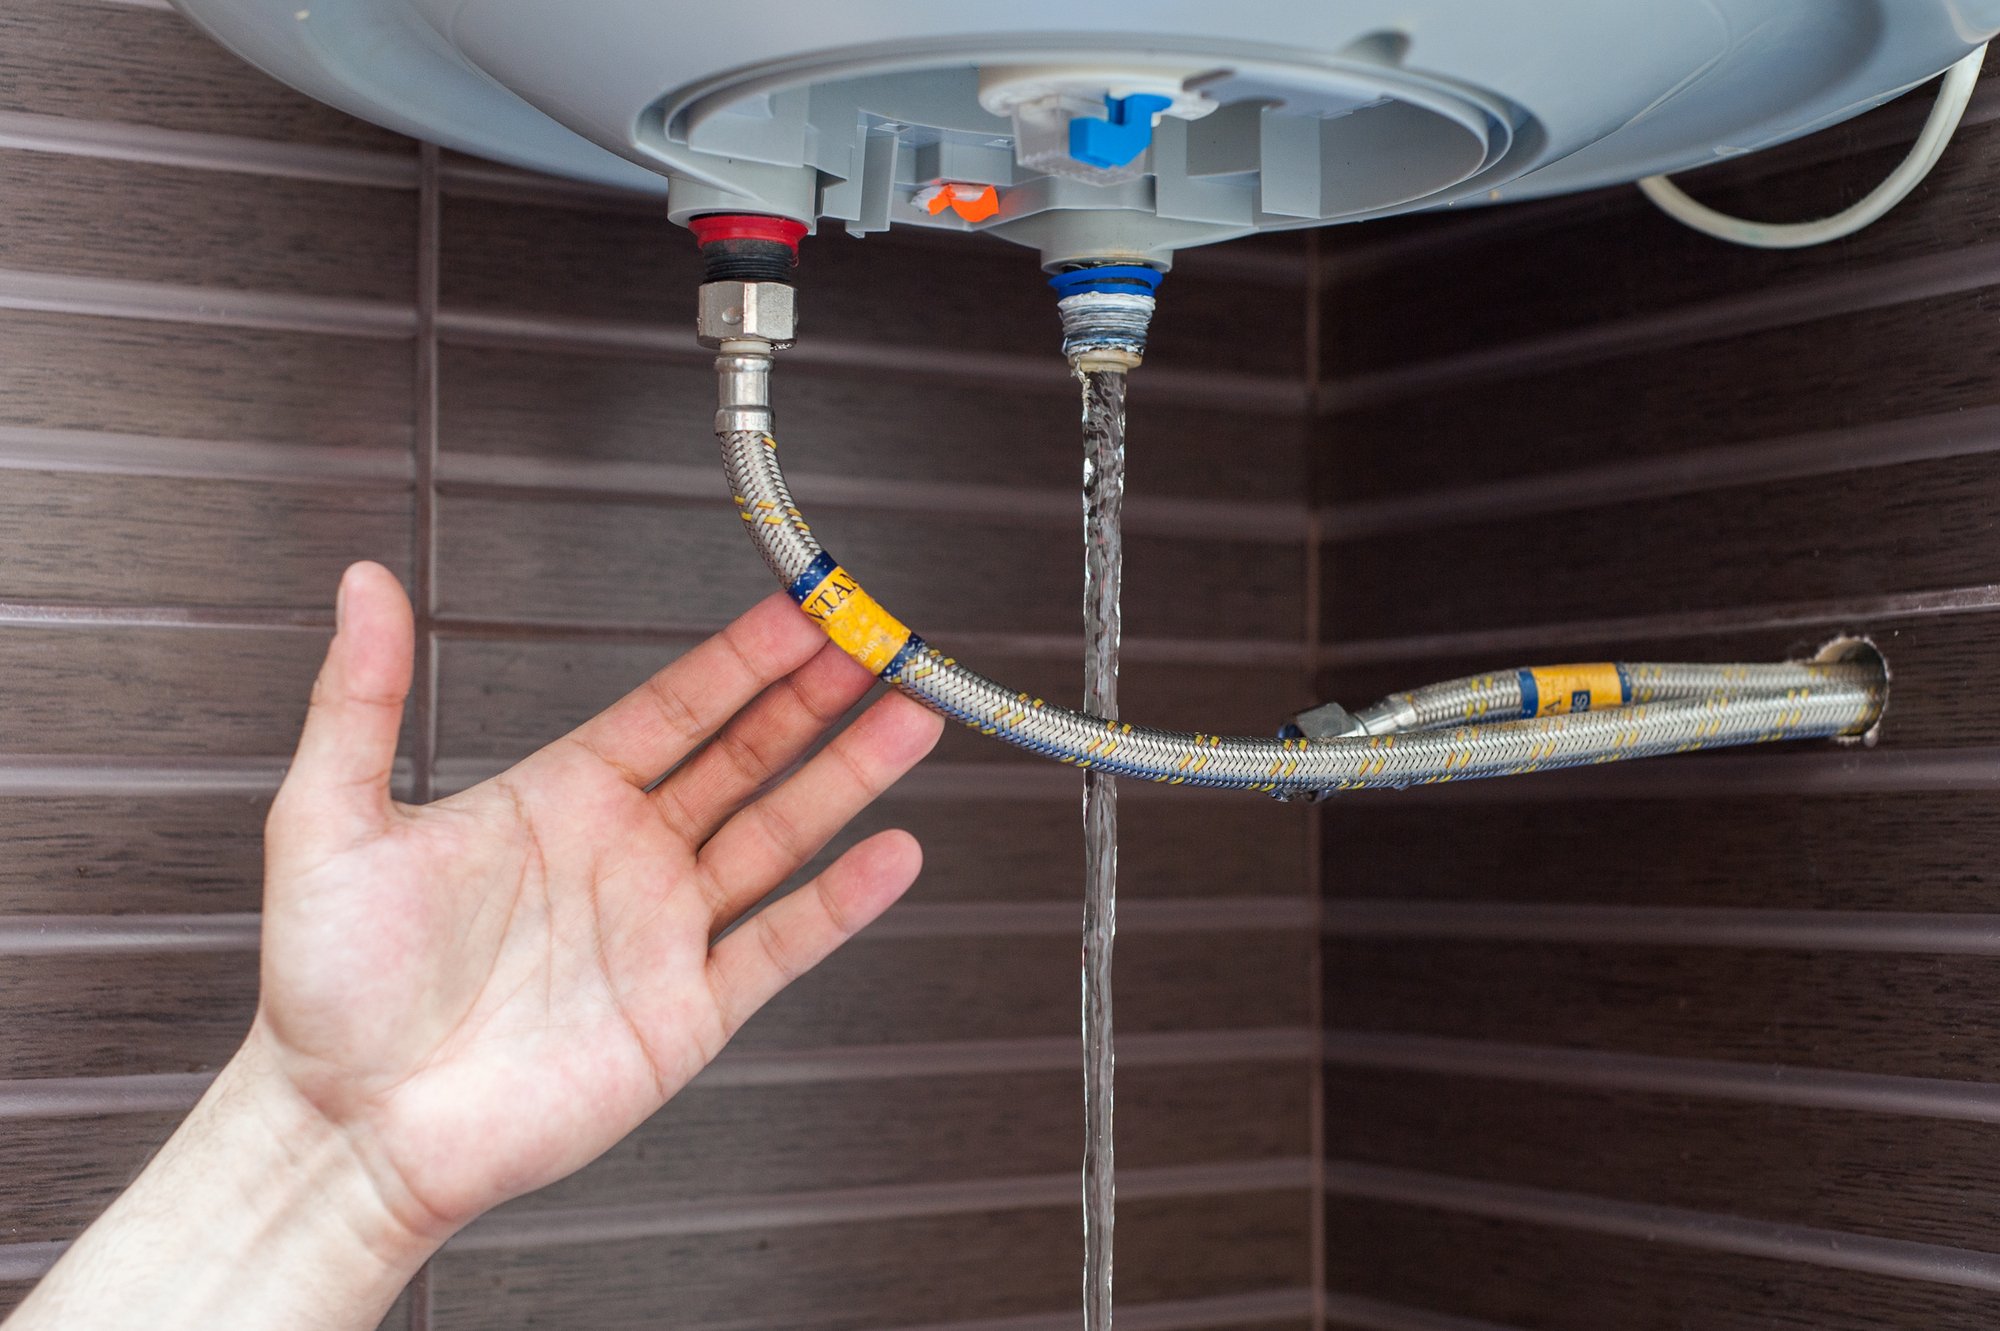
Photo: muzzoff/Depositphotos
Sediment can collect at the bottom of even the best water heaters. These particles create insulation over time that forces the appliance to work harder to generate hot water for your home. The extra temperature can stress the metal, causing leaks. To counteract the sediment buildup, simply drain a quart of water from your hot water heater once every 3 months. Check the owner’s manual for instructions.
Install a programmable thermostat.

Photo: Yunava1/Depositphotos
If your home is one of the millions in America that still has an old-fashioned dial thermostat, it’s time for an upgrade. Programmable thermostats allow you to automatically vary the temperature in your home throughout the day. They’re easy to install and relatively affordable. To experience the joy of waking up to a warm bedroom while saving money on your heating bill, all you need is a screwdriver, drill, and (possibly) touch-up paint. For even more features, such as Wi-Fi connectivity and the ability to program from anywhere, select one of the best smart thermostats.
Swap out switch plates.
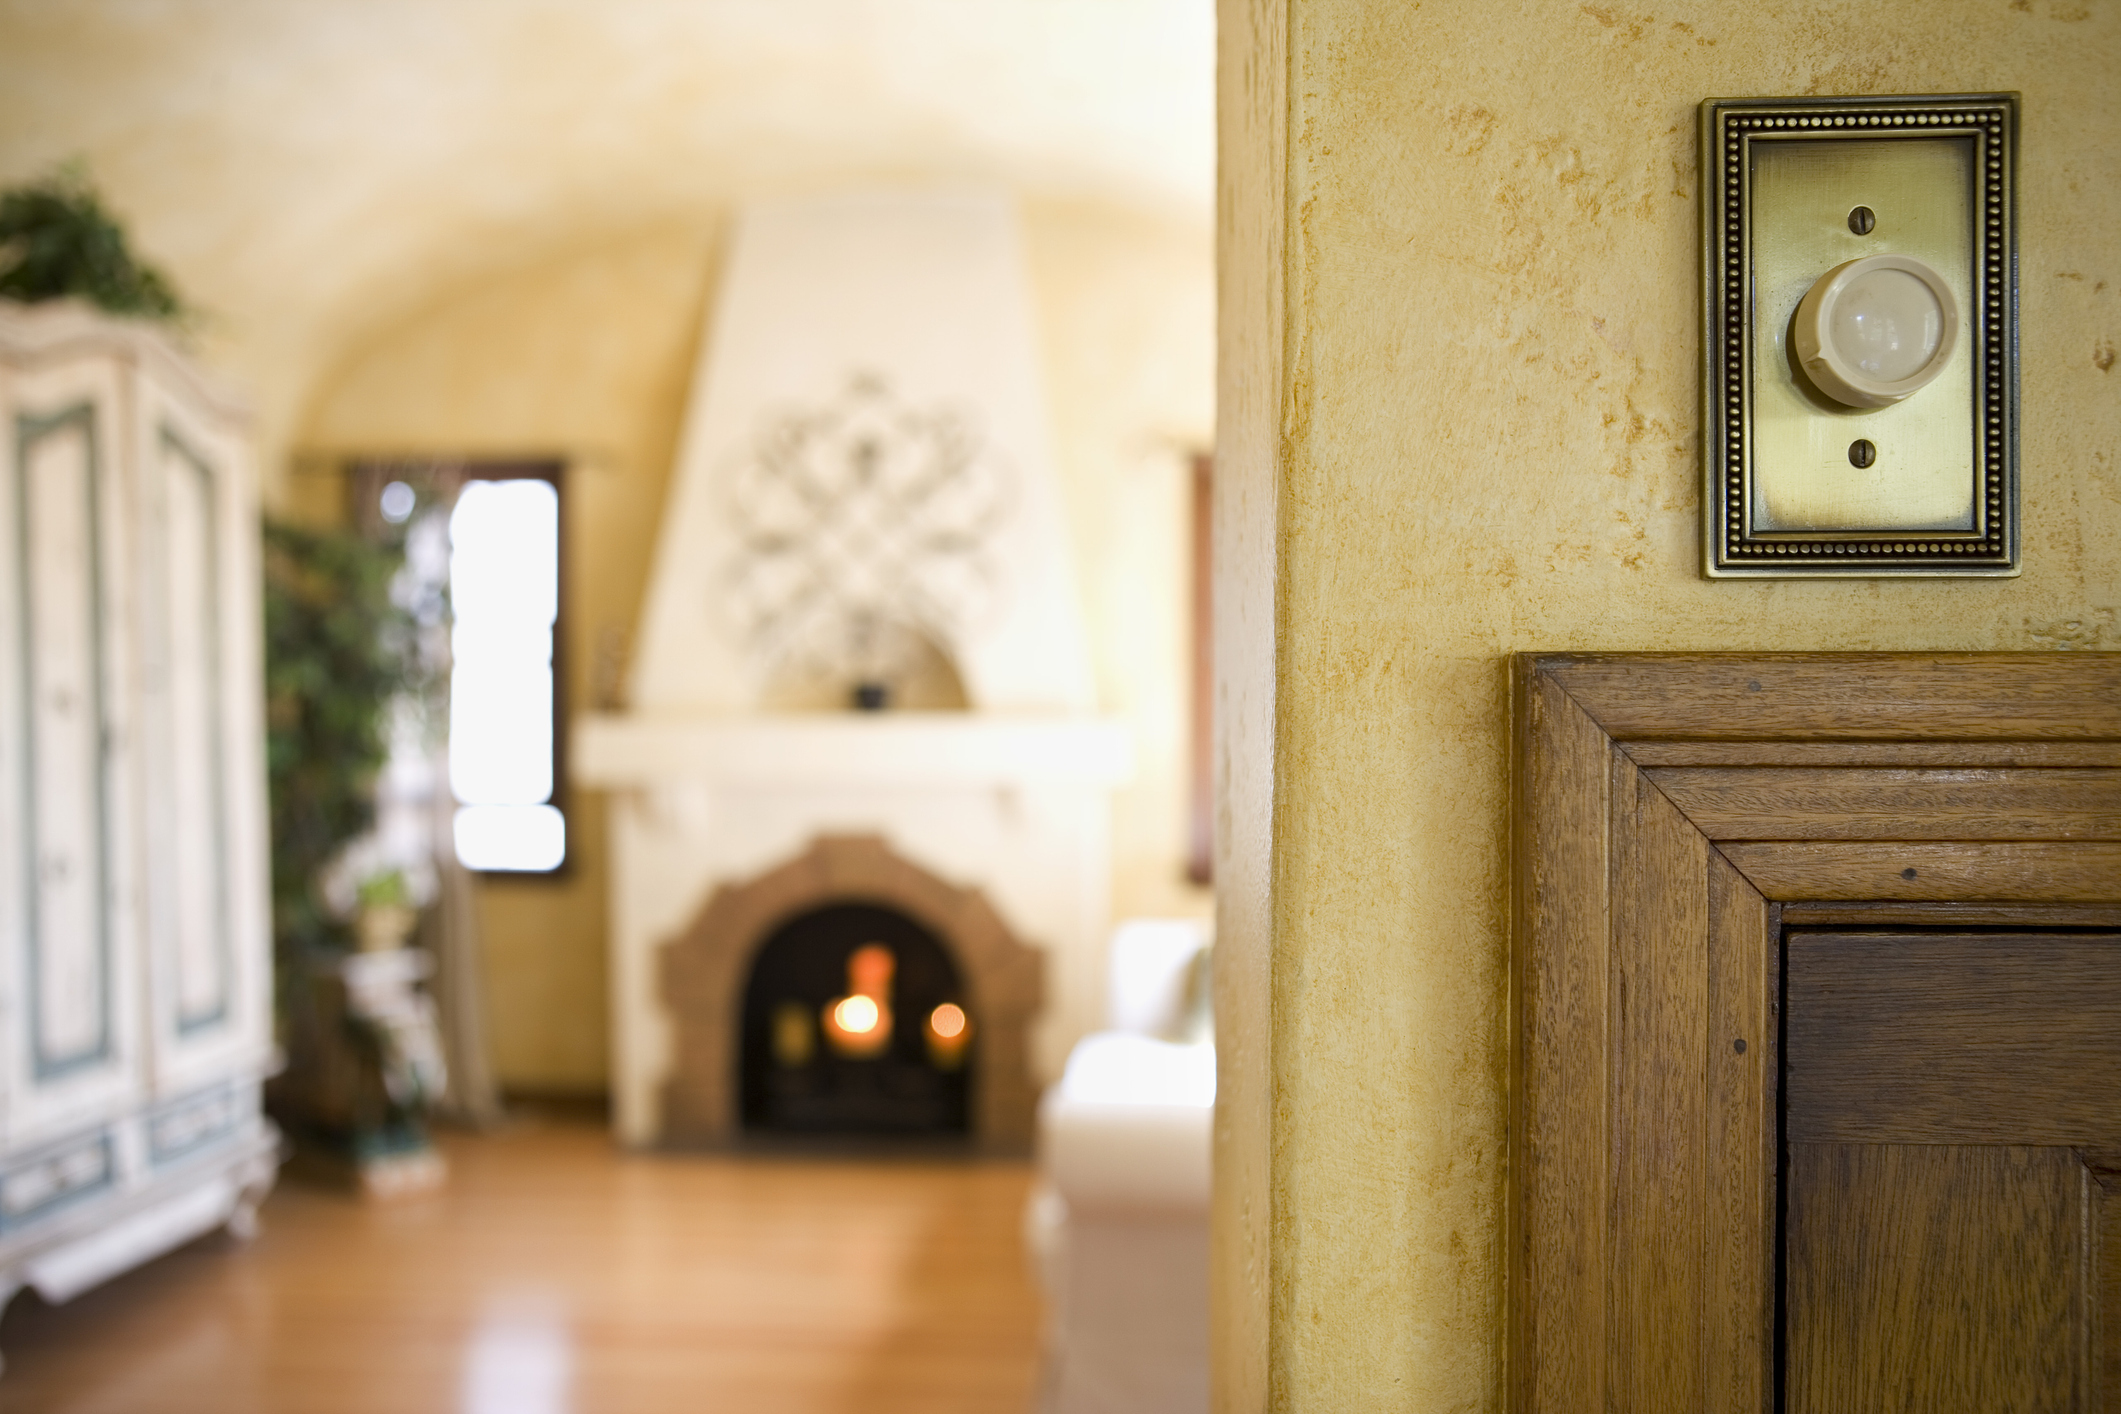
Photo: Fotosearch/Fotosearch via Getty Images
Replace cracked or dingy switch plate covers for a cleaner look or swap out boring beige covers for something more decorative. Options range from antique brass to modern plastic covers with vibrant graphics. Or let your creativity run wild (and save money) by covering existing switch plates with wallpaper, duct tape, or fabric, or applying decoupage or spray paint.
Shampoo the rugs.

Photo: Andrey Popov/Depositphotos
If you have a carpet cleaner, enlist a few family members to help move furniture out of the way so you can bring your carpets back to life. (If you don’t own a carpet shampooer, home improvement stores rent them.) Most industrial machines take less than 20 minutes to complete a room, so after an hour of labor, you could have three rooms of freshly shampooed carpets. You’ll be surprised at how much brighter your carpets will look—and how dirty that water will be!
Install lamp dimmers.
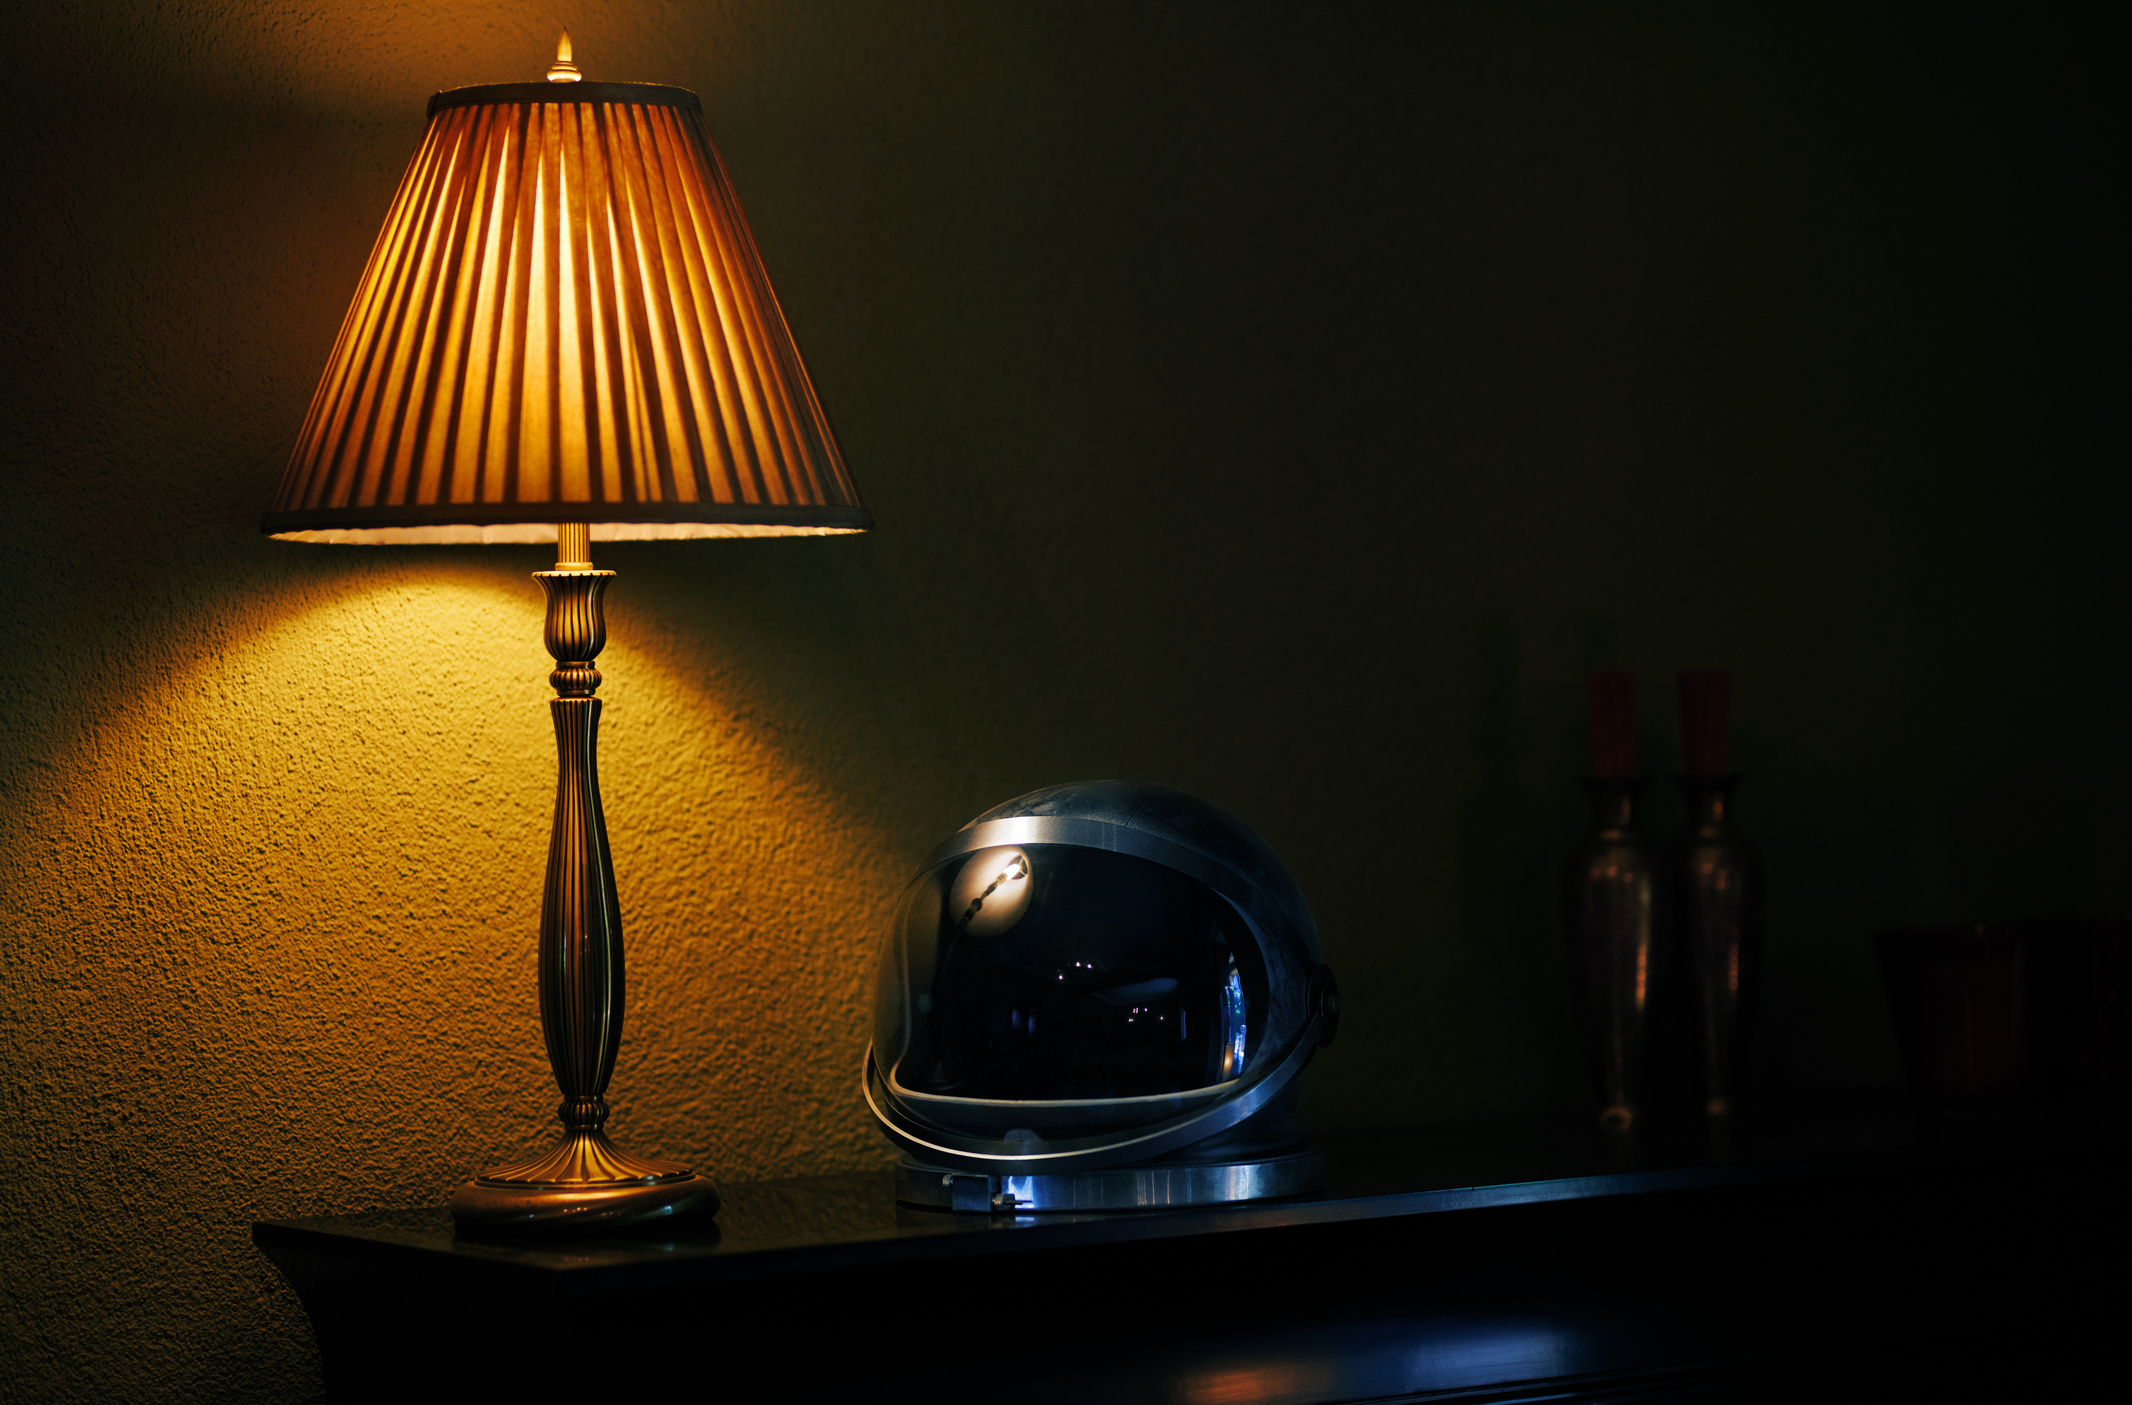
Photo: Arman Zhenikeyev/Corbis via Getty Images
Nothing says “designer home” like soft and warm ambient lighting, but there’s no need to spend a fortune on track or recessed lighting. Any lamp in your home can function as mood lighting if you install a dimmer cord. Simply plug the cord into the wall, and plug the lamp into the other side of the plug. Use the slide switch to get the lighting just right, every time.
Start a compost pile.
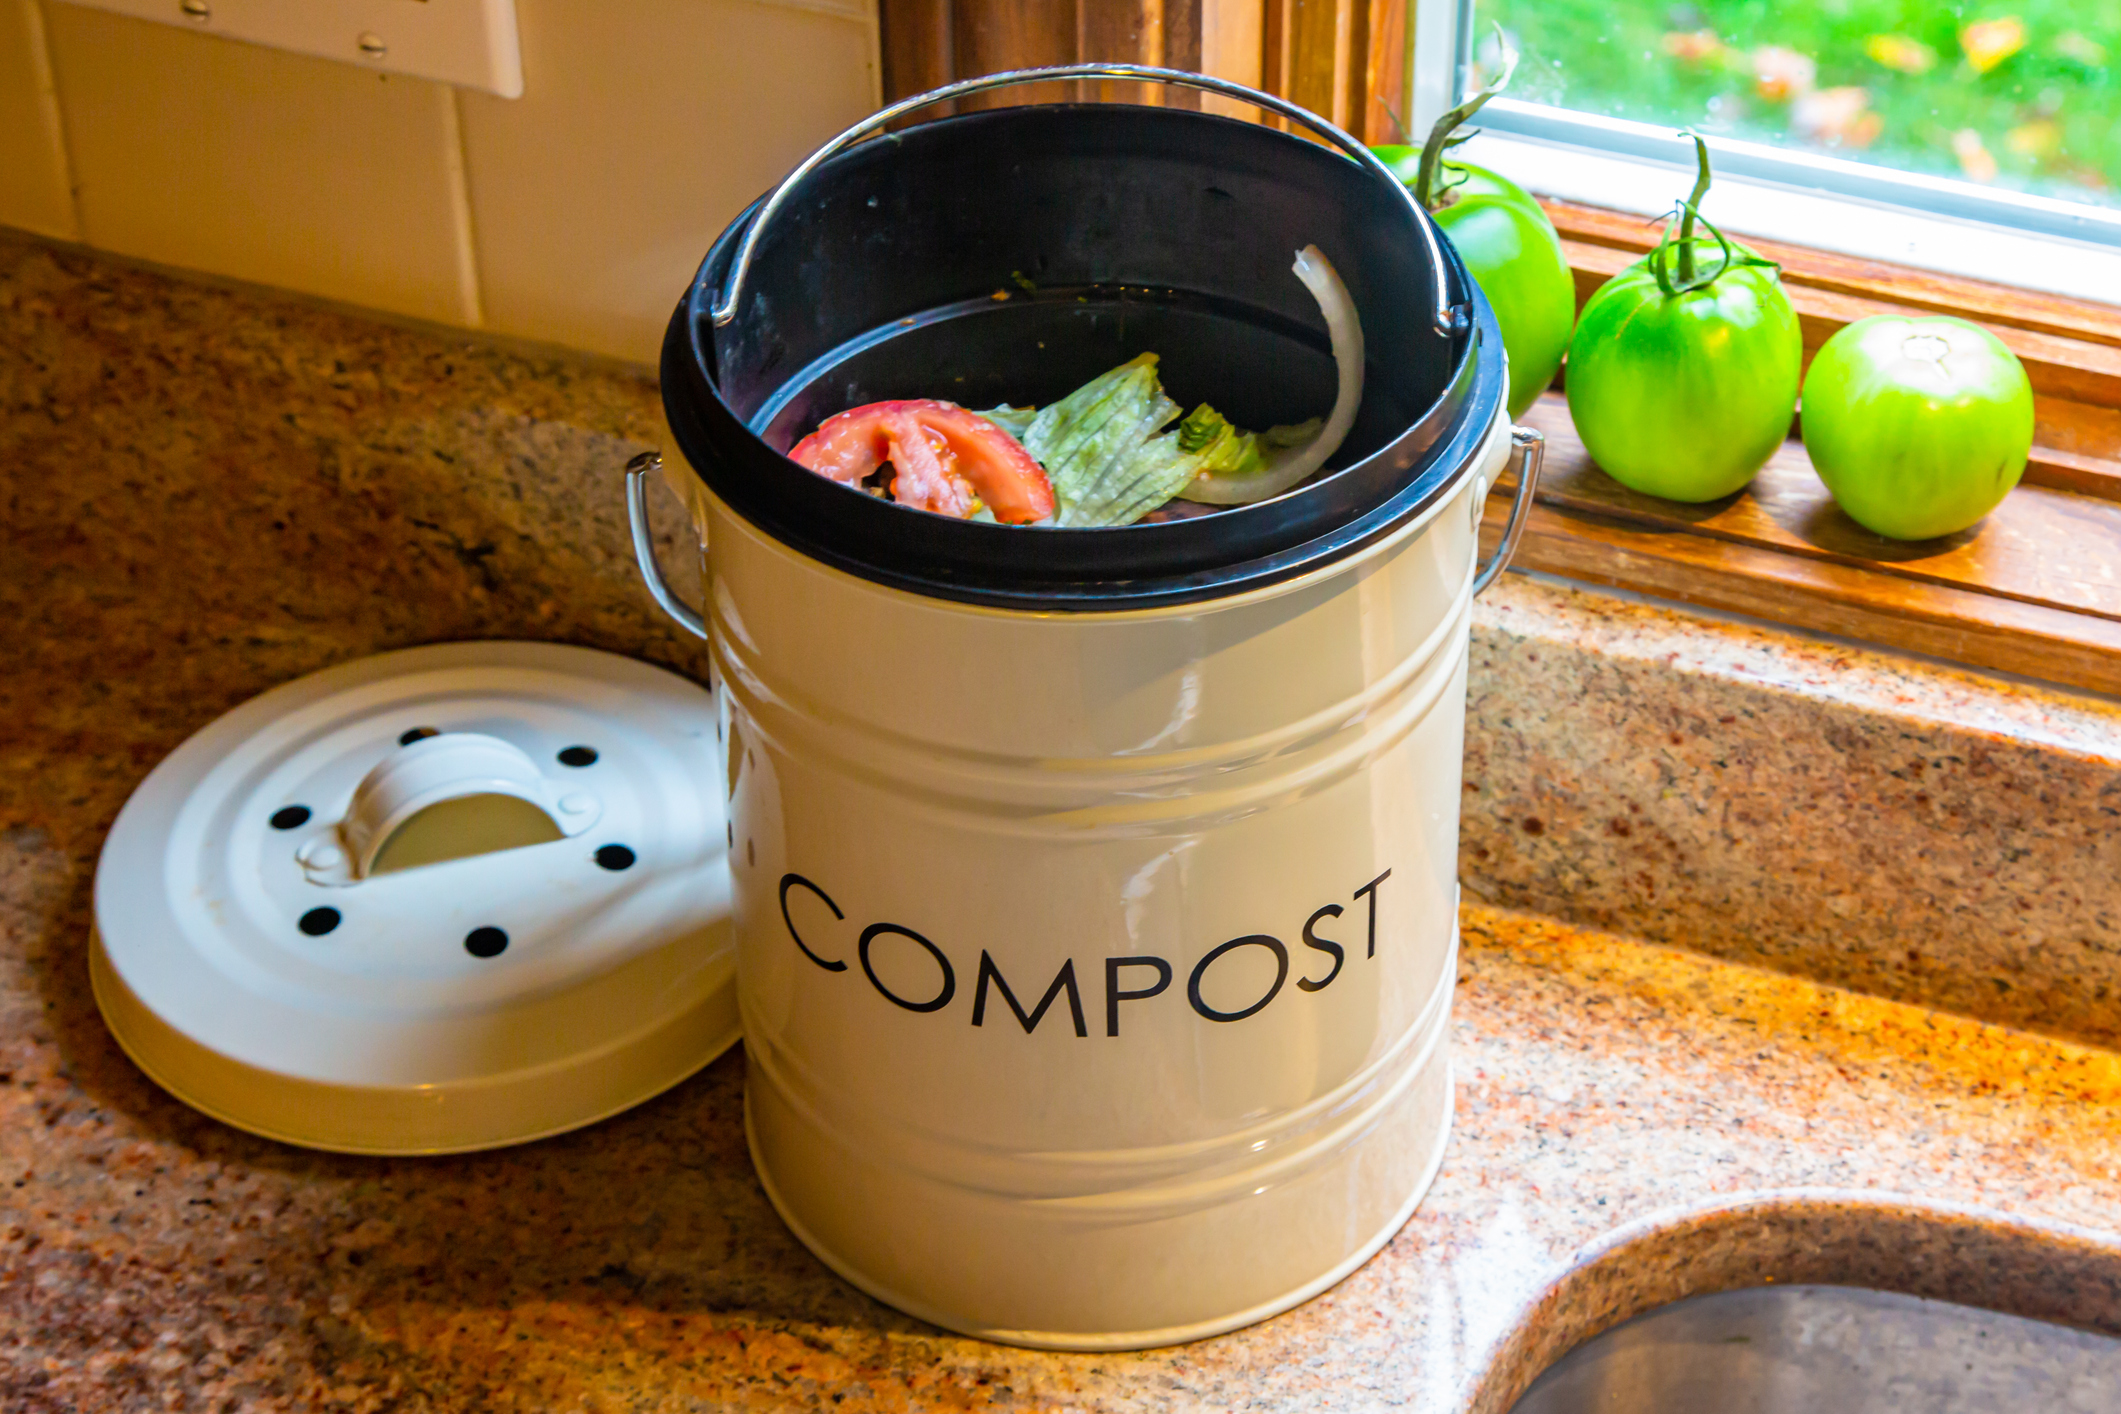
Photo: KatKami/Moment via Getty Images
Turn your leftover food into a rich and nutritious meal for your plants by starting a compost pile or purchasing a compost bin. You’ll save money on mulch, avoid scary gardening chemicals, and always have a heap of rich soil close at hand. Don’t have a yard? Look into an electric kitchen composter to treat your houseplants to fertile dirt.
Create a chalkboard.

Photo: The Good Brigade/DigitalVision via Getty Images
Thanks to chalkboard paint and chalkboard contact paper, you can create a write-on surface almost anywhere your imagination takes you. Consider painting the inset panels on doors to leave notes for the kids, or transforming the inside of a pantry door into message central. Cut contact paper into unique shapes, apply them to the fridge, and you won’t need Post-it notes anymore.
Apply window film.
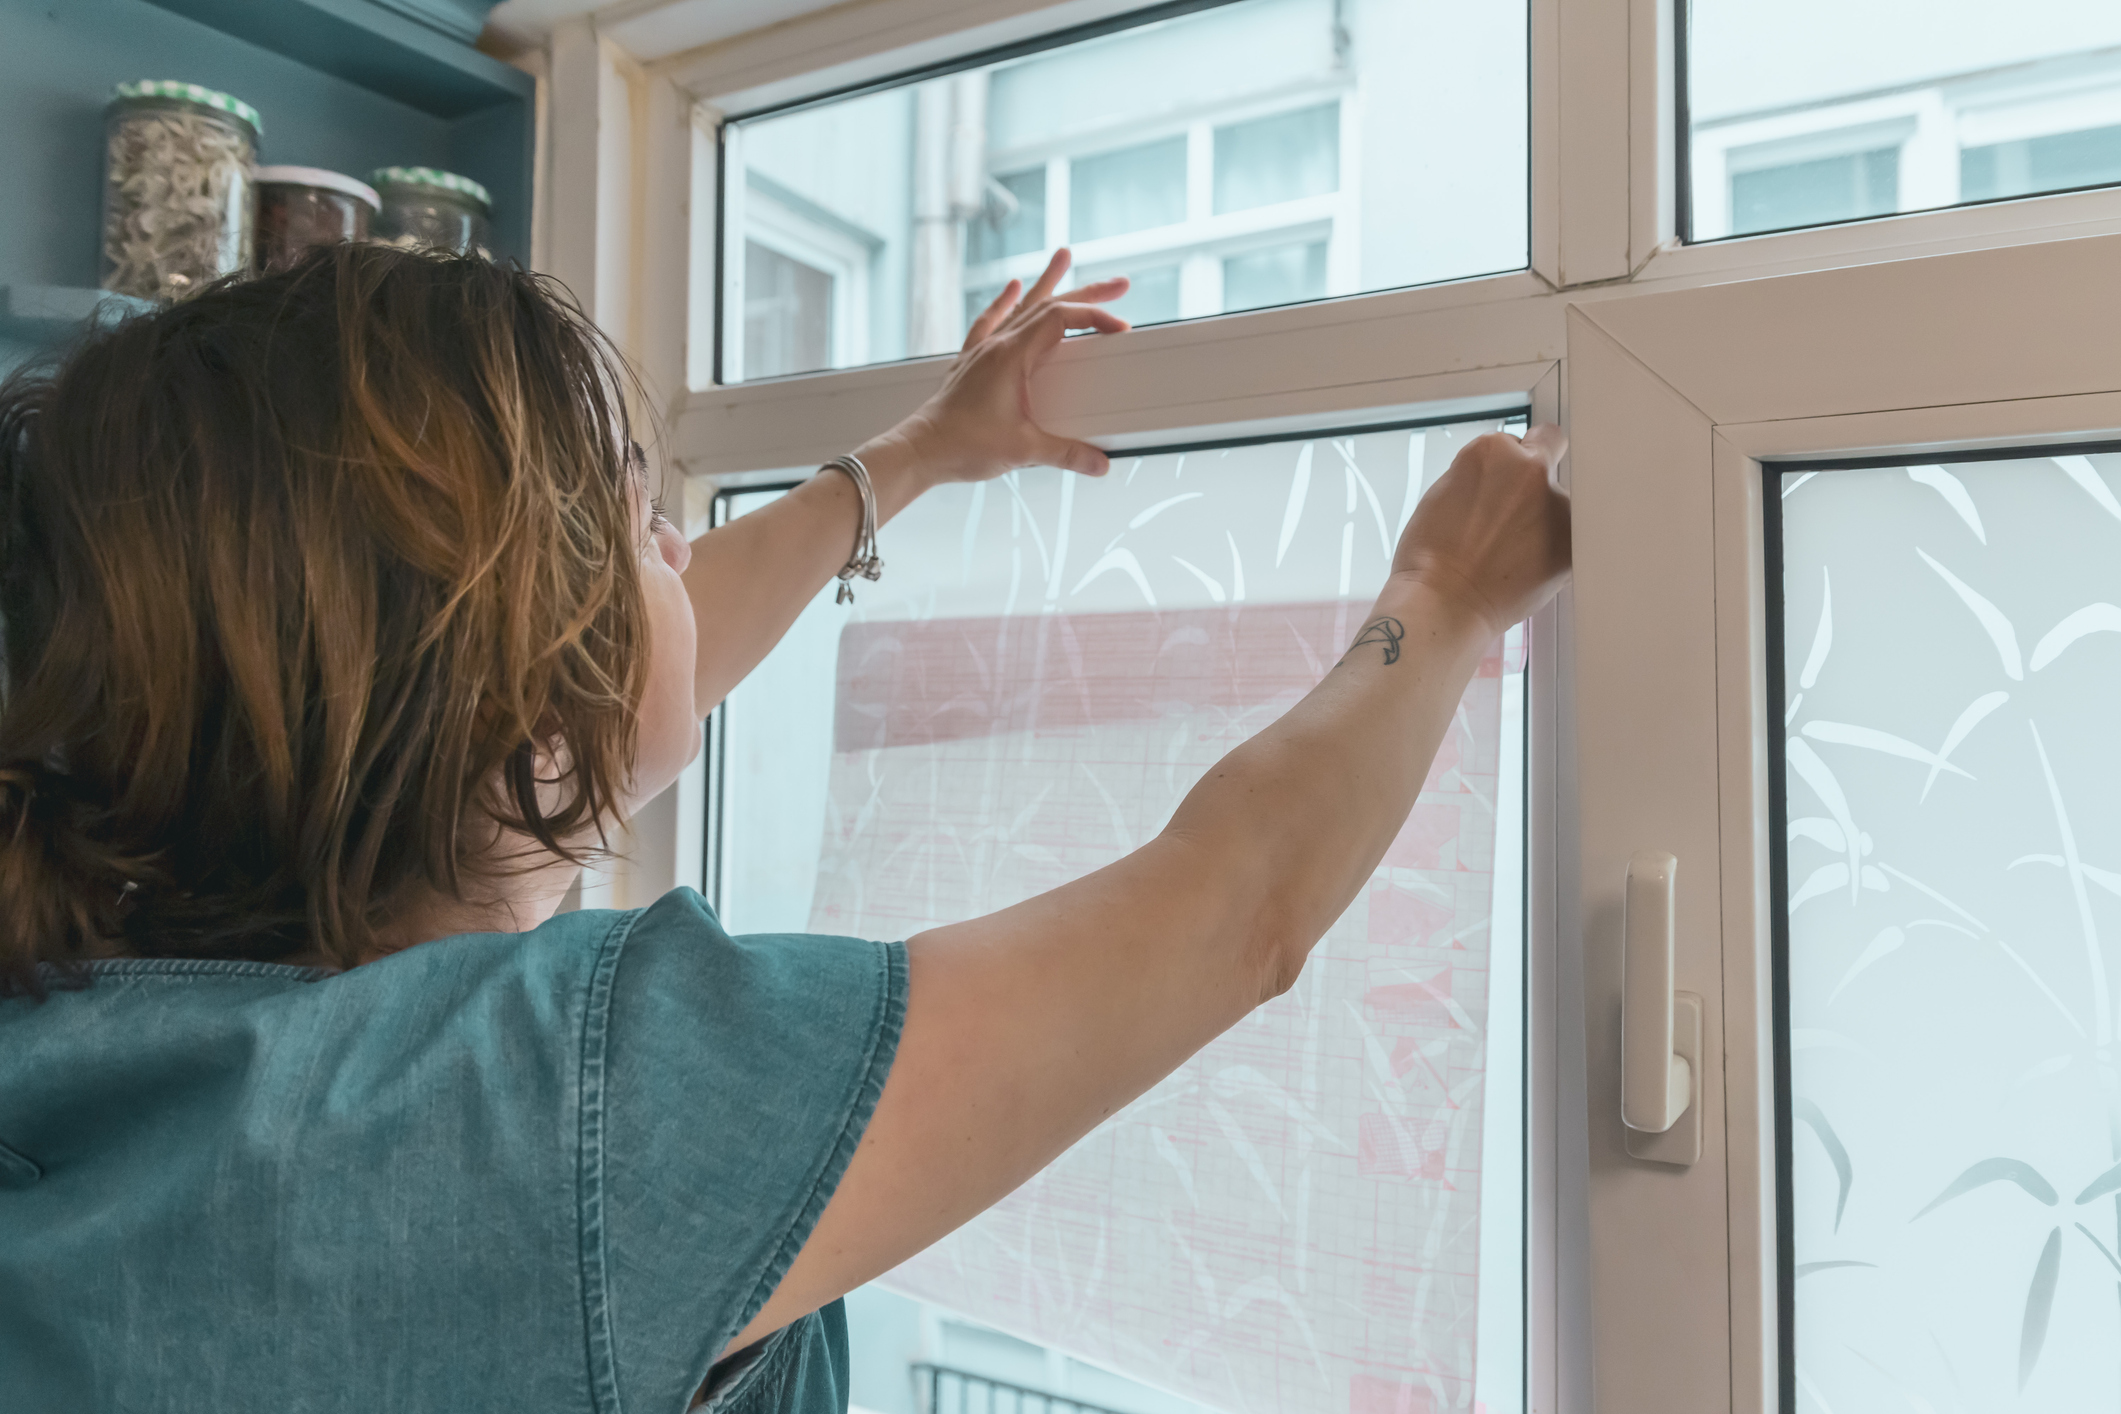
Photo: photoman/E+ via Getty Images
Do you have a window with an unpleasant view or one that doesn’t afford enough privacy? If so, consider covering it with window film. Window films come in a variety of opacities and patterns that mimic everything from etched glass to rice paper. The work requires precision, but once you get the hang of it, you’ll be zipping along in no time.
Transform a floor with vinyl tiles.
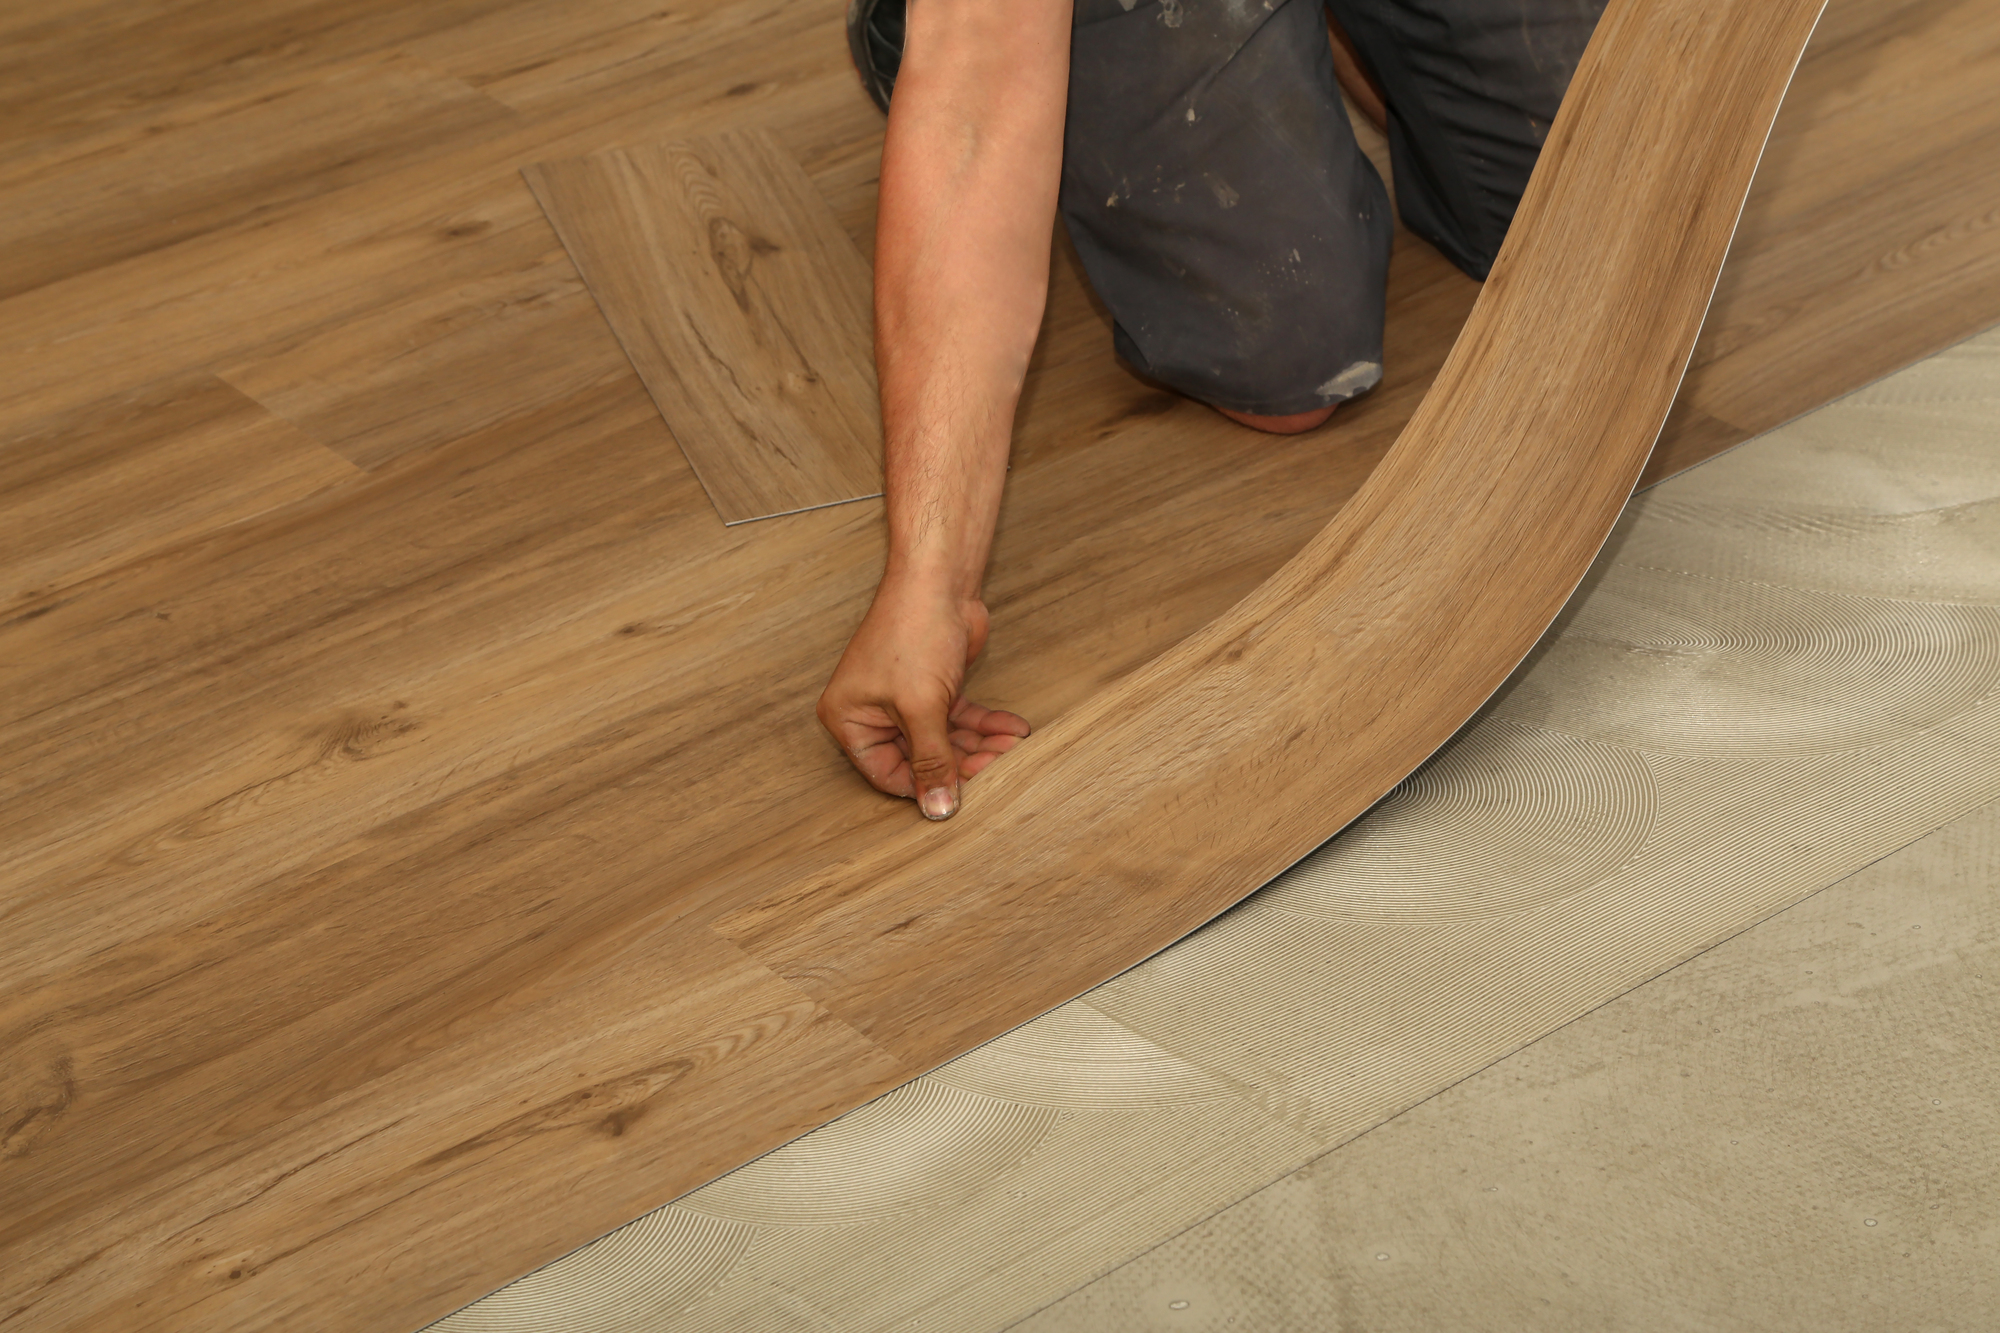
Photo: Wirestock/Depositphotos
If you have an unattractive concrete or old wooden floor in your home, you can give it a new lease on life with peel-and-stick tiles. Today’s vinyl has come a long way from the ancient linoleum in your grandparents’ house. It’s now available in patterns that resemble stone, wood, or even metal. You’ll be amazed at how good it looks and how quickly it goes down.
Stop annoying squeaks.
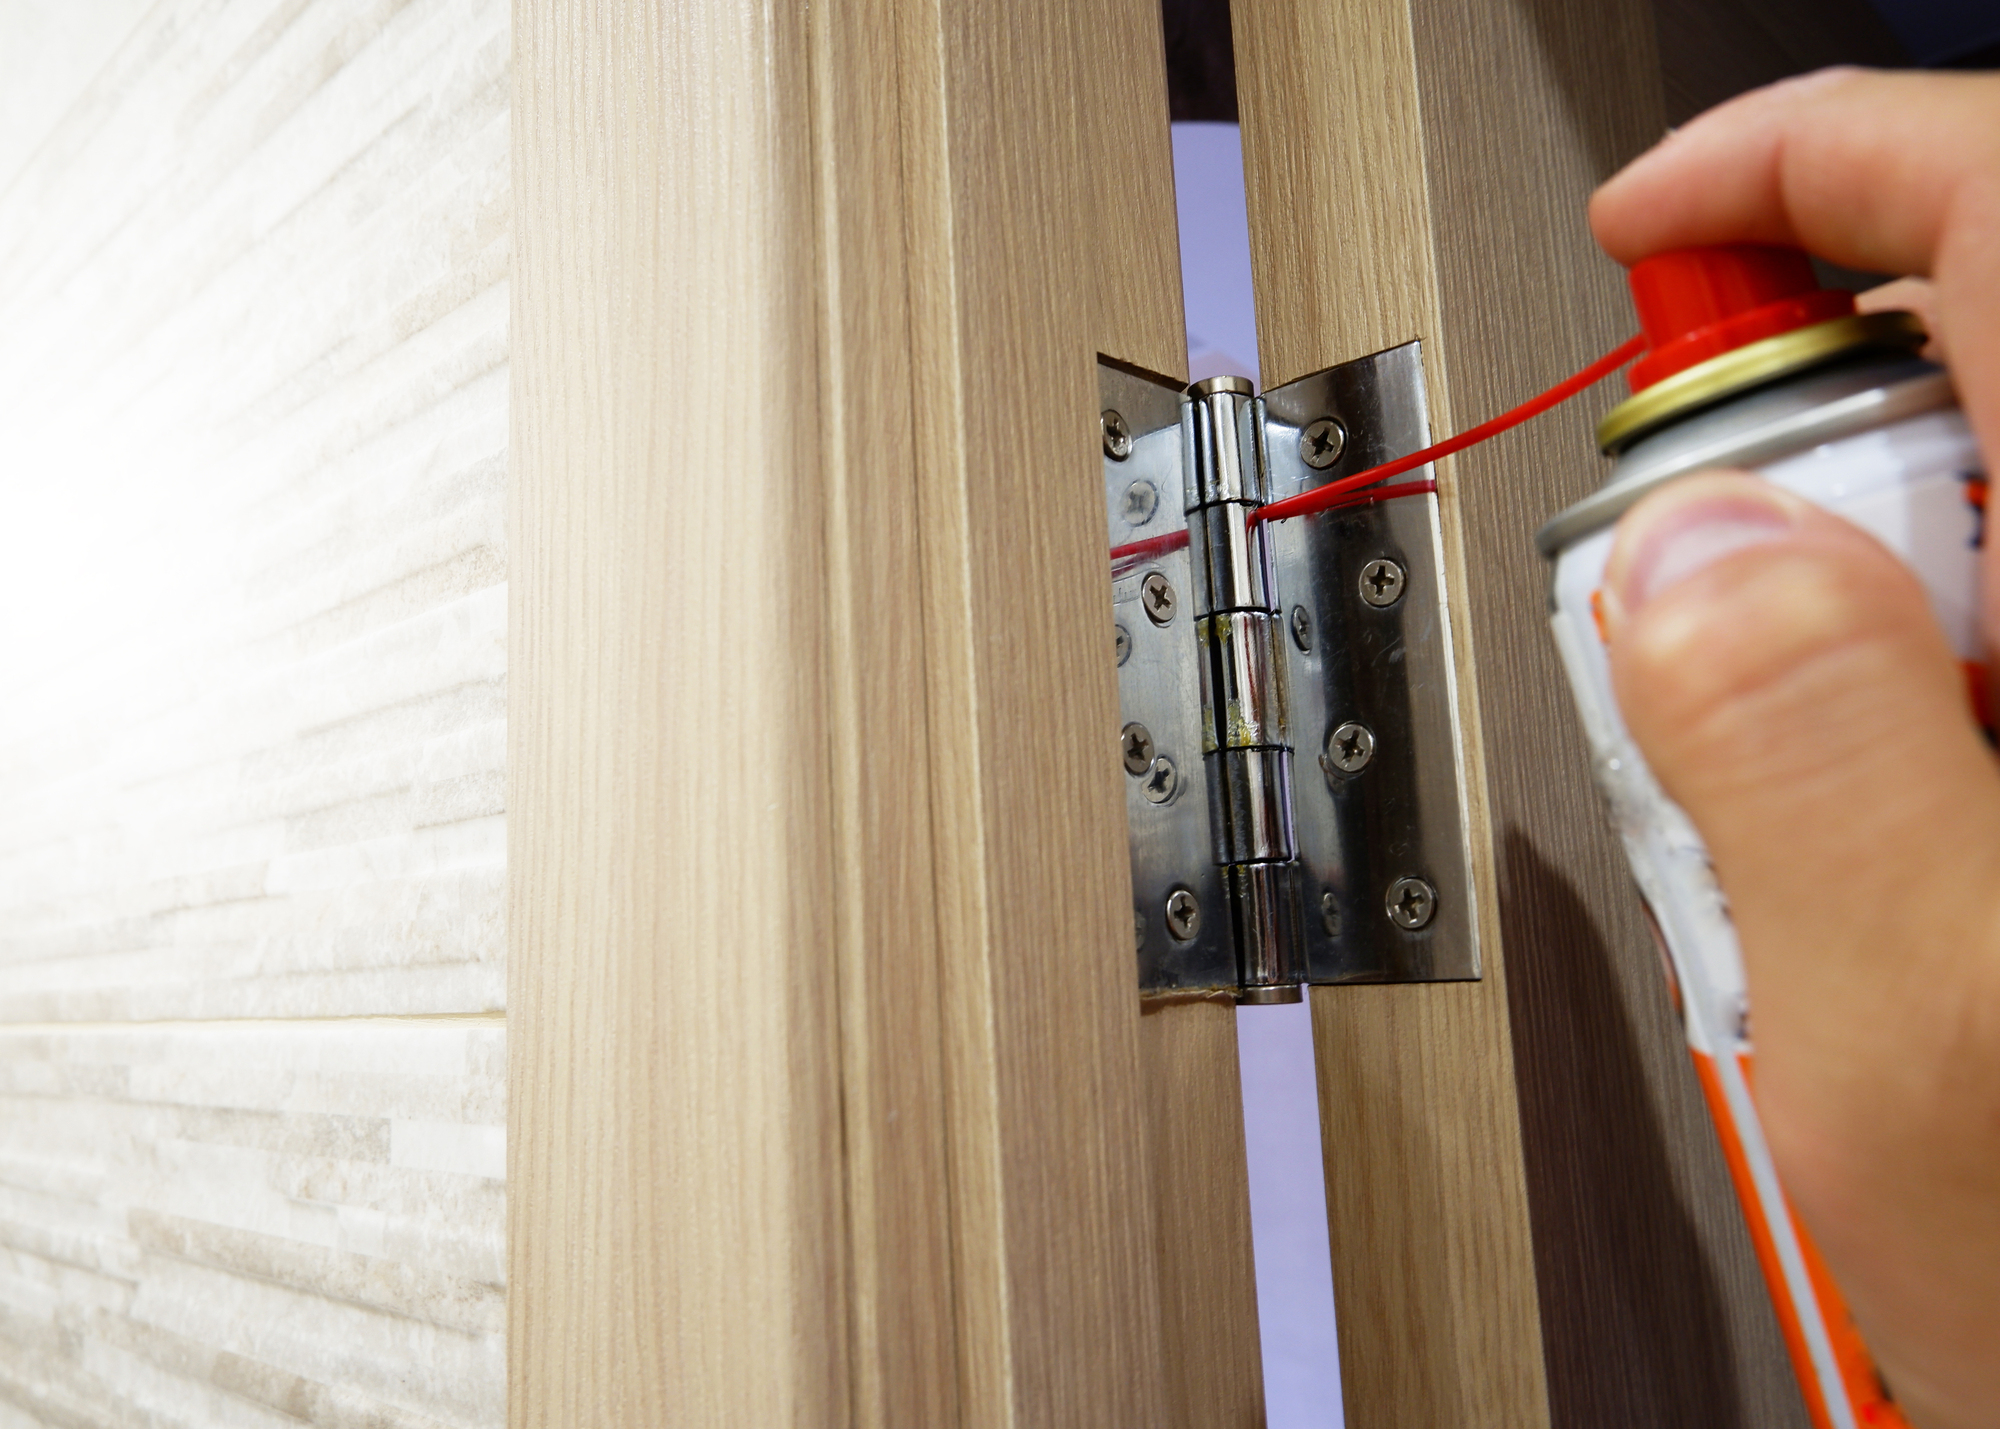
Photo: sergeynagornyi07/Depositphotos
If you live in an older home, chances are good that you have doors and floors that squeak. You can restore your peace and quiet quickly and cheaply in under an hour. To silence a squeaky door hinge, all it should take is a short squirt of WD-40. To stop floors from creaking, simply sprinkle them with some talcum powder and sweep it into the cracks. Ah, the sweet sound of silence!
Add a smart lock.
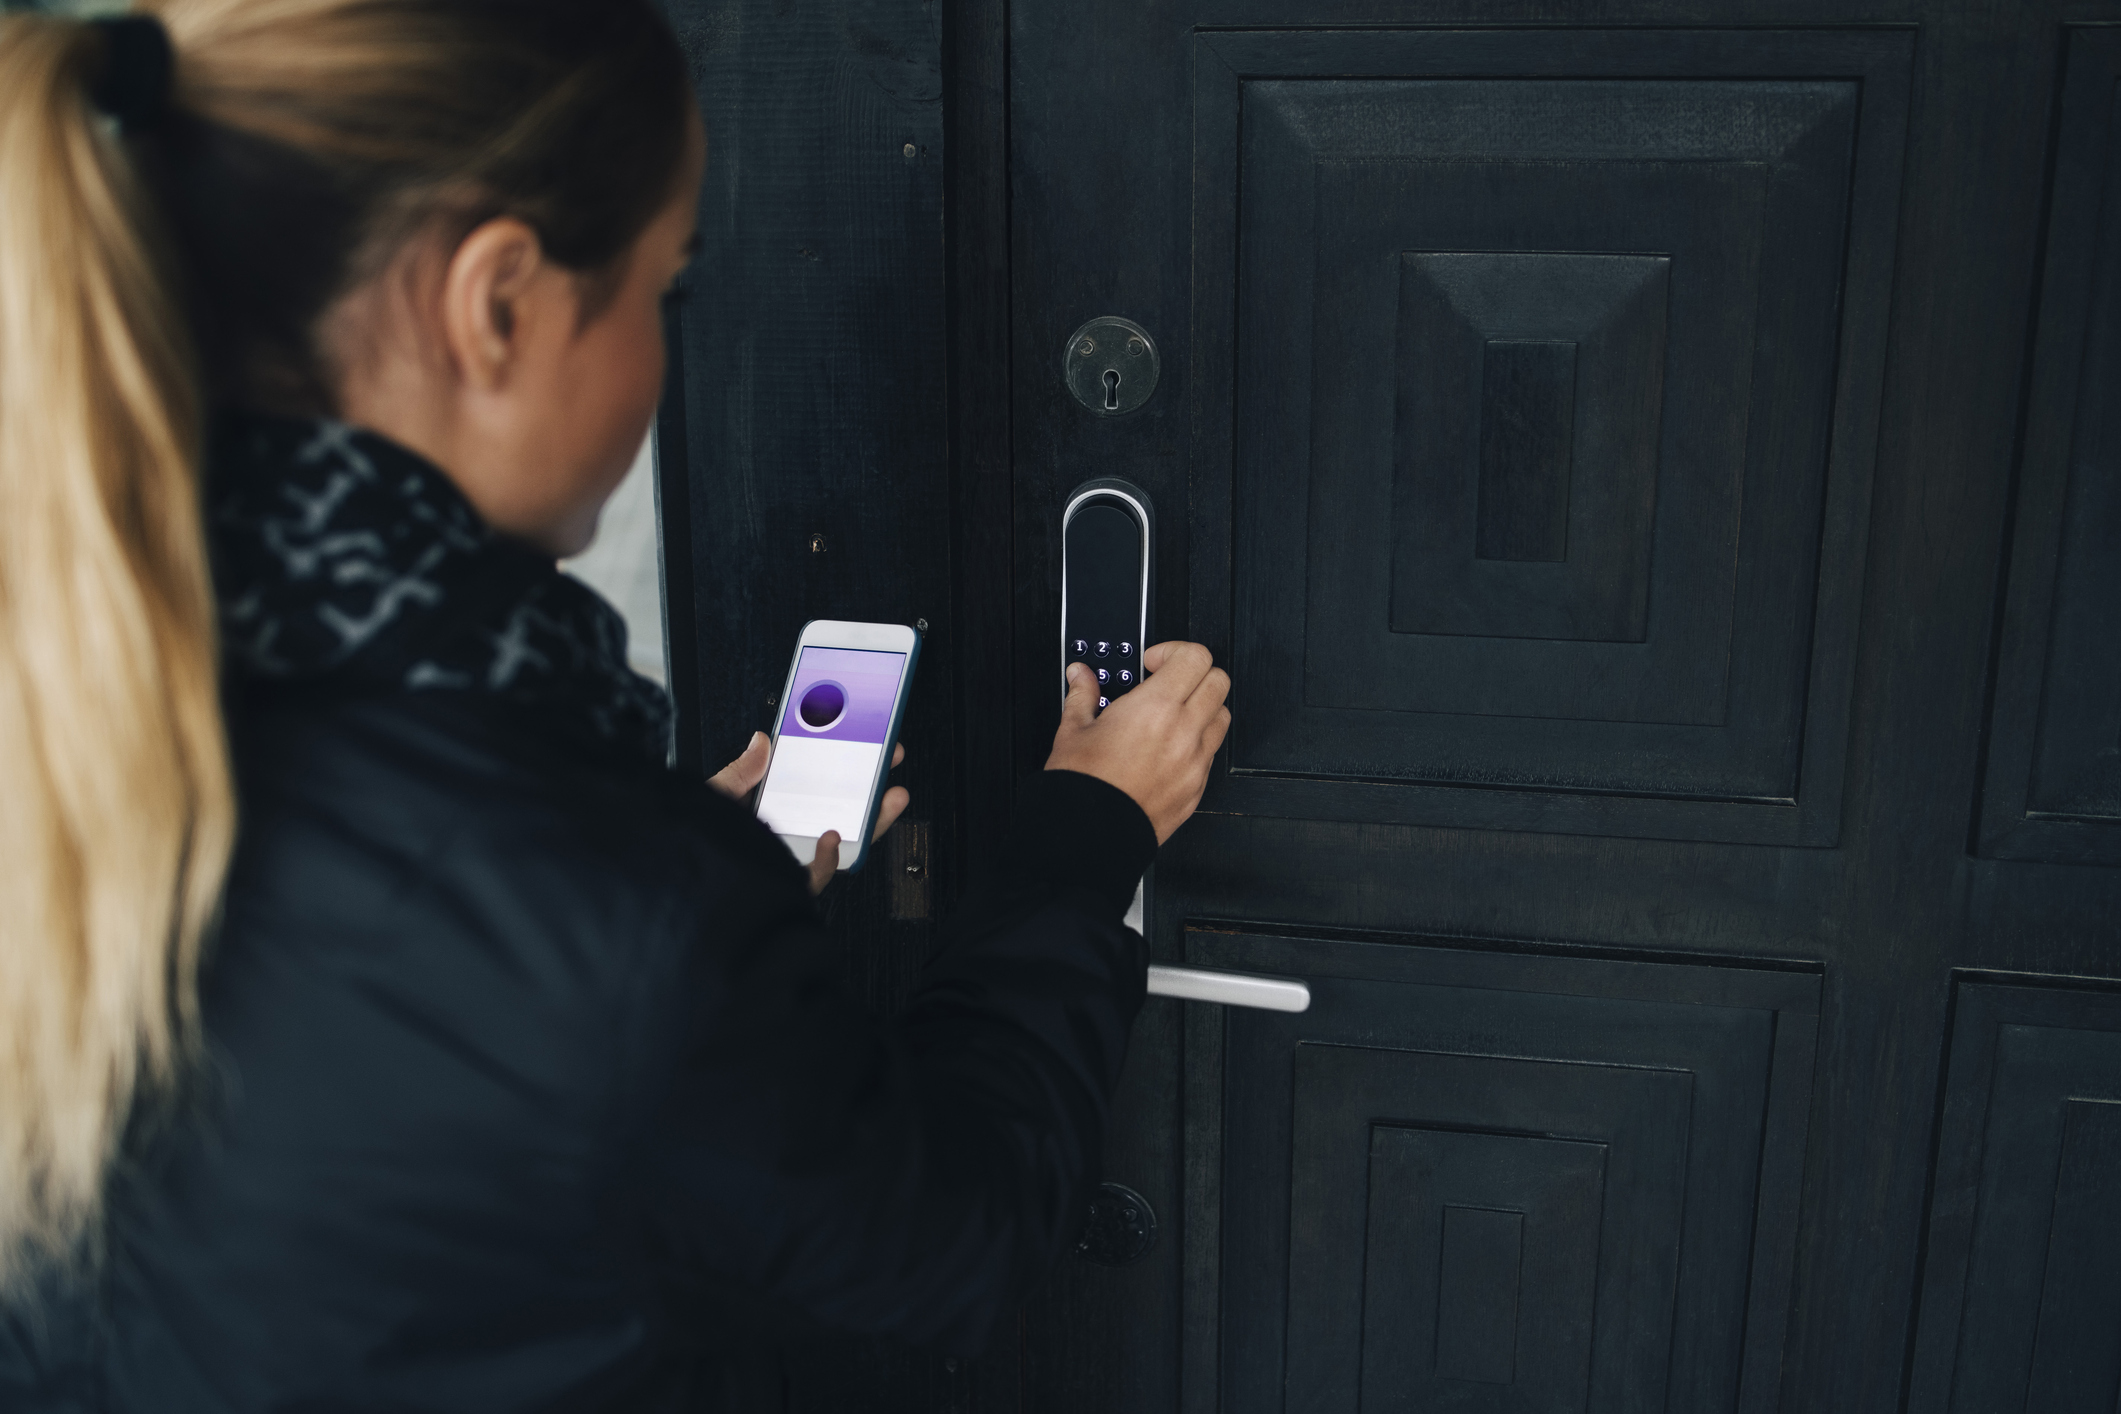
Photo: Maskot/Maskot via Getty Images
With all the smart products available today, it can be difficult to determine what’s worth the upgrade and what’s not. One thing that definitely is: a smart lock. Available in a variety of beautiful hardware finishes, and with plenty of features and connectivity, a smart lock looks good on the front door, improves security, and eliminates the hassle of fumbling for your key. This Eufy Security Lock, top pick in our tested guide to the best smart locks, includes a video camera and fingerprint keyless entry.
Upgrade exterior light fixtures.

Photo: Bill Boch/Photodisc via Getty Images
Improving your home’s exterior lighting adds beauty and security, and doesn’t have to be complicated or costly. Updating outside light fixtures, adding solar path lights, or replacing existing light fixtures with smart outdoor lights (or even just smart bulbs) can improve appearance and safety. Buy new fixtures that add charm, work better, or offer special features, or go the DIY route and spray paint current fixtures for a new finish.
Paint the front door.
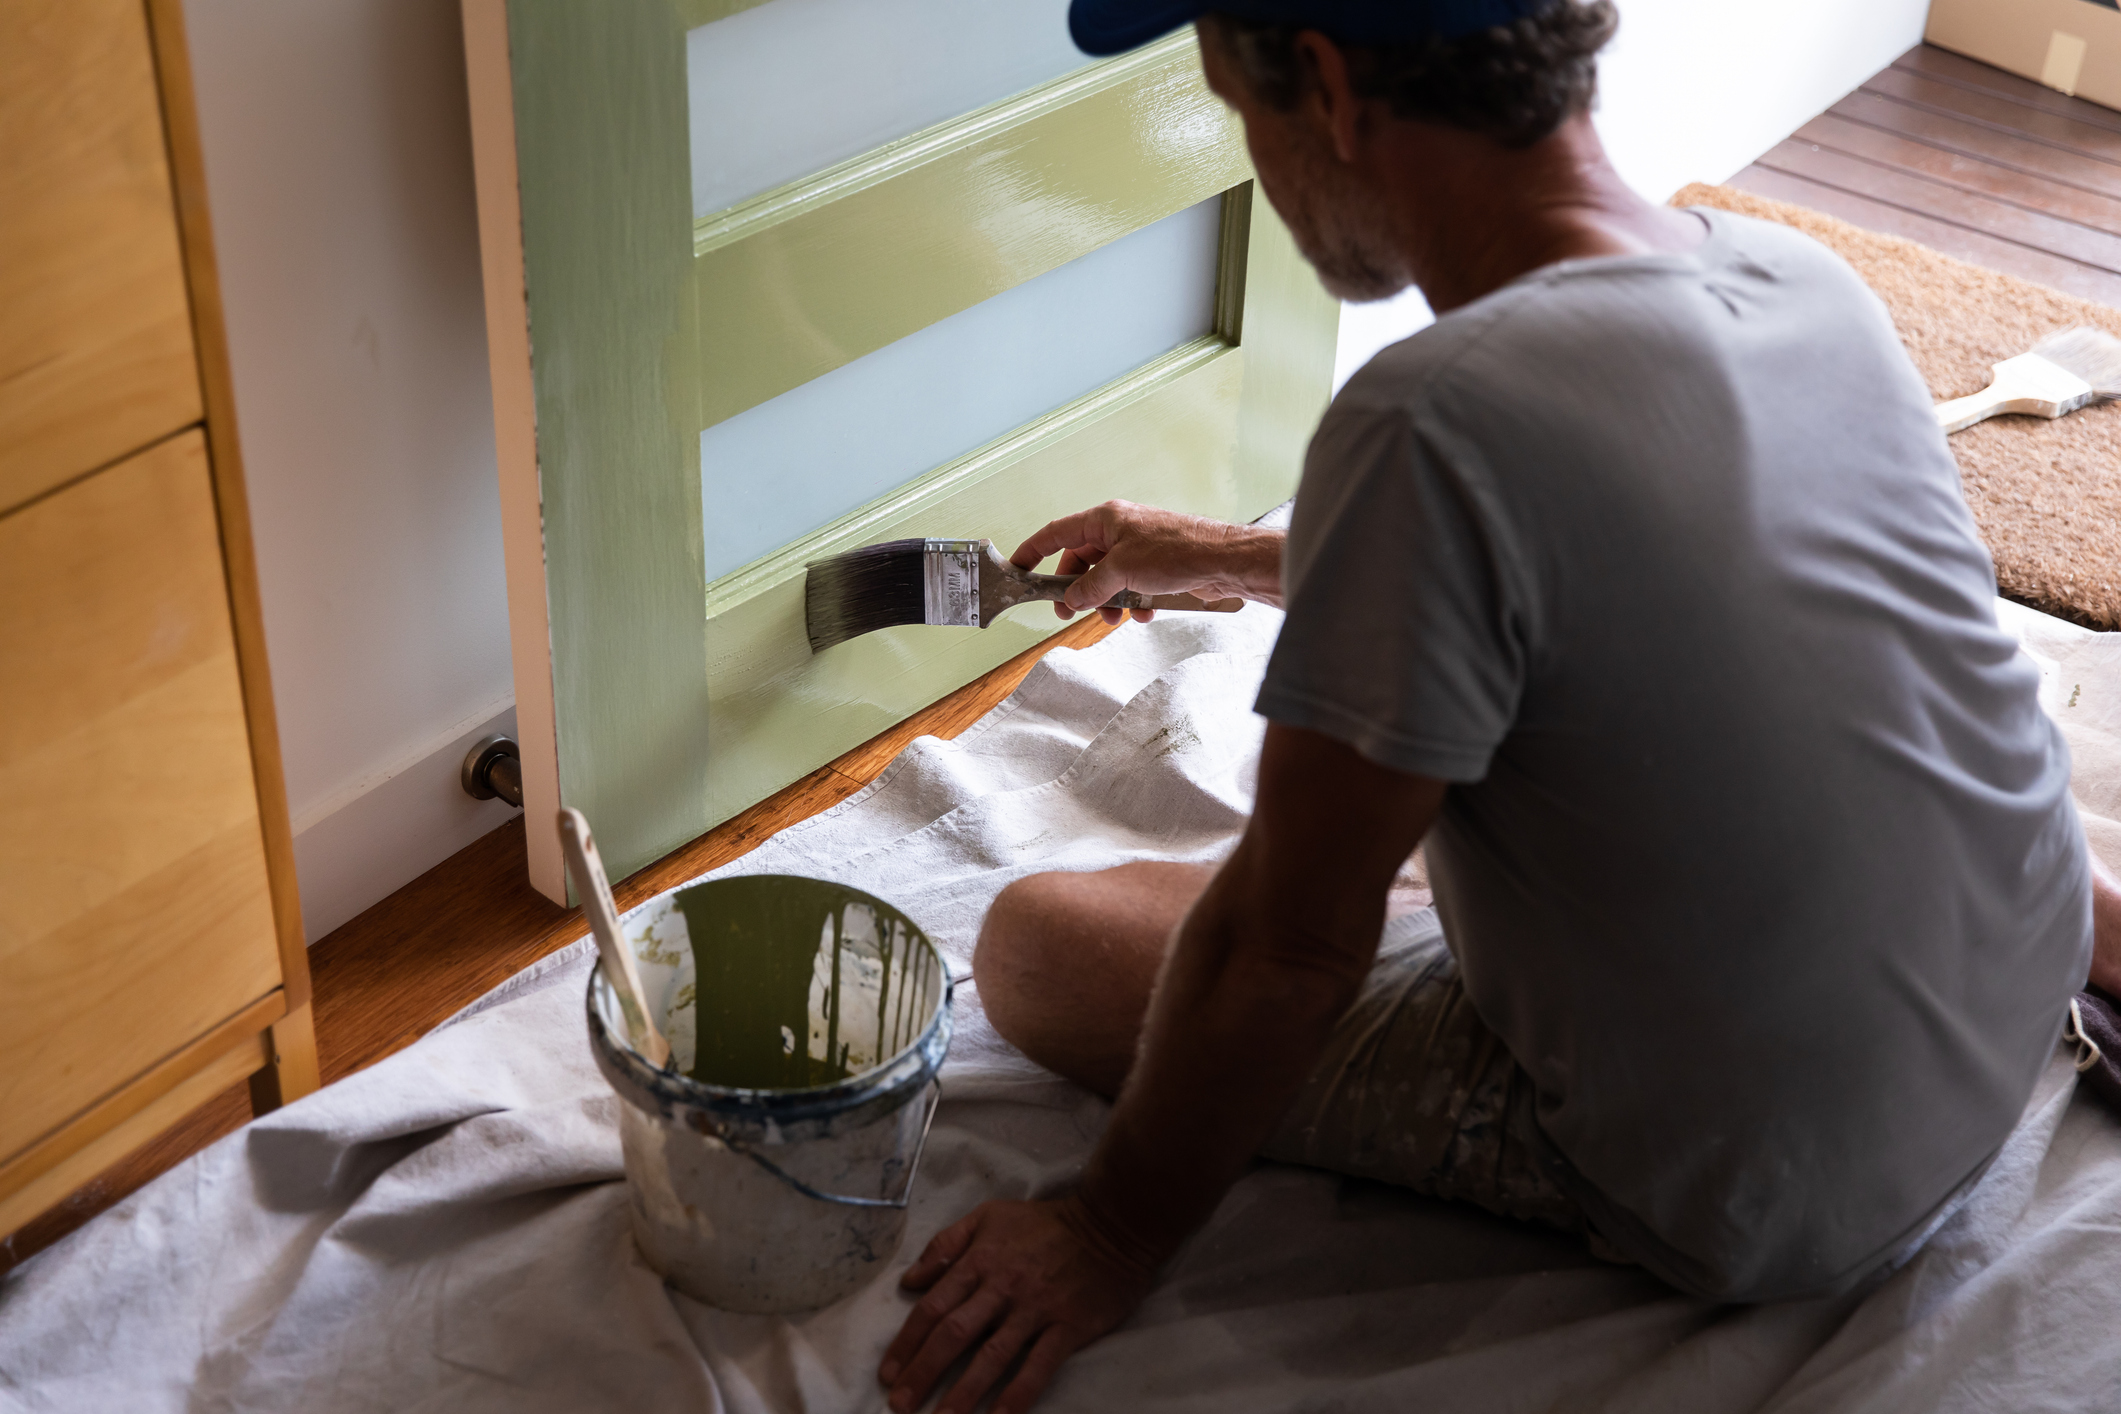
Photo: Louise Beaumont/E+ via Getty Images
From the weather it endures to the constant coming and going, the front door is bound to show some fading and damage over time. Make a good first impression with a fresh coat of the best paint for front doors. Whether you pick a new color or just touch up the original shade, a little paint can rejuvenate your home’s curb appeal.
Upgrade the shower head.
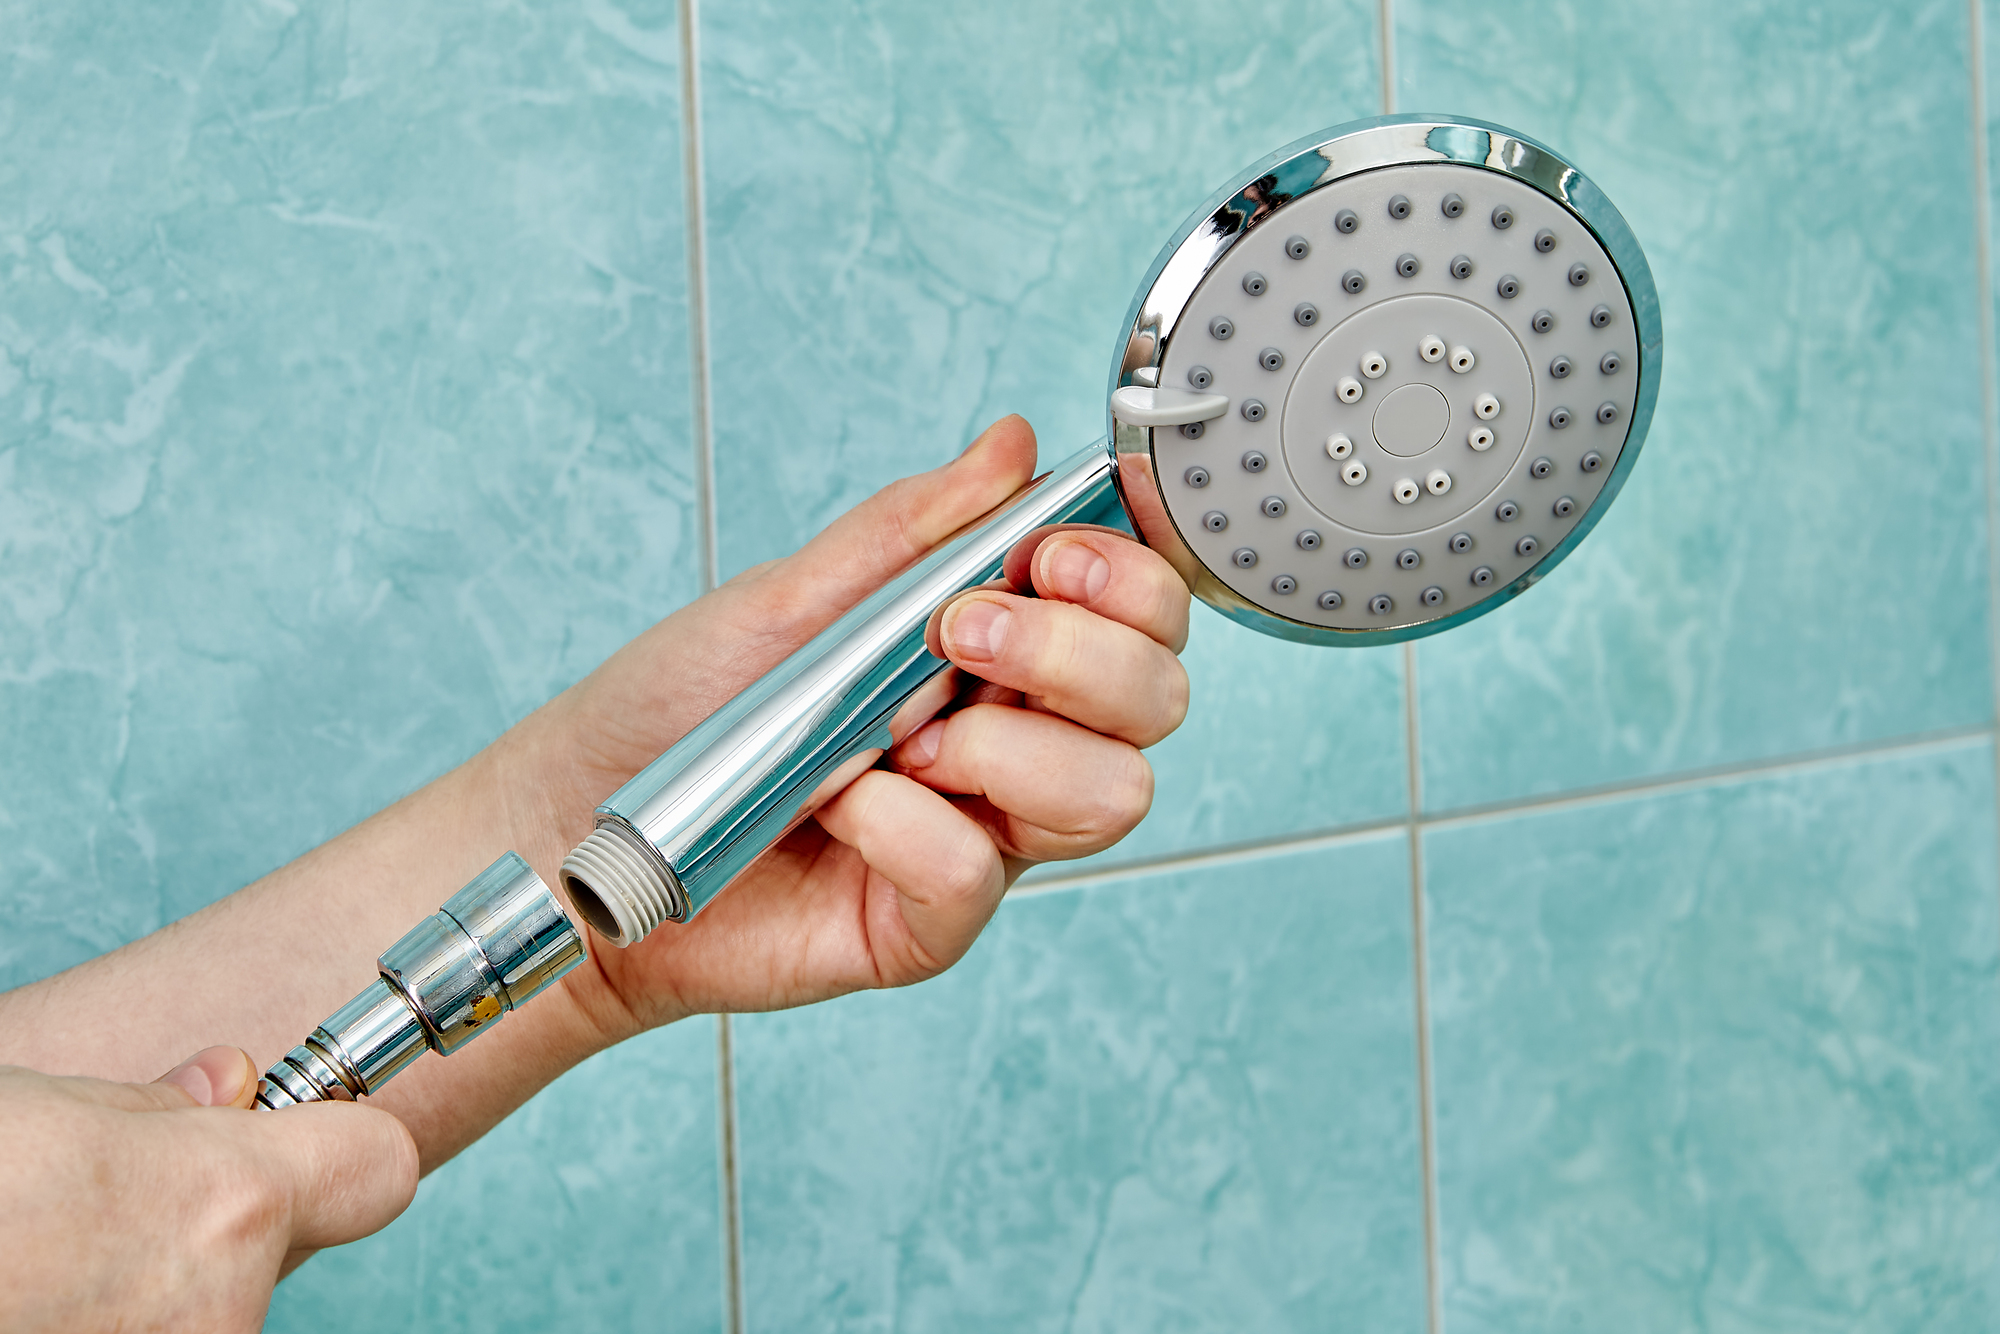
Photo: grigvovan/Depositphotos
With a new shower head, you can give your bathroom a style update and improve water flow for a more pleasurable bathing experience. As well, if you select a shower head that carries the EPA’s WaterSense label, you can conserve water and money. Although replacing an entire shower head and valve can take some plumbing skills and time, most shower heads have universal threading, so replacing one that’s dingy or ugly is a simple DIY project that you can complete in minutes.
Conceal scratched floors.
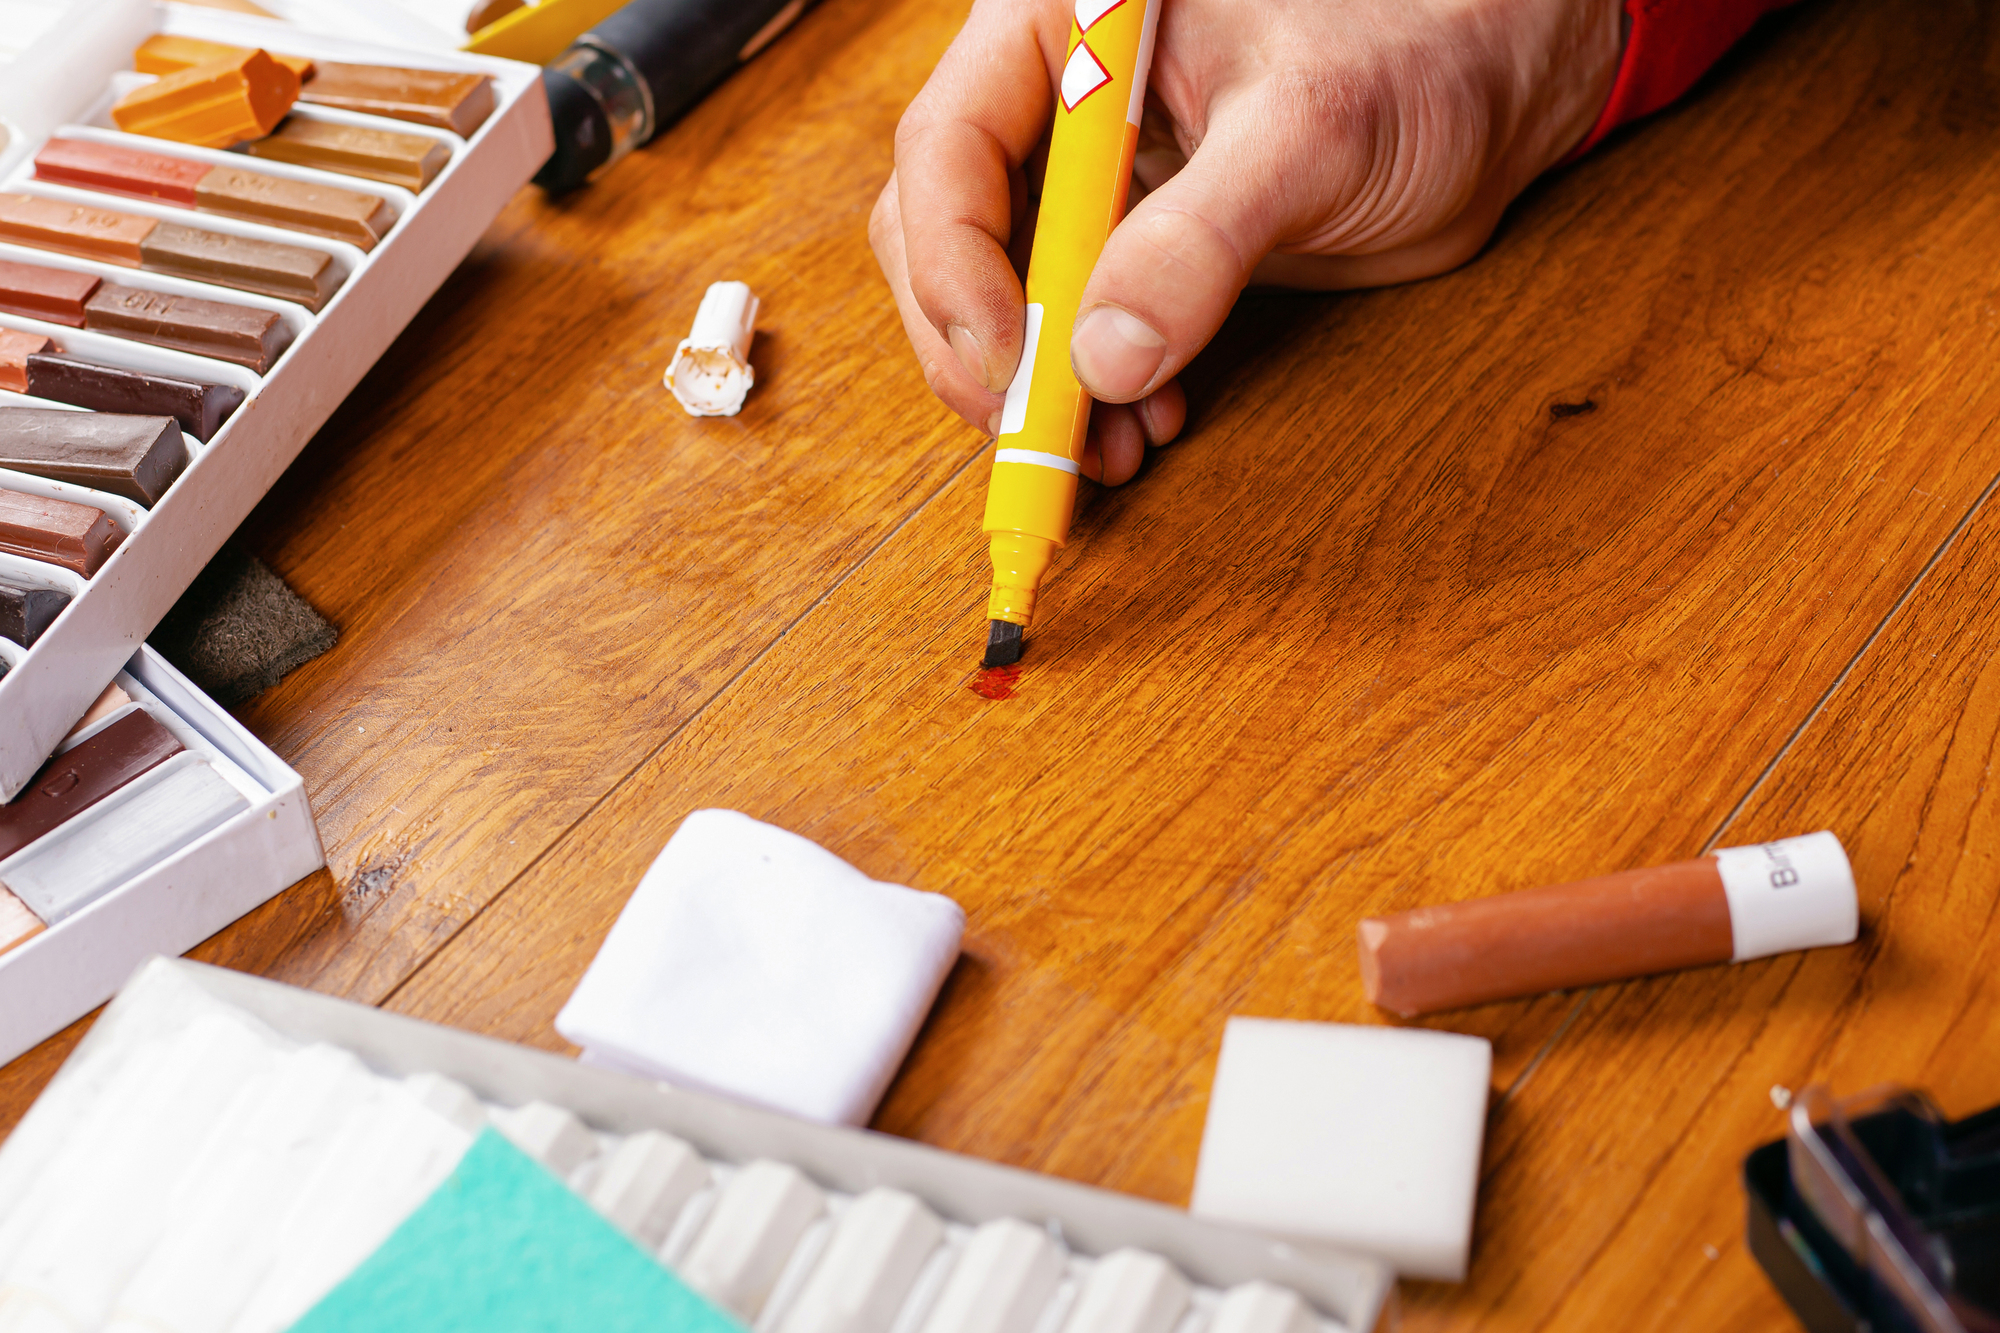
Photo: fukume/Depositphotos
Try as you might to protect your hardwood floors, they’ll inevitably endure some wear and tear. Luckily, there are ways to fix nicks and scratches that don’t require getting brand-new floors or planks. For scratches, give wood markers a try. You can blend and mix shades to perfectly conceal the marks. Fill in small gouges with specialized putty. For a total refresh without the effort or cost of refinishing floors, try a product like Minwax Hardwood Floor Reviver. The easy-to-use gloss revitalizes worn-looking floors.
Clean the dishwasher.
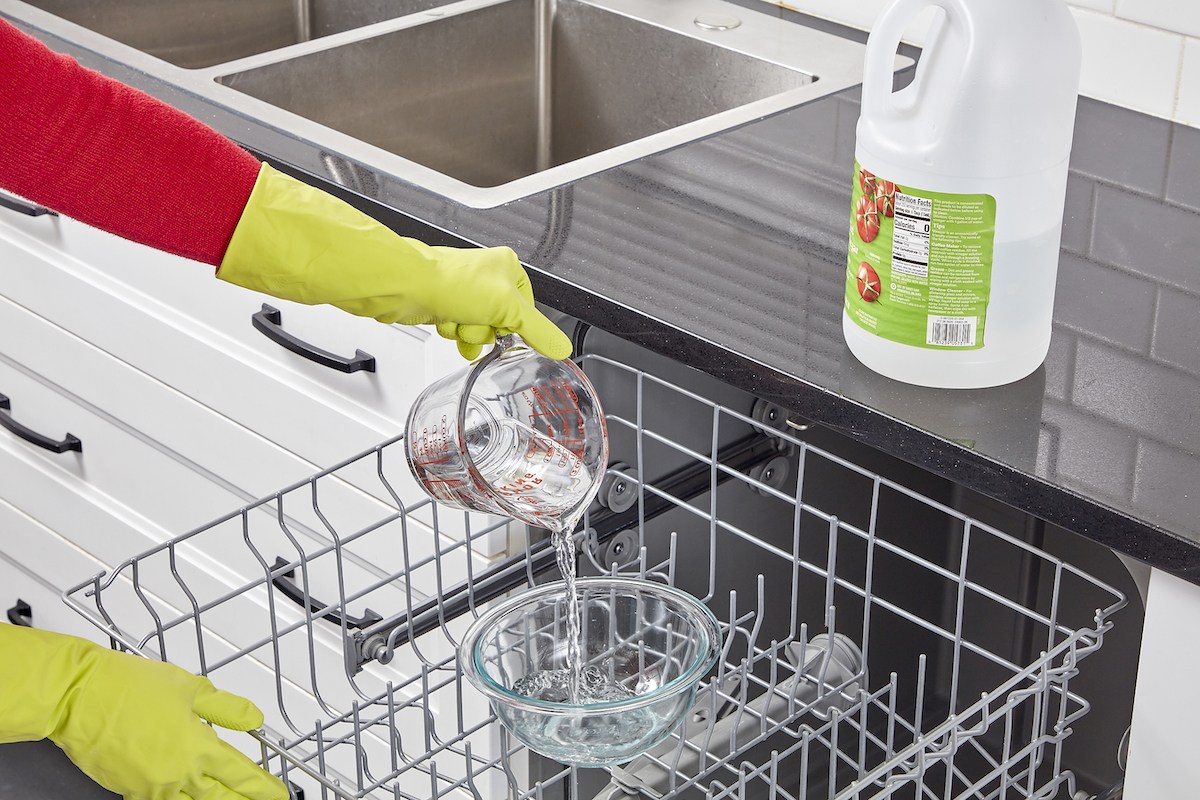
Photo: Tom Fenenga for Bob Vila
While it seems counterintuitive for an appliance that constantly circulates suds and hot water, a dishwasher can get pretty grimy. As often as once a month, take time to check the floor, inspect the filter, check around the gasket, and run a cleaning cycle. If done regularly, cleaning a dishwasher requires minimal physical effort and time. Even if you can’t get around to a full cleaning, at least run a hot water cycle with a cup of white vinegar in the upper rack and then wipe down the door’s seal and exterior.
