We may earn revenue from the products available on this page and participate in affiliate programs. Learn More ›
Tin Cans
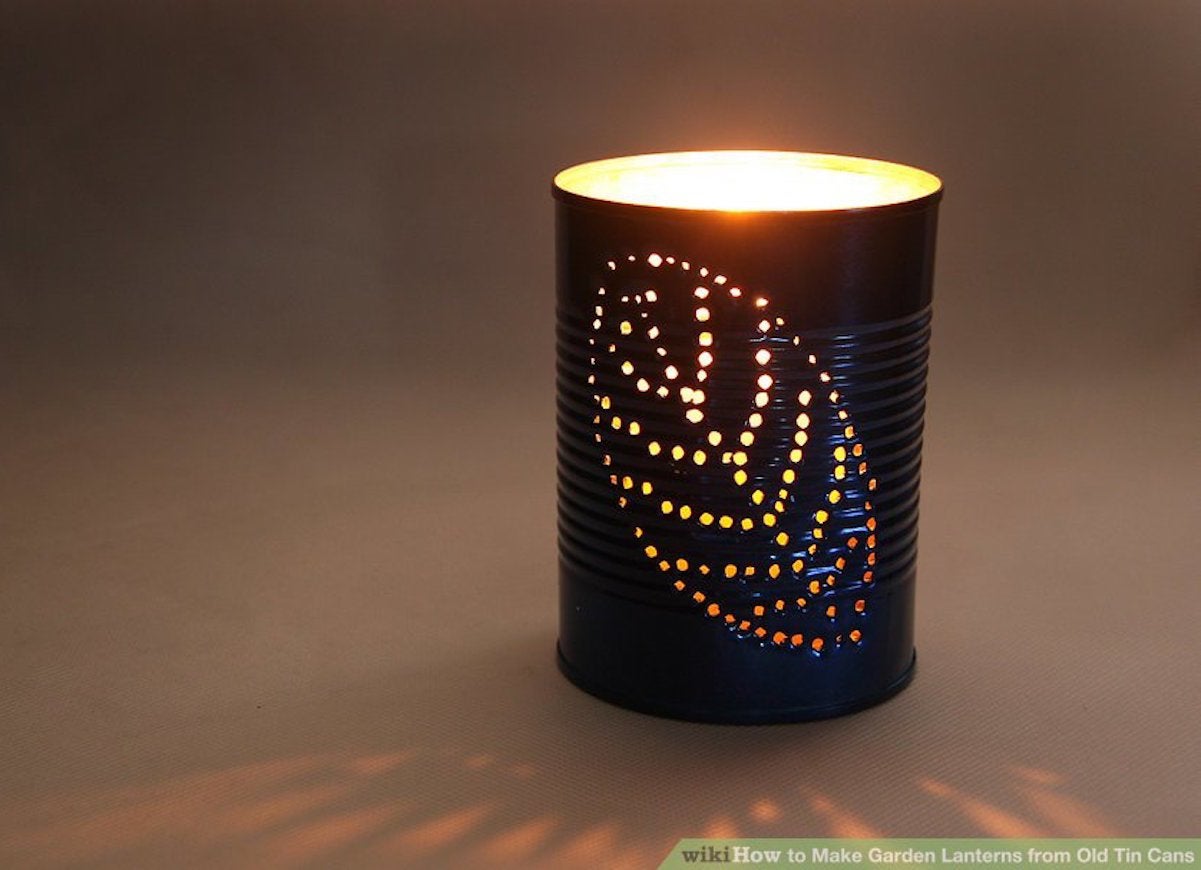
WikiHow.com via How to Make Garden Lanterns under Creative Commons license
Even a small supply of empty tin cans is just steps away from becoming a collection of DIY lanterns. Mark out a design with ink, and then fill the can with water and freeze it—the ice will give the can support during the next step. Punch the design out with an awl or metal punch. Spray it with paint or leave it plain, and your lantern will give you a starry starry night, no matter what the weather.
Glowing Orbs
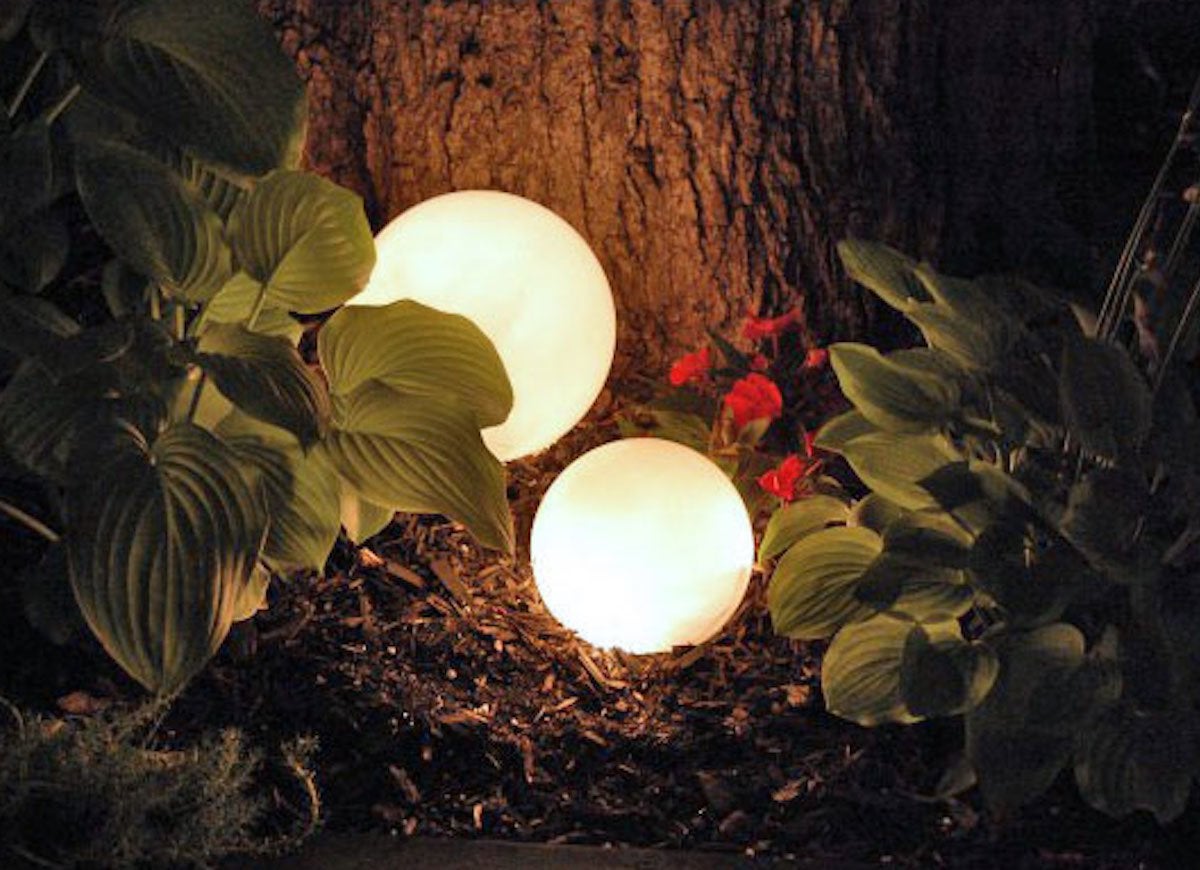
Bring together some thrift store globe shades and old Christmas lights for a knockout look in your garden. Click over to The Art of Doing Stuff to get the full tutorial. Use an outdoor-rated extension cord, of course, then kick back to enjoy the atmosphere.
Wine Bottle Torch
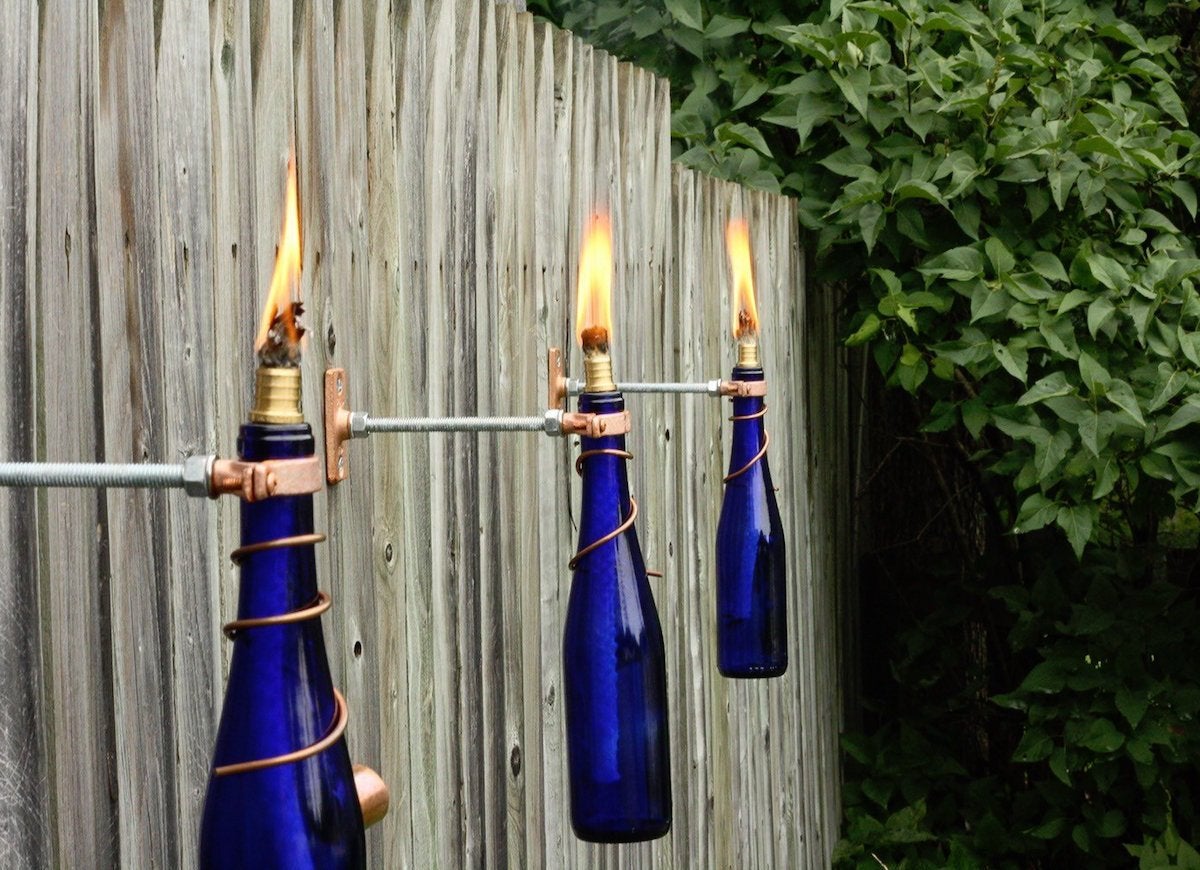
If you are plagued by mosquitoes on your patio, put together DIY tiki torches using recycled wine bottles and a few supplies from a hardware store. Open flames create wonderful ambience, and they keep bugs at bay.
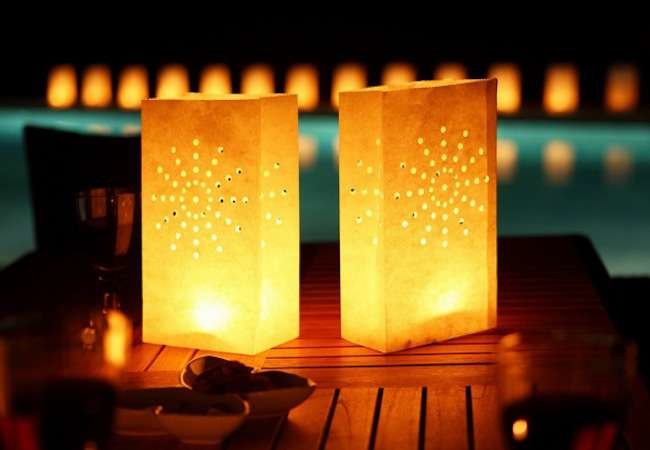
Paper Bags
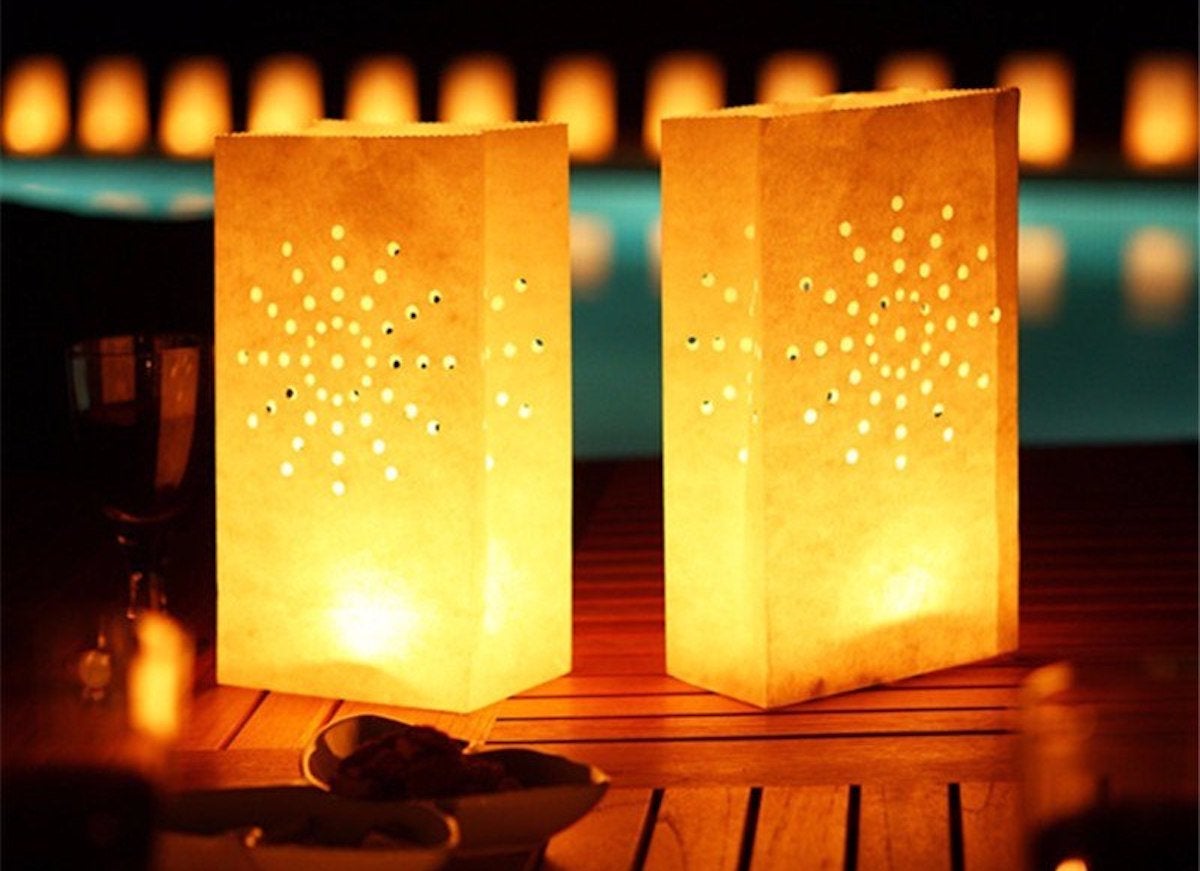
Create beautiful luminaries with items that you probably already have in the house. Cut or punch designs into a lunch bag, then place a heaping cup of sand, rice, or beans inside. Set a votive candle inside, and light! The process is so simple and safe, even kids can take part in this project. Line a walkway, porch, or table with them for affordable and charming outdoor decor.
Doilies and Candles
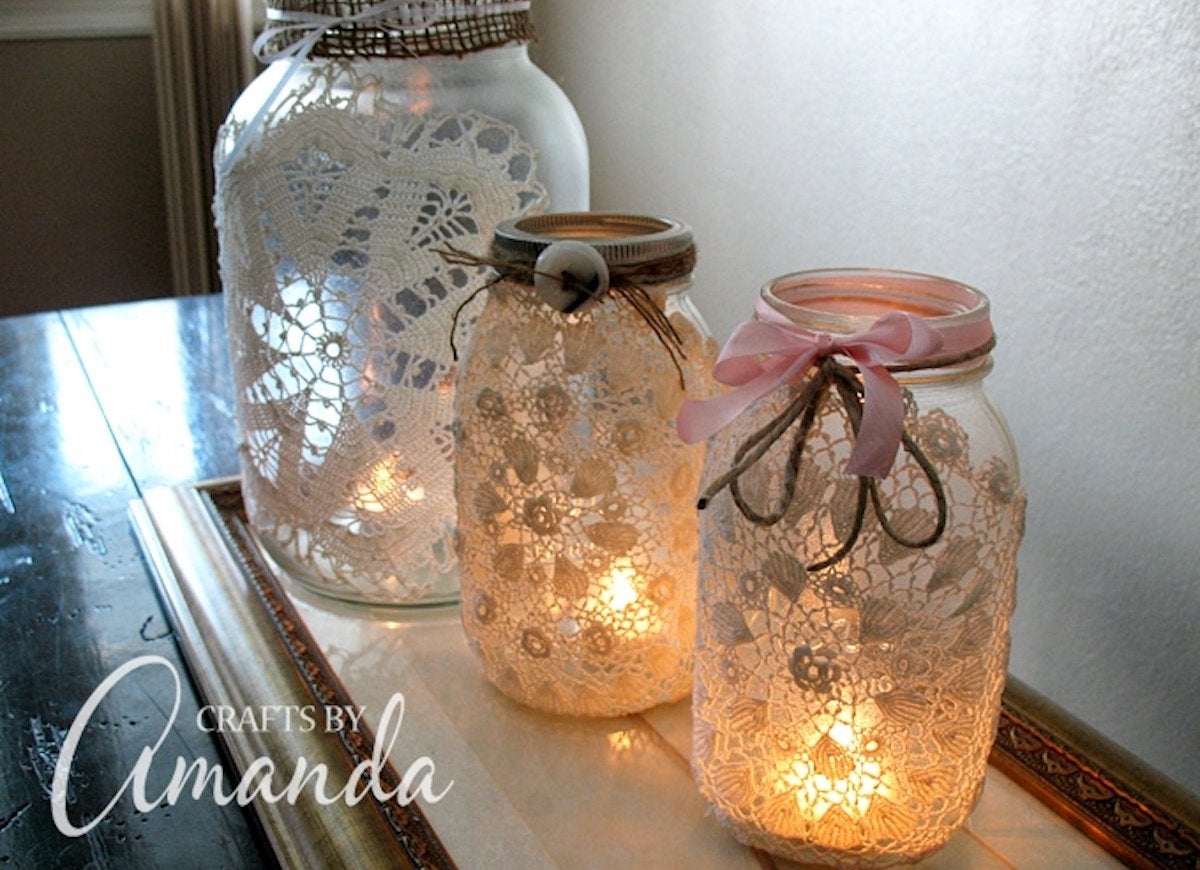
Bring some old-world romance to your garden party. Spray a lace doily with adhesive and place it onto a clean glass jar. Wrap the rim with burlap, ribbon, or twine. With a lit tea light or votive candle inside, it’s utterly enchanting.
Mason Jars
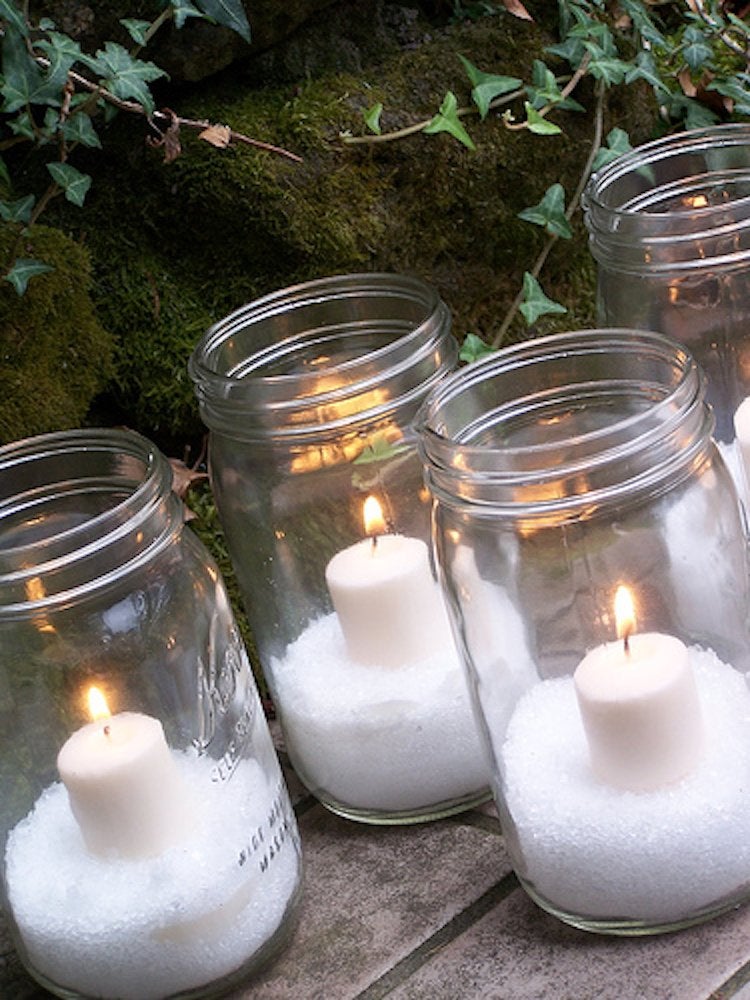
Put together these pretty luminaries from The Inspired Room in a quick minute. Pour Epsom salt into a mason jar and set a votive candle inside. The salt looks especially festive and snowy in winter, but these make a delightful display any time of year.
Full of Color
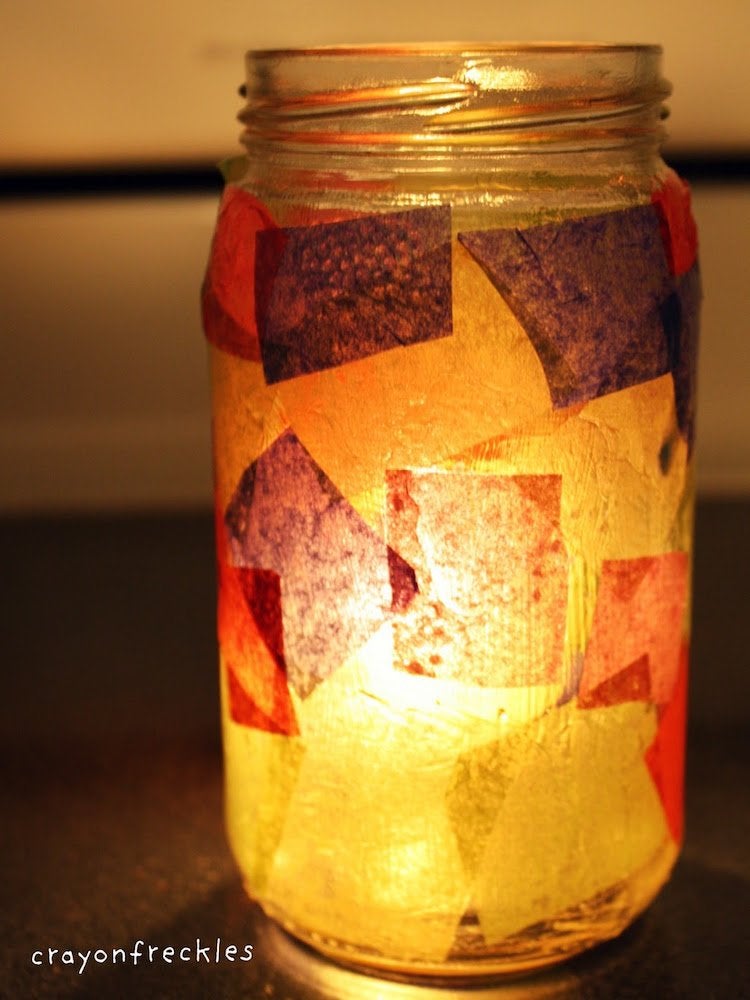
Cast a kaleidoscope of color around your outdoor space. Cut brightly colored tissue paper into small shapes and decoupage them onto a glass jar. If you don’t already have decoupage medium, a 50/50 solution of water and white glue will work just as well. Insert your favorite candle, and enjoy the colorful glow.
Twine
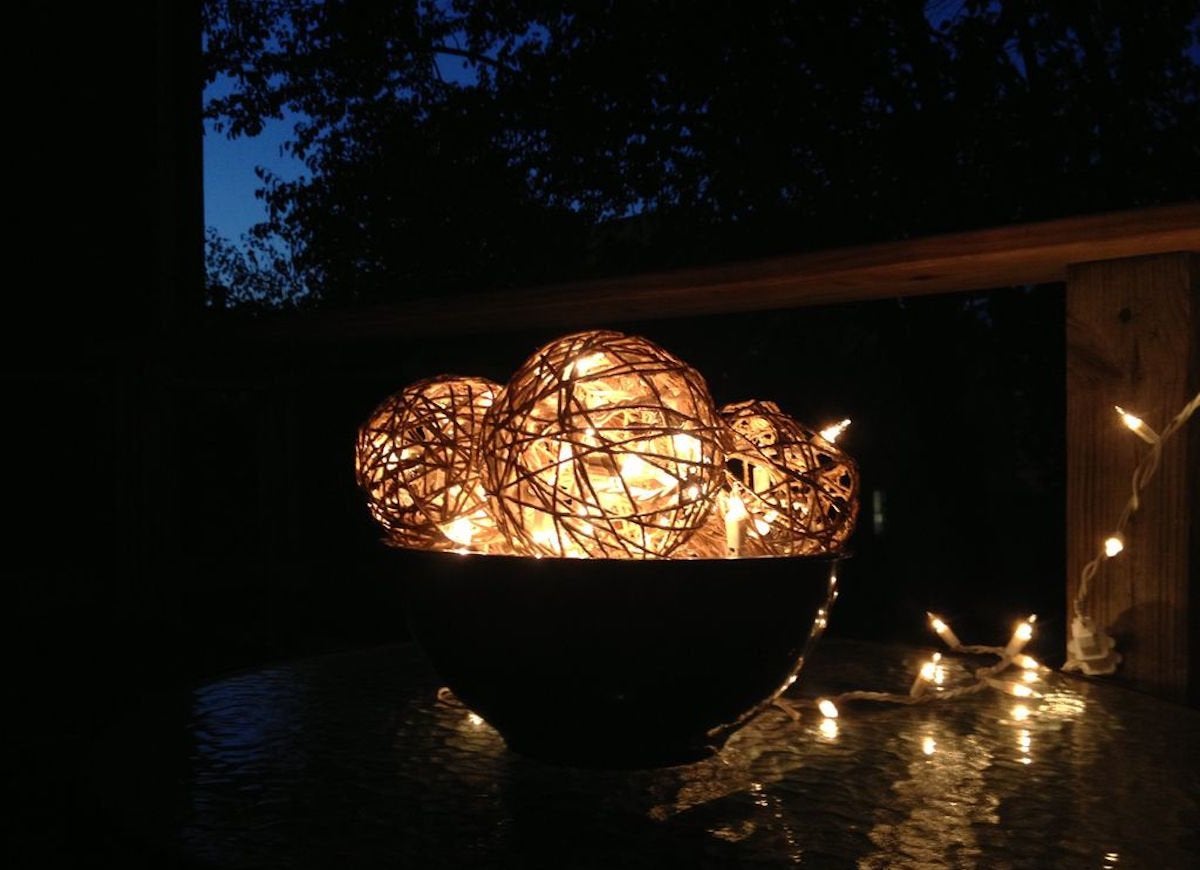
instructables.com via dbeylina under Creative Commons license
Twine lanterns add pops of crafty—but sophisticated—flair to any outdoor setting. Wrap glue-soaked twine around a balloon and let it dry. Pop the balloon and spray-paint the twine sphere. Fill with twinkling string lights, and you have webbed lighting fit for a home design magazine.
Glow Sticks
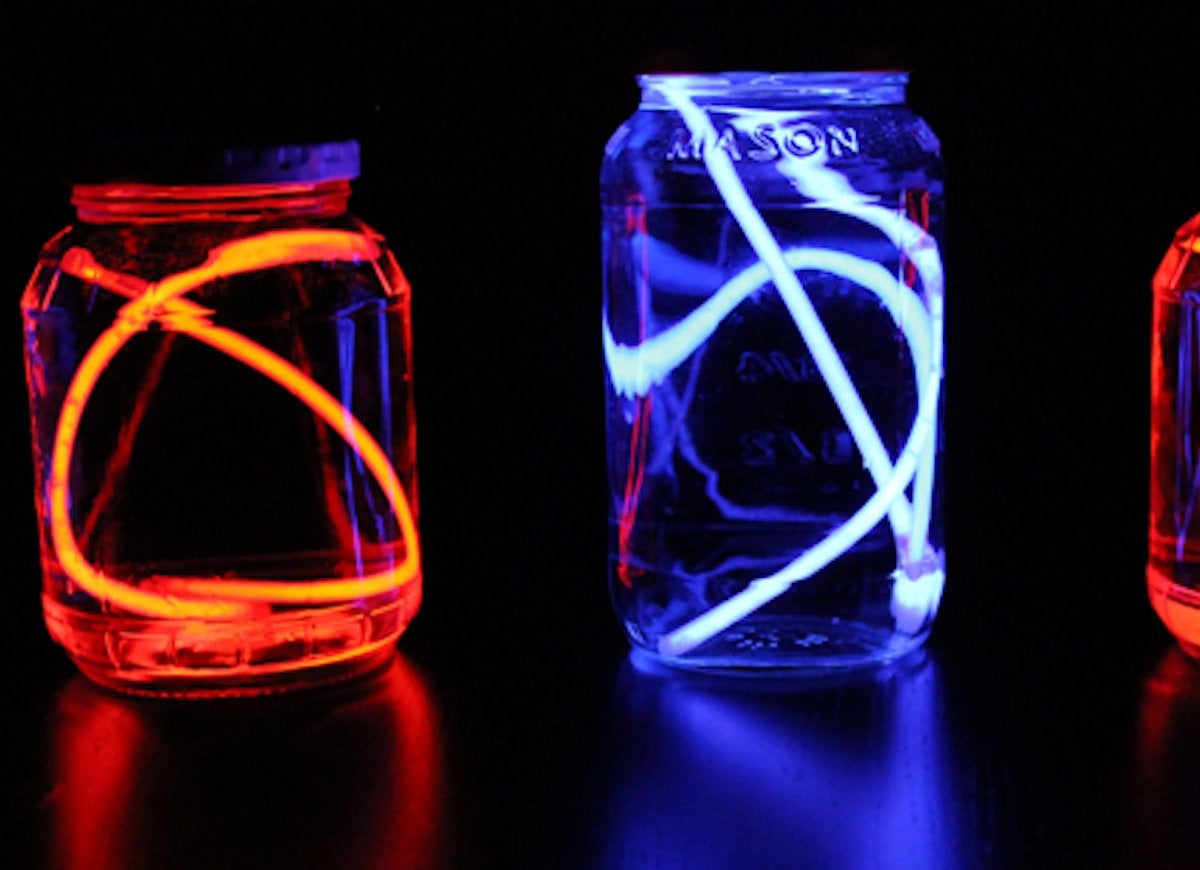
Although any lantern can light up the night, those powered by glow sticks are especially fanciful. Creating your own glow in a dark lantern is as easy as 1-2-3. Check the tutorial at Creative Green Living for full details. These lanterns can last up to a week, depending on the strength of the chemicals and the temperature outside.
