We may earn revenue from the products available on this page and participate in affiliate programs. Learn More ›
Careful preparation is key to the successful installation of hardwood flooring. If you fail to get the subfloor clean, level, and dry before you lay the first plank, you could wind up with loose or squeaky boards, or even worse, a floor that’s prone to cupping, warping, cracking, or gapping. To ensure that the beautiful hardwood floor you install today will be a source of pride for years to come, don’t skip—or skimp on—any of these three essential stages of prepping a space for a hardwood floor.
Do the Demolition Right
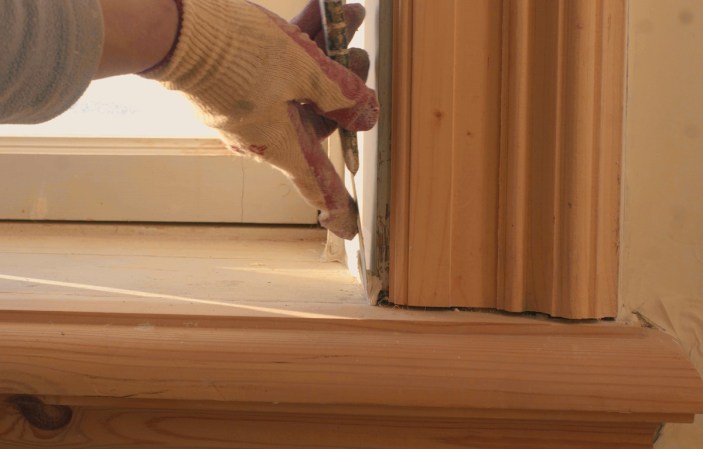
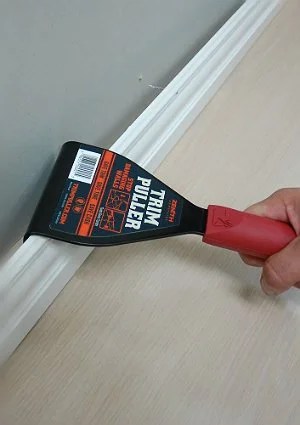
Before you take up the current flooring, remove all baseboard and door trim to make room for an expansion gap—a space that will allow the new flooring to expand as it’s exposed to heat and moisture after installation. Fortunately, demo duty can be quick and painless for both you and your space with assistance from the Trim Puller. This lightweight hand tool is a heavyweight helper in any DIYer’s toolbox because, thanks to its versatile design, it replaces a handful of single-purpose tools. Its business end, made from heat-treated carbon steel, is larger, wider, and flatter than the claw of an ordinary crowbar or pry bar, and it boasts a 15-degree integrated center wedge with a beveled edge. This combination of features not only protects walls from damage but also makes it easier to remove trim intact so it can be reinstalled or repurposed later.
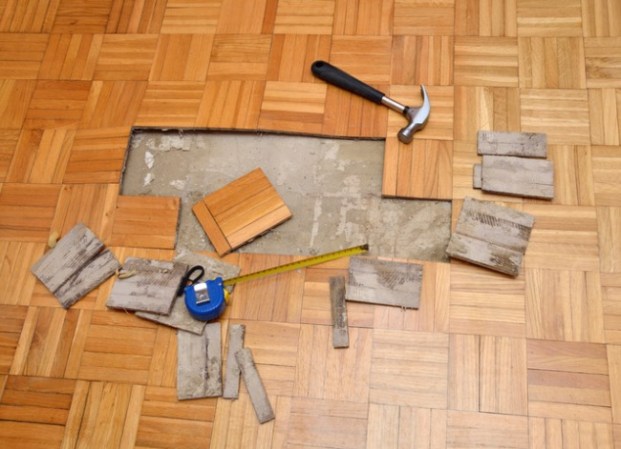
Once the baseboard and other molding have been neatly removed, you can proceed to use the Trim Puller on the existing flooring. The handy tool makes short work of vinyl and ceramic tile, and lifts up carpet tack strip and edging like a charm. Note: If you have any concerns that the old flooring may contain asbestos—a distinct possibility in homes built or remodeled before 1980—consult a professional for safe removal and disposal processes.
Shape Up the Subfloor
Whether the hardwood floor you’re installing will be floating, nail-down, or glue-down, you must ensure that the subfloor—be it plywood, concrete, or plywood over concrete—is clean, dry, flat, and sound.
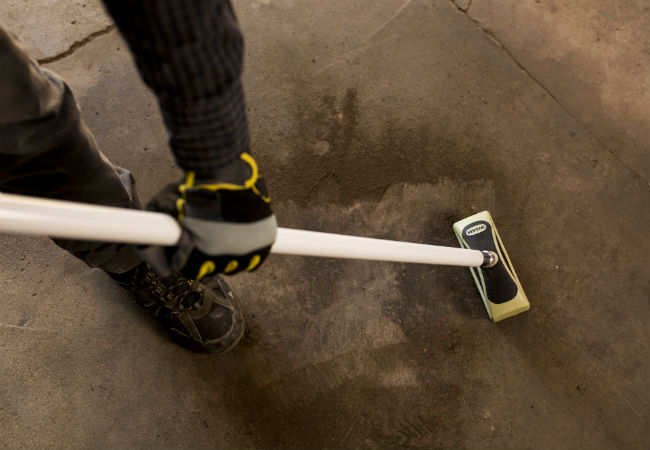
• Use a sander (and, if you’re dealing with a concrete floor, possibly a scraper) to rid the subfloor of paint, oil, wax, adhesives, sealers, or other material. Stubborn residue may require the use of paint strippers or adhesive removers. When you’ve finished, sweep and vacuum thoroughly.
• Conduct a moisture test using a moisture meter calibrated for your subfloor material. Test in areas that are typically prone to dampness—along exterior walls, under windows, and near plumbing—as well as in the center of the floor. Compare your readings to the hardwood manufacturer’s recommended levels, and correct problems as necessary before bringing the flooring into the space.
• Use a long level and a tape measure to determine if the subfloor is level within 3/16 inch for every 10 feet. If it’s not, sand any high spots and fill the low spots with leveling compound, then sweep and vacuum again.
• If your subfloor is plywood, check for loose or squeaky boards and repair them.
Purchase Essential Extras
Accumulated moisture can lead to mold or rot in a plywood subfloor, or efflorescence in concrete; either of these can wreak havoc with your carefully installed hardwood. To ensure that moisture won’t come up through the subfloor, put in a moisture barrier. Laying a barrier is especially important if your wood floor is going over concrete or will sit below grade. In most cases, a 6-mil moisture barrier will suffice; however, when gluing a wood floor to concrete, a trowel-applied product is recommended. Depending on the subfloor, an underlayment of foam, a film-and-foam combo, rubber, or cork may also be advisable to cushion the floor, absorbing noise and making it more comfortable underfoot.
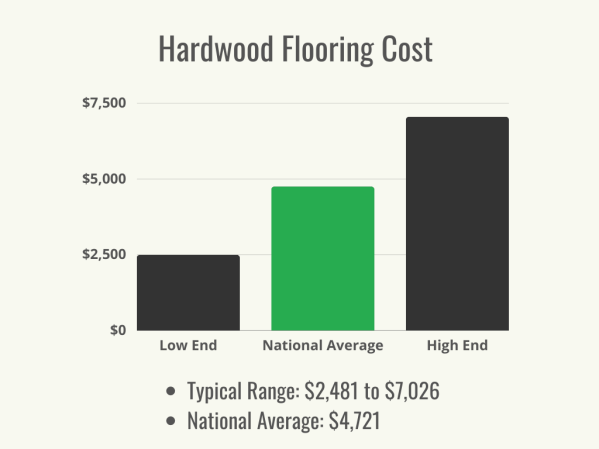
Even after the room has been prepped, don’t jump the gun on installation! Your new wood flooring needs at least three days to acclimate to the moisture conditions of the room where it will be installed. And even though you’re probably DIYing to save some cash, don’t be cheap with materials: Be sure to purchase enough flooring to account for errors, miscalculations, cutting waste, and defects. Flooring manufacturers generally set the “installer wastage” figure between 8 and 15 percent, in addition to the allowed 5 percent for defective material. You can certainly see how the materials costs could add up. Fortunately, the multipurpose Trim Puller that is so crucial to the start of the job will set you back only $29.95 (including shipping). And, as it will not only speed the project along, but also let you reuse all those unscathed baseboards and other molding that you removed early on, it’ll be easier for you to complete this hands-on home improvement project on time and on budget.
This article has been brought to you by Zenith Industries. Its facts and opinions are those of BobVila.com.
