We may earn revenue from the products available on this page and participate in affiliate programs. Learn More ›
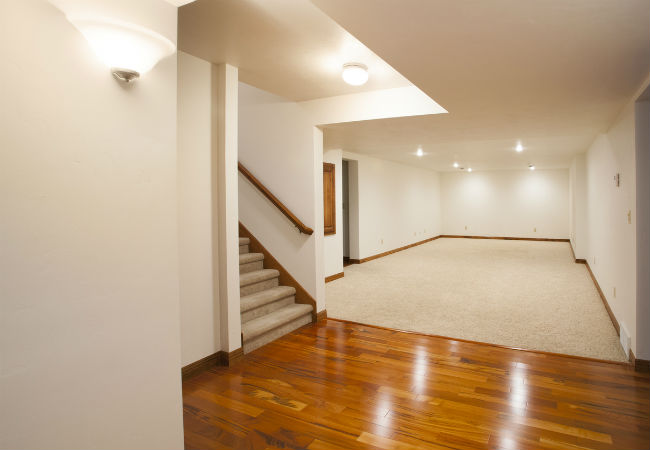
With the cost of living space going up, many homeowners are looking down to expand their home’s square footage with a finished basement. These spaces can be affordable solution to cramped quarters, but a basement’s concrete walls require special attention before the space is comfortably habitable. Basements are surrounded by soil, and moisture in the soil can leak through cracks in walls or seep through the concrete itself, resulting in damp or humid conditions indoors.
Read on to learn what to do (and not do) when finishing basement walls to achieve high-quality and comfortable conditions.
DO pull a permit before making major changes.
While community rules differ, in general, you will not need a permit just to seal or paint the concrete basement walls. If you’re going to build new walls inside the existing concrete walls, however, and/or run wiring or plumbing in the walls, you will most likely need a permit.
Because basement remodels are not visible from the curb, some homeowners may consider skipping the permit application, but failure to obtain a permit can result in a number of problems. You may need to eventually pay a steep fine or have to remove the walls and other updates if the local building authority finds out. What’s more, remodeling without a permit can hold up the sale of your home: When prospective buyers discover that your basement doesn’t match the description recorded in the county records, they may be unwilling to make an offer.
DON’T finish walls until the basement is dry.
Even if your basement walls have no visible cracks or leaks you may still have moisture issues. A simple DIY test will help you to find out. Tape a 1-foot by 1-foot square of plastic sheeting (plastic kitchen wrap will do) to the concrete wall in your basement with duct tape, and leave it in place for 24 hours. Then remove the tape and examine the sheeting. If condensation is present inside of the plastic, there’s a moisture problem.
If the moisture test showed condensation but the walls feel dry to the touch, the solution might be as simple as rolling on a coat of masonry sealant, such as DRYLOK Masonry Waterproofer before painting basement concrete walls. In some cases, taking steps to keep water away from the foundation, such as installing gutters and downspouts, will reduce basement humidity.

For visible leaks and standing water, waterproof your basement walls, which may include filling cracks or having an interior drain installed beneath the floor to direct water from leaks and seepage to a sump pump that will pump the water out.
DO use wall construction materials designed for basements.
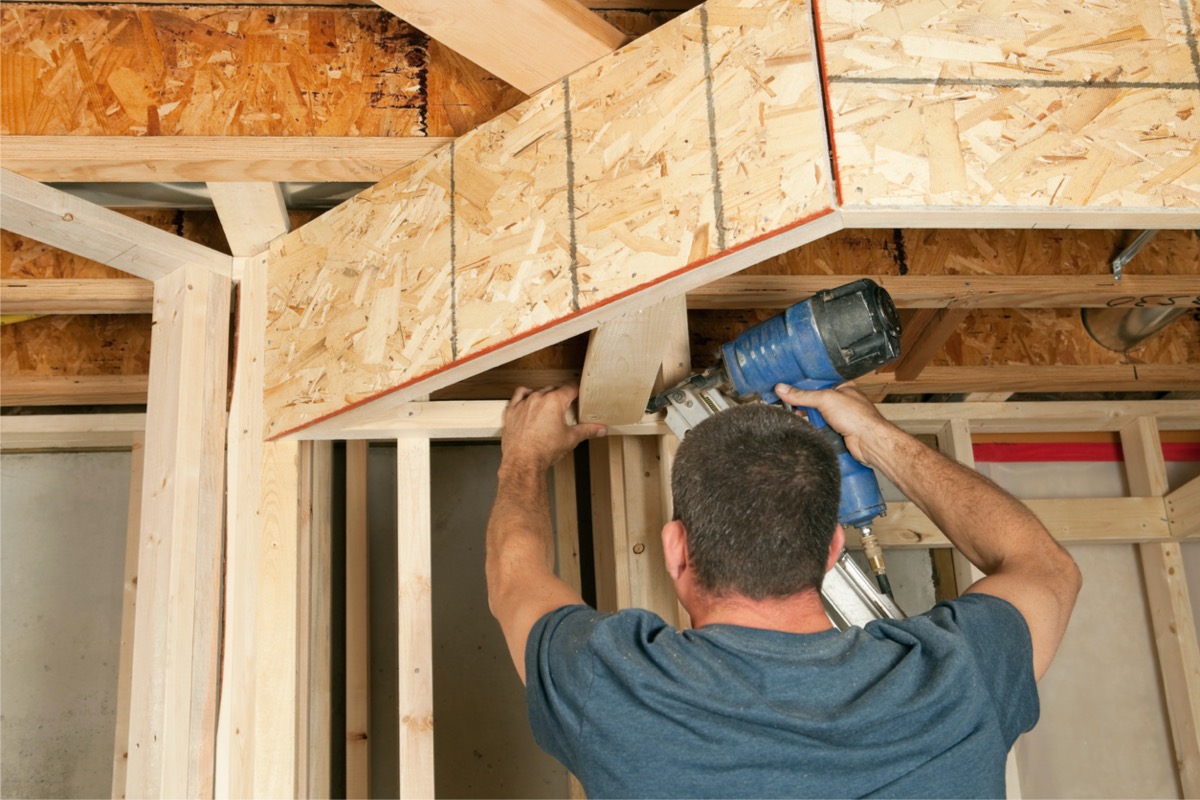
Building new walls inside the existing concrete walls is the standard way of finishing basement walls. Such a project requires a working knowledge of construction, so many homeowners hire a professional carpenter for the job. But if you’ve got the carpentry skills and want to DIY, know that local building codes often require the use of moisture-resistant and rot-resistant building materials in the basement.
- Use treated wood if the wood will come into contact with concrete, such as the wood floor plates of framed walls, or wood furring strips that attach directly to basement walls.
- Wood treated with alkaline copper quaternary (ACQ), a chemical that reduces rot, will corrode ordinary nails and screws, so all fasteners should be ACQ-compatible.
- If installing drywall panels, use moisture- and mildew-resistant drywall.
- When insulating concrete basement walls, which is a good idea because concrete basement walls are often cold, it’s a good idea to use a faced rigid foam board insulation if the insulation will come into direct contact with the concrete wall. Fiberglass batt insulation can be damaged by moisture.
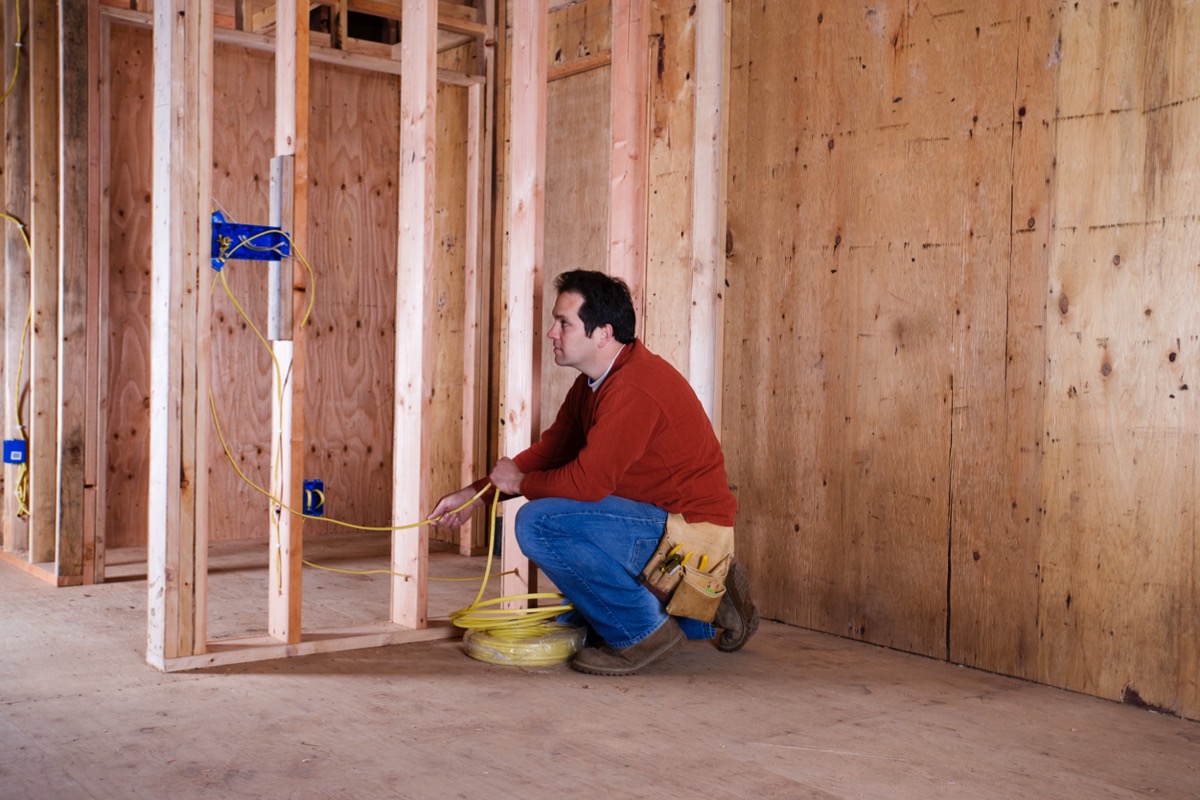
DO make allowances for wires and pipes in new walls inside concrete walls.
If you want to run electricity in your basement walls your local building codes will determine how many outlets you must install, and who can install the wiring (a licensed electrician is usually required). The standard rule here is to run the electrical wire through the ceiling joists above the wall, and then drop wiring down between the wall studs.
If there are existing pipes along the inside of your concrete basement walls, the best course of action is to leave the pipe in place and build the new wall just inside the pipe. For example, if the concrete wall has a 3-inch drain pipe running along its face, build the new wall 3.5 inches from the concrete wall. You’ll lose those inches in living space, but it’s far simpler and less expensive than rerouting pipes.
DON’T forget to install an egress window if you’re adding a bedroom.
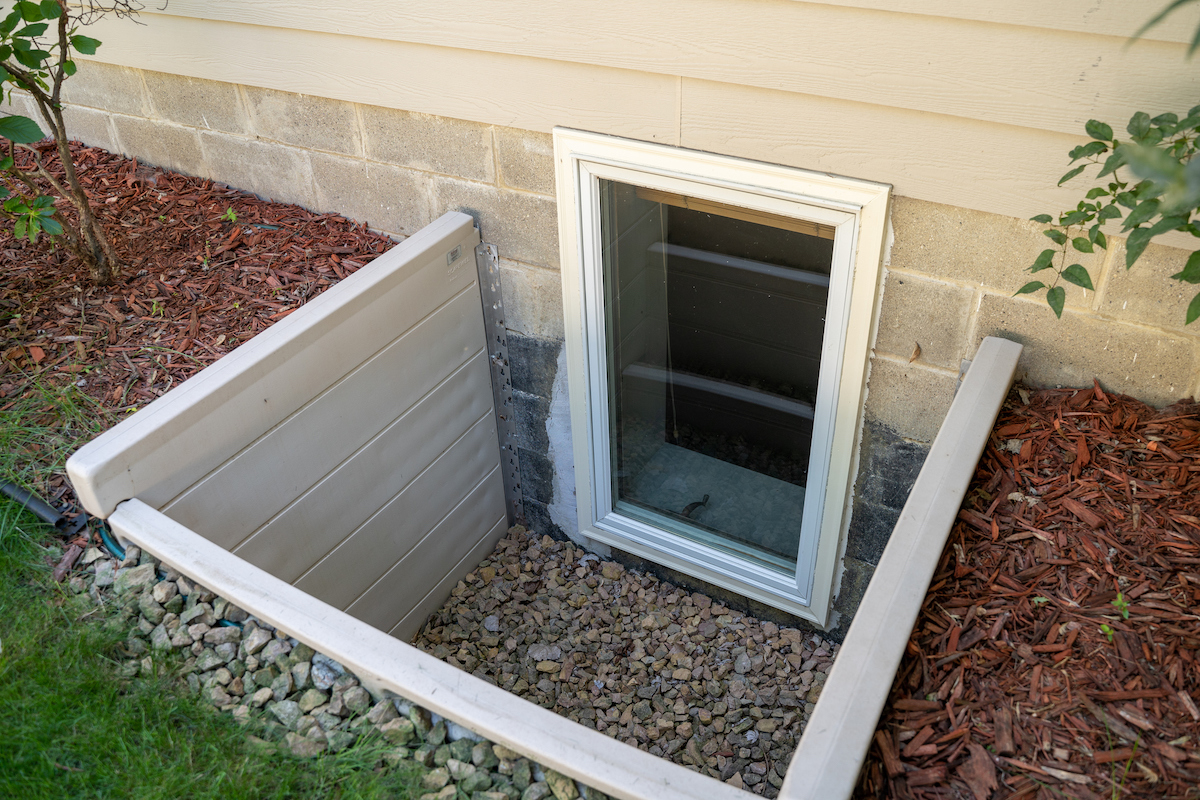
International Residential Code (IRC) requires the installation of an escape window in all habitable basements and bedrooms. The window opening should be a minimum width of 20 inches and at least 24 inches in height. In total, the window should offer 5.7 square feet of escape space, and the bottom of the window must be no higher than 44 inches off the floor.
Installing an egress window involves excavating the soil away from the foundation, cutting through the basement wall, and installing the window and a window well. This makes it possible for the bedroom’s inhabitants to climb out in the event of an emergency. Window well systems, such as this Modular Egress Window Well System, come with both the window and the surround needed to provide a safe exit from the basement bedroom.
DON’T build “tip up” walls if the concrete floor is not level.
The most common way of building a new wall is to construct it on the floor and then tip it up and attach it. That’s not the best course of action if you’re constructing a wall in a basement where the concrete floor is out of level, because the wall may be too high or too low in spots when tipped up.
A better way to build a wall is to first attach the top plate to the ceiling joists and then install the bottom plate to the concrete floor. After the plates are in place, measure and cut each vertical stud individually. This will give you a wall that fits perfectly. The process is a little slower, but you’ll get an exact fit.
DO consider a modular basement wall system for a simple basement remodel with big impact.
You really need good carpentry skills to construct finished basement walls in the traditional way described above. If you’re not prepared to tackle such a project, consider an all-in-one basement wall system, such as DRIcore SMARTWALL, with modular panels that require just a floor and ceiling track for installation.
The system’s panels are tongue and groove so they fit snugly and stay flat, and they come with attached moisture-impervious insulation on the backside. Once installed, the panels can be painted, and you can install crown molding and baseboard for a finished look. The cost to finish your walls with DRIcore panels runs about $21 per square foot.

Tried-and-True Advice
“Finishing basements is a bit like making a cake with a lot of layers that build on each other. When I refinished my basement, it needed to be stripped down to the bare bones and rebuilt from the cinderblocks in due to moisture issues. It took two layers of DRYLOK to properly seal the cinderblocks before the walls were rebuilt and insulated with rockwool, which I selected because it resists moisture. When it finally came time to finish the walls with spackle and tape, I switched on different overhead lights as I worked to make sure my spackling was level and wasn’t casting shadows that would stand out when I painted later!”
—Lauren Landers, Contributing Writer
DON’T overlook professionally installed systems when you finish basement walls.
While any competent general contractor or carpenter can install traditional walls, as discussed above, homeowners have another option to finish basement walls. Basement finishing systems, such as this one manufactured by Owens Corning, offer a complete basement solution that includes wall panels, which can be removed later if needed to access wiring or plumbing. The panels are mold and mildew resistant, and they dampen sound as well.
The catch is that these installing these systems isn’t a DIY job; instead, the manufacturer arranges for a certified crew to install them. A professionally installed Owens Corning basement system could run as much as $30,000, but keep in mind that they finish the entire basement to above-grade quality, including installing flooring and ceiling materials.
DO check your walls for lumps and imperfections before construction.
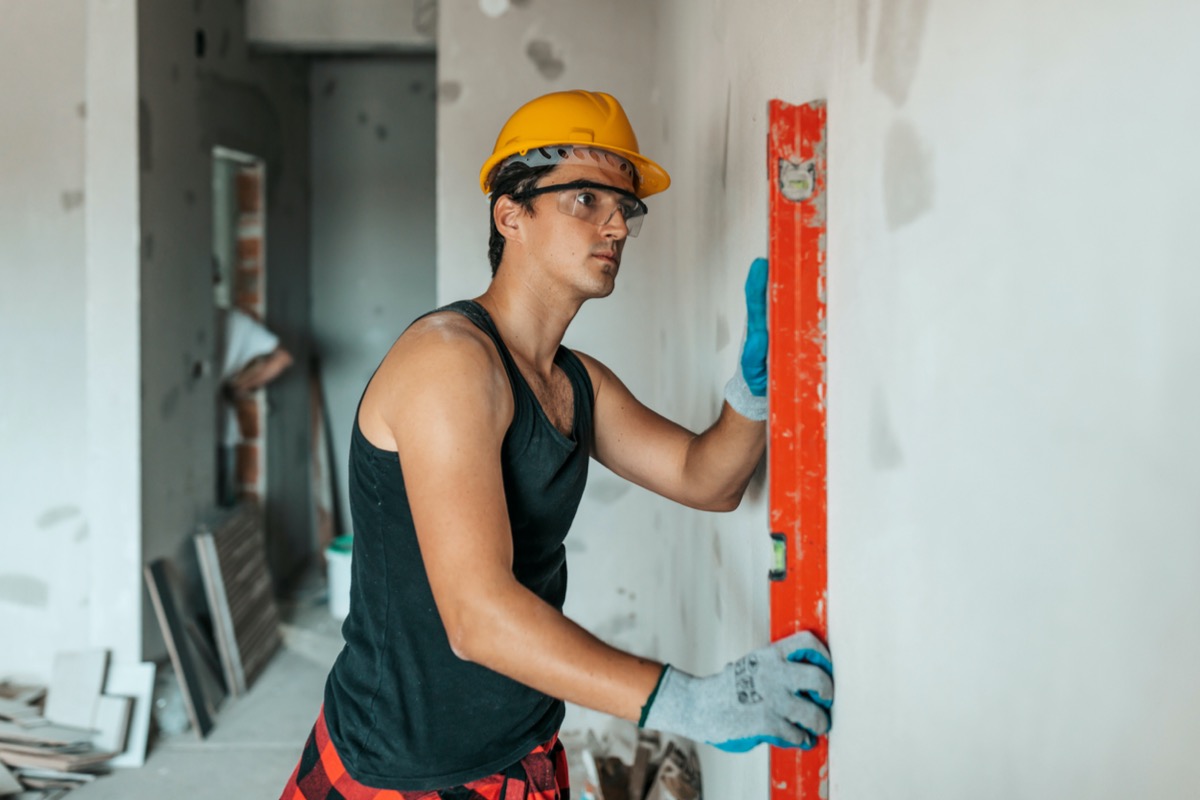
Even in a newly built home constructed by professionals, it’s uncommon to find that everything is perfectly level, flat, and square. And having perfect walls, floors, ceilings, doorways, and corners in an older home’s basement would be akin to finding a four-leaf clover.
Instead of trying to make adjustments along the way, make a few adjustments when planning your basement remodel to save time and frustration later. To check your walls to see how lumpy, bumpy, and out of perfect alignment they are, place a 6-foot level across the wall and travel along the surface left to right, and then turn the level 90 degrees and repeat.
Make marks on the wall where you find bumps and then drop a plumb line from each location and mark the floor. The farthest mark out would be the easiest place to build the new stud wall.
DON’T forget that all outlets in an unfinished or finished basement need to be GFCI protected.
Whether or not a basement is finished, there still exists the potential risk of damp and flooding. So it might make sense that some rules for electricity, like GFCI protection, can apply to both situations.
The National Electrical Code (NEC) 2020 updated code states that all outlets in finished and unfinished basements require GFCI protection due to the potential risk for shock from damp or wet often found in basements. Previously, the NEC only required GFCI protection in unfinished basements.
Also, it’s helpful to know that permanent smoke detectors and security alarms in the basement do not need GFCI protection.
You don't have to do it yourself
Experts near you are available to assist with your project. Get a free estimate today!
DO consider drywall alternatives for basement walls.
Not every basement wall needs to be made of wood studs with drywall or a modular system built by a certified installer. There are many other options for basement wall ideas that aren’t expensive and can accommodate access panels for a water main shutoff, sump pump, or other functional features that need to be used swiftly from time to time.
Instead of drywall, consider plywood paneling, which has become a micro-design trend lately and often a cheap way to finish basement walls, or wood planks in the form of shiplap or board and batten. For these wall systems, the process for how to finish a basement wall is repetitive. Plus, it’s relatively easy to create a few spots with easy-to-remove portions without that being obvious to others.
DON’T overlook mold and mildew protection when choosing paint for basement walls.
Moisture is common in basements, and no matter how many choices are made for decreasing the potential damage from moisture, it’s usually a good idea to remain vigilant about finding as many ways as possible. When choosing paint for basement walls, there’s more to the process than just selecting the paint color and sheen.
Consider a paint or primer that has mold-killing properties like Zinsser’s Mold Killing Interior/Exterior Primer or the interior and exterior Kilz Mold & Mildew Primer. Zinsser’s primer kills existing mold, mildew, and bacteria without needing the wall to be spotless. It can be applied to drywall, concrete, wood, and other surfaces. The primer dries within 30 minutes, can be painted in 1 hour, and needs a top coat within 72 hours for maximum protection.
Unlike the Zinsser, which can kill existing mildew and mold, the Kilz primer is a medium-to-heavy stain blocker, and the active ingredients are registered with the U.S. EPA as mold and mildew resistant to new growth.
