We may earn revenue from the products available on this page and participate in affiliate programs. Learn More ›
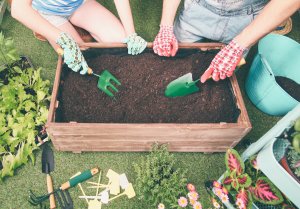
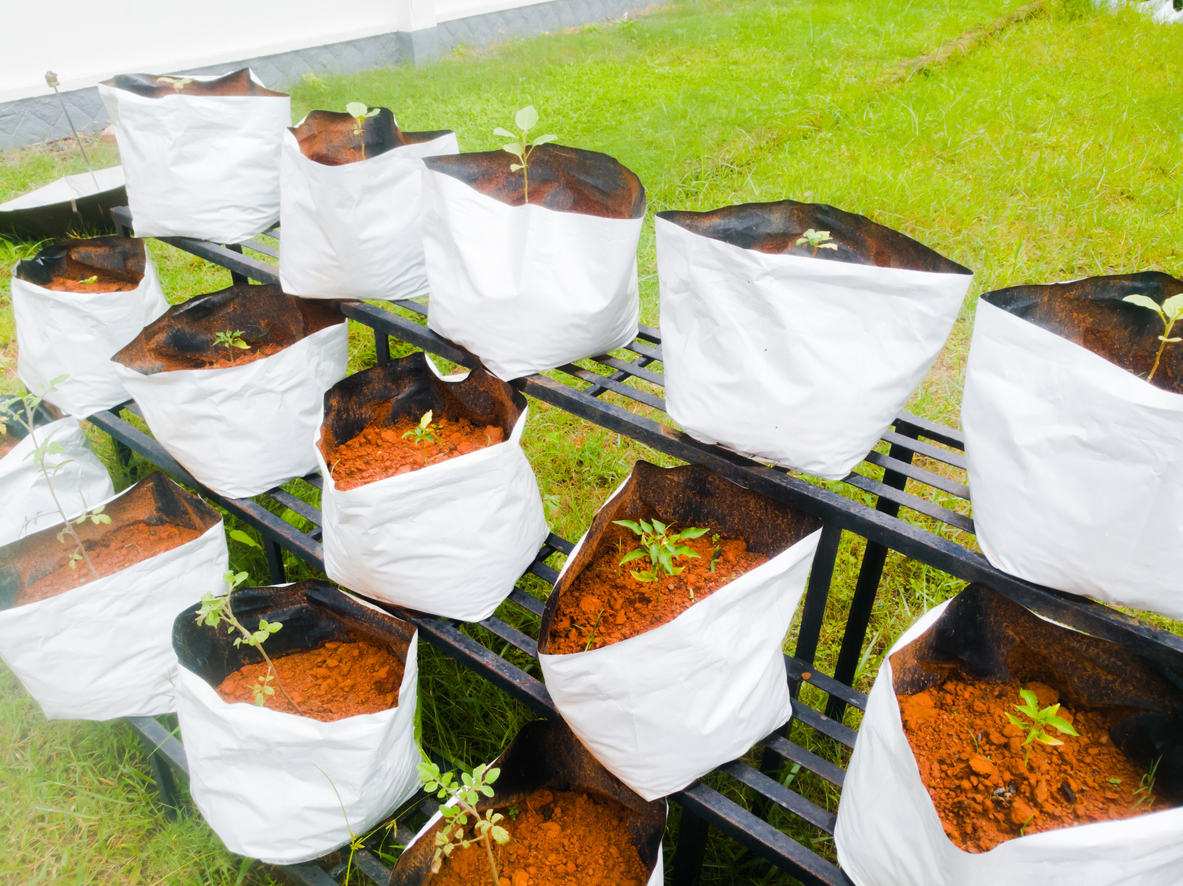
Sewn from lightweight fabrics such as polypropylene or burlap, grow bags are soft, breathable versions of your favorite ceramic or plastic pots. The bags often have handles attached to make lifting them easier. They’re lighter and airier than their clay counterparts, too. While some are constructed of black plastic, they are considered inferior because they don’t “breathe” as well, so this article will concentrate on porous fabric containers.
Available in a wide variety of shapes and sizes, grow bags are lighter than heavy terra cotta pots, so they don’t require as much muscle for their maintenance. The bags’ appearance, however, tends to be strictly utilitarian rather than decorative, which might make them more appropriate for vegetables than for flowers. Read on for the most important things to know about gardening in grow bags if you’re thinking about using them this season.
You don’t need much space to grow plants in bags.
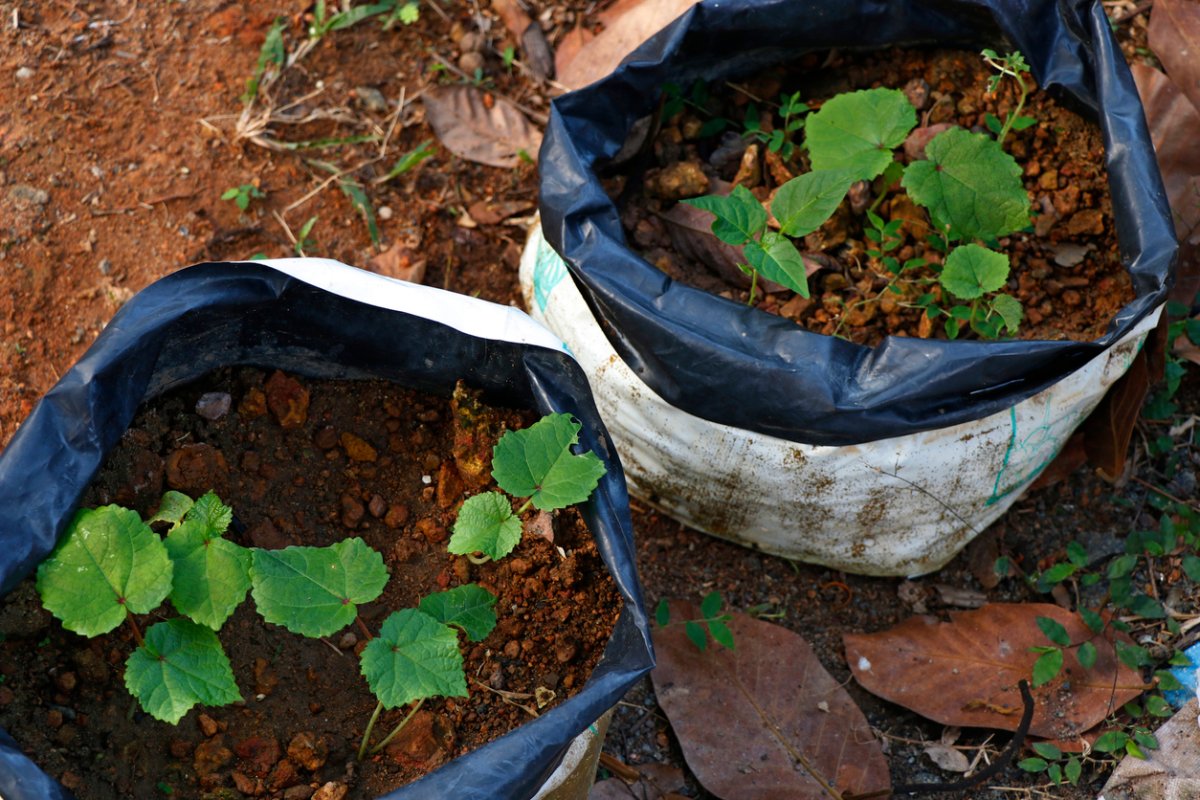
Even if you don’t own acres of tillable land—or any land at all—you still can garden with grow bags tucked into corners of sunny balconies and porches. A 5-gallon bag, which usually measures about 1 foot in diameter, can hold a single tomato plant, while a 3-gallon bag (about 10 inches across) will harbor one pepper plant or a hearty planting of salad greens.
As for flowers, either of those containers will support at least three spreading annual plants such as petunias. You can double the number of, for example, small annuals that don’t spread as much, such as pansies.
Sometimes, storage space is at more of a premium than growing space. After the growing season, the emptied bags fold up for easy storage. Although the harvest from these containers won’t be as impressive as that from larger gardens, grow bags still can allow you and your children to experience and enjoy growing, pollination, and fruiting up close.
RELATED: The Best Grow Bags
Plant selection is key for a successful grow bag garden.
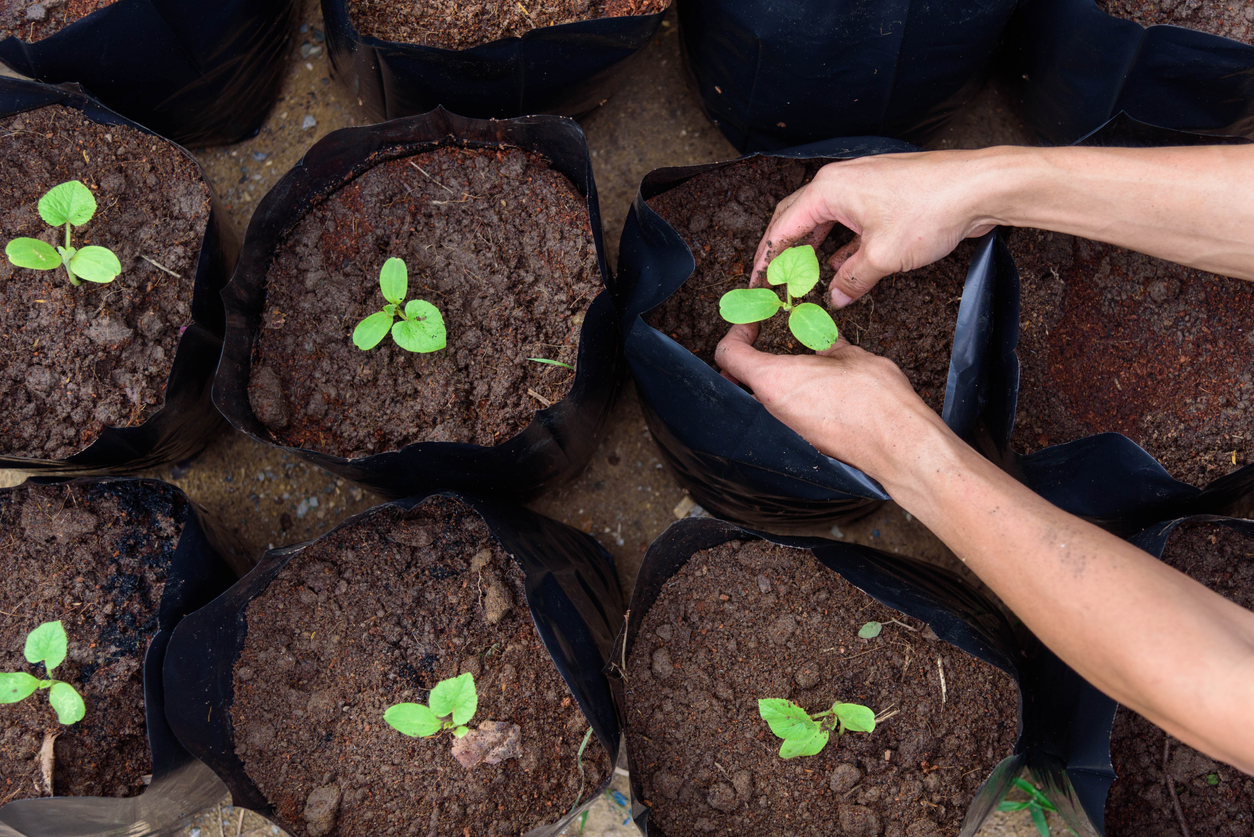
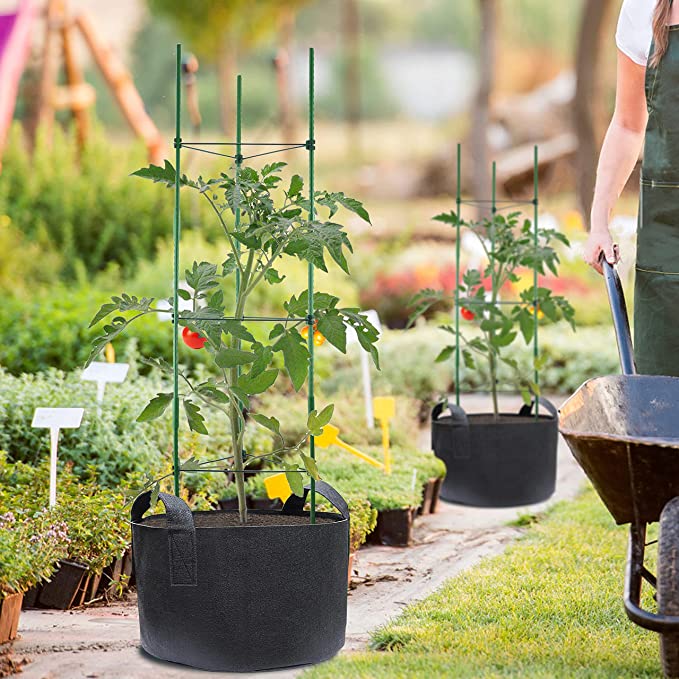
Once you have bought them, here’s how to use grow bags: For best results, choose plants that have fairly shallow root systems such as brassicas, salad greens, radishes, etc. Those needing more “leg room” or a bed in which to sprawl—think artichokes, asparaguses, lima beans, melons, parsnips, pumpkins, sweet potatoes, and winter squashes—aren’t as likely to do well in grow bags unless those bags are very large.
Still, growing veg in bags is within most novice gardeners’ reach, even if you’re gardening on a small balcony. You often can find dwarf cultivars of such vegetables that are better suited for container growing. A few examples include cantaloupe ‘Minnesota Midget,’ pumpkin ‘Jack Be Little,’ and winter squash ‘Jersey Golden Acorn.’ However, if your grow bags receive less than 6 hours of sunlight a day, you probably should opt for either brassicas, root crops, or salad greens, which don’t require as much light as tomatoes, peppers, and other sun-lovers do.
Grow bag garden systems have excellent aeration.
Grow bags have porous sides, so the roots growing inside them are “air-pruned” once they reach those sides, branching out rather than growing in a circle as they would in pots. Therefore, the plants in bags won’t become root bound as those in hard pots can. That aeration also allows water to drain out from the sides as well as the bottom of the container, so that gardeners prone to overwatering aren’t likely to cause root rot in their plants.
Flower fanciers in soggy climates can use grow bags to try plants that might previously have been impossible for them, such as African or alpine species. The raised soil of the grow bags and their built-in aeration can provide those plants the excellent drainage and water evaporation that they prefer.
Plants in grow bag gardens need more frequent watering.
Because grow bags are so well aerated, they dry out quickly once the plants they contain have grown large enough to fill them. So you’ll probably need to water the bags at least once a day during the heat of summer.
You often can determine whether an extra watering is necessary by lifting one corner of the container. If the bag still feels heavy, the plants probably don’t require any more water. If it feels light, however, they definitely could use a drink. You sometimes can slow down the rate at which the bags dry out by keeping them pushed close to each other.
If you’re wondering “What do you put under grow bags?” a tray or large plate will do—you want something that will catch the water that drains out of the bags. Trays filled with gravel should work best, since grow bags are less prone to rot if they aren’t sitting in water or on damp soil all the time.
RELATED: The 12-Inch Farm: 12 Foods You Can Easily Grow in Containers
Grow bag gardening typically requires more frequent fertilizing.
Plants grown in containers have a limited amount of soil from which to draw their nutrients, and those nutrients can leach out due to frequent watering. As a result, plants in grow bags need more frequent fertilizing than garden plants do. If the potting soil you select already has slow-release fertilizer included in it, that should help. If not, you’ll want to incorporate some, following the instructions on the fertilizer container.
Once you have planted a seedling in your grow bag, you can then supplement the slow-release fertilizer with a liquid type. For fruiting vegetables, you might want to try a tomato plant food, mixed at half the strength indicated in the directions if applied weekly, or at full strength if only applied once every 2 weeks. When necessary, you also can use liquid kelp emulsion, diluted per directions and sprayed directly onto the foliage, to green up plants quickly.
When it comes to grow bag gardening, well-draining soil is ideal. You can use potting soil or container mix soil when planting, but avoid garden soil that you would mix into your flower beds. Garden soil in a grow bag may compact, preventing proper aeration.
You can reuse your gardening grow bags season after season.
Grow bags can last up to three or four years. External factors such as watering volume, whether the grow bags are moved around, and the material they’re made of impact their reusability.
When shopping for grow bags, look for bags that are made of durable polypropylene fabric or a heavy-duty landscaping fabric; for optimal reusability, seek out products that are BPA-free and food-safe. Sure, there are cheaper grow bags out there but they are made with plastic materials, and will not last as long. This is a classic case of “you get what you pay for,” and how making a slightly bigger investment at the outset will get you a better product.
Taking proper care of your grow bags also increases their longevity. When the grow bags are not in use, such as during the winter months, empty them, wash them, and store them for the next gardening season. Be sure to place them in a shed, garage, or another protective area, as UV and weather conditions degrade the quality of the bag.
Empty and wash your gardening grow bags with soapy water every winter to kill bacteria and fungus.
Once you are done using a grow bag for the season, properly preparing it for storage helps it last longer. Each year, you must completely empty and wash the bags with soapy water to kill any bacteria and fungus. Then, allow your gardening grow bags to fully air dry before putting them into storage.
Because grow bags are often wet (whether due to rain or you watering your plants and dampening the soil, thus dampening the bag), they are prone to moisture-related issues like fungus, mold, and algae. The green fluff you see growing on the side of your bag? It’s likely one of these three culprits. Moisture-related growth generally looks unsightly, but it is quite easy to remove with a simple mix of vinegar or baking soda and water.
As a general rule, any soil-related problems you had with your plants during the growing season will remain in the bag unless it’s properly cleaned.
Recycled and plant-derived grow bag materials are eco-friendly alternatives to plastic grow bags.
If you’re trying to do your part to make Earth a better place to live, search for gardening grow bags made of recycled or plant-based materials, such as hemp or jute. Of these two options, gardening grow bags made from recycled materials will last longer, as plant-derived grow bag materials eventually end up in the compost.
Although plant-based grow bags are great alternatives, they simply do not last as long as a durable polypropylene. Both materials naturally degrade over time, and with plant-derived grow bags, this process can happen at a more accelerated pace. If you are interested in sustainable grow bag gardening, plant-derived materials are earth-friendly, but you may have to replace them more often than other grow bag materials.
Biodegradable grow bag materials are a great choice for starting vegetables indoors and transplanting in the spring.
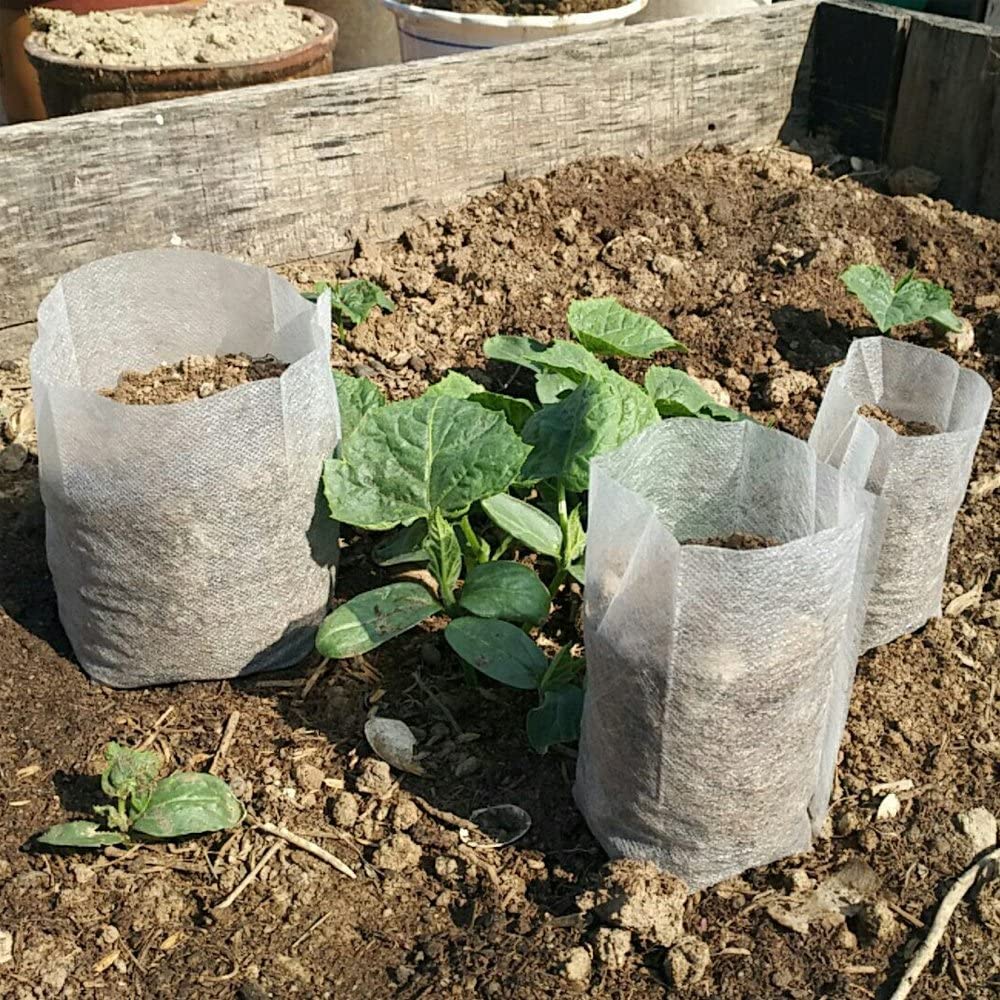
Biodegradable grow bags are an excellent choice when preparing your seedlings for spring planting. Gardening grow bags, such as these Huvai grow bags, are made of biodegradable, non-woven fabric. You can plant the entire bag in soil, and they will eventually degrade into the earth, leaving the seedling behind.
Starting your seedlings in small biodegradable grow bags helps the young plants retain water and prevents other roots from invading the space of your seedlings before they can establish a large root system. Once the seedlings start growing larger roots of their own, they will simply grow through the bag, rather than be restricted by it.
Biodegradable grow bags simplify planting your spring vegetable garden, as you can plant the seedling in the ground, bag and all. This method also makes it easy to plan your garden beds, as you can lay the bags out to figure out spacing, before digging the holes and planting the seedlings in the ground.
Some gardening grow bag systems have side flaps that allow you to monitor plant growth and check for pests.
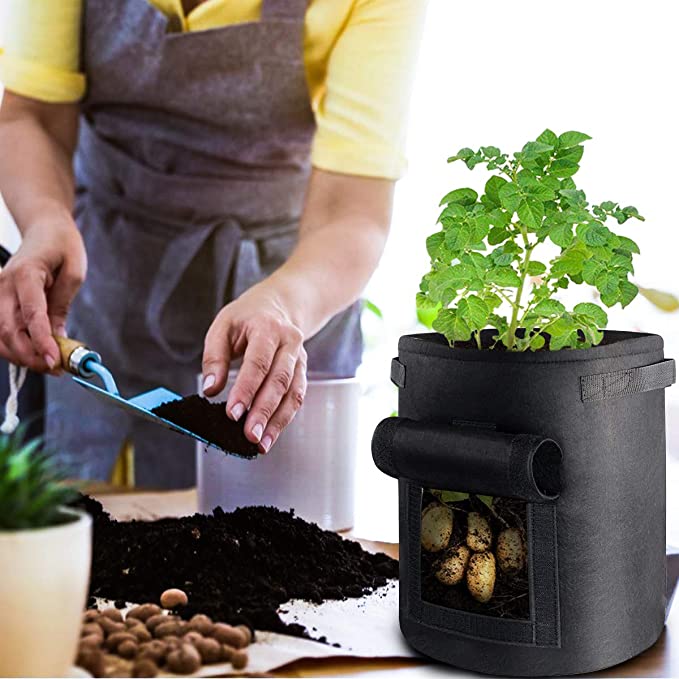
The little side flaps found in some gardening bags are useful in a variety of ways. You can lift the flaps to take a peek at the root system, check the growth of root vegetables, or inspect the soil for any pests. These grow bag flaps offer you a front-row seat to your plant’s growth and environment, so you can clearly see how healthy your plant is, and if any adjustments are needed.
Gardening grow bags with side flaps work perfectly for produce like potatoes. Since potatoes are a root vegetable and grow deep into the soil, you can use these flaps to check on them. No more crossing your fingers and hoping your plant is actually producing potatoes, as you can see exactly what’s going on in the soil.
Use well-draining soil for grow bags.
Grow bags need well-draining soil that can also retain moisture in between waterings. As water drains through the grow bag material, well-draining soil can help protect your plants from overwatering. Well-draining soil ensures that roots can breathe, and makes root rot less likely, as any excess water flows through the bag.
Grow bag gardening requires more watering than does in-ground or raised-bed gardening because in bags, the soil can dry out quickly. A moisture-retaining soil can help plants hold onto water, preventing them from becoming thirsty. Choosing the correct soil for your grow bag garden gives your plants a better environment to thrive.