
We may earn revenue from the products available on this page and participate in affiliate programs. Learn More ›
Defy the sticking power of grease kicked up from cooking by making your own degreaser at home. Cooking oil can cling to surfaces throughout a kitchen, not easily removed with those everyday swipes with a sponge. Virtually overnight, grease can turn to stubborn grime on counters and vertical surfaces that can get neglected during many weekly cleaning routines.
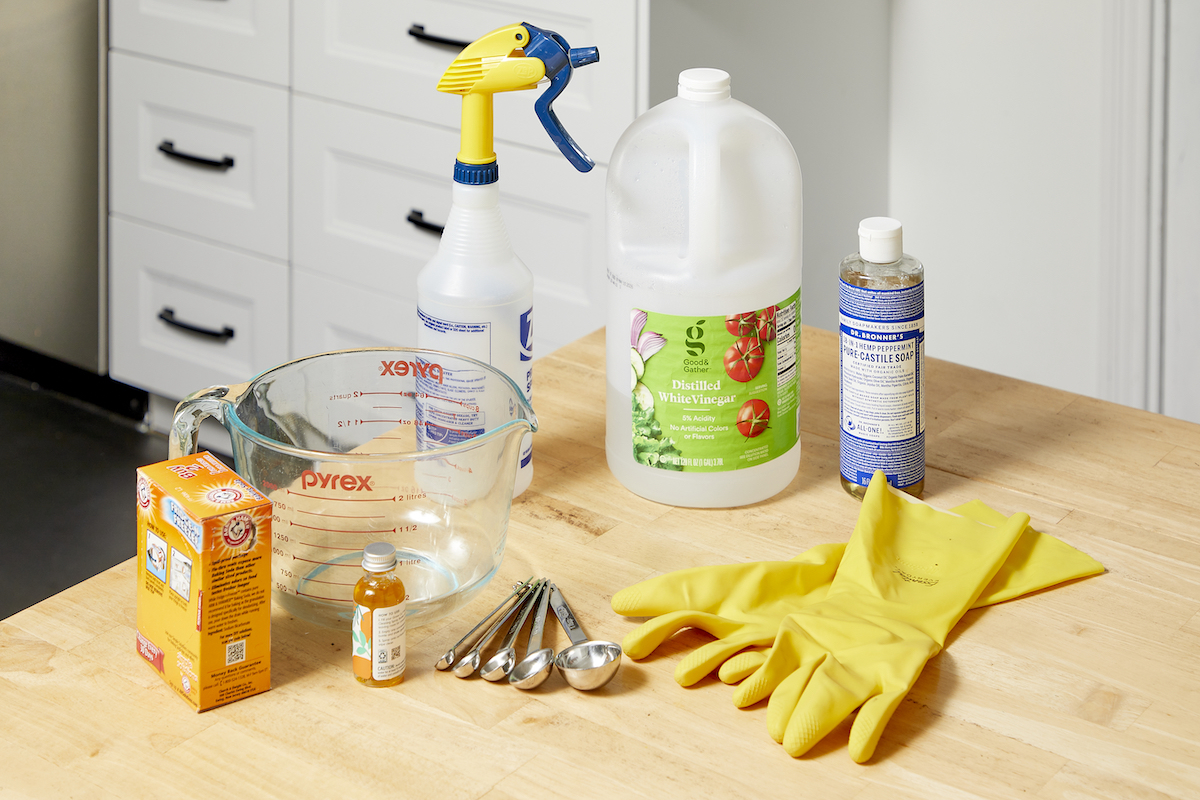
Commercial degreasers are pricey and often contain chemicals you may not want around food-prep areas. Our homemade degreaser recipe harnesses the sanitizing properties of distilled white vinegar, the degreasing powers of castile soap, and the stain-lifting strength of baking soda. Mix up this truly tough stuff and get your kitchen sparkling again from top to bottom.
Uses for DIY Degreaser
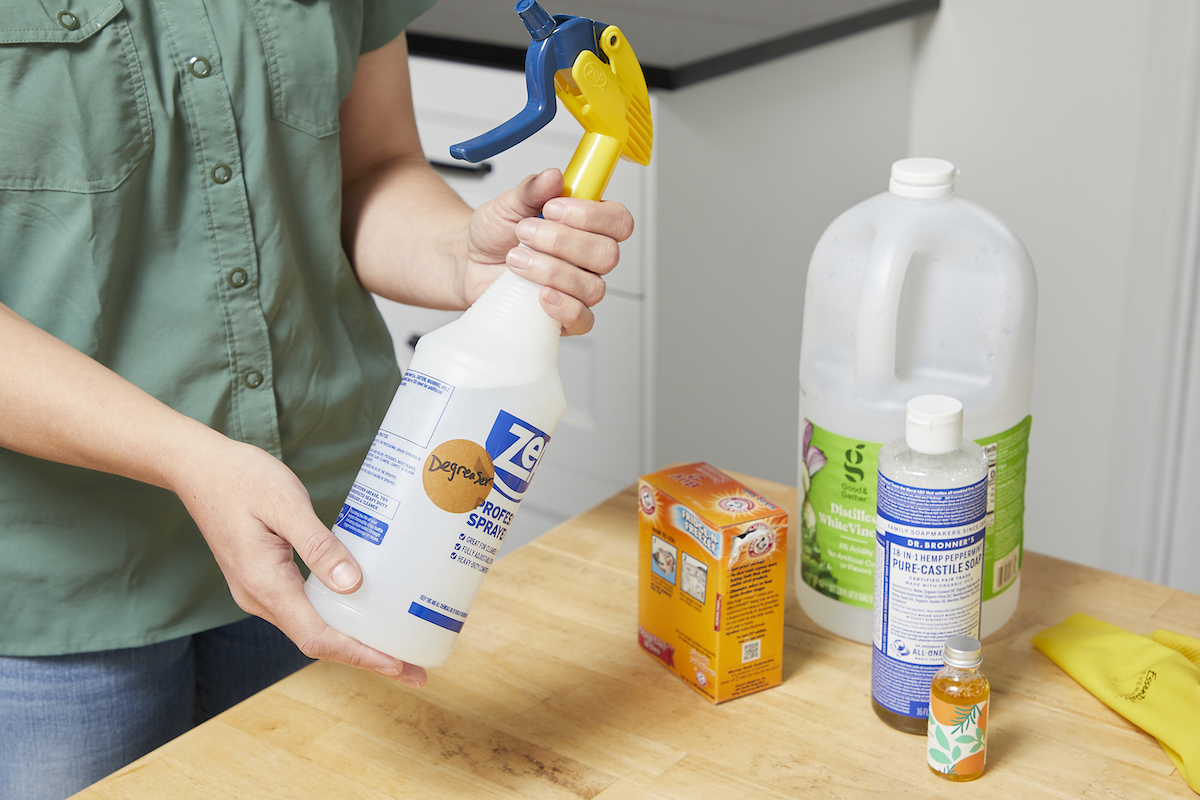
While a homemade degreaser doesn’t contain chemical ingredients (as many of the best commerical degreasers might contain), it’s still powerful enough to damage skin, porous surfaces like granite or some tile, and any surface if too much is used. Take care to protect your skin and eyes while cleaning with any degreaser, and work in a well-ventilated area. Plus, for safety reasons, don’t mix degreaser with bleach or other chemicals.
The following recipe is a home degreaser and can help eliminate oils and grease from many surfaces around a home. Plus, it can even be added to the washer to help clean greasy clothes. Some of its uses include the following:
- Clean away fingerprints from nonporous surfaces.
- Wipe away grease from stovetops and backsplashes.
- Remove grease from hubcaps.
- Eliminate grease buildup from pots and pans.
- Get rid of oils from the range hood.
- Soak away grease from inside the oven.
Tools & Materials
Bobvila.com may earn a commission from purchases made through these links.
Step 1: Start with diluted white vinegar, castile soap, and baking soda.
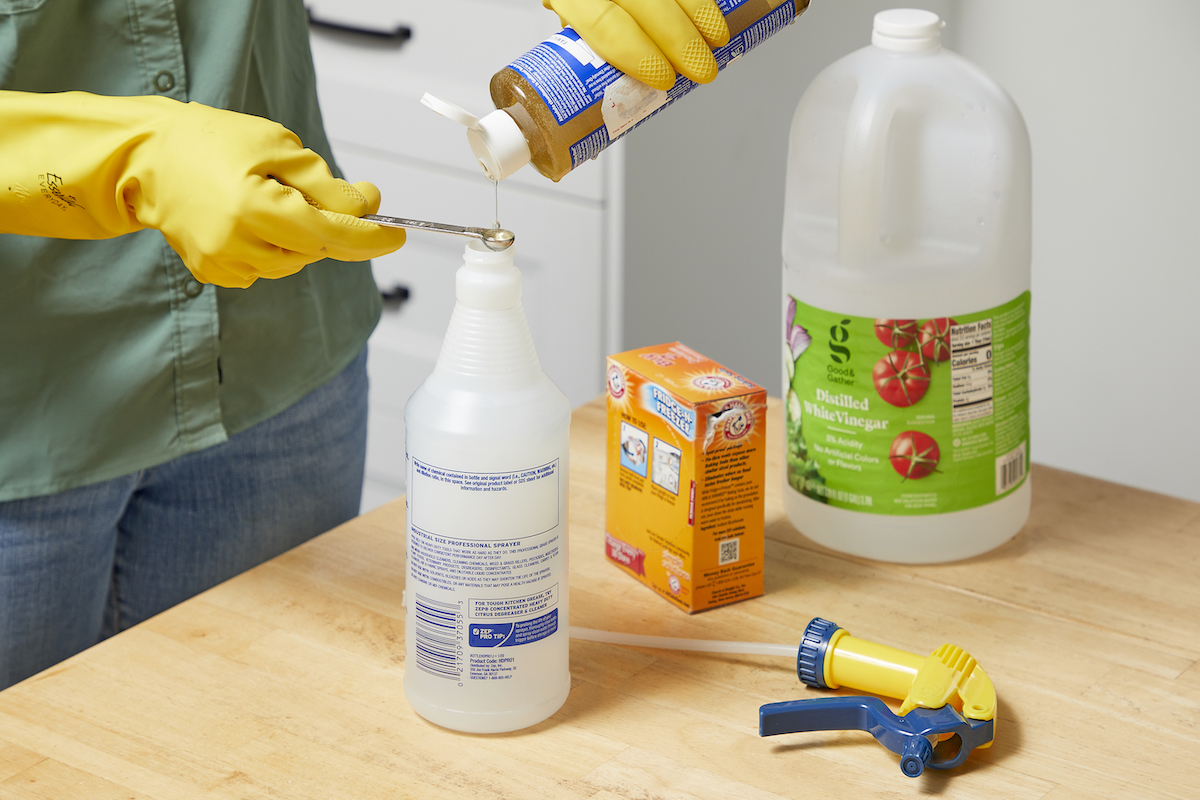
Before getting started with the recipe for how to make degreaser, decide if you want your degreaser to be scented. To achieve an unscented mix, use an unscented castile soap. An unscented soap also won’t interfere with the scent of an optional added essential oil.
Begin to mix the degreaser by pouring 1 cup of distilled white vinegar, 1/8 teaspoon of Castile soap, 1 tablespoon of baking soda, and 3 cups of warm water into a spray bottle.
Step 2: Add essential oil, if desired.
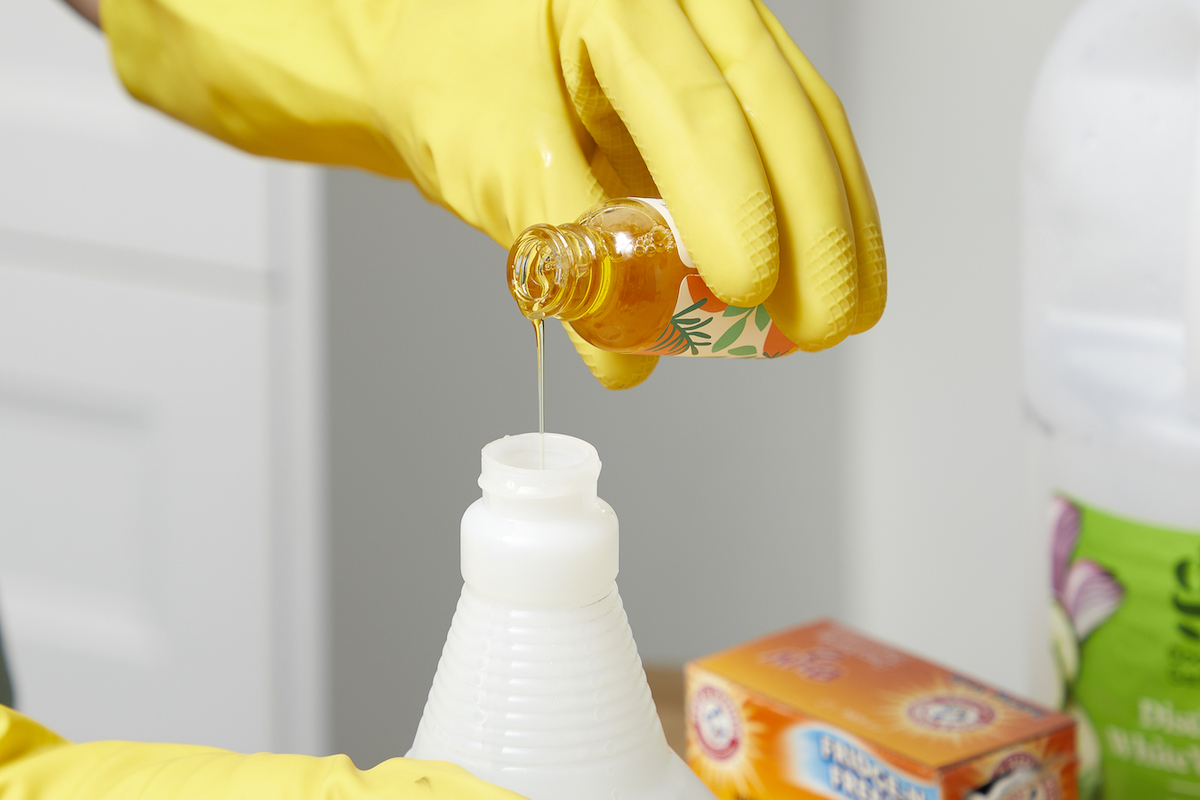
If desired, add 20 drops of a pH-neutral essential oil to the spray bottle to infuse the homemade degreaser with a mild fragrance. Fresh citrus scents such as orange or lemon are popular in cleaning products.
Avoid using acidic essential oils such as anise as this type may either react with and tarnish cooktops, cookware, or utensils made of certain metals (e.g., copper, copper alloys, or aluminum). Acidic oils also may erode countertop sealants and expose the underlying countertop material to damage.
Step 3: Shake and store the remaining mixture.
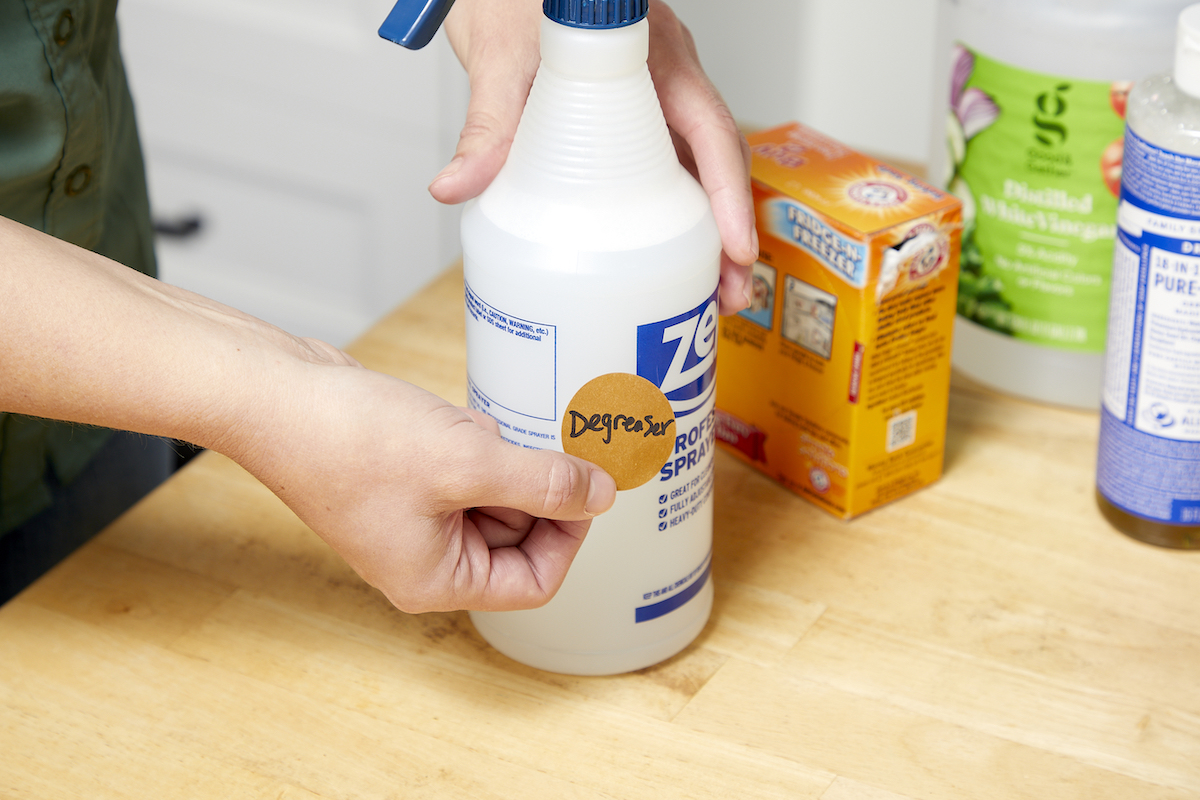
Secure the spray nozzle back onto the bottle, then gently shake to combine the contents. Apply an adhesive label to the degreaser bottle to distinguish it from your other homemade cleaners, and store in a dry location away from pets and children.
Using the Homemade Degreaser
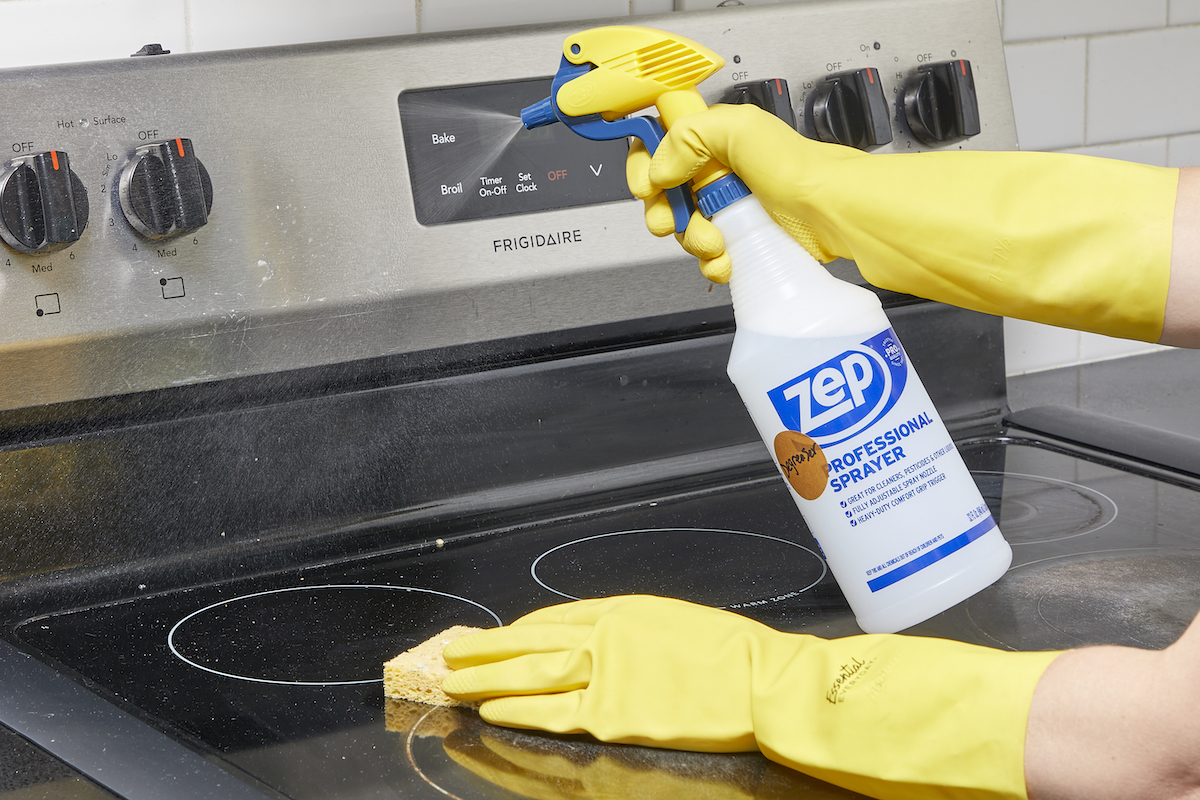
Put your DIY degreaser to work on appliances and kitchen surfaces. First, shake well to recombine the ingredients and use it as directed below.
Cooktops
Turn off the cooktop and allow it to cool completely. Use tongs to remove any large food chunks. Generously spray the entire cooktop, let the homemade kitchen degreaser dwell for 5 to 10 minutes, and then wipe the surface down with a dish sponge.
If you continue to see build-up on the surface, spray more degreaser directly onto the offending spots and use a quick circular motion to loosen and lift the grime. Sop up any remaining degreaser with a dry sponge to prevent dried streaks from forming on the cooktop.
Countertops and Backsplashes
Clear the countertop surface of clutter and use a soft-bristle brush or rag to sweep away any light debris or dust on the surface. Using the techniques for applying the homemade grease cleaner on the cooktop (above), first clean the backsplash and then move on to the countertops.
Range Hood
With the exhaust fan and/or light on the range hood shut off, spray a liberal amount of homemade degreaser to the exterior and the interior rim of the hood (avoid spraying the fan or light assembly directly, as this could cause a short-circuit and damage the components or produce a spark).
Allow adequate soaking time and then wipe down the sprayed areas with a microfiber cloth. Either let the surface air-dry or wipe up any remaining liquid with a soft cloth.
Pots, Plates, and Utensils
Use a spatula to discard large food chunks from pots, pans, plates, and utensils. Generously spray the degreaser onto these items, let it dwell for at least 15 minutes (or overnight for pots or plates with particularly stubborn grime), and then use a dish sponge saturated with hot water to lift the loosened grime. Give the clean items a final rinse under warm water and hand dry with a dish towel or air-dry on a dish rack.
Oven Door
With the oven turned off and cooled completely, spray the homemade degreaser onto the entire exterior of the oven door. Pay particular attention to the perimeter of the door when spraying, as fumes emanating from the oven tend to settle and harden on this area.
Let the degreaser dwell for 15 to 30 minutes, and then wipe with a microfiber cloth before air-drying it. Finish by cleaning the oven racks, walls, and oven door interior using our homemade oven cleaner recipe, and your whole kitchen should look spic and span.
Final Thoughts
Making a homemade degreaser is an easy and inexpensive project that can help eliminate any concerns about ingredients you might find in commercial degreasers. While premade degreasers that contain a chemical compound like TSP are extremely effective at eliminating grease from surfaces, there is concern about the effects of TSP on health and landscaping around a home.
This natural degreaser recipe contains common household ingredients, and can be left unscented to further avoid any health or sensitivity concerns among household members. The recipe also can be modified with essential oils to provide a preferred scent that can leave a home smelling fresh and fragrant.
FAQs
To increase the power of the DIY degreaser recipe above, add a few drops of lemon juice. Making a paste of baking soda and water and letting the paste sit on a surface for 10 minutes before treating it with the homemade degreaser can also increase its effectiveness.
The recipe for an industrial degreaser is the same recipe as the homemade grease remover recipe shared above for home use. The only difference is that industrial uses usually require a larger quantity of cleaner.
Often soap with water is enough to eliminate oils from many surfaces. For more stuck-on grease messes, a degreaser is usually best.
