

We may earn revenue from the products available on this page and participate in affiliate programs. Learn More ›
That hole in your patio screen door may seem like no big deal, but there are good reasons not to let it remain unfixed. Along with being unsightly, a damaged screen door can serve as an entryway for mosquitoes, flies, and other pests. And since a tear in the screen can only get worse over time, it makes sense to repair it sooner rather than later.
Luckily, a screen door repair isn’t a job you need to pay a pro to handle. You can take care of this inexpensive repair yourself in under 2 hours. And with guidance from Jimmy Curtis, owner of Carolina Window Screen Co. in Greensboro, N.C., you’ll find just the right type of screen for your family’s needs.
Tools & Materials
Bobvila.com may earn a commission from purchases made through these links.
Project Overview
Working Time: 1 to 2 hours
Total Time: 1 to 2 hours
Skill Level: Beginner
Estimated Cost: $25 to $40
Selecting Screen Door Materials
Before we dive into the details of how to fix a screen door, it’s important to pick out the right materials to complete the task. Here are some details about the materials you may need.
Screen Material
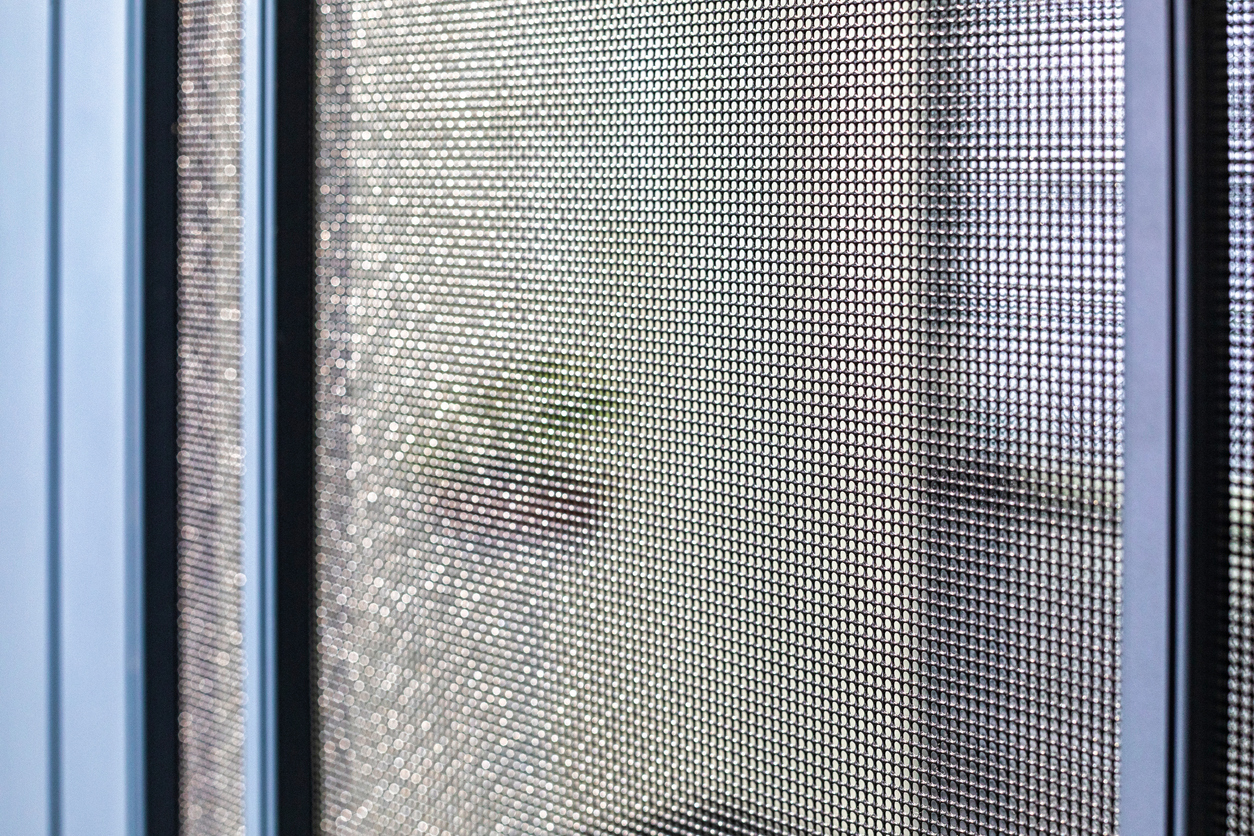
One of the silver linings of having to repair a screen door and replacing screen door screens is that you can select the screen door material that best suits your tastes and the function of your door. You have a few options.
- Aluminum: Looking to improve your screen door security? This classic screen door material might be for you. It is stronger than fiberglass, but it’s hard to install and pricey, according to Curtis. “Aluminum is so doggone expensive and hard to work with that we very seldom ever use it,” he says.
- Fiberglass: A fiberglass screen isn’t quite as durable as an aluminum screen, but it’s far easier to work with. “Fiberglass works fine and comes in black charcoal and silver gray,” Curtis says.
- Pet proof: if you have a dog or cat that claws your screen door, Curtis suggests going with a pet-proof material. This type of screen is made from vinyl coated polyester and is stronger than fiberglass and aluminum. “A cat can literally climb up it without damaging it,” he says.
- Solar screens: Solar screens allow air to pass through while reflecting heat. They can cost four or five times that of a regular screen, but Curtis says they’re worth it. “These screens block 80 percent of the UV rays,” he says. “If you have a patio or slider door screen and you’re taking direct sun, these screens can make a big difference.”
Screen Size
Most replacement screens come in 36-inch-wide rolls that range from 25 feet up to 100 feet in length. Wider rolls that come in 4-foot, and even 7-foot, widths are also available. Buy a screen that’s at least a foot wider than the width of the screen you need to replace, so you have some wiggle room as you’re fitting it to the door.
Spline
Spline is the long, thin rubber piece of tubing that is responsible for holding the screen inside the door. A spline thickness of between 0.140 and 0.160 inches works for most screen materials. If you’re using a thicker screen, go with a thinner 0.125-inch spleen to allow room for the thicker screen material.
7 Steps to Repairing a Screen Door
You may find that the most difficult part of repairing a screen door is getting the door off the frame, and then back on it. Be sure to clear a large enough space on the ground, or on a large table, to lay the door flat so you can comfortably make the repairs.
Step 1: Remove the screen door from the door frame.
Remove a sliding screen door from its frame by following this process:
- Slide the door halfway open so you can get a grip on both sides of the door.
- Lift the door inside the frame, then pull the bottom towards you to remove it.
- If there’s not enough clearance between the bottom of the door and the track, then look for adjustment screws on the inside groove near the door rollers.
- Loosen the screws to pull the rollers back from the bottom of the door so you can create enough clearance to remove it.
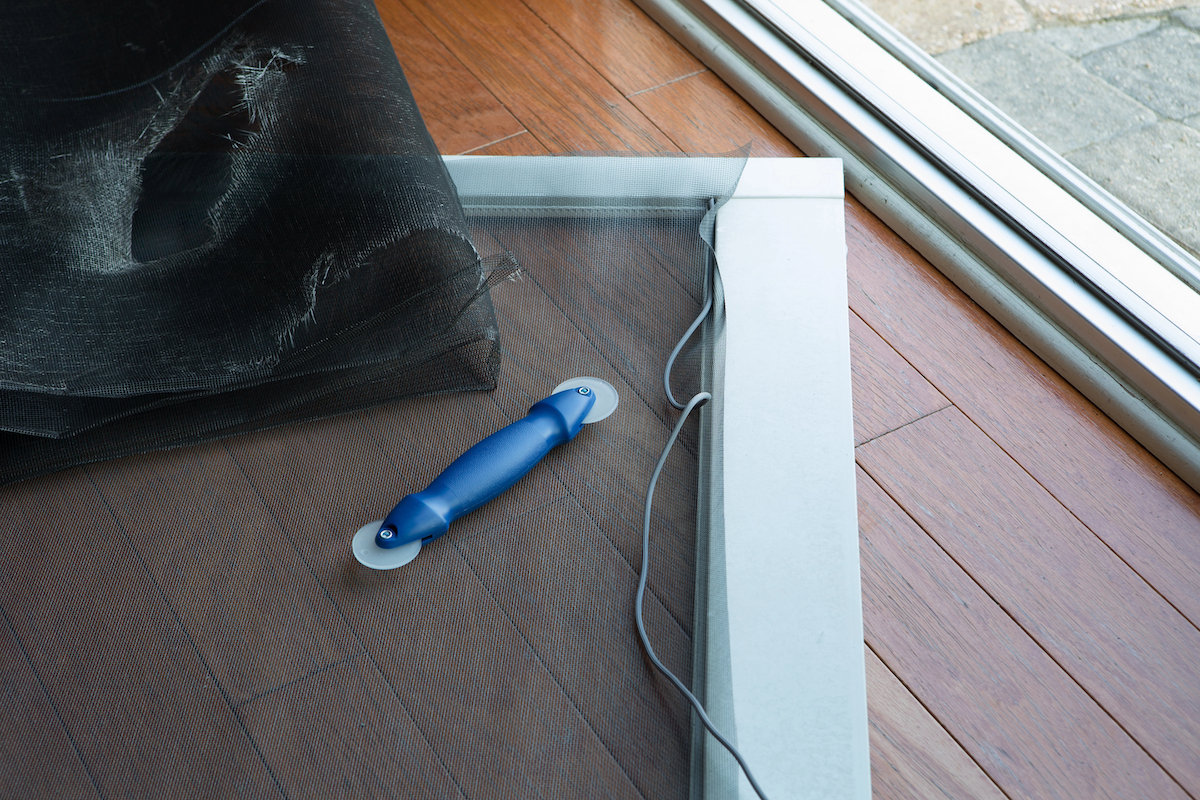
Step 2: Remove the old spline and screen.
Lay the screen door on the ground or another flat surface, with the spline side facing up. Use a small screwdriver to pop out one end of the spline. Grab that end with your fingers and pull out the spline until you’ve removed the whole thing from your screen. Once the spline is removed, the old screen will simply fall out.
Step 3: Prepare the frame.
Use a damp rag to clean away dirt and grime that has built up on the screen door frame. Pay particular attention to the groove around the frame. If there’s a door handle that is covering part of the groove, use a screwdriver to remove it. Set it aside, so you can reinstall it after replacing the screen.
Step 4: Unroll the new screen.
Lay the screen door frame flat on a table. Unroll the screen over the frame, making sure to overlap the frame on all sides. Adjust the screen so that the grain runs parallel to the door frame, so it has a neat, uniform look when the installation is complete.
Step 5: Install the new spline.
Beginning at one corner of the door frame, push the spline into the groove using the tool’s concave wheel. (If you’re installing an aluminum screen, use the convex wheel.) Once you’ve secured the spline and screen in one corner, begin working around the frame. Don’t rush or you could end up slipping and damaging the new screen with the spline tool.
As you work, keep an eye out for ripples. If any form, remove the spline, reseat the screen, and try again. Avoid pulling too tightly on the frame as you near completion or you could end up bending the frame.
Once the spline is in place, make a final check for any ripples and make adjustments as needed. Finally, run the spline tool over the spline one more time to make sure it’s fully seated inside the door frame groove.
RELATED: Buyer’s Guide: The Best Magnetic Screen Doors We Tested This Year
Step 6: Trim excess screen and spline.

Using a utility knife, carefully cut away the excess screen by running the blade along the edge of the spline. Pull the excess screen away with one hand while cutting with the other to get a clean uniform edge.
Step 7: Reinstall the door in the frame.
Holding the screen door at an angle, push it up into the track, lower the bottom of the screen door and drop it into the track. Adjust the limiting screws for the screen door wheels using a screwdriver if necessary to secure it to the track.
How to Patch a Hole in Your Screen Door
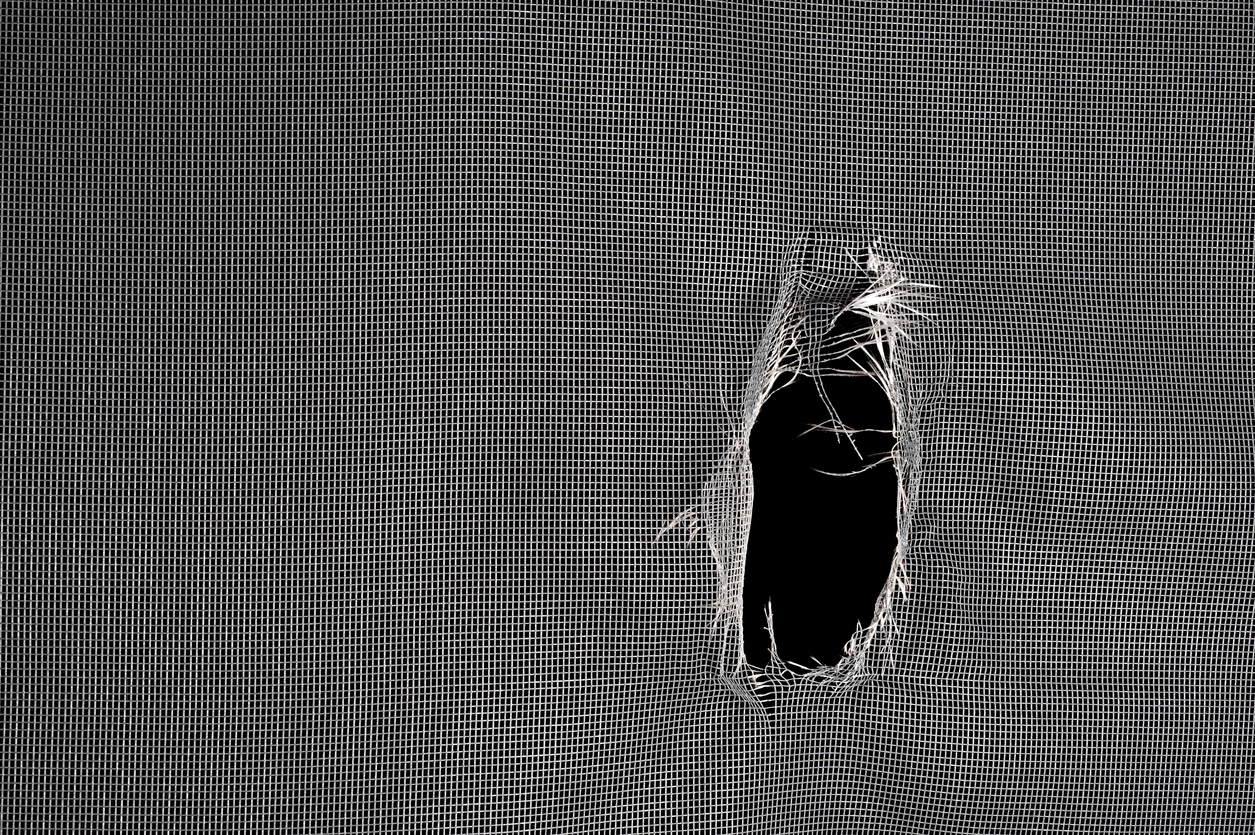
If your screen is in good condition and all it needs is a patch for a small hole, you might not have to go through the process of replacing the entire thing. Instead, you can patch a screen door using a screen repair patch kit that you can find at your local home improvement store.
- Cut the patch so that it’s about 1 inch larger than the hole on all sides.
- Remove the backing from the patch, then place it over the hole.
- Press the patch firmly onto the hole, then use a hair dryer to run warm air over the patch, so it adheres to the screen.
When to Seek Out Professional Screen Door Repairs
While repairing a screen door is something you can do yourself, if you don’t feel comfortable doing this job yourself, then consider hiring a professional. It will cost you between $75 and $100 to hire a pro to repair a patio screen door. In comparison, you’ll pay around $25 for a 25-foot roll of replacement screen, which will give you enough material to replace the screen on several doors.