We may earn revenue from the products available on this page and participate in affiliate programs. Learn More ›
For about $5 to $10 you can pick up a bale of straw at your local hardware store or nursery. That means you can have a lot of fun without threshing your wallet. Once your bale has served its purpose, it can be broken up in your compost pile or strewn to protect your planting beds during winter.
Hay Bale Decorating Ideas You Should Try This Fall
Add festive curb appeal to your front yard, assemble cheap sectional seating in your backyard, or even grow a pint-size garden—the possibilities with hay bales are seemingly endless. Let the following ideas inspire your next hay bale DIY project.
1. Decorative Straw Bale Curb Appeal
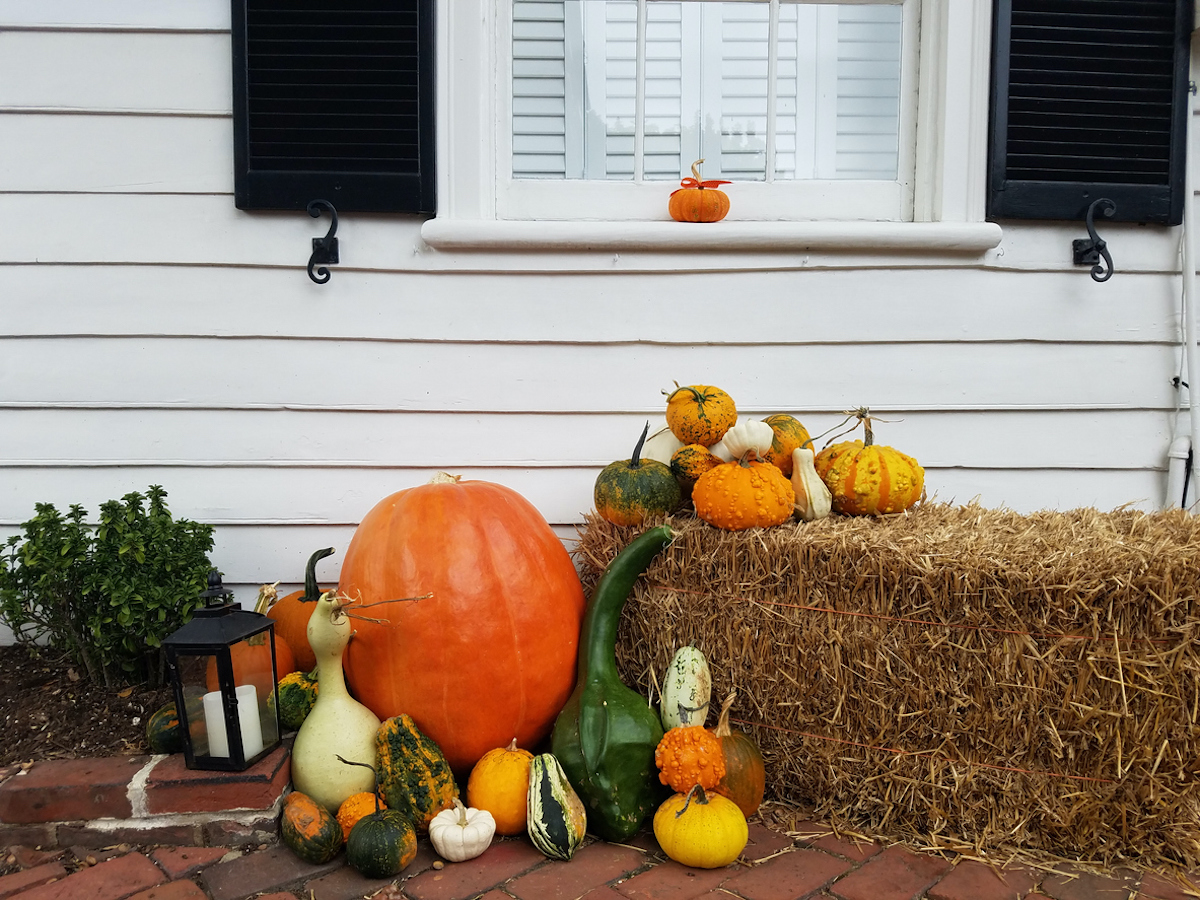
Talk about curb appeal, the hay bale in front of this entryway leads guests into the home in such an inviting way. With the addition of pumpkins, gourds, and even a little outdoor lantern, the fall vibe is on point. And (bonus!) the straw bale doubles as a seat for slipping shoes on and off.
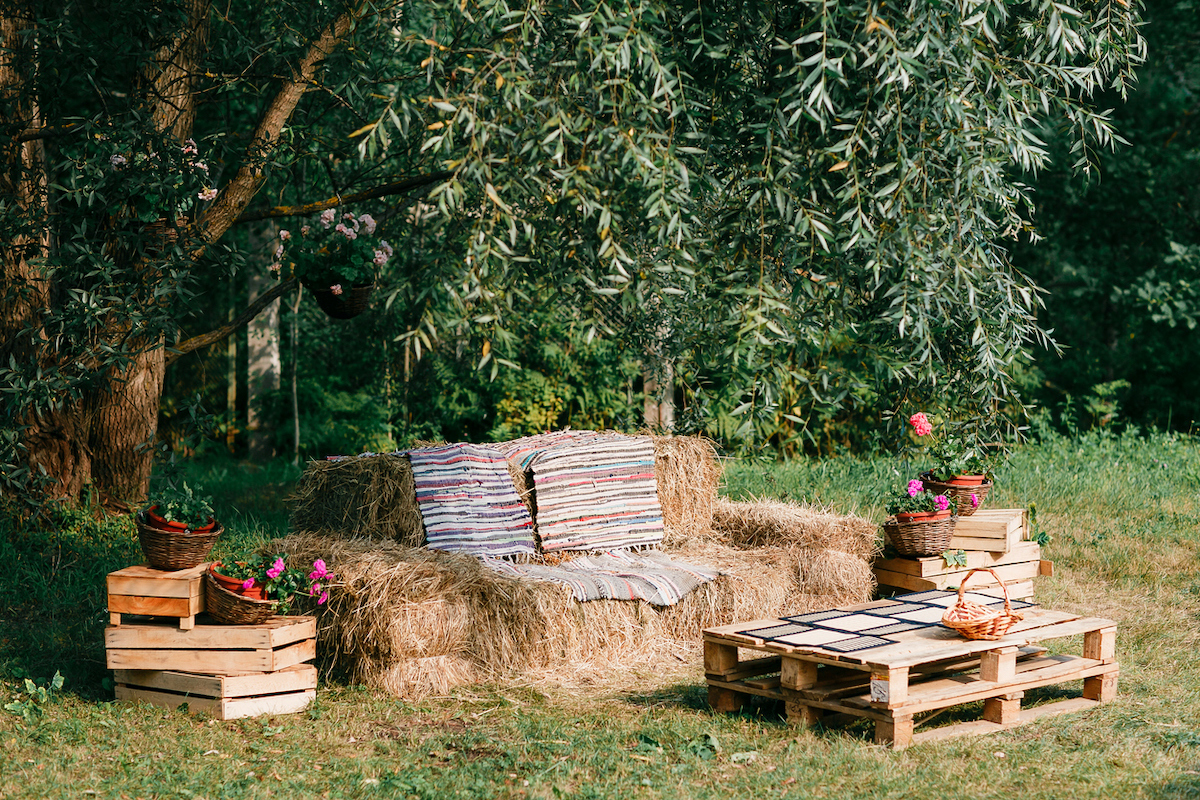
2. Hay Bale Seating
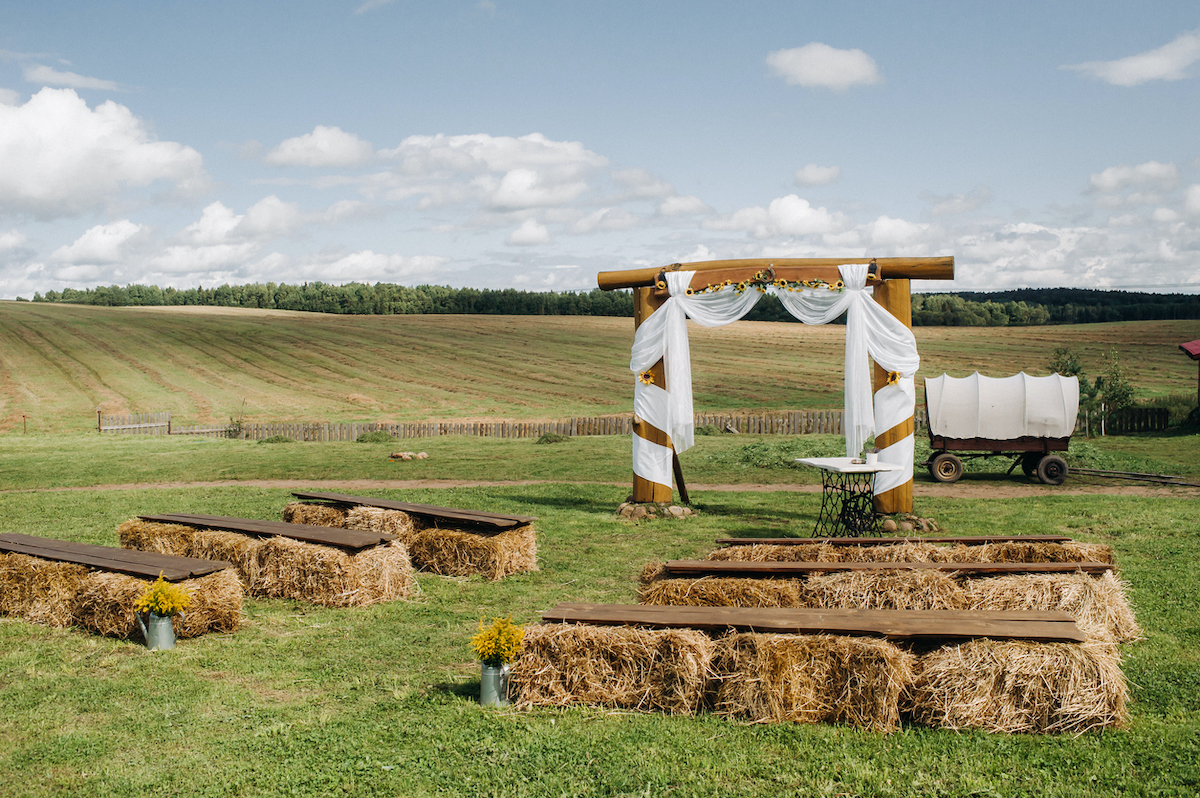
For large outdoor events such as graduation parties, baby showers, or even weddings and receptions, straw bales are a cost-effective way to instantly add more chairs. Line up several rows for a formal look or arrange them randomly to encourage conversation—either way, incorporating straw bales into your outdoor space will ensure that everyone has a seat when needed.
A more intimate option is to create a temporary straw bale sofa that you can enjoy all season long (see photo at the top of the page). Add a coffee table and side tables—perfect for resting a glass of ice tea or lemonade—using pallets or cinder blocks to complete the harvest scene.
RELATED: Fall Home Maintenance Checklist
3. Straw Bale Planter

Proof that you don’t have to live on a country road to decorate with hay bales, this urban container garden was made by flipping a small round straw bale on its side and hollowing out enough space in the center to hold a bunch of colorful flowers. You could add potting soil and plant directly in the straw bale, or simply nestle a small planter inside.
A straw bale planter like the one shown here will add a touch of nature to any front stoop; and when the season’s over, you can toss the whole works into your compost pile or break down the bale into mulch for winterizing your larger plant beds.
4. Straw Bale Gardening
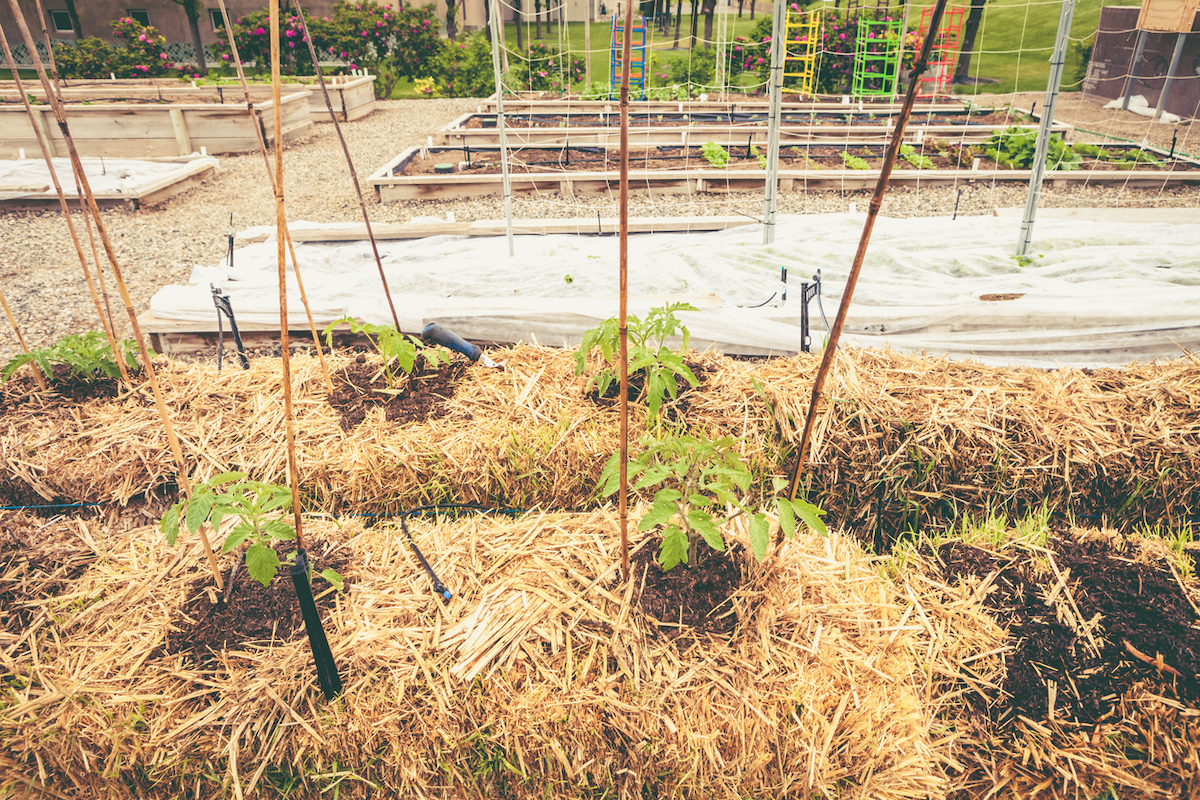
If you want to take a straw bale planter to the next level, you can actually plant an entire garden within straw bales. Hay bale gardening is great for those with poor soil or limited space, or even people who have physical limitations that make gardening at ground level a challenge. It’s a low-cost and flexible method for gardening and can be attempted by gardeners of all levels of experience.
RELATED: What Is the No-Dig Gardening Method, and Why You Should Try it This Spring
5. Hay Bale Holiday Decorations
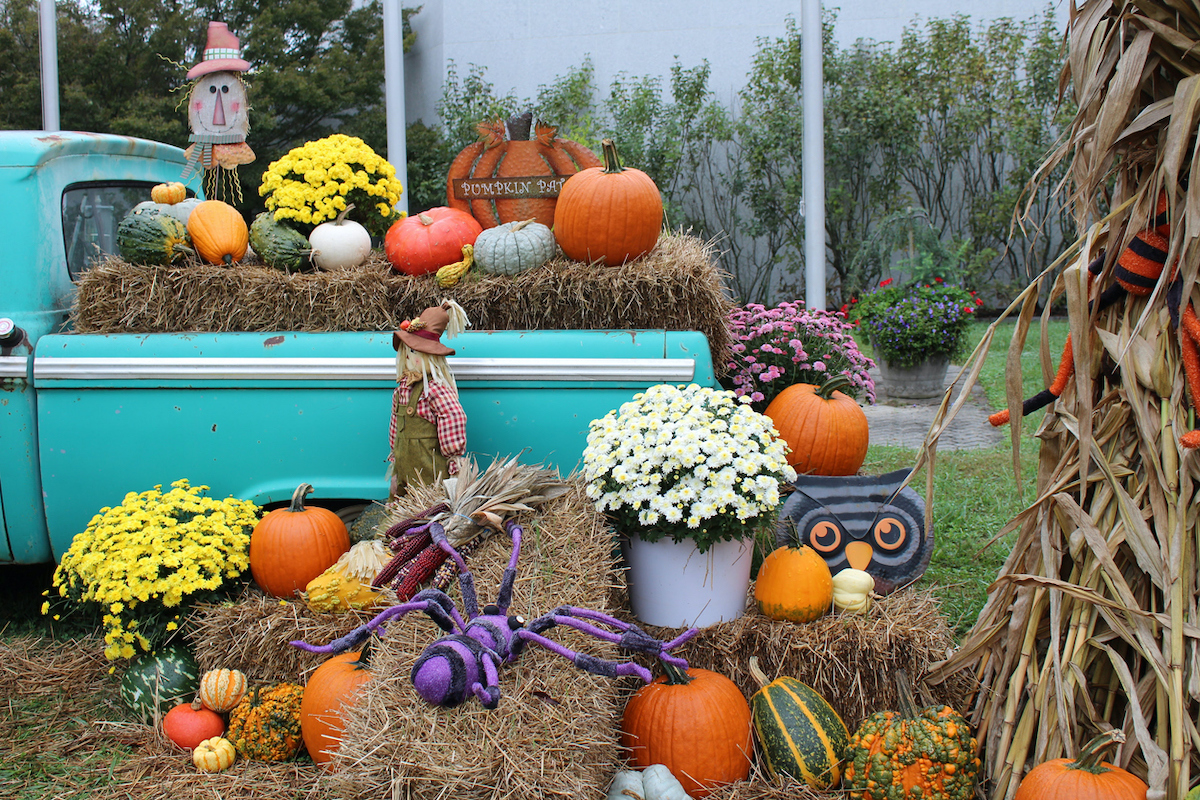
Fall is, of course, the most popular time of year for decorating with hay bales. They go so well with pumpkins, squash, mums, dried corn stalks, and more, as shown in this photo. But, once those straw bales have been used for Halloween and Thanksgiving festivities, they can be repurposed for winter holiday decor, too. Red tulle, a couple of potted evergreens, and maybe even a few mock presents would turn these bales into a rustic and cheery Christmas display.
6. Home for Chickens
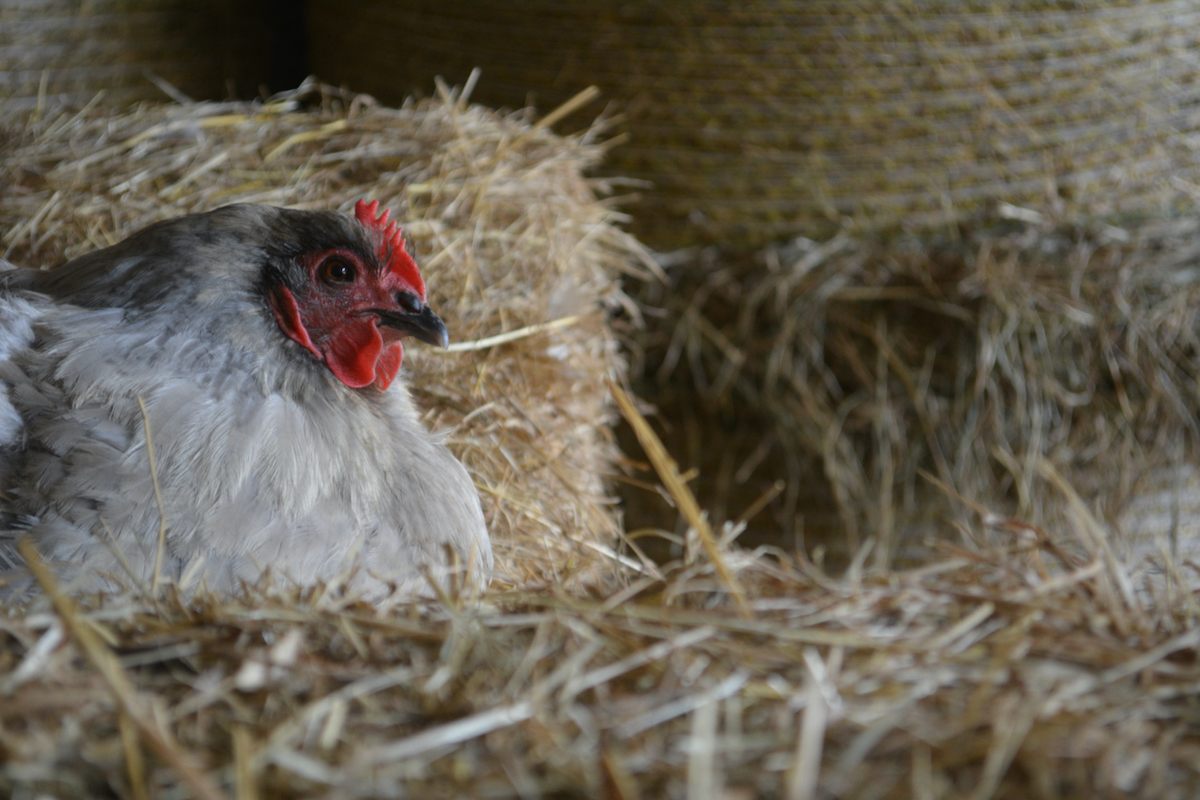
Whether you live on a farm or have a coop in the backyard, straw bales are essential for raising chickens. They provide warmth and a soft bed for laying eggs; and because of their sturdy structure, hay bales are great for making temporary walls or small rooms for corralling your feathered friends.
7. Straw Bale Maze
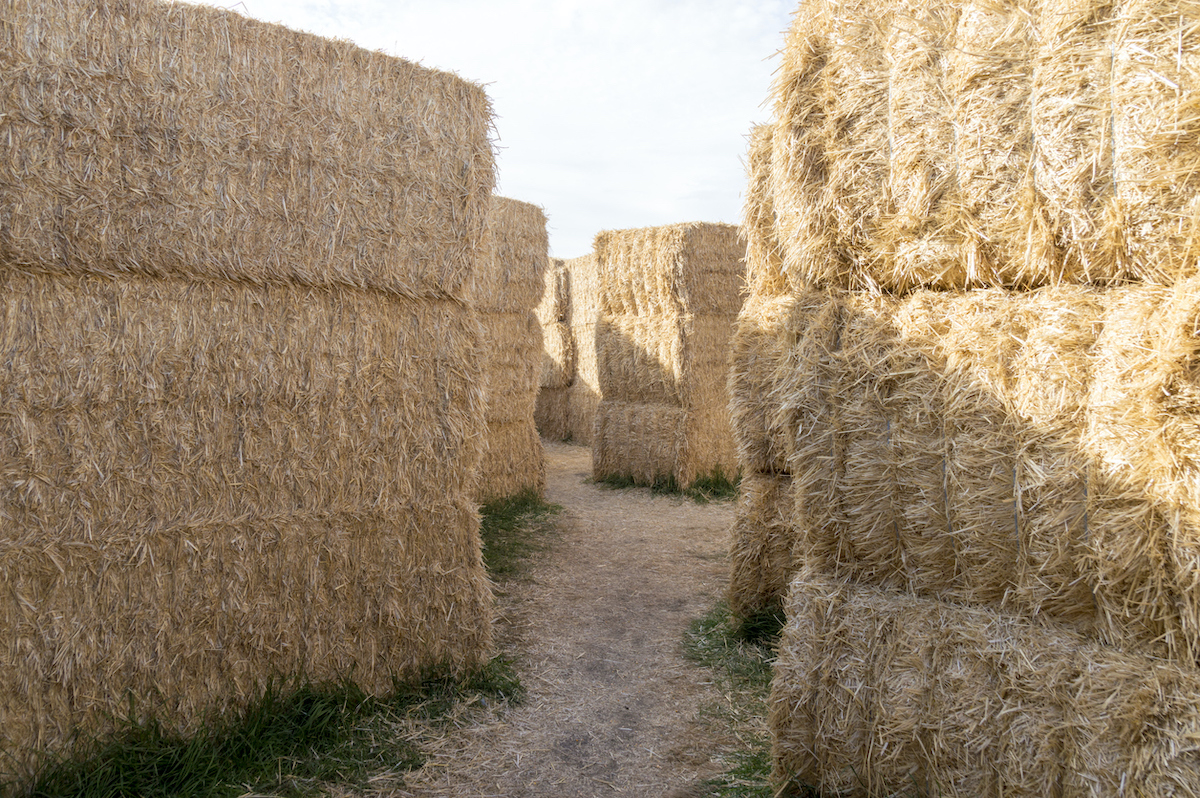
Stack ‘em high as shown in this photo and you can create an epic hay bale maze for hours of fun in the fall. For safety, be sure to use large bales and secure them to each other and the ground using sturdy stakes. That way they won’t topple if your maze participants get a little too rowdy.
8. Scarecrow Made of Straw
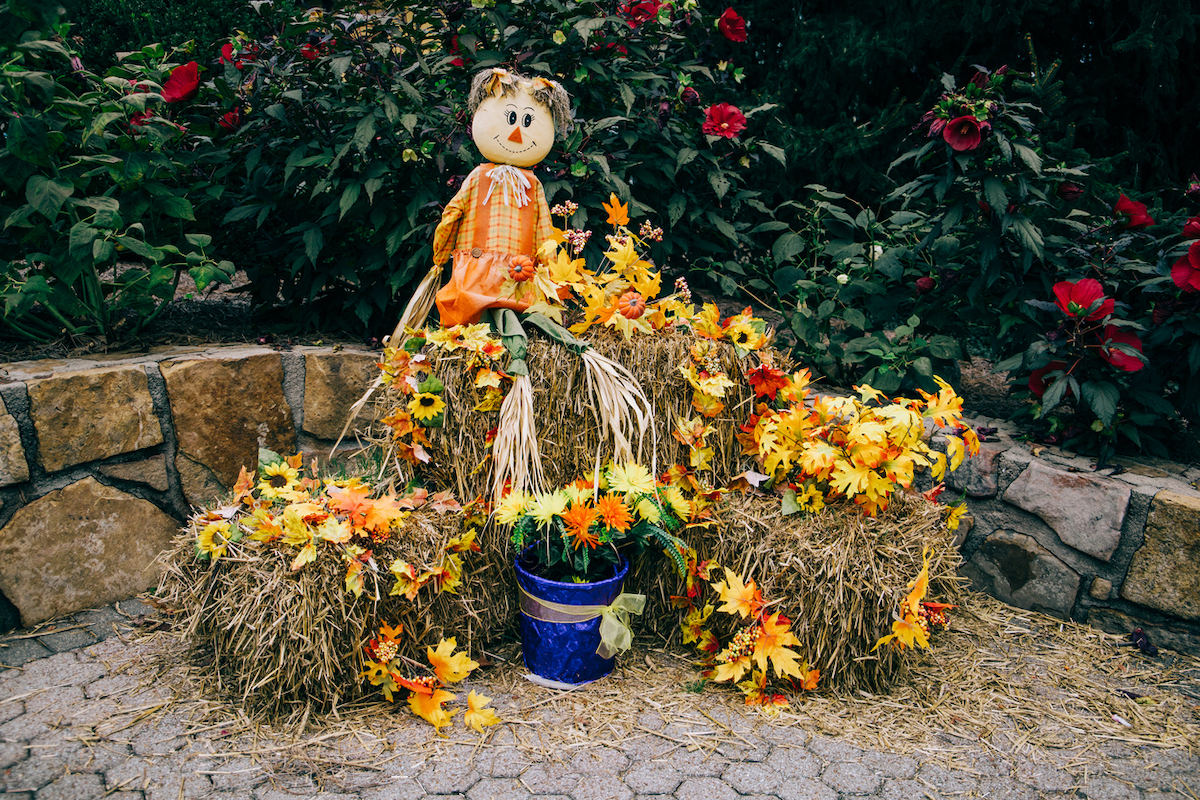
If you prefer old school fall decor, you can’t go wrong with a hay-stuffed scarecrow. The one shown here is propped on top of a trio of bales, fringed with faux fall leaves. A colorful container of flowers up front completes the festive outdoor decor that would look great on any porch or patio.
RELATED: Bob Vila’s Definitive Lawn Care Calendar
FAQs
Q. Does Tractor Supply or Home Depot sell straw bales?
Yes, you can usually find or order straw bales at The Home Depot and Tractor Supply, though availability and price can vary by store location. You can also find straw bales of various sizes, shapes, and styles on Amazon.
Q. How much is a bale of straw hay?
Straw bale prices can vary greatly depending on the source, your location, and more. In general, bales can cost as low as $5 at local hardware stores and the price goes up from there.
Q. How much area will a bale of straw cover?
Since the size of hay bales varies greatly, you’ll need to factor that into determining how much area the bale you purchase will cover. According to Farm to Stable, seller of straw bales on Amazon, a 4-pound wheat straw bale will cover approximately 6 to 8 square feet, 2 inches deep.
Q. How long do straw bales last outside?
If you keep your bales out of the elements, especially moisture, they can last for years. However, if allowed to absorb moisture and heat, as would happen with a straw bale garden or planter, for example, hay bales will begin to break down and only last for one growing season.
Final Thoughts
Whether you use them for seasonal decor on your front porch or turn them into a hardworking vegetable garden in your backyard, straw bales provide an easy and inexpensive vehicle for fall fun.
For more DIY ideas, consider:
9 Easy-to-Make Garden Luminaries
5 Things to Do… With Apple Crates
The Best Self-Watering Planters for Low-Maintenance Gardens, Tested