We may earn revenue from the products available on this page and participate in affiliate programs. Learn More ›
Over the years I’ve grown tomatoes, I’ve always struggled with trellising systems. I’ve generally used tomato cages to keep both indeterminate and determinate-type tomatoes in line; however, my tomato cages always tended to rust and break, and they took up more storage space during winter than I was prepared to part with. There had to be a better option.
Once I started researching tips on growing tomatoes, I stumbled across an innovative trellising system that I’d never heard of before: the Florida weave. This system is fully customizable for large- or small-scale gardens, plus it was budget-friendly, adaptable, and easy to store in the off-season So, I decided to give it a go.
Below, I’ll walk you through how to Florida-weave tomatoes, why this system is worth it, and the lessons I’ve learned from using Florida weave trellising for all types of tomatoes.
What Is the Florida weave?

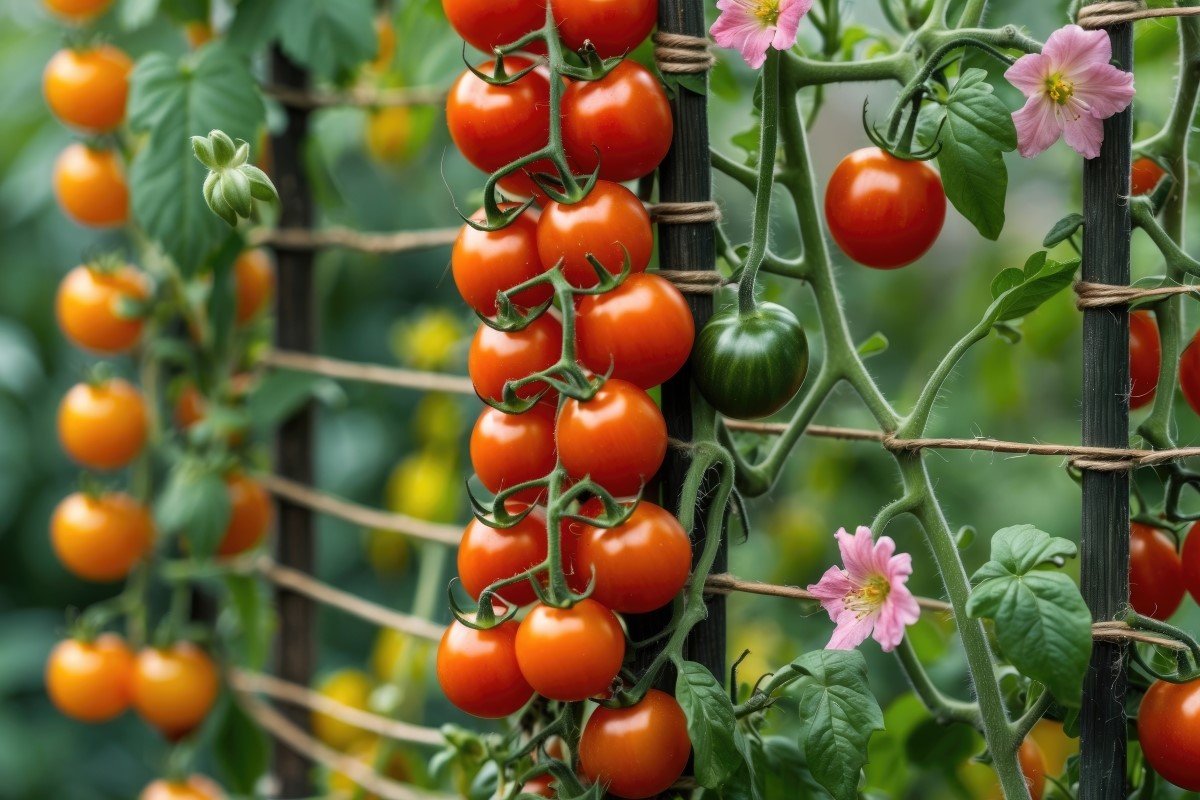
Also known as the “basket weave” system, the Florida weave is a simple trellising method in which gardeners weave durable twine between sturdy stakes to gently sandwich tomato stems into a supported, upright position. Depending on your budget, you can opt to construct Florida weave systems from 2×2 wooden posts and basic jute or cotton twine, or you can craft them from thick lengths of bamboo, steel T-posts and a post driver, stringing waxed or tomato twine. Either way, Florida weave systems work well for both determinate and indeterminate tomato varieties and they have a lot of perks, including:
- They’re adaptable. Florida weave systems are ideal for growing tomatoes in large gardens in which rows of plants need sturdy support. However, you can use this method in small spaces too.
- They’re budget-friendly. Compared to tomato cages, Florida weave systems are easy and inexpensive to create. Just a bit of twine and some wooden stakes can replace dozens of tomato cages.
- They save space. Florida weave trellises take up less space in the garden than traditional tomato cages. And in winter, all you’ll need to store away are a few slender stakes or posts.
- They’re easy to sterilize. Unlike tomato cages, Florida weave systems don’t need to be sterilized to prevent wilt and other common tomato plant problems. Just toss out the old twine at the end of the season and replace it with fresh twine come spring.
How I Constructed the Florida Weave Trellis

When I decided to experiment with the Florida weave system, I wasn’t sure how well it would work. So, I decided to keep things simple and construct a basic system from inexpensive 2×2 wooden stakes and cotton twine. Since I was planning to trellis both indeterminate and determinate-type tomatoes, I purchased stakes that were about 8 feet tall; however, if you’re only planning to trellis determinate tomatoes, you can use shorter 4- to 5-foot high stakes.
To start, I planted my tomatoes about 24 inches apart in rows and installed the trellising system immediately after planting. If you want to install your system a bit later, that’s okay too. Just aim to get trellises in the ground before tomatoes are much bigger than 2 feet high.
After planting, I drove a stake about 1 foot deep into the ground with a sledgehammer on either end of my row of tomatoes. Then, I drove additional stakes into the ground between every two tomato plants. I spaced those stakes about 4 inches away from the closest tomato plant stems to provide plenty of support while giving the plants room to breathe.
How I Wove the Tomato Plants

Finally, it was time to start weaving my trellis. I did this by tying one end of my cotton twine to the base of one end stake (about 8 inches above the soil line). Then, I stretched the twine on the outside (my right side) of the two closest tomato plants, moved the twine toward the front (or inside) of the second stake, looped the twine twice around that stake about 8 inches above the ground, and stretched the twine around the inside (left-hand side) of the next two tomato plants to create a zigzag pattern between the stakes.
While I worked, I used my finger to keep the twine as taut as possible while weaving the twine on the inside and outside of each alternating stake. I did this for the full length of a row of tomatoes until I reached the end stake. Then, I tied the twine around the stake about 8 inches above the ground so it was snug, looped the twine back between the plants and stakes in an opposite pattern, and tied the twine to the starting post. This sandwiched the plant stems between two lengths of twine and kept the stems well supported.
After about a week, my tomato plants had a major growth spurt so I wove a second length of twine 8 inches above the first using the same pattern. Throughout the season, I repeated this process, adding more lengths of twine 8 to 12 inches above the last until I reached the top of my stakes, or for determinate tomatoes until the plants stopped growing. Every time I wove more twine lengths, I gently tucked stray stems between the twine pieces for a tidier look and checked the twine to make sure it wasn’t so tight against the plant stems that it would restrict their growth.
The Results
During that first season, I grew about three dozen tomato plants and I was able to support all of the plants for a fraction of the cost that I would have spent on tomato cages. The trellis and my plants all stayed upright and relatively tidy and I definitely noticed that harvesting and weeding were a lot easier as the trellis helped keep the tomato leaves out of my way.
After a few weeks and a fair amount of rain, some of the twine pieces started to sag, which I attributed to the wet weather and corrected with a few well-placed knots. Storage at the end of the season was simple; I just pulled up the stakes, composted the cotton twine, and called it a day. In fact, I found the process so easy that I’ve been using the Florida weave system ever since.
What I’d Do Differently
Although I count my experiment with the Florida weave as a success, I encountered a few tomato growing mistakes along the way. First, I attribute the sagging twine lengths to using a relatively flexible type of twine and have avoided this issue by switching to a weatherproof waxed twine. Using stakes with holes or ridges that hold the twine lengths in place would make sagging even less likely.Additionally, while the Florida weave system kept my tomatoes relatively confined, my indeterminate tomatoes got a bit unruly by the end of the season. I now prune all my indeterminate tomato plants when weaving them to the trellis, which has improved airflow and made harvesting even easier. I still leave my determinate tomatoes unpruned though.