We may earn revenue from the products available on this page and participate in affiliate programs. Learn More ›
A few winters ago, I decided that a simple watering system would help make gardening easier while reducing water waste so I started researching how to install drip irrigation. In this guide, I’ll walk you through the basics of installing drip irrigation in raised beds or in-ground gardens. Find out what I learned along the way, the products I used to create the system, and what I’d do differently next time.
My Recommendation
Hoss Raised Bed Drip Irrigation Kit
This drip irrigation kit includes all the tubing and basic tools you need to install a drip system in a small raised bed garden.
Buy NowWhy Use Drip Irrigation?
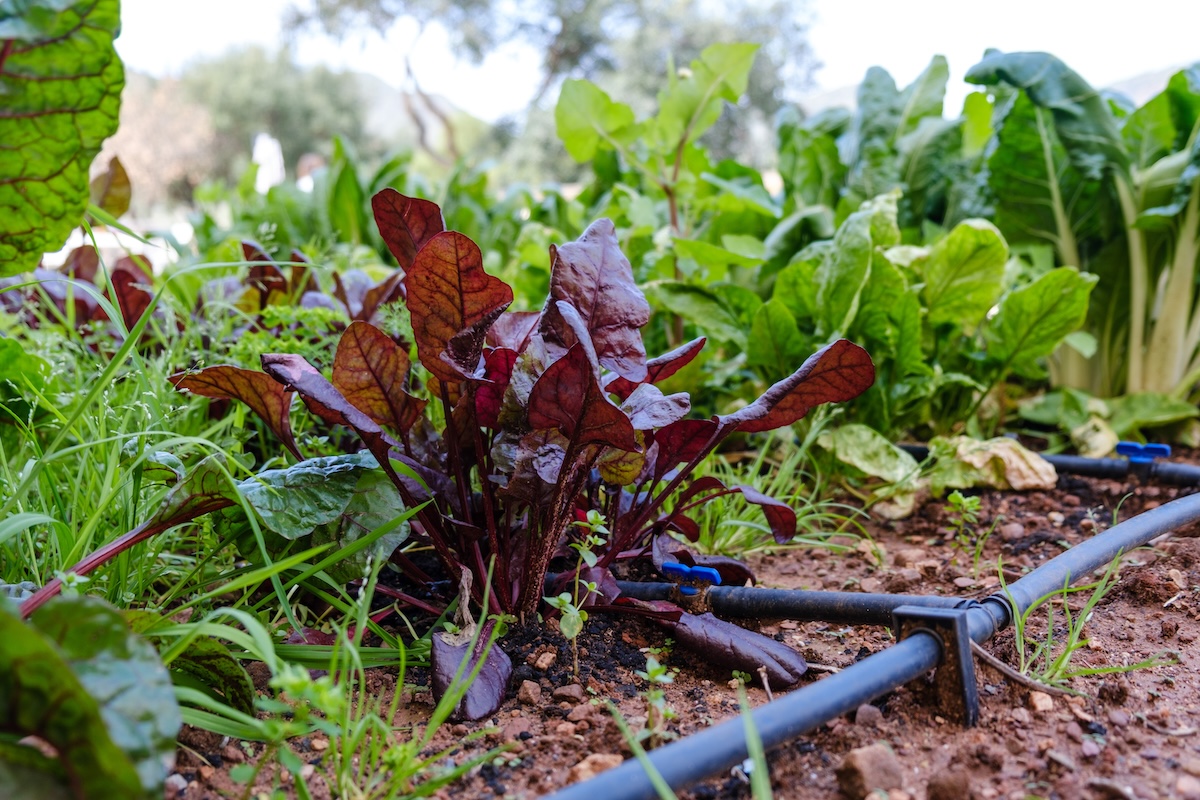
Unlike hoses and sprinklers, drip irrigation lines direct water straight to plant roots where it really counts, making it an ideal addition to low-water landscaping designs and any garden where you want to make watering a whole lot easier. Drip line systems can be fully automated with a timer to water your garden for you, so it eliminates the guesswork about the best time to water plants and how to keep track of a watering schedule.
Composed of a system of tubing, connectors, and emitters, drip irrigation is a simple watering system for vegetables, herbs, flowers, trees, and more. These systems also help to keep plant leaves dry, which helps to reduce issues like powdery mildew. And, by providing plants with regular watering, drip lines can ward against blossom end rot, stunted veggie harvests, and other problems that typically arise from irregular or inadequate watering.

Planning Out My Drip Irrigation System
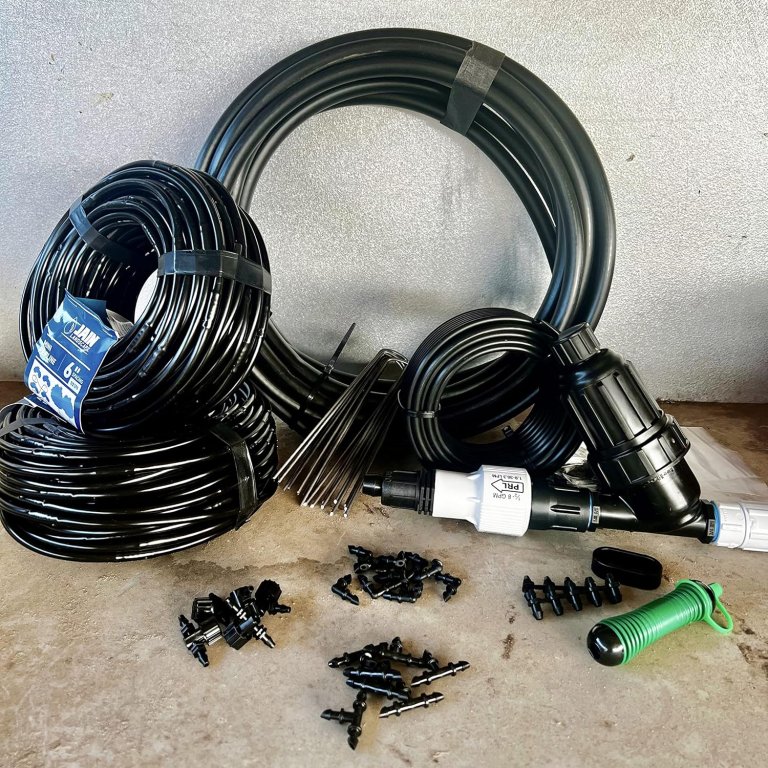
Before I could start installing a drip irrigation system I needed to do a bit of planning. My garden was primarily composed of a series of raised beds, but it also had a few container sections and an in-ground plot. I knew any system I chose would need to be adaptable enough to accommodate these varied growing areas while being easy enough for a newbie like me to install. I ultimately decided to skip the premade drip irrigation kits and ordered my supplies individually from Hoss Tools to create a fully customized drip irrigation system that perfectly fit my space.
After I’d picked the system, I set about making a sketch of my garden that included the various beds and the spigot water source. I then drew thicker lines throughout my garden sketch to indicate where I intended to lay the larger mainline tubing, which would direct water to each bed and container, and thinner lines for the ¼-inch mini drip tubing that would extend from the mainline tubing and along my planting rows. I knew I had fairly rich and healthy soil, so I planned to space the mini drip tubing about 18 inches apart, but tubing should be spaced about 12 inches in gardens with sandy soil that drains rapidly.
Next, I counted up all the mainline tee connectors needed to direct the mainline tubing to different areas of my garden, as well as mainline elbow connectors for directing the tubing up into my raised beds. For optimal water flow, I purchased connectors for every part of my garden where the mainline tubing would bend enough to reduce water flow; however, I didn’t order any connectors for the smaller and more flexible mini tubing.
I also used the following supplies:
- Several figure-8 end clamps sealed the ends of the mainline tubing as needed.
- Several mainline coupling connectors were used for splicing sections of mainline tubing together.
- Several 10-pack packages of ¼-inch transfer barbs connected sections of ¼-inch mini tubing to each other or to the mainline.
- A hole punch poked holes in the mainline tubing for the 1/4-inch transfer barbs.
- Several packages of goof plugs sealed the ends of the mini tubing.
- A PSI regulator and filter combination adapted the mainline tubing to my spigot while filtering the water and reducing the water pressure so the drip lines wouldn’t clog or be damaged by high water pressure.
- An automated timer made the system work for me.
- Landscape staples secured the tubing to the soil for a neater, cleaner look.

How I Installed the System
Once my drip irrigation system supplies arrived, I followed my sketches for the mainline tubing and connectors.
- I stretched out the mainline tubing where I wanted it and used my garden pruners to cut the mainline tubing into the sections I’d need.
- Then, I connected the mainline tubing pieces with the coupling, tee, or elbow connectors to direct the water into and out of my raised and in-ground beds, and sealed the open ends of the mainline tubing with figure-8 end clamps.
- Next, I used the hole punch to poke holes along the mainline tubing at 18-inch intervals, attached the ¼-inch tubing to each of these holes with the ¼-inch transfer barbs, and sealed the ends of the tubing with goof plugs.
- Lastly, I attached the top of the mainline tubing to the PSI regulator combo, fixed this to the automated timer and my spigot, and used the landscape staples to secure the tubing in place.
When I was done, the tubing looked a bit messy going in and out of my raised beds, so I created loops with plastic strapping to hold the mainline tubing against the exterior of my wooden raised beds and secured the loops in place with roofing nails. Securing the tubing against my garden beds wasn’t necessary for it to work, but it looked much more pleasing to my eye.

The Results
As soon as I started using my drip irrigation system, I was immediately converted. Not only did the whole system reduce water waste and save me lots of time watering, but I noticed my plants grew better, too. My harvests were bigger, my root vegetables were happier, and the powdery mildew that had been plaguing my squash plants was noticeably reduced.
I’ve now been using the drip irrigation system for a few years, and it has held up well with minimal maintenance. However, some of my mainline and mini tubing was damaged the first winter by rodents that nibbled holes in the tubing, probably in search of water. I was able to patch these areas with some creative splicing, connectors, and goof plugs and have avoided on-going rodent issues by always draining the system before winter starts. This is the only winterization I’ve needed to do beyond bringing the PSI regulator and timer indoors at the end of the growing season.
What I’d Do Differently
Although I’m quite happy with my drip irrigation system, there are a few small adjustments that I’d make in the future. First, I’d swap out the figure-8 end clamps I used for mainline tubing end caps that can be screwed off and on. This swap would make it much easier to drain my entire system and avoid the rodent damage I experienced during the first winter.
Aside from this swap, I’d also explore more elegant ways of mounting the mainline tubing to my raised garden beds. This would take a bit of trial and error, but I think some brass or copper tube strap mounts would have a more aesthetically pleasing look and work just as well as the plastic strapping loops I hurriedly fashioned.
