
We may earn revenue from the products available on this page and participate in affiliate programs. Learn More ›
Nestled within the exterior walls of many homes lies a small but crucial feature that most homeowners have never even noticed: weep holes. These intentional openings, typically found in brick walls and around window frames, help with water management. While weep holes may appear as nothing more than tiny gaps or small tubes in your home’s exterior, they actually perform the vital function of allowing trapped moisture to escape from behind walls, preventing potential water damage, mold growth, and structural deterioration.
Not all types of windows include weep holes; it depends on the window’s design, material, and water exposure. Knowing if your windows have weep holes and how to maintain them can help extend the lifespan and performance of your windows. This article explores the benefits of weep holes in window construction, tips for effectively maintaining and cleaning weep holes, and strategies for how to properly caulk windows so that weep holes aren’t filled.
Weep Holes in Window Construction
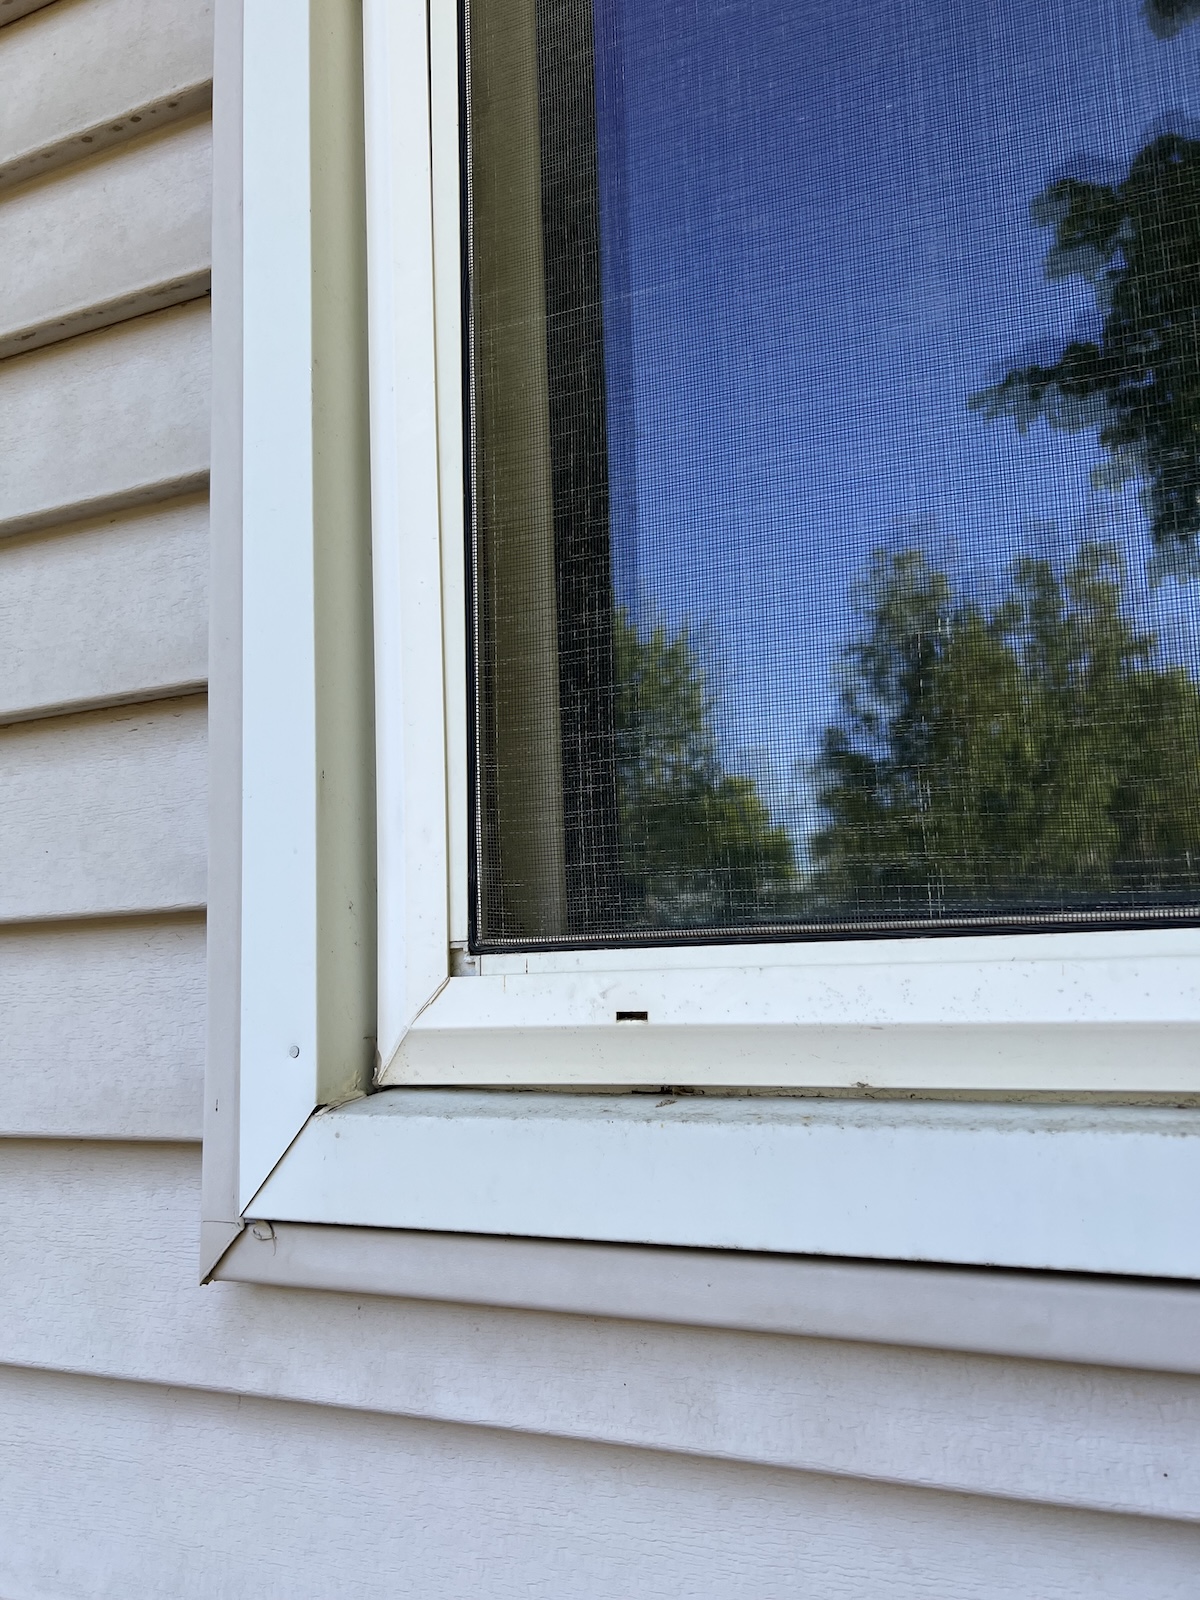
Weep holes are small rectangular openings located at the bottom of window frames. When properly installed, they should be visible from the outside. They aren’t just found on old brick homes, but remain a standard and essential feature in modern construction and play a vital role in promoting proper ventilation and preventing water damage, which can lead to costly repairs if not properly addressed, says Aldo Ceja, Thumbtack’s home care expert.
“All weep holes, regardless of their location, serve the same essential purpose: drainage,” says Ceja. “These holes play a critical role in draining rainwater that collects within the window frame, directing it away from the home. This prevents water from seeping inside, reducing the risk of moisture buildup that can lead to rot, mold, or structural damage to the window and surrounding framing.”
Weep holes also promote proper ventilation by facilitating airflow, regulate the internal temperature of a building, prevent windows from becoming breeding places for pests like mosquitoes and flies, protect the window frame from damage as a result of standing water, prevent mold and mildew, and keep dirt and debris off the track necessary to open and close windows.
Weep holes are more likely to be found in areas exposed to wet weather, such as coastal regions, since water can infiltrate the window frame during heavy rainstorms. Typically, weep holes are found with windows that are more likely to encounter water intrusion, such as sliding windows since water can collect on their tracks, double-hung windows since the bottom sash can allow water to seep in, and vinyl and aluminum windows that are more prone to water accumulation.
Tips for Cleaning and Maintaining Window Weep Holes
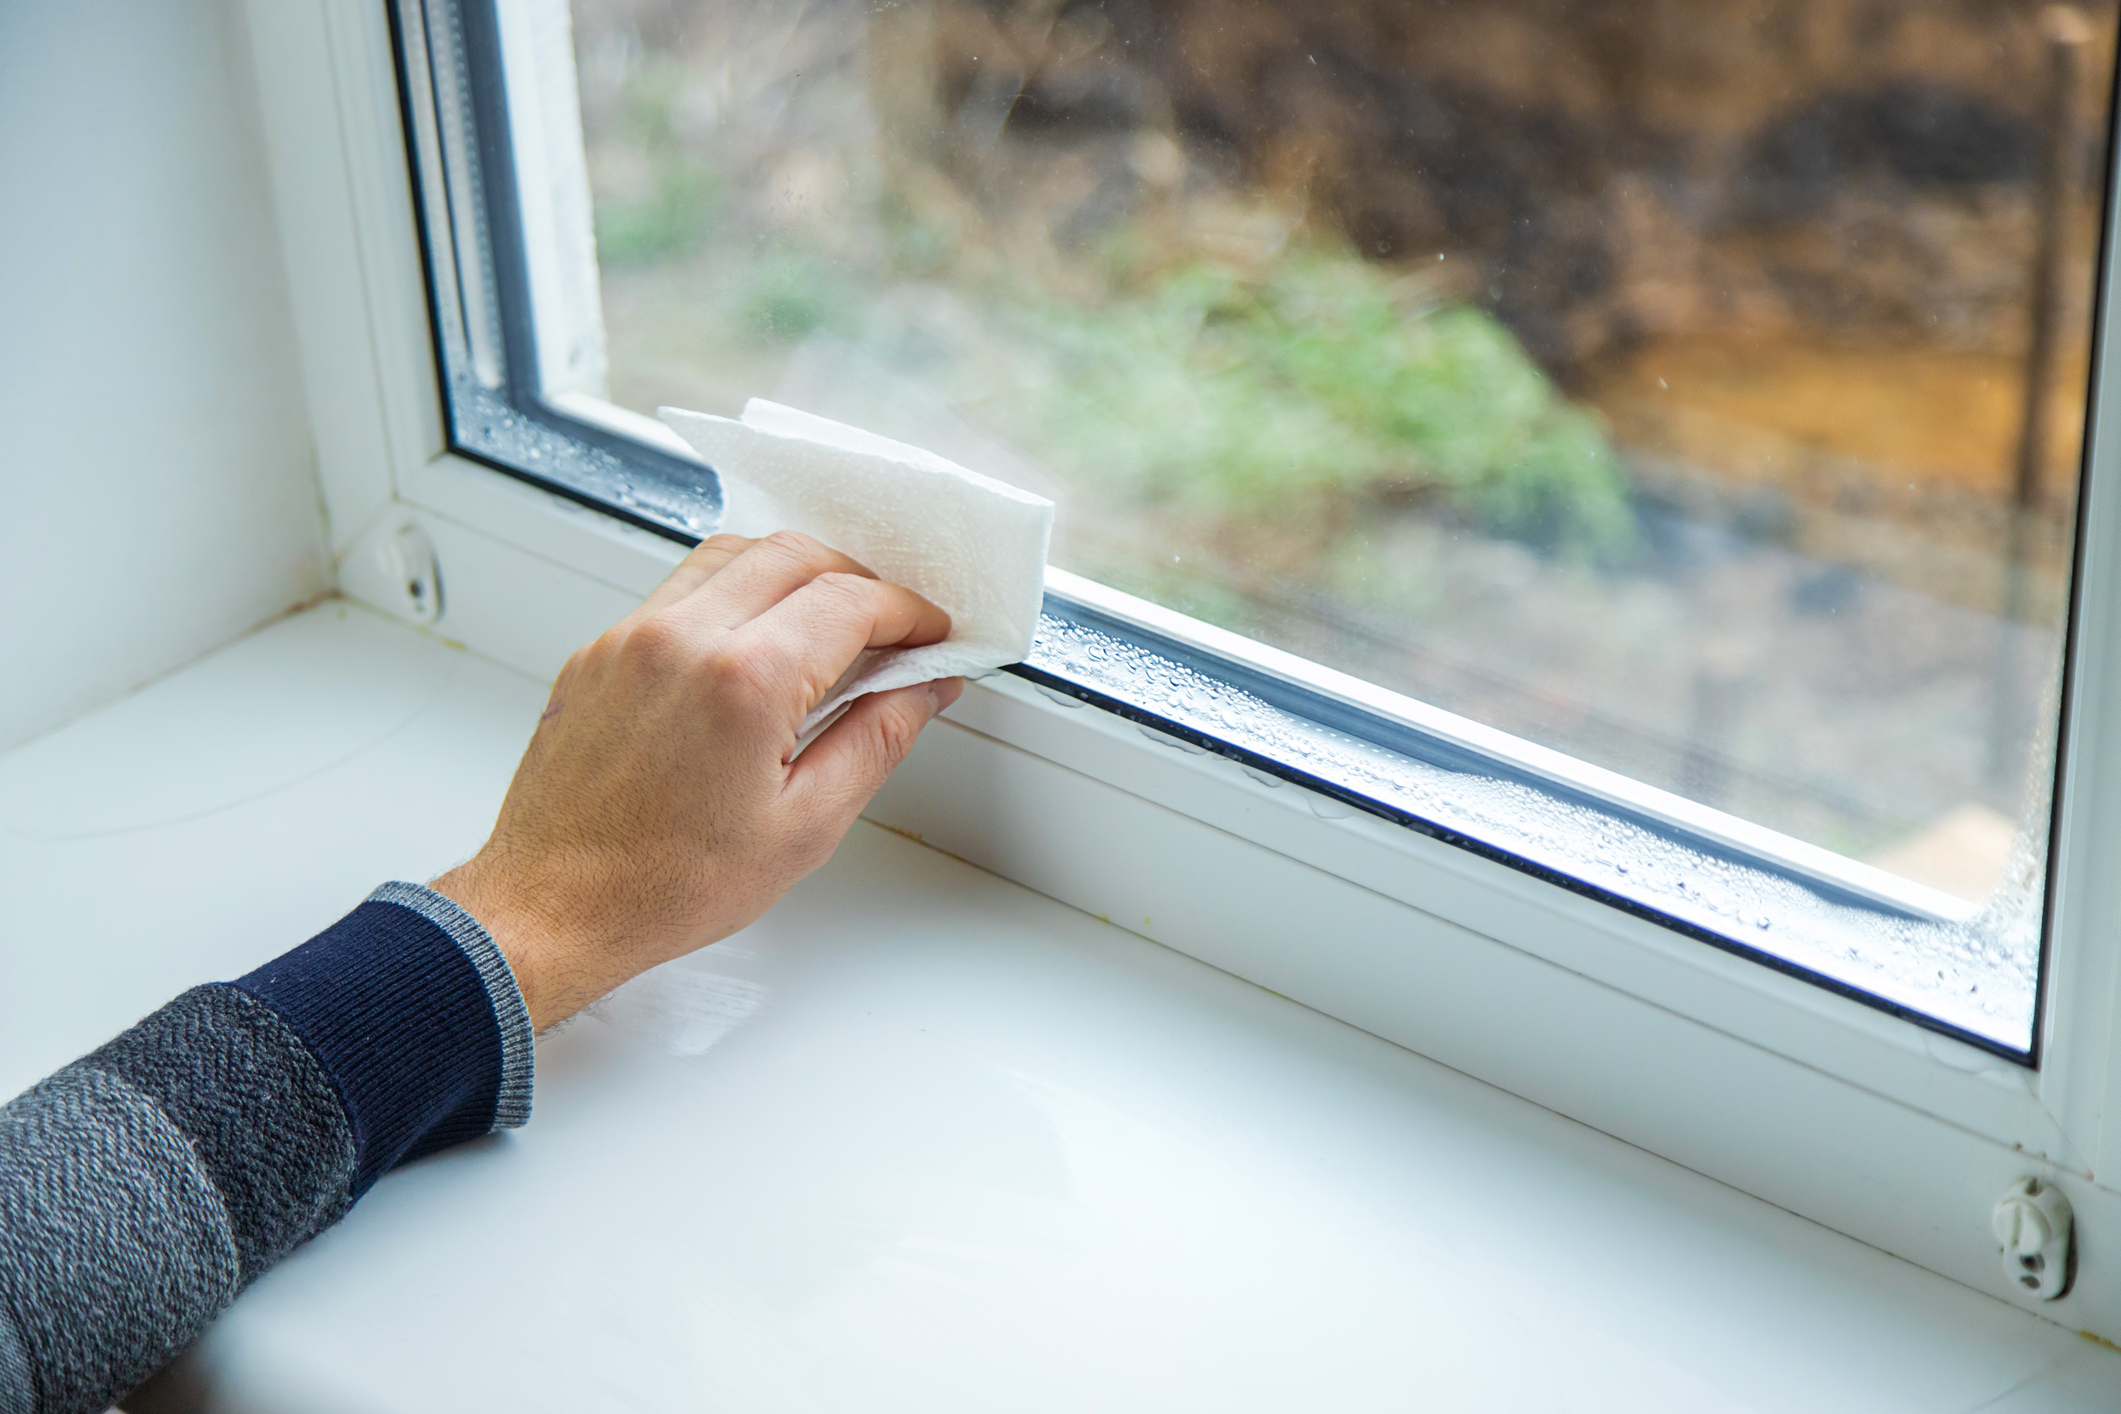
If your windows have weep holes, you’ll need to regularly clean and maintain them to prevent clogging due to the buildup of dirt, leaves, sticks, insects, and other debris. Keeping them clear will ensure they remain functional when it comes to water flow.
The first step is to locate the weep holes and make sure you can reach them safely. “Check them regularly—especially before and after the rainy season—to make sure they’re not blocked,” recommends Ceja. “You can use a can of compressed air or a small wire to clear out any debris.” Any thin, flexible object will work well to remove any obstructions, such as a small brush, toothpick, or pipe cleaner.
It’s also a good idea to test weep holes in your window frames to make sure they are draining adequately. Ceja suggests “pouring a little water into the window track and checking that it drains out through the weep hole outside.” You can also use a garden hose to spray water on the outer side of the window. If the weep holes are clear, water will flow freely out of the openings in the outer frame of the window.
How to Properly Caulk a Window
When sealing a leaky window or installing new windows, it’s important to understand the most effective way to apply caulk. First and foremost, never fill weep holes with caulk. If you close up that special feature, it could cause major water damage that comes with a headache and a hefty price tag.
Once you identify the weep holes to avoid caulking, you are ready to get started. Using the right type of caulk is one of the most important steps when sealing a window, says Ceja. “Always choose one labeled for exterior use, like exterior-grade silicone or polyurethane—avoid acrylic, as it breaks down quickly outdoors.”
Clean the area thoroughly, removing any dirt, dust, or old caulk with a scraper or utility knife. If the gap is deeper than ¼ inch, insert a backer rod first to help control how much caulk you use (this makes the seal more effective).
“When applying the caulk, use steady pressure and move in a smooth, continuous line,” Ceja says. “Then, smooth it out with a wet finger or a caulking tool to ensure a clean look and strong seal.” Let it dry completely before it gets wet from any rain.
Avoid These Additional Mistakes When Caulking Windows
When sealing around a window, there are a few common caulking mistakes to keep in mind.
- Don’t forget to clean the surface first.
- Never place new caulk over old caulk.
- Don’t cut too much of the tip off the caulk tube.
- Don’t use one hand when holding the caulk gun; you’ll need two hands to provide enough support.
- “Make sure you’re using the right caulk for outdoors, not paint or something meant for indoor use,” advises Ceja.
- Don’t apply caulk in high humidity because that can cause it to crack and separate.
- Don’t caulk when it’s too cold or wet outside, says Ceja.
- Don’t use caulk to fill large gaps; it’s only meant to fill in small cracks.
- Avoid caulking all four sides of the frame or you could trap moisture inside, says Ceja.
- Avoid caulking around moving parts of a window or the window could end up sealed shut.
- Don’t caulk around the window trim because it could trap in moisture, leading to damage.
