We may earn revenue from the products available on this page and participate in affiliate programs. Learn More ›
While tankless water heaters are known for delivering a continuous stream of hot water and lasting longer than traditional tanks, they aren’t entirely maintenance-free. Over time, calcium and magnesium deposits can build up inside the heating elements, quietly reducing your system’s efficiency and forcing it to work twice as hard.
To help you protect your investment, we spoke with two professional plumbers to find out how often homeowners should clean their tankless water heater and the essential tools and materials required to clean it correctly. Read on for their expert insights about how to clean a tankless water heater, including a step-by-step guide to flushing your system and keeping your hot water flowing smoothly.
Why Cleaning is Necessary
Staying on top of cleaning and maintenance protects the efficiency of your water heater, extends the life of the heat exchanger, reduces energy consumption, and helps prevent costly repairs, says Brandon Hughes, owner of Hughes Plumbing Services Inc. in Newbury Park, California. “Unlike traditional tank-style water heaters, tankless units have narrow heat exchangers that can accumulate mineral scale (calcium and magnesium) over time, especially in areas with hard water,” explains Hughes.
Without regular descaling, water flow can be restricted, and heat transfer efficiency will be reduced, leading to a drop in hot water output, reduced water pressure, error codes, and higher energy bills, warns Jordan Benjamin, owner and president of Done Rite Services in Tucson, Arizona. “If the buildup isn’t addressed, the unit may fail entirely,” he notes.
When properly cleaned, a tankless water heater can often last 20 years or more. Also, most manufacturers require regular descaling in order to keep the warranty viable, so it’s important to stick to a consistent schedule, says Benjamin.
How Often to Clean a Tankless Water Heater
Both Hughes and Benjamin recommend flushing and descaling the unit once a year as part of your household maintenance routine. “If your home has very hard water or your household uses a high volume of hot water, servicing the unit every 6 to 12 months is a good idea,” says Hughes.
Benjamin recommends checking your owner’s manual for the recommended/required cleaning schedule and then sticking to it. “Don’t wait to clean your unit until you notice a drop in hot water; by the time you notice decreased efficiency, mineral deposits have been building up for years and internal components may be damaged,” says Benjamin. “It’s much easier to simply clean it on a set schedule.”
A trick he recommends is to get in the habit of cleaning your water heater every time you clean your gutters or schedule annual HVAC service.
How to Clean a Tankless Water Heater
Before getting started, make sure you have all the necessary tools and supplies to clean your water heater.
Tools & Materials
Tankless water heater flush kit
Two washing machine or service hoses
White distilled vinegar or a manufacturer-approved descaling solution
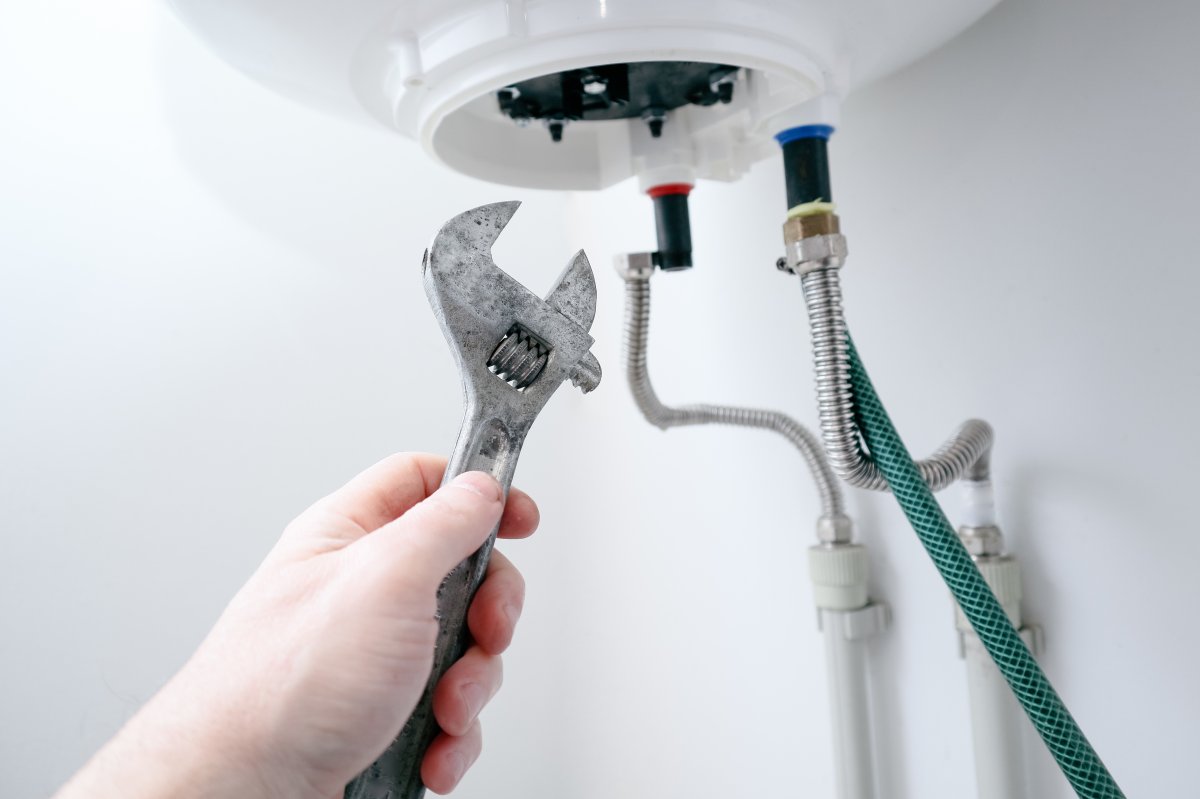
Adjustable wrench or channel-lock pliers

Before You Begin
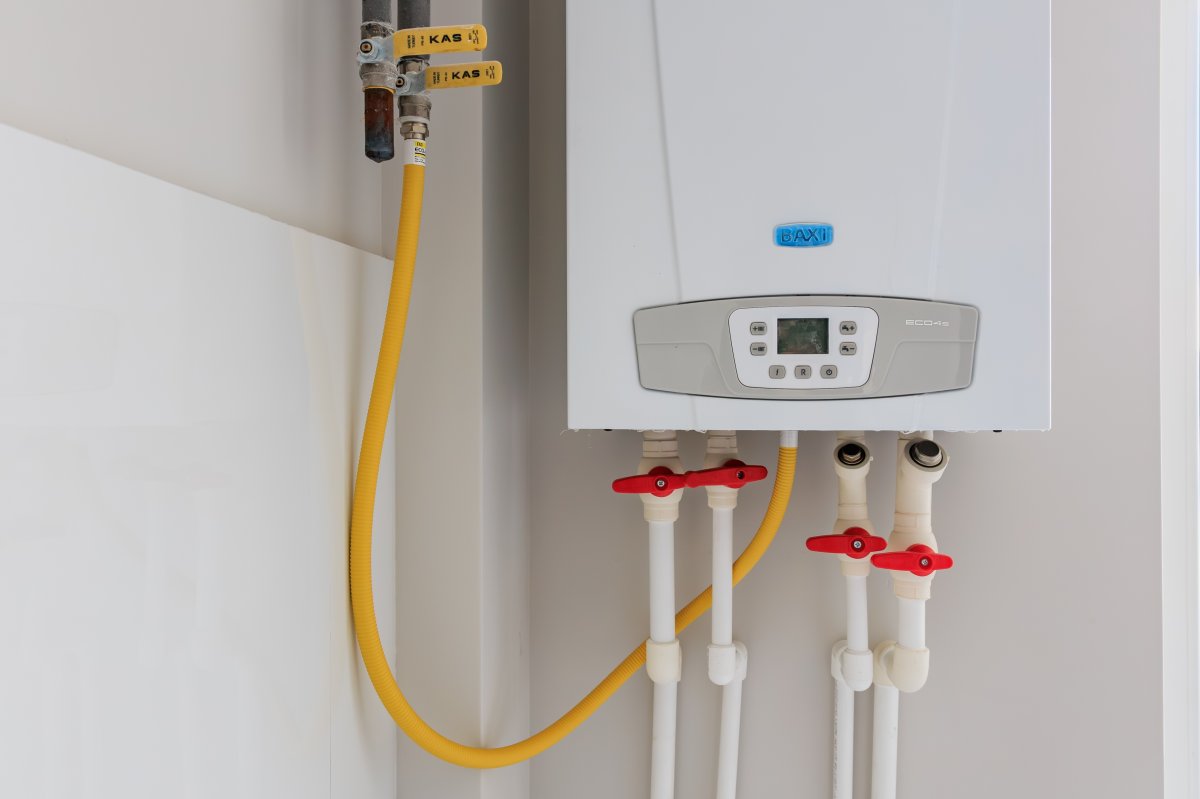
Cleaning a tankless water heater is actually pretty easy, says Benjamin. “But before you start the descaling process, check to make sure that a flush kit was installed on the unit during installation,” he recommends. You should see something that looks like a hose bib on both the hot and cold water lines.
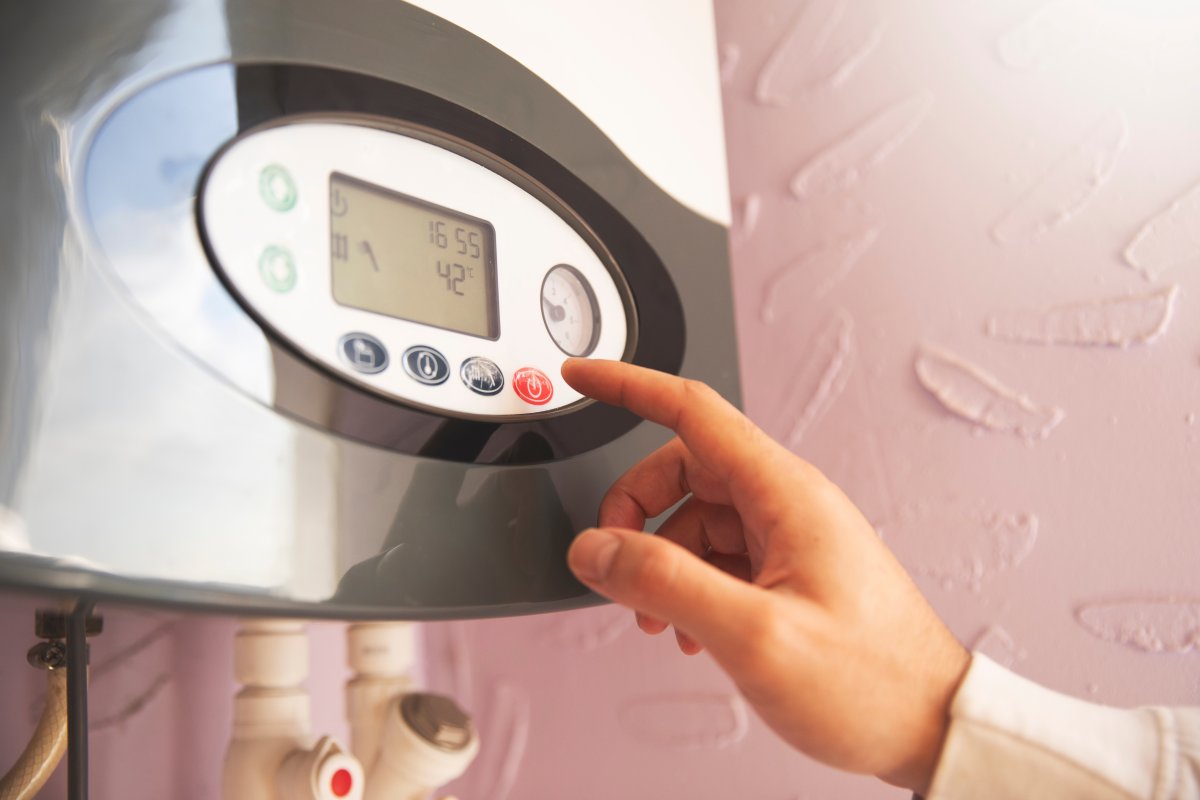
Step 1: Make sure the gas and electrical are off.
Shut off the gas supply or disconnect the electrical power. Then close the cold water supply and hot water outlet isolation valves. Allow the unit to cool if it has been running.
Step 2: Remove the filter.
Most units have a small inlet screen or prefilter that catches sediment before it enters the heat exchanger. Remove the filter according to the manufacturer’s instructions, rinse away any debris under running water, and reinstall it.
Step 3: Drain the water.
Open the service ports to drain the water trapped inside the heat exchanger.
Step 4: Set up a circulation system.
Then place a submersible utility pump in a 5-gallon bucket filled with the descaling solution, connect a hose from the pump to the cold-water service port, and connect a second hose from the hot-water service port back to the bucket to create a closed-loop circulation system.
Step 5: Run the pump.
Run the pump for approximately 45 to 60 minutes. This dissolves the mineral scale that has built up inside the heat exchanger.
Step 6: Clear out the descaling solution and minerals.
Empty the bucket, refill it with clean water, and circulate fresh water through the unit for several minutes to remove any remaining descaling solution and loosened mineral deposits.
Step 7: Prepare the heat pump for restart.
Remove the hoses, close the service ports, reopen the water supply valves, and restore power or gas. Run hot water at a nearby faucet to purge any trapped air, and then inspect the unit and all connections for leaks.