We may earn revenue from the products available on this page and participate in affiliate programs. Learn More ›
You can fix small tears in just about any fabric once you know how to sew a hole. Armed with a needle and thread, it’s simple to mend holes in shirts and jeans, rescue a prized stuffed animal, or fix up curtains, cushions, and other home décor. A sewing kit and a bit of time can eliminate the extra costs of visiting a tailor or buying replacements. Read the below instructions on how to stitch a hole and you’ll be able to repair small tears in your favorite items with ease.
Tools & Materials
Bobvila.com may earn a commission from purchases made through these links.
BEFORE YOU BEGIN
First, consider the size and shape of the hole you want to close. Small holes that aren’t missing any fabric can be fixed using the method below—this is especially true for torn seams. Larger holes with missing pieces of fabric may instead need patching.
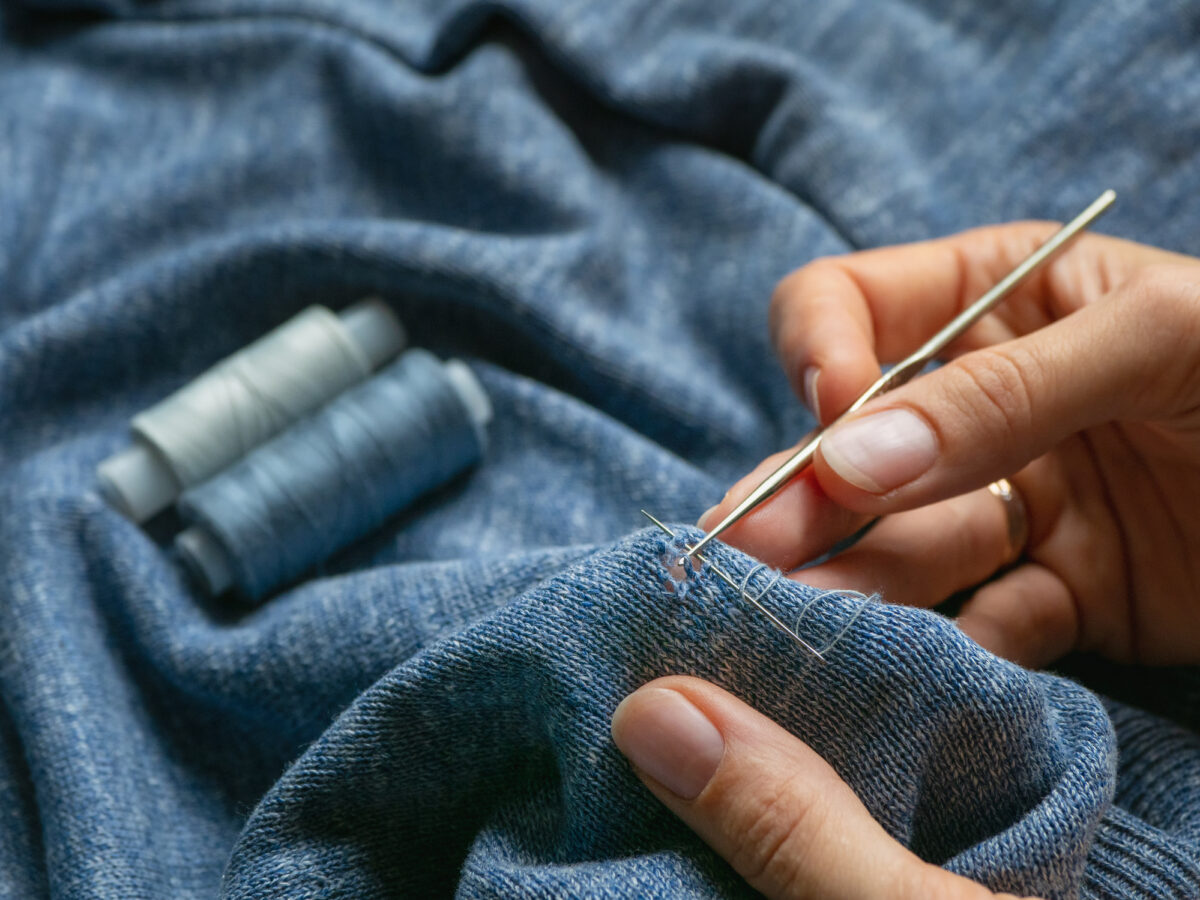
Choose a thread color matching the color of the fabric for a more seamless stitch. Additionally, selecting a suitable needle will make the job easier. For thicker fabrics, like denim, leather, and heavy or layered cottons, a thicker needle that won’t bend or break while moving through tough materials is the best choice. For thinner fabrics, such as silk, chiffon, and thin nylons and cottons, use a thin needle that won’t leave holes in the delicate cloth.
RELATED: The 25 Smartest and Smallest DIYs You Can Do for Your Home
STEP 1: Thread the needle and knot the end.
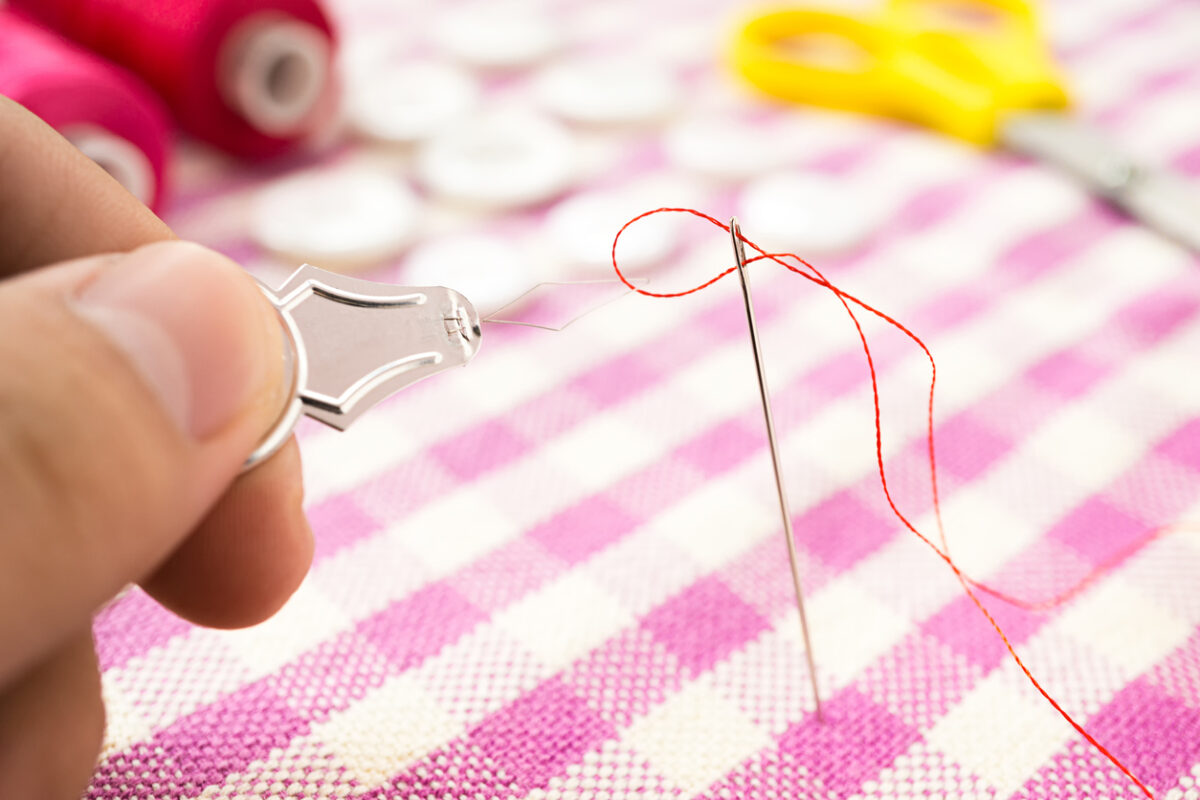
Take a long piece of thread and thread it through the eye of the needle. Use a needle threader if you have any trouble. Pull the thread through and double the thread over until you have the same amount on each side of the needle.
Tie a knot at the end of the doubled-over thread. You can do this by tying several overhand knots or by wrapping the thread around your index finger a few times and then rolling the loop off the end of your finger, which will twist the thread into a knot you can pull tight. Whichever method you use, make sure the knot is large enough that it can’t pass through the fabric.
STEP 2: Prepare your item.
Before sewing, make sure the fabric is as smooth and wrinkle-free as possible. Trim any loose threads around the hole.
Start your first stitch on the back side of the fabric, as this will keep the knot hidden. If applicable, turn the item inside out before making the first stitch. If the item can’t be turned inside out, start the stitch by inserting the needle into the back side of the fabric and through to the front.
STEP 3: Start stitching.

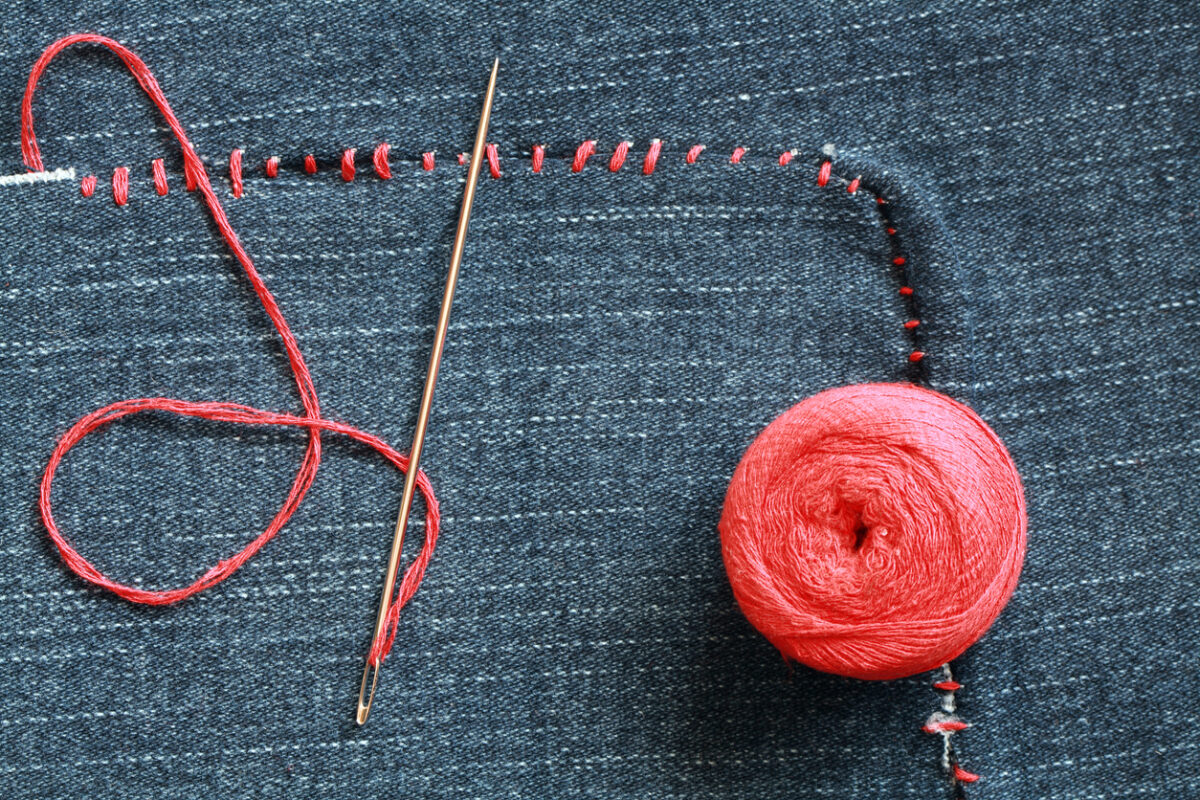
Position the first stitch close to the edge of the hole, approximately ⅛ inch from the edge. Keeping each stitch near the edge of the hole will make them less visible from the front side of the fabric.
If stitching up a round hole, you can start at any point around the hole. For a linear tear, start at either end of the tear so you can work your way down the length of the damage. Insert the needle at an appropriate starting point and pull the thread through until the knot is touching the wrong side of the fabric.
STEP 4: Sew the hole closed.
Line up the opposite side of the hole that you are going to join. It’s best to sew the second stitch directly across from the first. Keeping the hole’s edges in line will prevent the fabric from puckering or bunching up, which will better hide the stitches. Insert the needle into the fabric on the other side of the hole, staying close to the edge of the hole.
Move the needle about ⅛ of an inch down the hole’s edge (adjust the exact distance to your needs) and repeat the stitch. Continue stitching around the hole or down the length of the tear, gently pulling the thread taut as you do.
STEP 5: Finish sewing and tie off.
Finish your last stitch on the back side of the fabric. Here, you can tie off the thread and keep the knot hidden.
To tie off the thread, you can make several overhand loops. Take one finger and pin the thread down against the back of the fabric, right at your last stitch. Right beside your finger, create a small loop with the doubled-over thread and use your finger to hold down the loop. Pass the needle through the loop and pull the knot tight.
To keep your stitches secure, tie the knot as snug to the fabric as possible. Knot the thread a few times until you have a secure knot, then use sewing scissors to cut off the excess thread. If successful, the hole/tear should now be sewn shut and the stitches should be slight in appearance.
Final Thoughts
Tears and holes in clothing like leggings and other fabric items like curtains are inevitable in a household. Luckily, knowing how to sew up a hole can make these pieces last much longer. Your favorite items won’t only gain a few extra years of use, but the savings on repair or replacement costs will usually outweigh the few materials and spare time required. All it takes are some basic hand-sewing techniques and crafty determination to make a torn item look like new again.
